当前位置:网站首页>Kubeadm create kubernetes cluster
Kubeadm create kubernetes cluster
2022-06-28 17:53:00 【Silly [email protected]】
kubeadm Create clusters
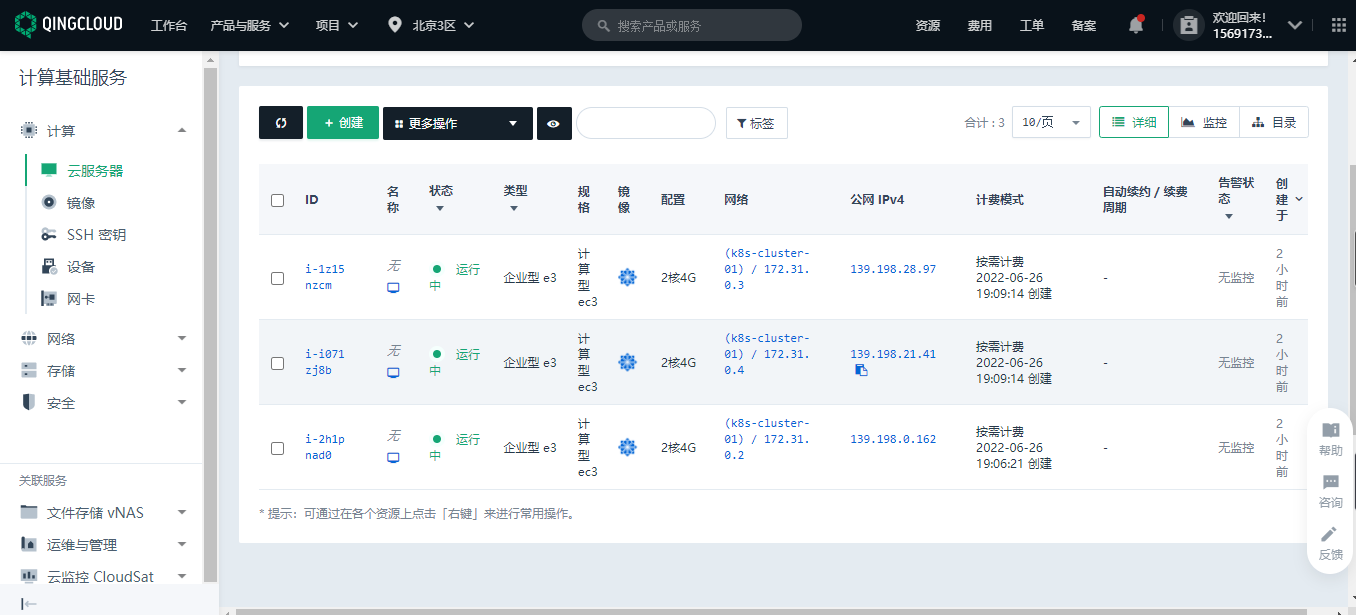
We use “ Public cloud - Qingyun ” The server provided as today's demo operation . Prepare three machines , One master node , Two work nodes .
Prerequisite
Kubernetes The installation of the cluster depends on the containerized running environment , So we must first install on each node docker. Methods refer to my previous article .
1、 Based on the environment
All machines perform the following operations .
Each machine sets its own domain name
hostnamectl set-hostname xxxx
Ban SELinux
sudo setenforce 0
sudo sed -i 's/^SELINUX=enforcing$/SELINUX=permissive/' /etc/selinux/config
close swap Partition
swapoff -a
sed -ri 's/.*swap.*/#&/' /etc/fstab
allow iptables Check bridge flow
cat <<EOF | sudo tee /etc/modules-load.d/k8s.conf
br_netfilter
EOF

cat <<EOF | sudo tee /etc/sysctl.d/k8s.conf
net.bridge.bridge-nf-call-ip6tables = 1
net.bridge.bridge-nf-call-iptables = 1
EOF
sudo sysctl --system
2、 install kubelet、kubeadm、kubectl
#  Configure the mirror warehouse address
cat <<EOF | sudo tee /etc/yum.repos.d/kubernetes.repo
[kubernetes]
name=Kubernetes
baseurl=http://mirrors.aliyun.com/kubernetes/yum/repos/kubernetes-el7-x86_64
enabled=1
gpgcheck=0
repo_gpgcheck=0
gpgkey=http://mirrors.aliyun.com/kubernetes/yum/doc/yum-key.gpg
   http://mirrors.aliyun.com/kubernetes/yum/doc/rpm-package-key.gpg
exclude=kubelet kubeadm kubectl
EOF
#  Download the specified version
sudo yum install -y kubelet-1.20.9 kubeadm-1.20.9 kubectl-1.20.9 --disableexcludes=kubernetes
#  immediately / Boot up
sudo systemctl enable --now kubelet
This is done ,kubelet Now it will restart every few seconds , Because it fell into a wait kubeadm Dead loop of instructions
3. Use kubeadm Leading the cluster
Download the images required by each machine
#  Write a script , Specify the required version of each component
sudo tee ./images.sh <<-'EOF'
#!/bin/bash
images=(
kube-apiserver:v1.20.9
kube-proxy:v1.20.9
kube-controller-manager:v1.20.9
kube-scheduler:v1.20.9
coredns:1.7.0
etcd:3.4.13-0
pause:3.2
)
for imageName in ${images[@]} ; do
docker pull registry.cn-hangzhou.aliyuncs.com/lfy_k8s_images/$imageName
done
EOF
#  Add executable permissions and execute scripts to download .
chmod +x ./images.sh && ./images.sh
Through this step, you can download the components needed to create the cluster . The work node only needs to download kube-proxy that will do , It doesn't matter if you download them all .
4. Initialize the master node
# Add... To all machines master Domain mapping
echo "172.31.0.2  cluster-endpoint" >> /etc/hosts
The purpose of this step is to tell each node which node i will use as the master node ( Cluster entrance ). Here you need to change it to your own ip, I use the intranet of the public cloud ip.
# Master initialization , Run this command only on the primary node
kubeadm init \
--apiserver-advertise-address=172.31.0.2 \
--control-plane-endpoint=cluster-endpoint \
--image-repository registry.cn-hangzhou.aliyuncs.com/lfy_k8s_images \
--kubernetes-version v1.20.9 \
--service-cidr=10.96.0.0/16 \
--pod-network-cidr=192.168.0.0/16
This actually defines what I will create in the future service and pod The network segment used when . We need to pay attention to apiserver-advertise-address For your own master node ip, And ensure that all network ranges do not overlap .pod-network-cidr If there is any modification, we need to modify the network range of the network components .
The following shows the cluster master Node initialization succeeded .
Your Kubernetes control-plane has initialized successfully!

To start using your cluster, you need to run the following as a regular user:

  mkdir -p $HOME/.kube
  sudo cp -i /etc/kubernetes/admin.conf $HOME/.kube/config
  sudo chown $(id -u):$(id -g) $HOME/.kube/config

Alternatively, if you are the root user, you can run:

  export KUBECONFIG=/etc/kubernetes/admin.conf

You should now deploy a pod network to the cluster.
Run "kubectl apply -f [podnetwork].yaml" with one of the options listed at:
  https://kubernetes.io/docs/concepts/cluster-administration/addons/

You can now join any number of control-plane nodes by copying certificate authorities
and service account keys on each node and then running the following as root:

  kubeadm join cluster-endpoint:6443 --token xsmvuy.43k3verg00x4s5gs \
    --discovery-token-ca-cert-hash sha256:2d4a06dfe981eb1274831a027690fdfa3a6c89d0968af331d6d26c16f35e7bdb \
    --control-plane

Then you can join any number of worker nodes by running the following on each as root:

kubeadm join cluster-endpoint:6443 --token xsmvuy.43k3verg00x4s5gs \
    --discovery-token-ca-cert-hash sha256:2d4a06dfe981eb1274831a027690fdfa3a6c89d0968af331d6d26c16f35e7bdb
We can execute the corresponding commands according to the prompts .
5. Install network components
#  Run this command only on the primary node
curl https://docs.projectcalico.org/manifests/calico.yaml -O

kubectl apply -f calico.yaml
6. Join in worker node
#  Run this command only on the work node
kubeadm join cluster-endpoint:6443 --token xsmvuy.43k3verg00x4s5gs \
    --discovery-token-ca-cert-hash sha256:2d4a06dfe981eb1274831a027690fdfa3a6c89d0968af331d6d26c16f35e7bdb
These contents are still done according to the prompt information .
Add : above token The effective time is 24 Hours , After expiration, use the following command to regenerate on the primary node .
kubeadm token create --print-join-command
High availability deployment , Also at this step , Use the command to add a master node .
7. Verification cluster
[[email protected] ~]# kubectl get nodes
NAME          STATUS   ROLES                  AGE   VERSION
k8s-master    Ready    control-plane,master   89m   v1.20.9
k8s-worker1   Ready    <none>                 68m   v1.20.9
k8s-worker2   Ready    <none>                 68m   v1.20.9
[[email protected] ~]#
thus , One kubernetes The cluster has been set up .
This paper is written by mdnice Multi platform Publishing
版权声明
本文为[Silly [email protected][email protected]]所创,转载请带上原文链接,感谢
https://yzsam.com/2022/179/202206281723181140.html
边栏推荐
- 使用Pega进行一个简单的RPA程序开发
- Idea of capturing mobile terminal variant combination
- rsync 远程同步(日落尤其温柔的人间皆是浪漫)
- Tacacs+ server deployment
- Redis master-slave replication, sentinel, cluster cluster principle + experiment (wait, it will be later, but it will be better)
- kubeadm创建kubernetes集群
- 强化学习在黄页商家智能聊天助手中的探索实践
- MCU modifies network hardware driver (PHY chip replacement)
- Currency circle earthquake: earned 1million last year and lost 5million this year
- 7-user input and while loop
猜你喜欢

Free, powerful and high-value note taking software evaluation: OneNote, heptabase, hydrogen graph, flowus

Use PEGA to develop a simple RPA program

Q: how bad can a programmer be?

2022A特种设备相关管理(电梯)特种作业证考试题库及在线模拟考试

2022起重机械指挥考试题库模拟考试平台操作

Leetcode 6. Zigzag transformation (awesome, solved)
![[dark horse morning post] Tencent responded that a large number of users' QQ numbers were stolen; Weiya's husband company was fined 190000 yuan; China Evergrande is applied for liquidation; Guanxiaoto](/img/d7/4671b5a74317a8f87ffd36be2b34e1.jpg)
[dark horse morning post] Tencent responded that a large number of users' QQ numbers were stolen; Weiya's husband company was fined 190000 yuan; China Evergrande is applied for liquidation; Guanxiaoto

Panorama of enterprise power in China SSD industry

MySQL High available MHA (accidentellement avec ma jeunesse)

Redis master-slave replication, sentinel, cluster cluster principle + experiment (wait, it will be later, but it will be better)
随机推荐
抓包整理外篇fiddler————了解工具栏[一]
Pure big resentment! Those who were discouraged from taking the postgraduate entrance examination
2022危险化学品生产单位安全生产管理人员复习题及答案
Flutter 小技巧之 MediaQuery 和 build 优化你不知道的秘密
Home based efficient remote office | community essay solicitation
Ten MySQL locks, one article will give you full analysis
2022危险化学品经营单位主要负责人复训题库及在线模拟考试
58 Technology Salon issue 31 flutter dynamic special Salon
Discrete mathematics single shot, full shot and double shot
听说转行软件测试只能自学,培训机构是个坑?
How to do a good job of gateway high availability protection in the big promotion scenario
几行代码就能实现复杂的 Excel 导入导出,这个工具类真心强大!
From Mogao Grottoes to the Pacific Ocean, massive data have found new homes
Use PEGA to develop a simple RPA program
Is the account opening link given by CICC securities manager safe? Who can I open an account with?
国内怎么就做不出 IDEA 那样的产品?
Redis master-slave replication, sentinel, cluster cluster principle + experiment (wait, it will be later, but it will be better)
IDC: Alibaba cloud ranks first in the market share of China's data governance platform in 2021
Batch modify specified character file name bat script
如何制作CSR(Certificate Signing Request)文件?