当前位置:网站首页>Cesium learning notes (II) uploading data using rest API
Cesium learning notes (II) uploading data using rest API
2022-06-30 08:04:00 【Lafiteeee】
Step1. Provide ion information about your data
Use the data files provided on the official website :Reichstag.zip
To create a new asset, we POST information about our data and what we want to do with it to the /v1/assets endpoint. The POST body looks like this:
const postBody = {

    name: 'Reichstag',
    description: 'See [Wikipedia](https://en.wikipedia.org/?curid=217577).',
    type: '3DTILES',
    options: {

        sourceType: 'CITYGML',
        clampToTerrain: true,
        baseTerrainId: 1
    }
}
nameIs a non empty stringdescriptionIt's a Markdown Compatible stringtypeIs one of three types :3DTILES、IMAGERY、TERRAIN, Now uploading CityGML, It can only be used to generate 3DTILESoptionsyes the ion tilling pipeline The option to , And specific to the type of data being uploaded . In this example, specify :sourceTypeIndicates that we are uploading CityGML dataclampToTerraintell pipeline, We want it to adjust the height of the buildings in the file so that they are placed on the groundbaseTerrainIDTo specify a terrain asset id As the ground . In the code above ,“1” representative CesiumWorldTerrain. If not defined andclamoToTerrain = true, Then the building will be put into WGS84 Ellipsoid .
To actually create assets , We use the following code to publish the above objects :
const response = await request({

    url: 'https://api.cesium.com/v1/assets',
    method: 'POST',
    headers: {
     Authorization: `Bearer ${
      accessToken}` },
    json: true,
    body: postBody
});
This service returns response It has three properties :
response.uploadLocationProvide temporary vouchers and location information , Used to upload source data to ion, The credentials last about 1 Hours .response.onCompleteIt contains the information that we will use to send back to the server after uploading the data .response.assetMetadataInclude this asset All the information about it, including its id、 state , And the name and description we just released .
This response as follows :
{

  "assetMetadata": {

    "id": 21111,
    "type": "3DTILES",
    "name": "Reichstag",
    "description": "See [Wikipedia](https://en.wikipedia.org/?curid=217577).",
    "attribution": "",
    "bytes": 0,
    "dateAdded": "2019-04-19T00:30:54.111Z",
    "status": "AWAITING_FILES",
    "percentComplete": 0
  },
  "uploadLocation": {

    "bucket": "assets.cesium.com",
    "prefix": "sources/21111/",
    "accessKey": "ASIATXRQLSFCKKLAIVXW",
    "secretAccessKey": "Qa6YC2yq78hoCR4KYF4atHEnytfgLJMNV0KPdpw8",
    "sessionToken": "FQoGZXIvYXdzEIr//wEaDIEDvhx6N7x4..."
  },
  "onComplete": {

    "method": "POST",
    "url": "https://api.cesium.com/v1/assets/21111/uploadComplete",
    "fields": {
    }
  }
}
Step 2.Upload your data to the provided Amazon S3 bucket
We can use anything with S3 Compatible libraries to perform Uploads , However, we recommend using official services that are widely available in multiple languages AWS Development kit . Everything we need is response.uploadLocation In the object .
Every asset Of S3 API Initialization is the same :
const AWS = require('aws-sdk');
const uploadLocation = response.uploadLocation;

const s3 = new AWS.S3({

    apiVersion: '2006-03-01',
    region: 'us-east-1',
    signatureVersion: 'v4',
    endpoint: uploadLocation.endpoint,
    credentials: new AWS.Credentials(
        uploadLocation.accessKey,
        uploadLocation.secretAccessKey,
        uploadLocation.sessionToken)
});
thus , We can use s3 The instance uploads the required number of files . In this example , Everything is contained in a single zip In file , So we can use a single upload call . If you have multiple files , Just use different “Body” and “Key” Property to perform multiple s3.upload call . Make sure to use Reichstag.zip Position replacement of path_to_file.
const input = 'path_to_file/Reichstag.zip';
const fs = require('fs');
await s3.upload({

    Body: fs.createReadStream(input),
    Bucket: uploadLocation.bucket,
    Key: `${
      uploadLocation.prefix}Reichstag.zip`
}).promise();
Step 3: Notify ion that you are finished uploading
After the data is uploaded , We will use response.onComplete The message in the object emits a second POST request . This tells the server that all source data has been uploaded , And you can start tiling The process .
const onComplete = response.onComplete;
await request({

    url: onComplete.url,
    method: onComplete.method,
    headers: {
     Authorization: `Bearer ${
      accessToken}` },
    json: true,
    body: onComplete.fields
});
Step 4: Monitor the tiling status
Now? asset Has been tiled into 3D Tiles And there are no steps to do . You can go to Asset Dashboard see tile speed of progress , You can also use REST API To monitor progress , So that you can take some action when you finish .
This can be used GET / v1 / assets / {assetId} Endpoint to achieve , among {assetId} It's the beginning POST In response response.assetMetadata.id.
async function waitUntilReady() {

    const assetId = response.assetMetadata.id;

    // Issue a GET request for the metadata
    const assetMetadata = await request({

        url: `https://api.cesium.com/v1/assets/${
      assetId}`,
        headers: {
     Authorization: `Bearer ${
      accessToken}` },
        json: true
    });

    const status = assetMetadata.status;
    if (status === 'COMPLETE') {

        console.log('Asset tiled successfully');
        console.log(`View in ion: https://cesium.com/ion/assets/${
      assetMetadata.id}`);
    } else if (status === 'DATA_ERROR') {

        console.log('ion detected a problem with the uploaded data.');
    } else if (status === 'ERROR') {

        console.log('An unknown tiling error occurred, please contact [email protected]');
    } else {

        if (status === 'NOT_STARTED') {

            console.log('Tiling pipeline initializing.');
        } else {
     // IN_PROGRESS
            console.log(`Asset is ${
      assetMetadata.percentComplete}% complete.`);
        }

        // Not done yet, check again in 10 seconds
        setTimeout(waitUntilReady, 10000);
    }
}

waitUntilReady();
边栏推荐
- 想问问,炒股怎么选择证券公司?网上开户安全么?
- What management improvements can CRM bring to enterprises
- Efga design open source framework fabulous series (I) establishment of development environment
- Why don't you know what to do after graduation from university?
- At the end of June, you can start to make preparations, otherwise you won't have a share in such a profitable industry
- Deep learning - brnn and DRNN
- 1163 Dijkstra Sequence
- Want to change careers, but don't know what to do? This article is written for you who are confused
- 牛客小白月賽52
- December 13, 2021 [reading notes] | understanding of chain specific database building
猜你喜欢

Deep learning -- language model and sequence generation

Deep learning -- Realization of convolution by sliding window

深度学习——BRNN和DRNN
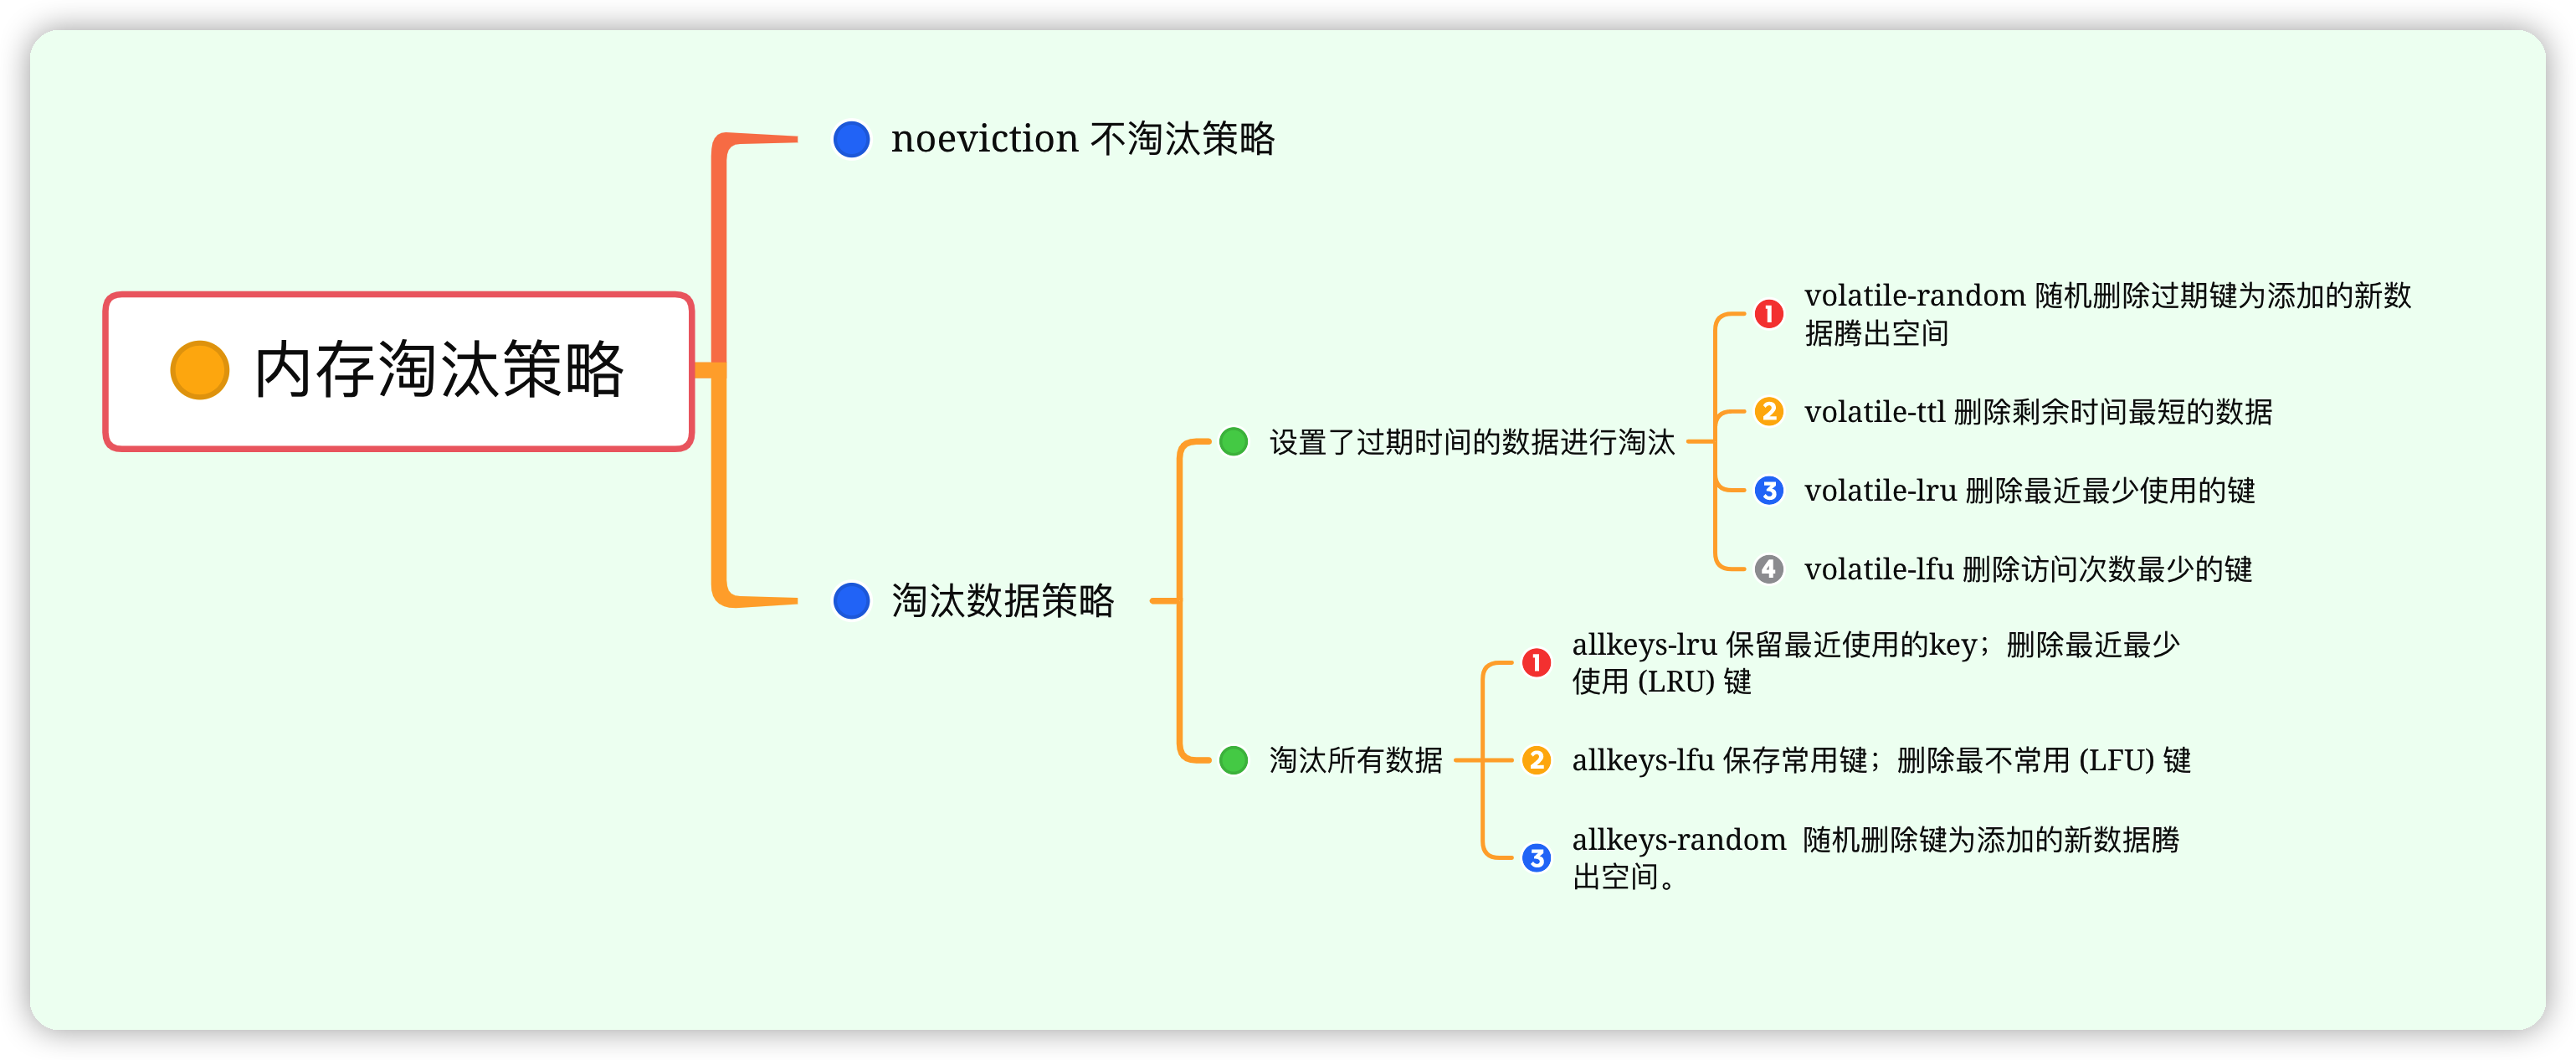
Redis 的过期数据如何处理,淘汰机制都有那些?

Self study notes -- use of 74h573

Examen final - notes d'apprentissage PHP 5 - Tableau PHP
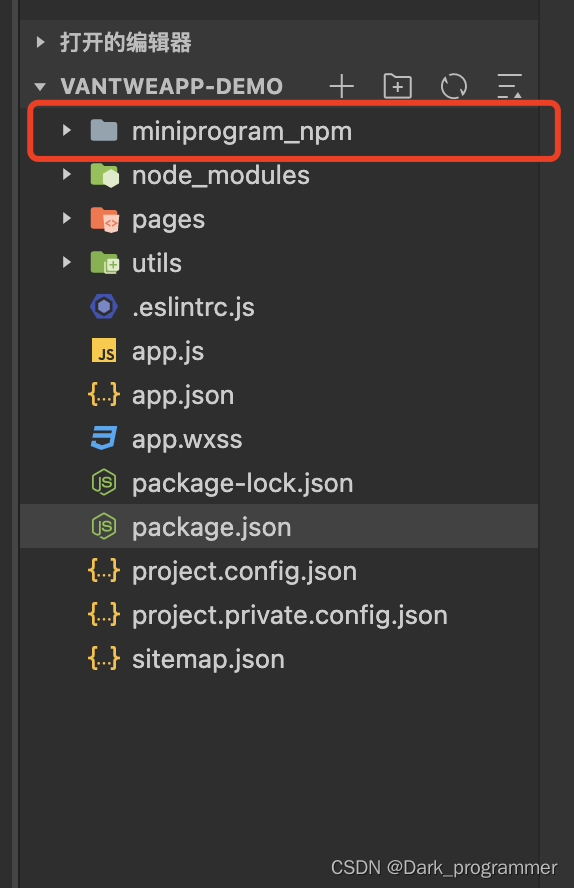
微信小程序使用vant weapp报错

MySQL cannot connect to the intranet database

Efga design open source framework openlane series (I) development environment construction
深度学习——卷积的滑动窗口实现
随机推荐
Simple application of generating function
Construction of energy conservation supervision system for campus buildings of ankery University
Niuke White Moon race 52
Final review -php learning notes 4-php custom functions
Final review -php learning notes 2-php language foundation
November 22, 2021 [reading notes] - bioinformatics and functional genomics (Section 5 of Chapter 5 uses a comparison tool similar to blast to quickly search genomic DNA)
25岁,从天坑行业提桶跑路,在经历千辛万苦转行程序员,属于我的春天终于来了
Pre ++ and post ++ overloads
亚马逊测评术语有哪些?
MySQL加索引语句不加锁:ALGORITHM=INPLACE, LOCK=NONE
Development technology sharing of Jingtan NFT digital collection system
Combinatorial mathematics Chapter 1 Notes
【笔记】Polygon mesh processing 学习笔记(10)
【Tensorflow-gpu】window11下深度学习环境搭建
JS code case
HelloWorld
回文子串、回文子序列
Go 数据类型篇之基本数据类型之间的转化
MySQL cannot connect to the intranet database
National technology n32g45x series about timer timing cycle calculation