当前位置:网站首页>Implementation of s5p4418 bare metal programming (replace 2ndboot)
Implementation of s5p4418 bare metal programming (replace 2ndboot)
2022-06-23 09:12:00 【July meteor】
Refer to instructions : There are references in this article aven_paul Blogger's S5P4418 Start image analysis , Specific reference http://blog.csdn.net/aven_paul/article/details/46772285
Break the laboratory blogger's “ Lighten up user Led” One article , Specific reference http://weibo.com/p/1001603914482173772682
S5P4418 It's a four core cortex-A9 Of SOC, Such a powerful processor non operating system cannot give full play to its performance , But for those who want to know more about it and learn to use it better , Bare metal programming allows you to learn more about Power on -> internalRom --> boot mode choose --> Loading & Launch bootloader(BL1 --> BL2 )->...... Detailed process , It can better reflect from SOC To board Until then program Layer by layer connection of , The rigorous design of silk threads . This article uses nanoPi2 Hardware , Only use SD As boot Source , So in order to SD Card as the basis to describe the implementation of bare metal programming .
adopt S5P4418 Starting the image analysis, we learned that .SD The image in the card is like this ,
| Block0 | Sd/emmc Card information |
Block1 | Nsih.bin |
| Block2 | 2ndboot.bin |
| Block63 | Nsih.bin |
| Block64 | u-boot.bin |
And some netizens have put their own programs .bin Replace u-boot.bin The way to achieve , see “ Lighten up user Led”http://weibo.com/p/1001603914482173772682, At the same time, the modification is given SD Method of absolute position data in card , That is to use winhex The tool is positioned to the absolute position and modified .
According to these articles of netizens , I think I should be able to have a preliminary concept of bare metal programming , But it also brings us some doubts , and 2ndboot No source code , For those of us who want to get to the bottom , I always feel that I can't control something , Can we replace our program directly 2ndboot.bin Let's run bare metal ? I will try it immediately , However, there are still some prerequisites to be done .
1. find 2ndboot.bin By internalRom Where to carry it to Launch?
2. If you substitute 2ndboot.bin The way to do it , our bin How big can it be ?
Take this article , We still have to go to the Official Handbook to find out
First , We need to look at the system memory map

Look at this map, We will find that InternalRAM The address is 0xFFFF0000, According to the manual, we know InternalRAM Yes 32KB. good , Is it right? InternalRom Will be able to 2ndboot The content of loading Go to this address to run ? So we recompile “ Lighten up user LED” Three files in the example of , Just change the link instruction to arm-linux-ld -Ttext=0xffff0000 start.o main.o -o main 了 . We will generate main.bin use winhex Put it in SD Card block2 That is to say 0x400 Location , Insert the card nanoPi2 Of bootSD Card slot , Access to electricity ,very good ,LED Flashing .
Is it over ? Maybe .. Well , Maybe not yet
Now that you can move , We also want to know why
good , Continue to read the Official Handbook page 3 Chapter System boot. Because we use Internal ROM boot, Use SD Card activation , So switch to 3.4.4 section SDHCBOOT.

This form tells us , What we can use is 1to32block, Our lights up LED The program is smaller than only 1k Less than , So it won't go beyond the scope , The following sentence is circled in red , describe InternalROM take SD Cary's data comes from Block1 Start load To InternalRAM, our main.bin Yes write SD Card block2 To replace 2ndboot Of , According to the truth, it should be 0xFFFF0000+0x200 It's ours main.bin Location of , Let's modify the compiler connection am-linux-ld -Ttext=0xFFFF0200 start.o main.o -o main. After the complete compilation, the main.bin use winhex write in SD Card 0x400 It's about , Insert the card nanoPi2, Access to electricity ,LED Start blinking , With the connection address 0xffff0000 The effect is the same , Why is that ?
With questions , I looked at it again start.s, Find jump instructions used internally b start and b main All are relative position jumps . At the same time, I continue to read the official manual about Nsih Description of .


original ,block1 Stored in Nsih It is after the migration exception vector . When the system reset after , adopt exception vector notice , Its jump to Reset_Handler It's about .Reset_Handler Where does it point to ? We found the official image and extracted it Nsih After the message , Find out , The address is 0xFFFF0200.

in other words , System reset After passage InternalRom Loading , Again exception vector The jump , Jump to our quilt InternalROM Load To InternalRAM To the address in main.bin To run in the .
At the same time, it means , If you use arm-linux-ld -Ttext=0xffff0000 It's not right , once main.bin Absolute jump in , The program will fly .
To sum up : To replace your own program 2ndboot To achieve SD Card initiated bare metal programming
1. take main.bin write in SD Card block2 namely 0x400 It's about ;
2. If main.bin Less than 15KB, Of the linker at compile time -Ttext=0xFFFF0200
3.2. If main.bin Greater than 15kB(512*(32-1)), You need to write it in 0x400 Write a from main.bin The separated from contains load The rest of the code is less than 15KB Part of , Through this 15k The code will main The rest of the is loaded into memory , If main.bin Greater than InternalRAM, You need to write your own external DRAM Code for . This part will not be discussed in this article for the time being .
Reference documents :http://wiki.friendlyarm.com/wiki/images/3/3d/SEC_Users_Manual_S5P4418_Users_Manual_Preliminary_Ver.0.10.pdf
Reference procedure :


notes : Absolute addressing test
take start.s Change to the following code :
.text
.global _start
_start:
	b st
	.word 0x00000000
	.word 0x00000000
	.word 0x00000000
	.word 0x00000000
	.word 0x00000000
	.word 0x00000000
	.word 0x00000000
st:
	ldr pc, =on_sram
on_sram:
	ldr sp, =0xffff1000
	bl main
halt_loop:
	b halt_loop
Use arm-linux-ld -Ttext=0xFFFF0200 start.o main.o -o main
+ arm-linux-objcopy -I elf32-littlearm -O binary main main.bin
Got main.bin adopt winhex write in SD Card 0x400 inside address , take SD Card insertion nanoPi2, Access to electricity , The little lamp flickered , Thus, the substitution can be verified 2ndboot.bin To use our bare metal code , Be transported to InternalRAM The address in is indeed 0xFFFF0200.
边栏推荐
- Unity grid programming 06
- 528. Random Pick with Weight
- [cloud native | kubernetes] kubernetes principle and installation (II)
- Redis learning notes - single key management
- js 用**遮罩身份证以及手机号的重要数据
- 社区文章|MOSN 构建 Subset 优化思路分享
- 4sum of leetcode topic analysis
- Redis学习笔记—遍历键
- Intelligent operation and maintenance exploration | anomaly detection method in cloud system
- Quartz Crystal Drive Level Calculation
猜你喜欢

ionic5表单输入框和单选按钮

Custom tag - JSP tag Foundation

Simple student management

Aiming at the overseas pet market, "grasshand" has developed an intelligent tracking product independent of mobile phones | early project
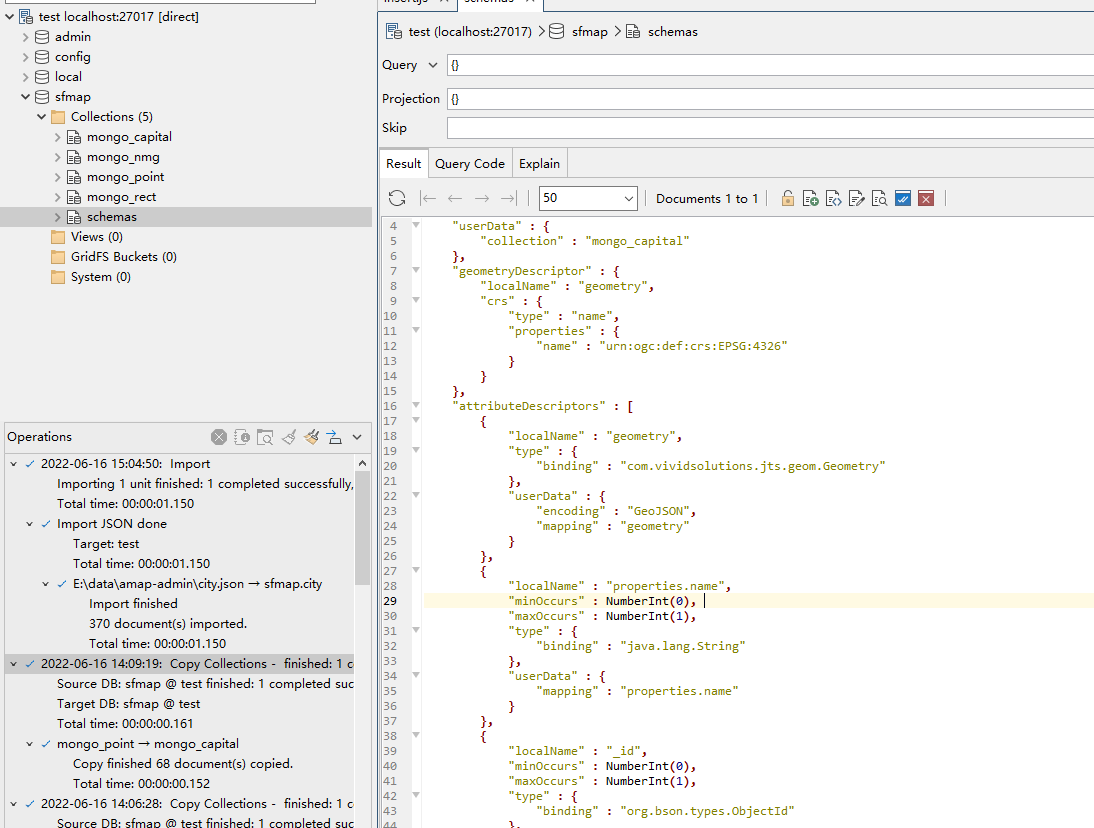
GeoServer adding mongodb data source

"Coach, I want to play basketball" -- AI Learning Series booklet for students who are making systems

Redis learning notes RDB of persistence mechanism
Ionic5 form input box and radio button
Redis learning notes - redis and Lua

JS mask important data of ID card and mobile phone number with * *

随机推荐
New engine, new capability, new experience, Tencent host security flagship release
173. Binary Search Tree Iterator
3、 System analysis and design
Redis learning notes - data type: Set
类型从属名称的使用必须以“typename”为前缀
Unity grid programming 08
Cookie和Session入门
36 krypton launched | cloud native database company "tuoshupai" completed a new round of strategic financing, and the valuation has reached the level of quasi Unicorn
Redis learning notes - redis and Lua
986. Interval List Intersections
玩转NanoPi 2 裸机教程编程-01点亮User LED难点解析
2022-06-22:golang选择题,以下golang代码输出什么?A:3;B:1;C:4;D:编译失败。
4、 Database design
670. Maximum Swap
Redis学习笔记—数据库管理
Combination sum III of leetcode topic analysis
力扣之滑动窗口《循序渐进》(209.长度最小的子数组、904. 水果成篮)
636. Exclusive Time of Functions
Redis学习笔记—redis-benchmark详解
Redis learning notes - slow query analysis