PC performance settings
Optimization setting I : Turn on superior performance
Actually ,win10 There is an excellent hidden setting in the system , It can make our computer , In the case of an existing configuration , Give full play to the best performance .
1、 Press and hold at the same time “win+R” Open the run window , Input “powershell” And click the “ determine ”

2、 After opening the command prompt page , Enter and execute the following characters , As shown in the figure “ Excellent performance ”
【powercfg -duplicatescheme
e9a42b02-d5df-448d-aa00-03f14749eb61】

3、 And then , Enter and open... In the desktop search box “ Control panel ”

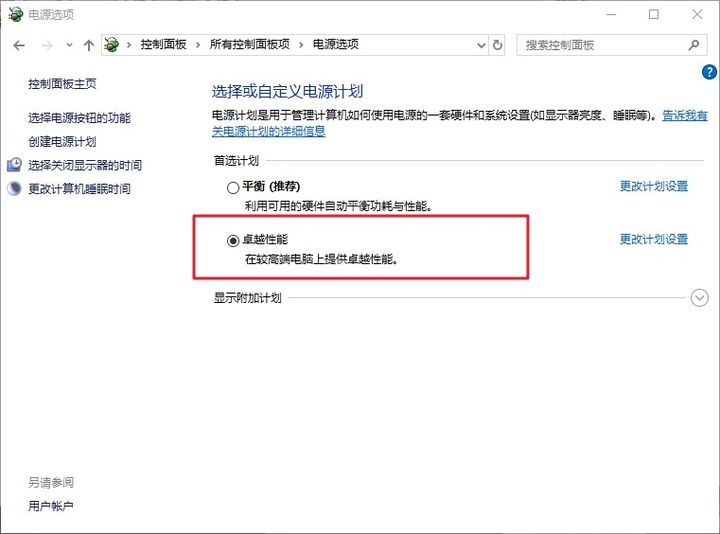
4、 After entering the control panel , Change the viewing mode to large icon , Click on “ Power options ”

5、 Last , You can see “ Excellent performance ”, Click Select to open
Optimization setting II : Turn on computer dynamic cleaning
Clean the system regularly , It seems to be an eternal theme , But there is always a situation of forgetting to clean up , Eventually lead to the accumulation of computer junk files , The operation starts to jam . and win10 The system comes with a dynamic cleaning function , It can solve this problem very well .
It will automatically detect the overall condition of the computer , And clean it according to your settings , Dynamic execution !
1、 Press and hold at the same time “win+i” Open the settings page , Click on “ System ”

2、 And then , First click... On the left “ Storage ” tab , Then click Open “ Storage awareness ”
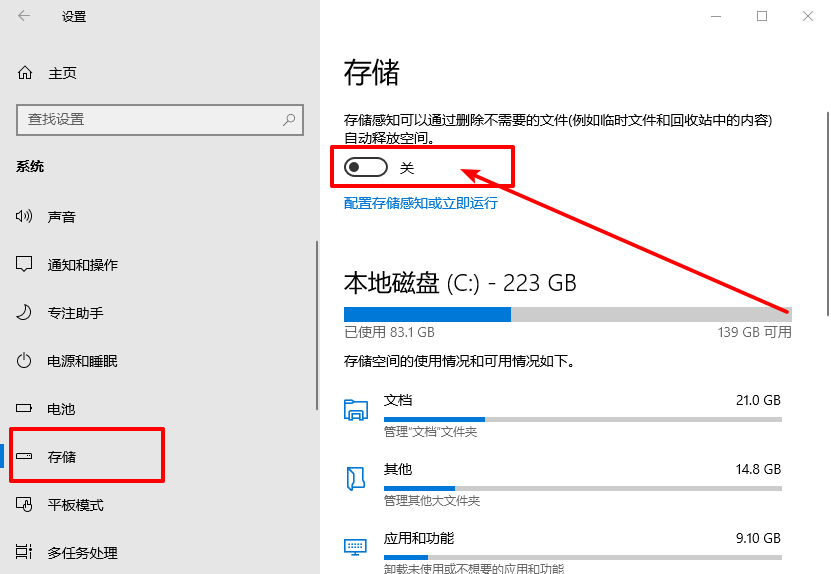
3、 then , Continue to click... Below “ Configure storage aware or run immediately ”
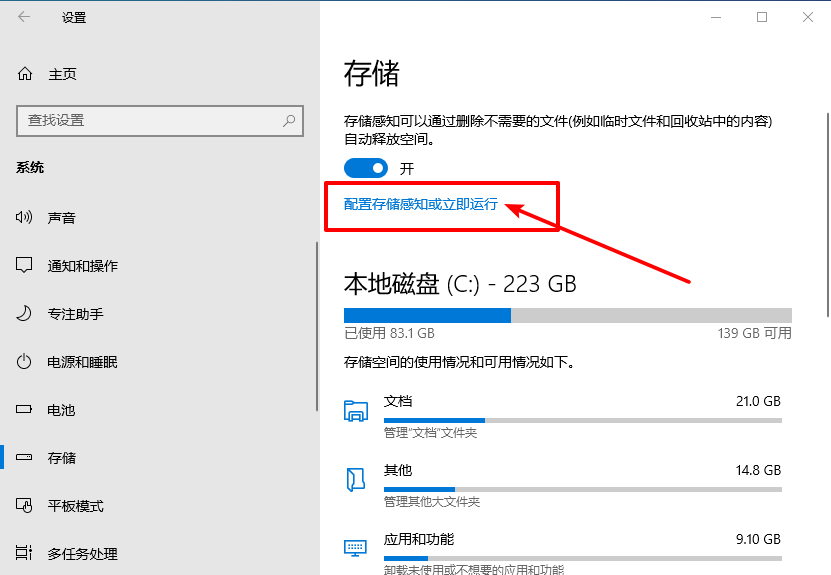
4、 Next , It can be set according to your own needs , For example, the operation of this function , How to handle temporary files, etc

Optimization setting III : Adjust visual effects
1、 Right click this computer , Click on “ attribute ”, Then continue to click “ Advanced system setup ”

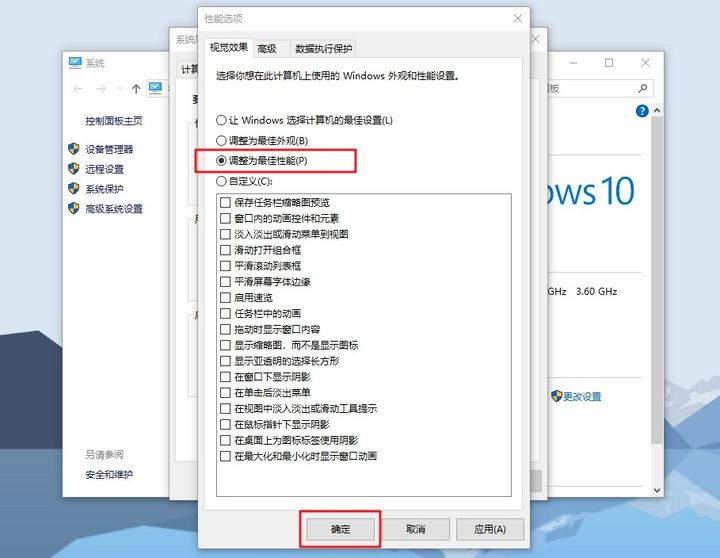
2、 The system properties window will pop up , Click to switch to “ senior ” tab , Click... In the performance bar “ Set up ”

3、 then , On the visual effects settings page , Click Select “ Adjust to best performance ”, Finally, click “ determine ” that will do
Optimization setting 4 : Close pop-up ads
1、 Enter and open... In the desktop search box “ Control panel ”
2、 In the control panel , After changing the view mode to large picture , Find and click “Internet Options ”

3、 open Internet After the property page , Click to switch to “ privacy ” tab , Check “ Enable pop up blocker ”, Click... On the right “ Set up ”

4、 After the setting window pops up , Set the block level to “ in ” level , Click on “ close ”
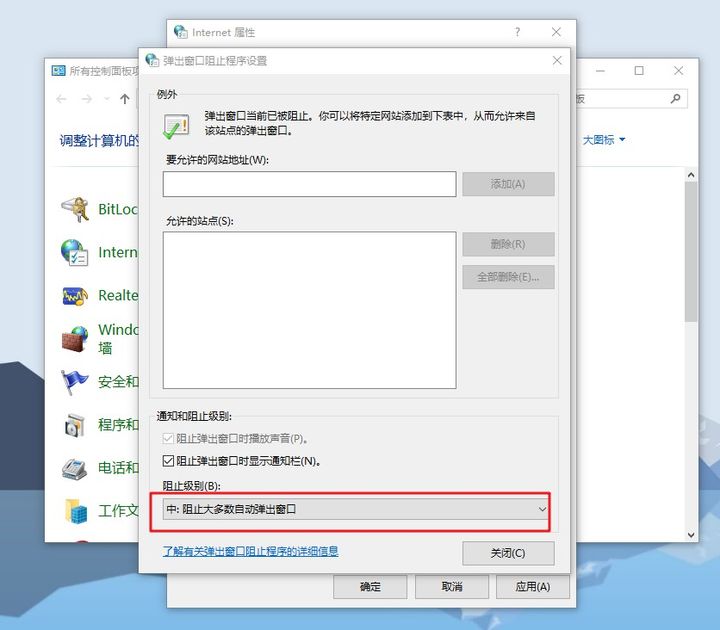
5、 go back to Internet Property page , Continue clicking “ determine ” Can be set

Optimization setting 5 : Release the network speed limit
1、 Press and hold at the same time “Win+R” Open the run window , Input “gpedit.msc” And click the “ determine ”

2、 After opening the local group policy editor window , Click... In turn according to the path “ Computer configuration ”-“ Manage templates ”-“ The Internet ”-“QoS Packet scheduler ”, Find and open on the right “ Limit the bandwidth that can be reserved ”

3、 When the settings window pops up , Click Modify as “ Enabled ”, It should be noted that win10 The system will generally default to the limit 20% Network speed , So we change the value to 0, Finally, click “ determine ” that will do

The computer starts up faster
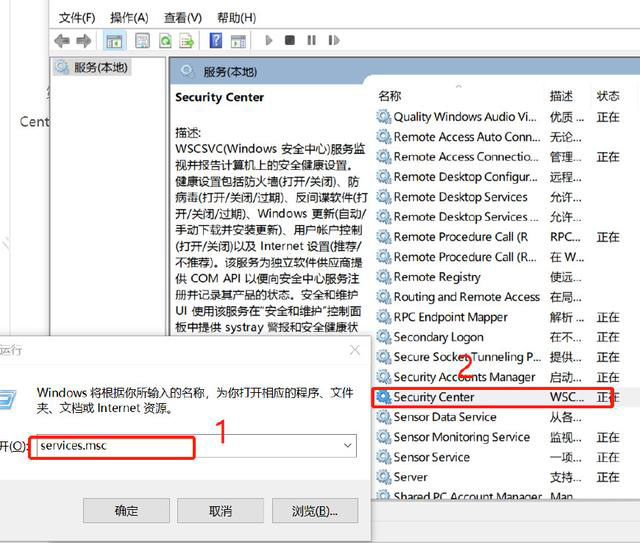
Method 1 、 Boot up to speed up : Keyboard press “WIN+R” Call up the run window , Then input “msconfig” Here's the picture , Click on ” service “ Check ” hide windows service , Remove all the checkmarks in the window


Two 、 Login acceleration : In the same way, call up the run window , The command to enter is “netplwiz” Then click OK , Remove from the user account window that appears “ Use this computer , You must log in with the login user name and password ” Checked by , Enter the current user name and password in the pop-up window , Then make sure it's OK , The next time you restart your computer, there will be no login window


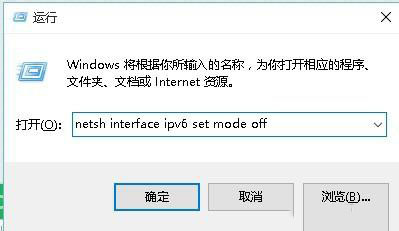
3、 ... and 、 Operation acceleration :win+r Input “netsh inteface ipv6 set mode off” This command is to close IPV6 service , The speed is greatly improved after closing , And the old version win10 Turn off the home group service , This feature has been removed in the new version , So no explanation .
Finally close services.msc After the service, restart the computer .
Method four 、 Requires quick start
1. Press win+r Key out “ function ” Type... In the input box “gpedit.msc” Press enter to call up “ Group Policy Editor ”

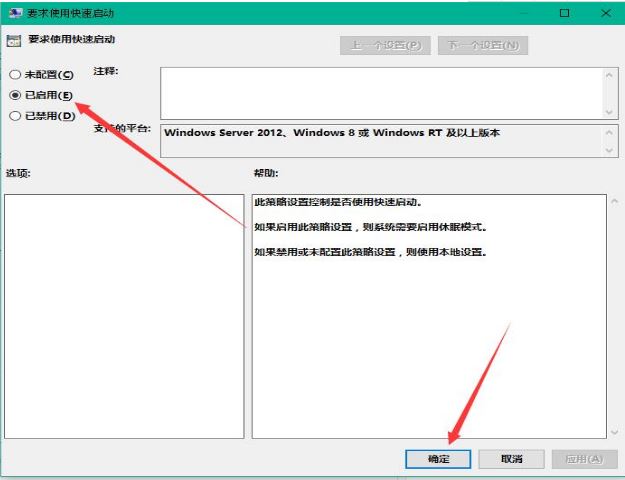
2. stay “ Local group policy editor ” In turn, open “ Computer configuration —— Management module —— System —— To turn it off ” Double click... On the right “ Requires quick start ”

3. Set the request to use quick start to “ Enabled ” Click ok
Method five 、 Set the default system boot
1. Right click on the desktop , Open properties , And then choose " Advanced system setup "

2. In the presence of system properties , Click on senior After that, click on startup and recovery settings

3. then , When the system comes out , The default operating system , Select the current system , Then remove the check box , Click ok

4. still win+r Input “msconfig” function The system configuration

5. In system configuration “ routine ” term , Check the option as follows

6. And then click “ guide ”, After switching , Choose your system , It's a dual system, so there are two , Click... As shown in the figure “ Advanced options ”, In the pop-up interface, check “ Number of processors ”, Click the drop-down arrow , Choose the largest number , Then click OK .

Accelerate networking
Method 1

Enter Device Manager - network adapter - with Wireless name - Right click Properties - take 2.4GHZ and 5GHZ Of " Automatically " Change to "20MHZ"

After setting up , Although the effect is improved by a little bit , But still no more than 50M This boundary , It doesn't meet my needs at all .
Method 2
------------------------------------------ The following methods have excellent visual results ------------------------------------
3、 ... and : For a long time
Finally, I checked the drive of the computer , self-discovering WIFI It can be updated , For the installation of Master Lu update driver I always remain skeptical , So I looked at my processor brand
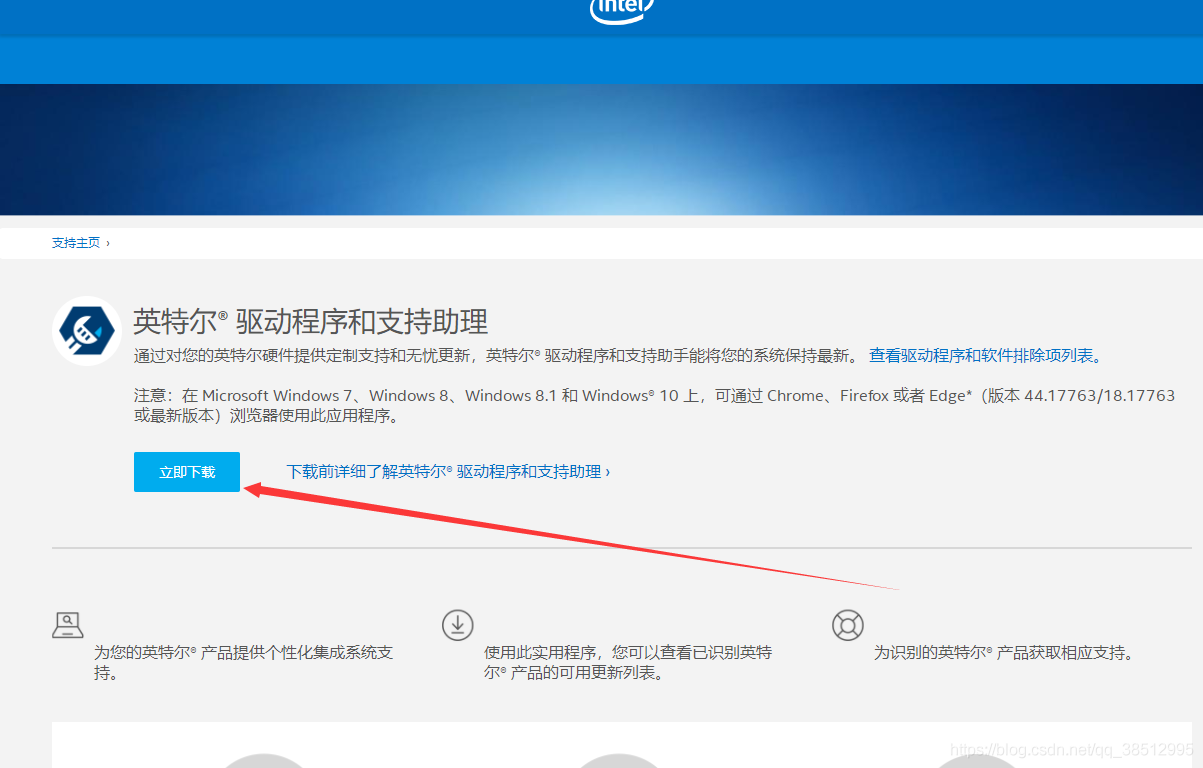
Obviously Intel Ex factory , Go directly to the official website to install the driver !!!!【 The version updated directly on the official website will be much better than that recommended by Master Lu 】
https://www.intel.cn/content/www/cn/zh/support/detect.html
Click download now , After downloading
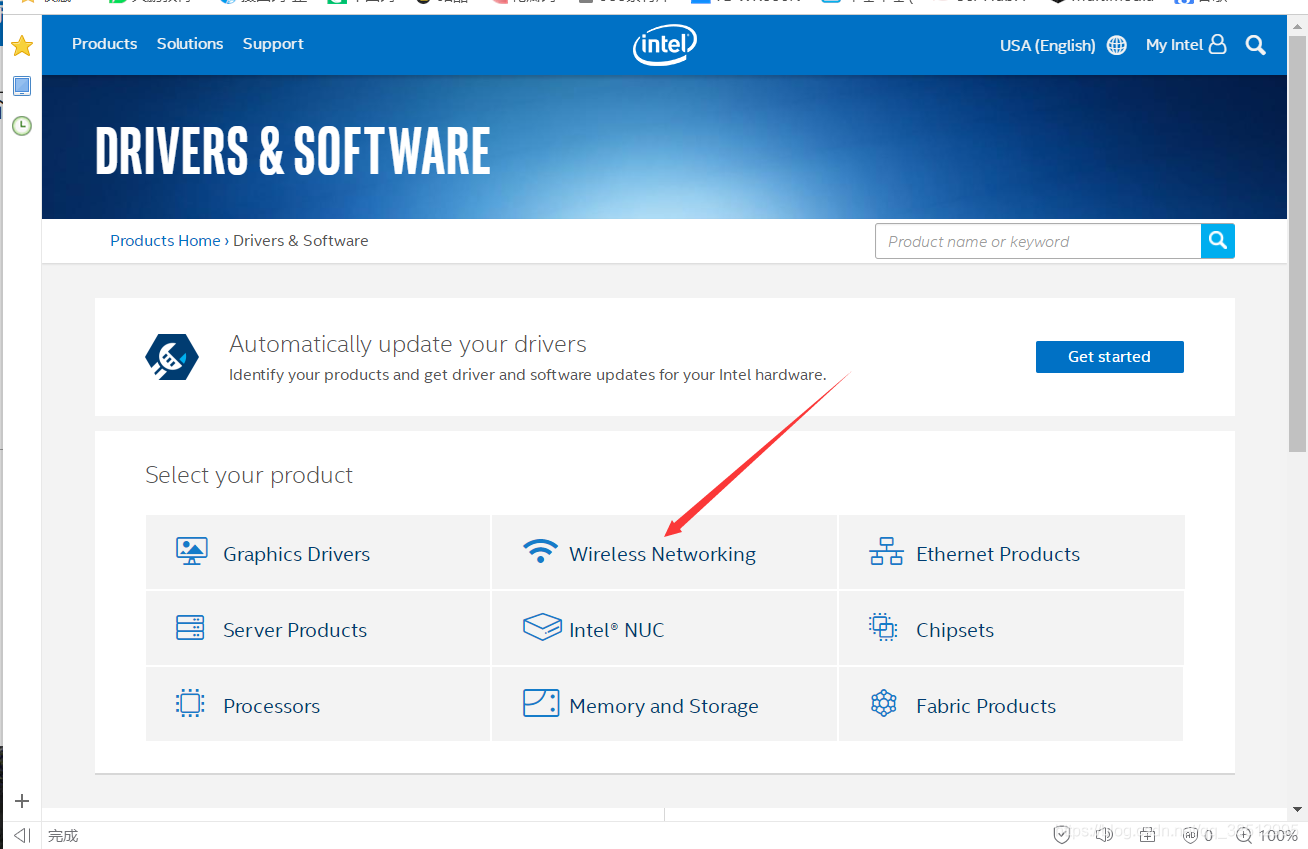
Let him install , Automatically match various configurations of your computer Perform automatic installation status , I'll probably wait 10-20 About minutes The match is successful , Locate the hidden
And carry on
Take yours. WIFI The driver is updated to the latest manufacturer
Update complete It may be disconnected
Here are
Before updating The network speed is unstable 5MB/s
After the update, the network speed is stable up to 10MB/s


![[data visualization] antv L7 realizes map visualization, drilldownlayer drill asynchronously obtains data, and suspends the warning box](/img/81/f8280f16efa314d736c3a869c32ef0.jpg)