当前位置:网站首页>OAuth2:搭建授权服务器
OAuth2:搭建授权服务器
2022-07-31 14:05:00 【Leon_Jinhai_Sun】
第一步就是最重要的,我们需要搭建一个验证服务器,它是我们进行权限校验的核心,验证服务器有很多的第三方实现也有Spring官方提供的实现,这里我们使用Spring官方提供的验证服务器。
这里我们将最开始保存好的项目解压,就重新创建一个新的项目,首先我们在父项目中添加最新的SpringCloud依赖:
<dependency>
    <groupId>org.springframework.cloud</groupId>
    <artifactId>spring-cloud-dependencies</artifactId>
    <version>2021.0.1</version>
    <type>pom</type>
    <scope>import</scope>
</dependency>接着创建一个新的模块auth-service,添加依赖:
<dependencies>
    <dependency>
        <groupId>org.springframework.boot</groupId>
        <artifactId>spring-boot-starter-web</artifactId>
    </dependency>

    <dependency>
        <groupId>org.springframework.boot</groupId>
        <artifactId>spring-boot-starter-security</artifactId>
    </dependency>

    <!--  OAuth2.0依赖,不再内置了,所以得我们自己指定一下版本  -->
    <dependency>
        <groupId>org.springframework.cloud</groupId>
        <artifactId>spring-cloud-starter-oauth2</artifactId>
        <version>2.2.5.RELEASE</version>
    </dependency>
</dependencies>
接着我们修改一下配置文件:
server:
  port: 8500
  servlet:
  	#为了防止一会在服务之间跳转导致Cookie打架(因为所有服务地址都是localhost,都会存JSESSIONID)
  	#这里修改一下context-path,这样保存的Cookie会使用指定的路径,就不会和其他服务打架了
  	#但是注意之后的请求都得在最前面加上这个路径
    context-path: /sso
接着我们需要编写一下配置类,这里需要两个配置类,一个是OAuth2的配置类,还有一个是SpringSecurity的配置类:
@Configuration
public class SecurityConfiguration extends WebSecurityConfigurerAdapter {

    @Override
    protected void configure(HttpSecurity http) throws Exception {
        http
                .authorizeRequests()
                .anyRequest().authenticated()  //
                .and()
                .formLogin().permitAll();    //使用表单登录
    }

    @Override
    protected void configure(AuthenticationManagerBuilder auth) throws Exception {
        BCryptPasswordEncoder encoder = new BCryptPasswordEncoder();
        auth
                .inMemoryAuthentication()   //直接创建一个用户,懒得搞数据库了
                .passwordEncoder(encoder)
                .withUser("test").password(encoder.encode("123456")).roles("USER");
    }

  	@Bean   //这里需要将AuthenticationManager注册为Bean,在OAuth配置中使用
    @Override
    public AuthenticationManager authenticationManagerBean() throws Exception {
        return super.authenticationManagerBean();
    }
}
@EnableAuthorizationServer //开启验证服务器
@Configuration
public class OAuth2Configuration extends AuthorizationServerConfigurerAdapter {
@Resource
private AuthenticationManager manager;
private final BCryptPasswordEncoder encoder = new BCryptPasswordEncoder();
/**
* 这个方法是对客户端进行配置,一个验证服务器可以预设很多个客户端,
* 之后这些指定的客户端就可以按照下面指定的方式进行验证
* @param clients 客户端配置工具
*/
@Override
public void configure(ClientDetailsServiceConfigurer clients) throws Exception {
clients
.inMemory() //这里我们直接硬编码创建,当然也可以像Security那样自定义或是使用JDBC从数据库读取
.withClient("web") //客户端名称,随便起就行
.secret(encoder.encode("654321")) //只与客户端分享的secret,随便写,但是注意要加密
.autoApprove(false) //自动审批,这里关闭,要的就是一会体验那种感觉
.scopes("book", "user", "borrow") //授权范围,这里我们使用全部all
.authorizedGrantTypes("client_credentials", "password", "implicit", "authorization_code", "refresh_token");
//授权模式,一共支持5种,除了之前我们介绍的四种之外,还有一个刷新Token的模式
//这里我们直接把五种都写上,方便一会实验,当然各位也可以单独只写一种一个一个进行测试
//现在我们指定的客户端就支持这五种类型的授权方式了
}
@Override
public void configure(AuthorizationServerSecurityConfigurer security) {
security
.passwordEncoder(encoder) //编码器设定为BCryptPasswordEncoder
.allowFormAuthenticationForClients() //允许客户端使用表单验证,一会我们POST请求中会携带表单信息
.checkTokenAccess("permitAll()"); //允许所有的Token查询请求
}
@Override
public void configure(AuthorizationServerEndpointsConfigurer endpoints) {
endpoints
.authenticationManager(manager);
//由于SpringSecurity新版本的一些底层改动,这里需要配置一下authenticationManager,才能正常使用password模式
}
}接着我们就可以启动服务器了:

然后我们使用Postman进行接口测试,首先我们从最简单的客户端模式进行测试,客户端模式只需要提供id和secret即可直接拿到Token,注意需要再添加一个grant_type来表明我们的授权方式,默认请求路径为http://localhost:8500/sso/oauth/token:

发起请求后,可以看到我们得到了Token,它是以JSON格式给到我们的:

我们还可以访问 http://localhost:8500/sso/oauth/check_token 来验证我们的Token是否有效:


可以看到active为true,表示我们刚刚申请到的Token是有效的。
接着我们来测试一下第二种password模式,我们还需要提供具体的用户名和密码,授权模式定义为password即可:

接着我们需要在请求头中添加Basic验证信息,这里我们直接填写id和secret即可:

可以看到在请求头中自动生成了Basic验证相关内容:


响应成功,得到Token信息,并且这里还多出了一个refresh_token,这是用于刷新Token的,我们之后会进行讲解。

查询Token信息之后还可以看到登录的具体用户以及角色权限等。
接着我们来看隐式授权模式,这种模式我们需要在验证服务器上进行登录操作,而不是直接请求Token,验证登录请求地址:http://localhost:8500/sso/oauth/authorize?client_id=web&response_type=token
注意response_type一定要是token类型,这样才会直接返回Token,浏览器发起请求后,可以看到熟悉而又陌生的界面,没错,实际上这里就是使用我们之前讲解的SpringSecurity进行登陆,当然也可以配置一下记住我之类的功能,这里就不演示了:

但是登录之后我们发现出现了一个错误:

这是因为登录成功之后,验证服务器需要将结果给回客户端,所以需要提供客户端的回调地址,这样浏览器就会被重定向到指定的回调地址并且请求中会携带Token信息,这里我们随便配置一个回调地址:
@Override
public void configure(ClientDetailsServiceConfigurer clients) throws Exception {
    clients
            .inMemory()
            .withClient("web")
            .secret(encoder.encode("654321"))
            .autoApprove(false)
            .scopes("book", "user", "borrow")
            .redirectUris("http://localhost:8201/login")   //可以写多个,当有多个时需要在验证请求中指定使用哪个地址进行回调
            .authorizedGrantTypes("client_credentials", "password", "implicit", "authorization_code", "refresh_token");
}
接着重启验证服务器,再次访问:

可以看到这里会让我们选择哪些范围进行授权,就像我们在微信小程序中登陆一样,会让我们授予用户信息权限、支付权限、信用查询权限等,我们可以自由决定要不要给客户端授予访问这些资源的权限,这里我们全部选择授予:

授予之后,可以看到浏览器被重定向到我们刚刚指定的回调地址中,并且携带了Token信息,现在我们来校验一下看看:

可以看到,Token也是有效的。
最后我们来看看第四种最安全的授权码模式,这种模式其实流程和上面是一样的,但是请求的是code类型:http://localhost:8500/sso/oauth/authorize?client_id=web&response_type=code
可以看到访问之后,依然会进入到回调地址,但是这时给的就是授权码了,而不是直接给Token,那么这个Token该怎么获取呢?

按照我们之前讲解的原理,我们需要携带授权码和secret一起请求,才能拿到Token,正常情况下是由回调的服务器进行处理,这里我们就在Postman中进行,我们复制刚刚得到的授权码,接口依然是localhost:8500/sso/oauth/token:

可以看到结果也是正常返回了Token信息:

这样我们四种最基本的Token请求方式就实现了。
最后还有一个是刷新令牌使用的,当我们的Token过期时,我们就可以使用这个refresh_token来申请一个新的Token:

但是执行之后我们发现会直接出现一个内部错误:


查看日志发现,这里还需要我们单独配置一个UserDetailsService,我们直接把Security中的实例注册为Bean:
@Bean
@Override
public UserDetailsService userDetailsServiceBean() throws Exception {
    return super.userDetailsServiceBean();
}
然后在Endpoint中设置:
@Resource
UserDetailsService service;

@Override
public void configure(AuthorizationServerEndpointsConfigurer endpoints) {
    endpoints
            .userDetailsService(service)
            .authenticationManager(manager);
}
最后再次尝试刷新Token:

OK,成功刷新Token,返回了一个新的。
边栏推荐
- Usage of += in C#
- C# using ComboBox control
- Resolved (pymysqL connect to the database error) pymysqL. Err. ProgrammingError: (1146, "Table" test. Students' doesn 't exist ")
- 拥塞控制,CDN,端到端
- IDEA连接MySQL数据库并使用数据
- MySQL [subquery]
- Linux bash: redis-server: command not found
- redhat/openssl generates a self-signed ca certificate and uses it
- 文本相似度计算(中英文)详解实战
- hyperf的启动源码分析(二)——请求如何到达控制器
猜你喜欢

技能大赛训练题:域用户和组织单元的创建

技能大赛训练题:登录安全加固
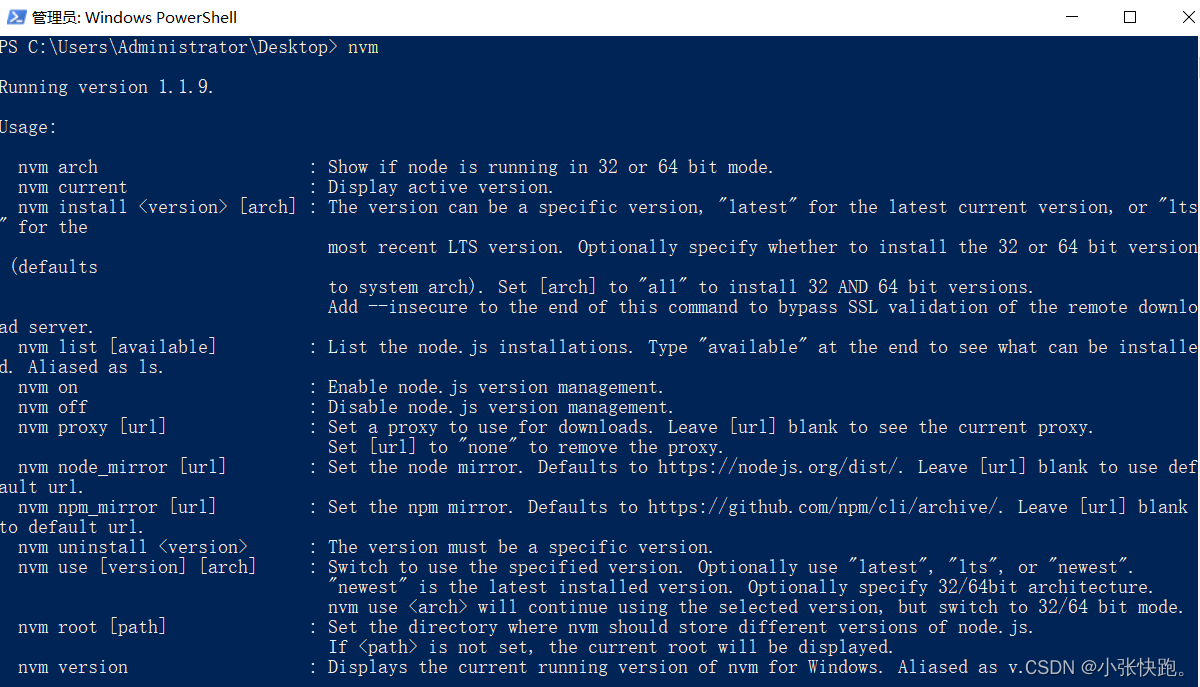
Node version switching management using NVM

SetoolKit使用指南

MySQL has played to such a degree, no wonder the big manufacturers are rushing to ask for it!

“听我说谢谢你”还能用古诗来说?清华搞了个“据意查句”神器,一键搜索你想要的名言警句...

Reasons and solutions for Invalid bound statement (not found)
一篇文章讲清楚!数据库和数据仓库到底有什么区别和联系?
Introduction to the PartImageNet Semantic Part Segmentation dataset

Error: npm ERR code EPERM
随机推荐
浏览器被hao360劫持解决办法
动作捕捉系统用于柔性机械臂的末端定位控制
jOOQ 3.14 released - SQL/XML and SQL/JSON support
C# control ToolStripProgressBar usage
Resnet&API
Comparison of Optical Motion Capture and UWB Positioning Technology in Multi-agent Cooperative Control Research
MySQL玩到这种程度,难怪大厂抢着要!
线程池的使用二
使用CompletableFuture进行异步处理业务
IDEA connects to MySQL database and uses data
49.【拷贝构造函数与重载】
Text similarity calculation (Chinese and English) detailed explanation of actual combat
AWS implements scheduled tasks - Lambda+EventBridge
技能大赛训练题:交换机的远程管理
[QNX Hypervisor 2.2用户手册]9.14 safety
LeetCode只出现一次的数字
The latest complete code: Incremental training using the word2vec pre-training model (two loading methods corresponding to two saving methods) applicable to various versions of gensim
Controller层代码这么写,简洁又优雅!
MySQL 23道经典面试吊打面试官
Redis 】 【 publish and subscribe message