当前位置:网站首页>MySQL详细安装与配置
MySQL详细安装与配置
2022-08-02 18:11:00 【Slcp】
MySQL详细安装与配置
前期准备
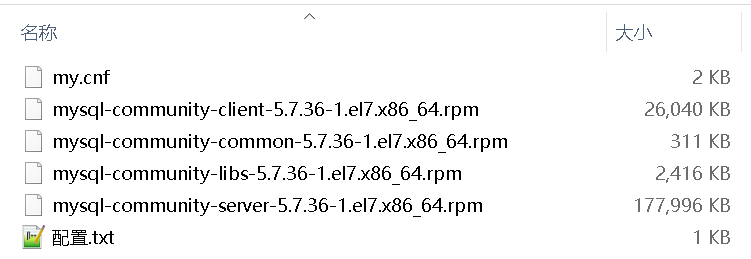
- 安装包
下载二进制安装所需的包
链接:https://pan.baidu.com/s/1azoIIZqVw948xLnew2TEJQ
提取码:g7pl
- 检查
执行rpm -ea | grep MySQL,查看服务器是否安装旧版本MySQL
使用命令rpm -e --node’s {-file-name}进行MySQL删除操作,移除的时候可能会有依赖,要注意一定的顺序。

发车
1、把mysql的安装包复制到linux中。

2、安装mysql
rpm -Uvh *.rpm --nodeps --force;
3、修改配置
安装完成之后,修改my.cnf,路径: /etc/my.cnf
文件已提供~
#推荐配置:在my.cnf文件最下面加上如下配置
lower_case_table_names = 1
sql_mode=STRICT_TRANS_TABLES,NO_ZERO_IN_DATE,NO_ZERO_DATE,ERROR_FOR_DIVISION_BY_ZERO,NO_AUTO_CREATE_USER,NO_ENGINE_SUBSTITUTION


max_connect_errors = 6000
interactive_timeout=7200
back_log=500
max_connections=3000
max_user_connections=300
skip-name-resolve
key_buffer_size=20480M
query_cache_size=512M
query_cache_type=1
read_buffer_size=32M
sort_buffer_size=32M
join_buffer_size =512M
read_rnd_buffer_size=32M
tmp_table_size=128M
thread_cache_size=128
max_allowed_packet=32M
binlog_cache_size = 4M
4、启动MySQL
启动:# service mysqld start
# 停止
service mysqld stop
#重启
service mysqld restart
5、查看临时密码
grep 'temporary password' /var/log/mysqld.log

6、登录mysql数据库
mysql -u root -p
#修改root密码
set password for [email protected]=password('[email protected]');
#退出mysql登录
exit
#mysql数据库默认是有密码复杂度验证的,如果不需要可以去掉:
#关闭密码复杂度验证
set global validate_password_policy=0;
#新密码长度大于等于1
set global validate_password_length=1;
7、授权root用户远程访问权限
#授权
grant all privileges on *.* to 'root'@'%' identified by '[email protected]';
#刷新操作
flush privileges;
#退出mysql然后重启mysql
exit
service mysqld restart;
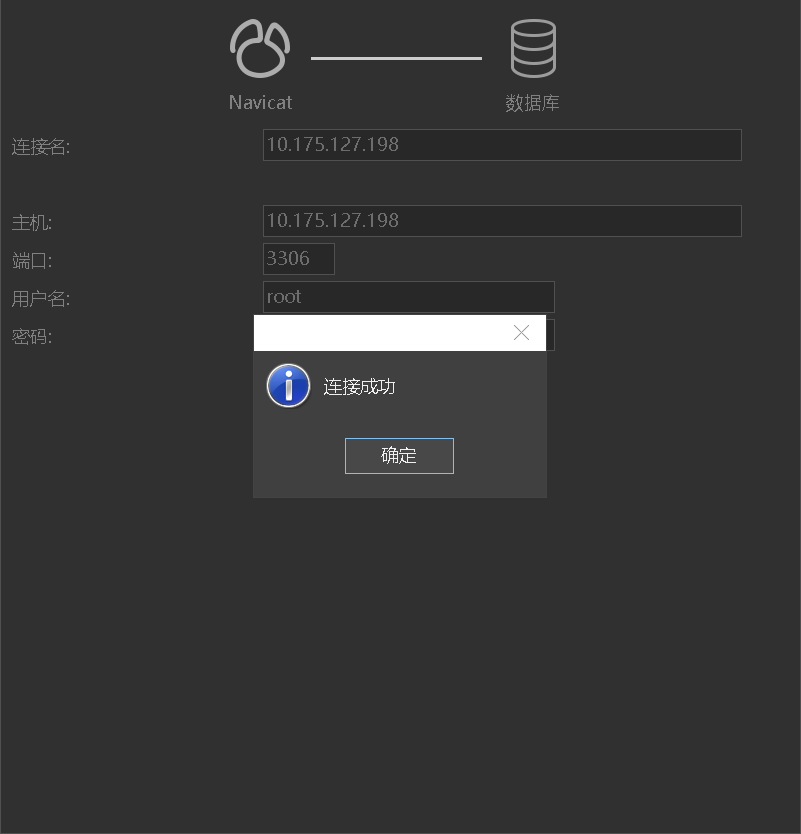
8、连接navicat
9、其他
#查看防火墙:
systemctl status firewalld.service;
#打开防火墙:
systemctl start firewalld.service;
#关闭防火墙:
systemctl stop firewalld.service;
#永久禁止防火墙:
systemctl disable firewalld.service;
#开启状态:active(running)
#关闭状态:disavtive(dead)
边栏推荐
猜你喜欢

Functional test points for time, here is a comprehensive summary for you

T5: Exploring the Limits of Transfer Learning with a Unified Text-to-Text Transformer
55.【sort函数的升序降序】

天翼云4.0来了!千城万池,无所不至!

针对时间的功能测试点,这里给你总结全面了

LeetCode 2353. 设计食物评分系统(sortedcontainers)
mongodb的游标

危及安全的常见物联网攻击有哪些?
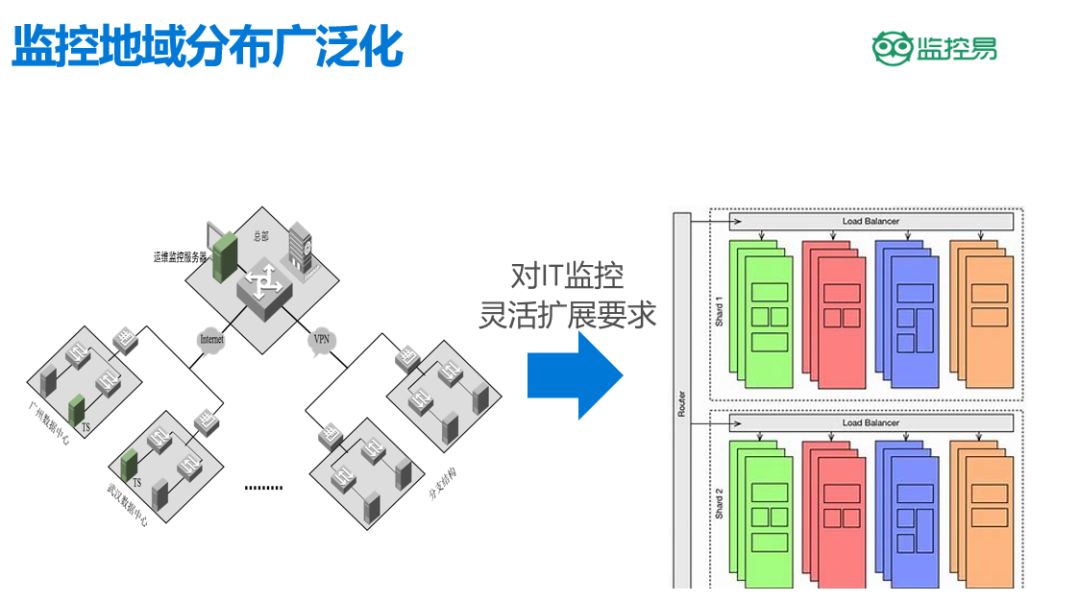
监控易火星版即将亮相:分布式运维帮助TOP3000大企业跨越管理鸿沟

sed 命令
随机推荐
How a "cloud" can bring about new changes in the industry
MySQL LIKE – 语法和用法示例教程
洛谷P5094 MooFest G 加强版
golang刷leetcode 字符串(4)逆波兰式
Monitor is easy to Mars debut: distributed operations help TOP3000 across management gap
请教下,1.0.0和1.0.2的底层数据库表结构有变化吗?
我的递归从不爆栈
指针常量和常量指针概述
Endanger the safety of common Internet attacks have?
在线文档Sheet技术解析
My recursive never burst stack
为何国内年轻人都抢购iPhone,因为它更实惠也更亲民
NIO基础之三大组件
仿制药的未来商机--个人研发的体会
sed 命令
cache2go-源码阅读
技术人生 | 如何画业务大图
千万级别的表分页查询非常慢,怎么办?
“12306”的架构到底有多牛逼?
golang刷leetcode 经典(4) 实现跳表