当前位置:网站首页>[flower carving experience] 12 build the Arduino development environment of esp32c3
[flower carving experience] 12 build the Arduino development environment of esp32c3
2022-06-30 07:59:00 【Lvyou flower carving】
1、 Connect ESP32-C3 and PC, Installation driver (CH343)
(1)WCH Download driver on official website
https://www.wch.cn/downloads/CH343SER_EXE.html

(2) Run the setup


(3) Check the port (COM and LPT)
take ESP32-C3 Development board through USB Line access PC The computer
This computer —— Right mouse button —— management —— Device manager —— port

Tips: :
There are many reasons for not being recognized , First, you can change the computer USB Interface , Second, pay attention to replacement Type-C Interface USB Connecting line , Because the interface may be in poor contact , or USB The quality of the connecting wire is poor , Try again until you can effectively identify the development board .
2、 Debugging assistant through serial port , Validate development board
(1) Search in Microsoft app store : Serial debugging assistant , And install ( You can also use other debugging assistants )

(2) Open the serial debugging assistant , The baud rate is set to 921600, The character is encoded as GB2312 GBK, The pronunciation is simplified Chinese

(3) Open the serial port , You can see ESP32-C3 Some basic information about the development board
By chance , each ESP32-C3 All have their own Mac code , This is a 6055f9774244
(4) send out ok, Can enter the Luatos Home page

(5) send out 2.2, Get into [PWM Output ]

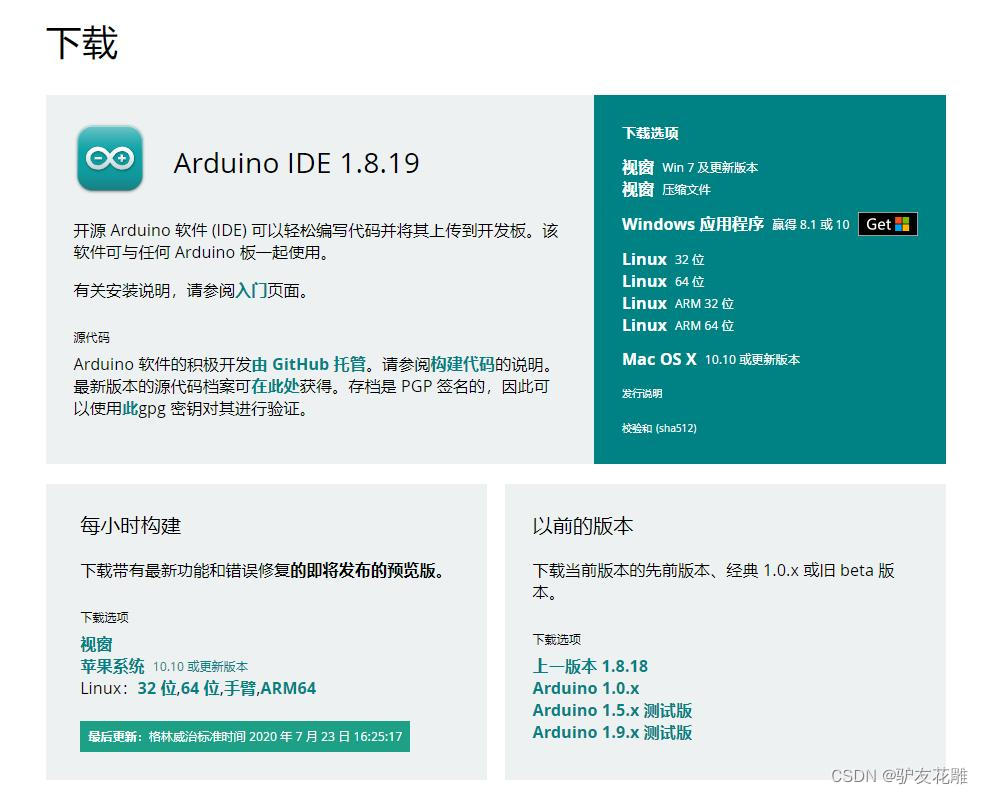
3、 Download and install Arduino IDE( Those already installed can be skipped )
https://www.arduino.cc/en/software
4、 add to ESP32C3 Development board
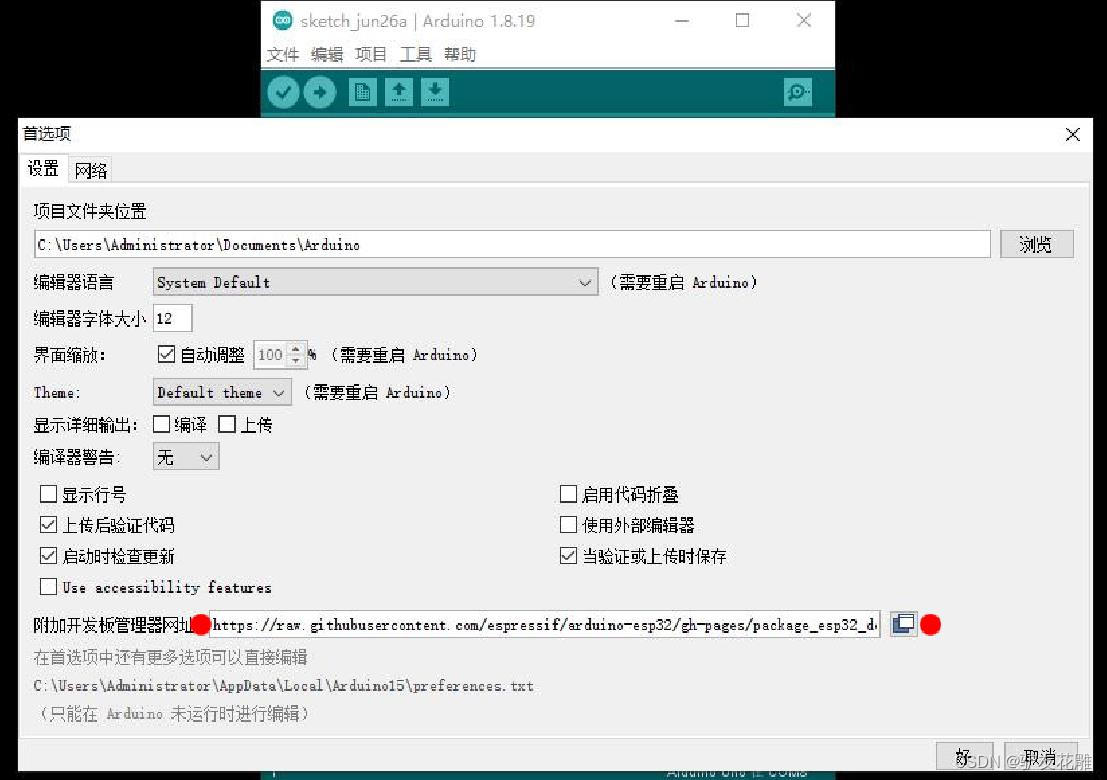
(1) open Arduino IDE, Click on the top left “ file >> Preferences ”, stay “ Add development board manager website ” Fill in... In the column :
https://raw.githubusercontent.com/espressif/arduino-esp32/gh-pages/package_esp32_dev_index.json
(2) Open the development board Manager , Search for “ESP32”, Select the version here “2.0.2” updated ( It was installed ESP32, Seems to be 1.0.6)


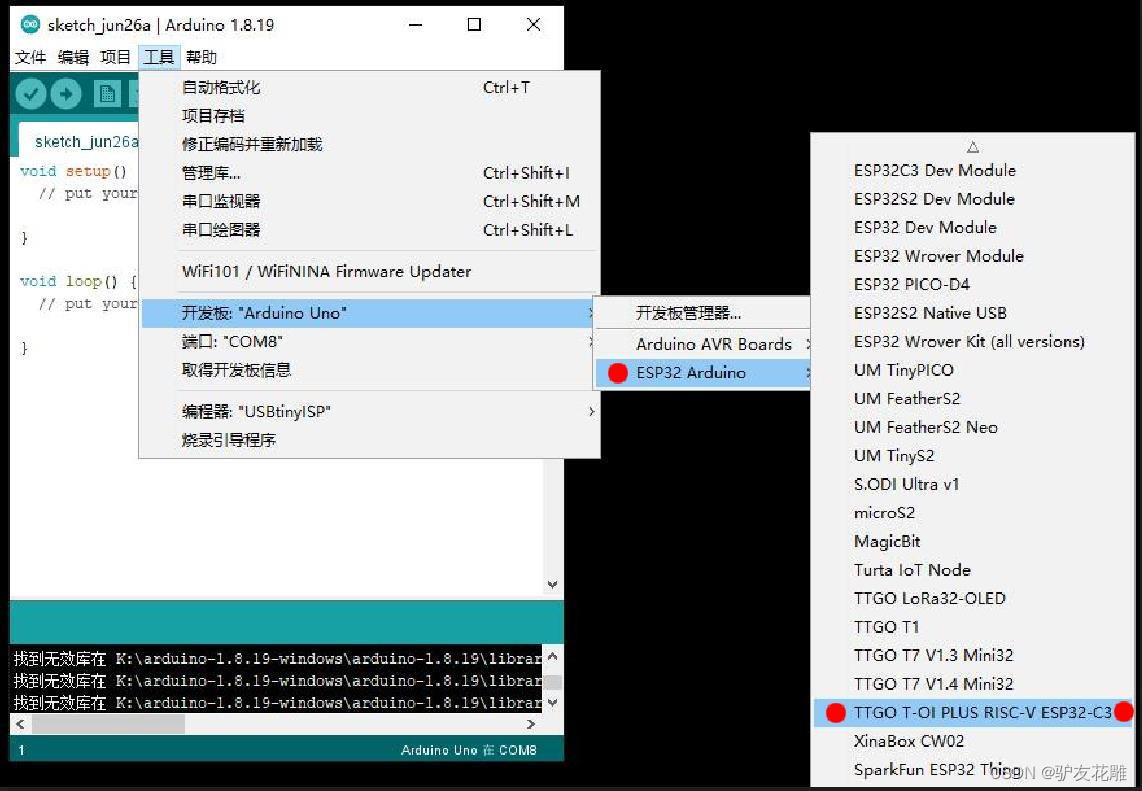
(3) Choose development board , Here's the choice “RISC-V ESP32-C3”
(4)Flash Mode choice “DIO”

(5) The final configuration is shown in Figure

5、 Burn test program
(1) The test program : Fast flashing double LED The lamp , Serial output “ Hezhou ESP32-C3 Development board ”
/*【 Flower carving experience 】12  build ESP32C3 And Arduino development environment   The test program : Fast flashing double LED The lamp , Serial output “ Hezhou ESP32-C3 Development board ” */

#define LED_D4 12
#define LED_D5 13

void setup() {

  Serial.begin(115200);
  pinMode(LED_D4, OUTPUT);
  pinMode(LED_D5, OUTPUT);
}

void loop() {

  Serial.println("Hello world!");
  Serial.println(" Hezhou ESP32-C3 Development board ");
  Serial.println("");

  digitalWrite(LED_D4, LOW);
  digitalWrite(LED_D5, HIGH);
  delay(100);
  digitalWrite(LED_D4, HIGH);
  digitalWrite(LED_D5, LOW);
  delay(100);
}
(2) Upload successful ( Relevant progress and other information )

(3) Experimental serial port return

(4) Experimental scene

(5) Test experiment video
https://v.youku.com/v_show/id_XNTg4MTA5NDkzNg==.html?spm=a2hcb.playlsit.page.1
边栏推荐
- Development technology sharing of Jingtan NFT digital collection system
- Full stack performance testing theory - Summary
- Why don't you know what to do after graduation from university?
- 期末複習-PHP學習筆記3-PHP流程控制語句
- July 30, 2021 [wgs/gwas] - whole genome analysis process (Part I)
- Self study notes -- use of 74h573
- 【花雕体验】14 行空板pinpong库测试外接传感器模块(之一)
- February 14, 2022 [reading notes] - life science based on deep learning Chapter 2 Introduction to deep learning (Part 1)
- Summary and common applications of direction and angle operators in Halcon
- Introduction notes to pytorch deep learning (XII) neural network - nonlinear activation
猜你喜欢

CRM&PM如何帮助企业创造最优销售绩效

Deep learning - bounding box prediction

Deep learning - goal orientation
![November 9, 2020 [wgs/gwas] - whole genome analysis (association analysis) process (Part 2)](/img/21/ad74700921ee0ef7a1525dd7db0683.jpg)
November 9, 2020 [wgs/gwas] - whole genome analysis (association analysis) process (Part 2)
深度学习——Bounding Box预测

鲸探NFT数字臧品系统开发技术分享
![2021-10-29 [microbiology] qiime2 sample pretreatment form automation script](/img/4d/3a3d645a27c3561c3ebe20dcd8e142.jpg)
2021-10-29 [microbiology] qiime2 sample pretreatment form automation script

期末复习-PHP学习笔记5-PHP数组

National technology n32g45x series about timer timing cycle calculation

Deep learning -- using word embedding and word embedding features
随机推荐
vulfocus入门靶机
Deep learning - bounding box prediction
期末复习-PHP学习笔记2-PHP语言基础
[tensorflow GPU] building of deep learning environment under windows11
Deep learning -- using word embedding and word embedding features
AcrelEMS能效管理平台为高层小区用电安全保驾护航
1163 Dijkstra Sequence
【花雕体验】14 行空板pinpong库测试外接传感器模块(之一)
深度学习——嵌入矩阵and学习词嵌入andWord2Vec
Deep learning - networks in networks and 1x1 convolution
The counting tool of combinatorial mathematics -- generating function
Self study notes -- use of 74h573
Analysis of cross clock transmission in tinyriscv
Tencent and Fudan University "2021-2022 yuan universe report" with 102 yuan universe collections
Projection point of point on line
安科瑞高等学校校园建筑节能监管系统建设
Hit the industry directly | the flying propeller launched the industry's first model selection tool
TP5 set direct download file
Efga design open source framework fabulous series (I) establishment of development environment
Efga design open source framework openlane series (I) development environment construction