当前位置:网站首页>- heavy OpenCV 】 【 mapping
- heavy OpenCV 】 【 mapping
2022-08-04 01:04:00 【I love to learn】
1、重映射的概念
重映射是把一幅图像中某位置的像素放置到另一个图片指定位置的过程.In order to complete the heavy mapping process,需要获得一些插值为非整数像素的坐标,Because the source image and the target image pixel coordinates is not one-to-one.如下:
g ( x , y ) = f ( h ( x , y ) ) g(x,y)=f(h(x,y)) g(x,y)=f(h(x,y))
g()是目标图像,f()是源图像,而h(x,y)是作用于(x,y)的映射方法函数.
2、实现重映射:remap()函数
remap()函数会根据指定的映射形式,将源图像进行重映射几何变换:
d s t ( x , y ) = s r c ( m a p x ( x , y ) , m a p y ( x , y ) ) dst(x,y)=src(mapx(x,y),mapy(x,y)) dst(x,y)=src(mapx(x,y),mapy(x,y))
void remap(InputArray src,OutputArray dst,InputArray map1,InputArray map2,int interpolation,intborderMode=BORDER_CONSTANT,const Scalar& borderValue=Scalar())
- 第一个参数:输出图像
- 第二个参数:函数调用后的运算结果存在这里,即这个参数用于存放函数调用后的输出结果,需和源图片有一样的尺寸和类型
- 第三个参数:InputArray类型的 map1,有两种可能的表示对象
- 表示点(x,y)The first mapping
- 表示CV_16SC2,CV_32FC1,CV_32FC2类型的X值
- 第四个参数:InputArray类型的 map2,有两种可能的表示对象
- 若map1表示点(x,y)时,这个参数不代表任何值
- 表示CV_16UC1,CV_32FC1类型的Y值
- 第五个参数:int 类型的interpolation,插值方式,The selected interpolation method is as follows:
- INTER_NEAREST——最近邻插值
- INTER_LINEAR——双线性插值(默认值)
- INTER_CUBIC——双三次样条插值
- INTER_LANCZOS4——Lanczos插值
- 第六个参数:边界模式
- 第七个参数:const Scalar&类型的borderValue,When there is a constant boundary value used,其默认值Scalar(),即默认值为0
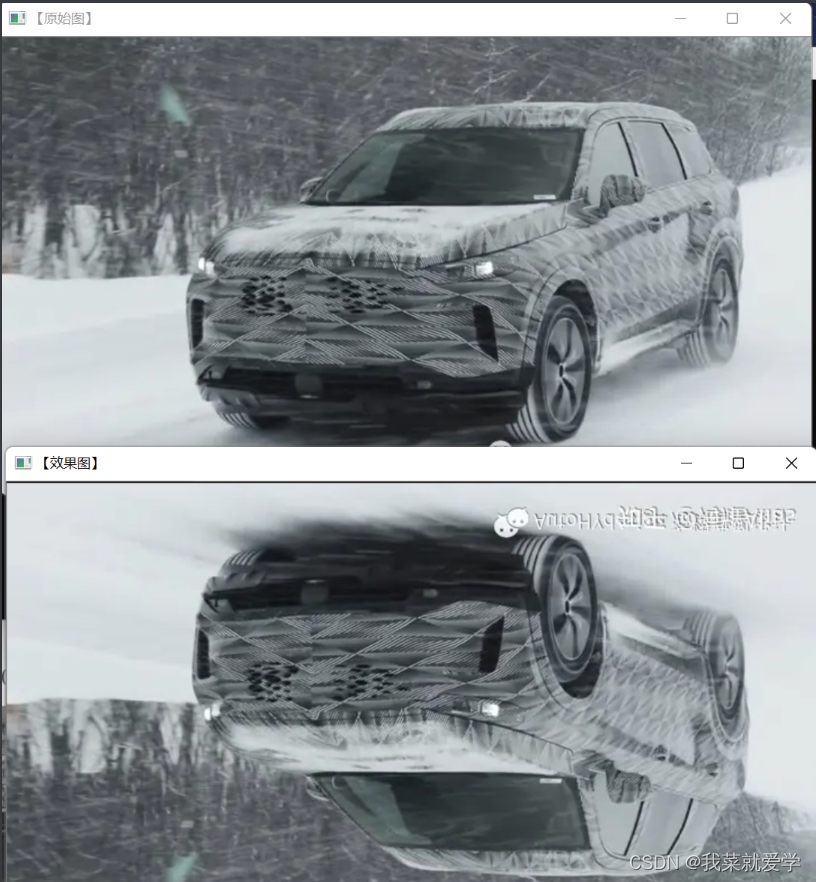
3、基本重映射
说明:The following is streamlined toremapFunction as the core of the sample program
#include<opencv2/opencv.hpp>
#include<opencv2/imgproc/imgproc.hpp>
#include<opencv2/highgui/highgui.hpp>
#include<iostream>
using namespace std;
using namespace cv;
int main()
{

	Mat srcImage, dstImage;
	Mat map_x, map_y;
	//载入原始图像
	srcImage = imread("E:\\Pec\\car.jpg", 1);
	imshow("【原始图】", srcImage);
	//创建和原始图一样的效果图,x重映射图,y重映射图
	dstImage.create(srcImage.size(), srcImage.type());
	map_x.create(srcImage.size(), CV_32FC1);
	map_y.create(srcImage.size(), CV_32FC1);
	//双层循环,遍历每一个像素点,改变map_x和Map_y
	for (int j = 0; j < srcImage.rows; j++)
	{

		for (int i = 0; i < srcImage.cols; i++)
		{

            //通过at获取像素值
			map_x.at<float>(j, i) = static_cast<float>(i);
			map_y.at<float>(j, i) = static_cast<float>(srcImage.rows-j);
		}
	}
	//进行重映射
	remap(srcImage, dstImage, map_x, map_y, INTER_LINEAR, BORDER_CONSTANT, Scalar(0, 0, 0));
	imshow("【效果图】", dstImage);

	waitKey(0);
}
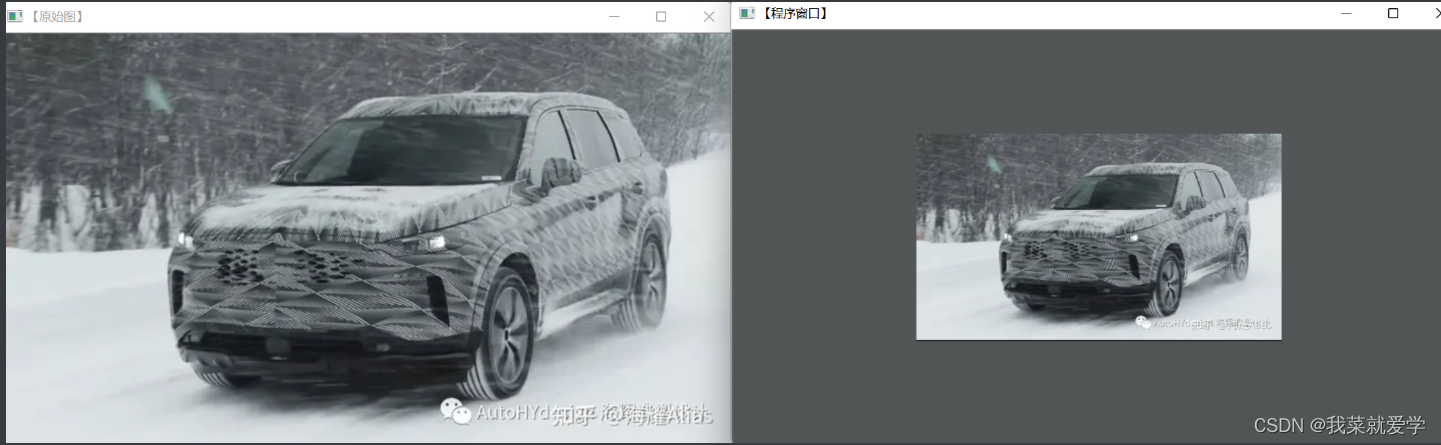
4、To realize the multiple mapping
#include<opencv2/opencv.hpp>
#include<opencv2/imgproc/imgproc.hpp>
#include<opencv2/highgui/highgui.hpp>
#include<iostream>
using namespace std;
using namespace cv;
#define WINDOW_NAME "【程序窗口】"
Mat g_srcImage, g_dstImage;
Mat g_map_x, g_map_y;
int update_map(int key);
static void ShowHelpText();
int main()
{
system("color 2F");
ShowHelpText();
//载入原始图像
g_srcImage = imread("E:\\Pec\\car.jpg", 1);
imshow("【原始图】", g_srcImage);
//创建和原始图一样的效果图,x重映射图,y重映射图
g_dstImage.create(g_srcImage.size(), g_srcImage.type());
g_map_x.create(g_srcImage.size(), CV_32FC1);
g_map_y.create(g_srcImage.size(), CV_32FC1);
namedWindow(WINDOW_NAME, WINDOW_AUTOSIZE);
imshow(WINDOW_NAME, g_srcImage);
while (1)
{
int key = waitKey(0);
if ((key & 255) == 27)
{
cout << "程序退出......" << endl;
break;
}
update_map(key);
//According to press the keyboard keys to updatemap_x & map_y的值,然后调用remap()进行重映射
remap(g_srcImage, g_dstImage, g_map_x, g_map_y, INTER_LINEAR, BORDER_CONSTANT, Scalar(0, 0, 0));
imshow(WINDOW_NAME, g_dstImage);
}
return 0;
}
int update_map(int key)
{
//双层循环,遍历每一个像素点,改变map_x和Map_y
for (int j = 0; j < g_srcImage.rows; j++)
{
for (int i = 0; i < g_srcImage.cols; i++)
{
switch (key)
{
case '1'://按键1按下,For the first mapping operation
if (i > g_srcImage.cols*0.25&&i<g_srcImage.cols*0.75&&j>g_srcImage.rows*0.25&&j < g_srcImage.rows*0.75)
{
g_map_x.at<float>(j, i) = 2 * (i - g_srcImage.cols*0.25) + 0.5;
g_map_y.at<float>(j, i) = 2 * (j - g_srcImage.rows*0.25) + 0.5;
}
else
{
g_map_x.at<float>(j, i) = 0;
g_map_y.at<float>(j, i) = 0;
}
break;
case '2': //按键2按下,For the second mapping operation
g_map_x.at<float>(j, i) = static_cast<float>(i);
g_map_y.at<float>(j, i) = static_cast<float>(g_srcImage.rows - j);
break;
case '3':
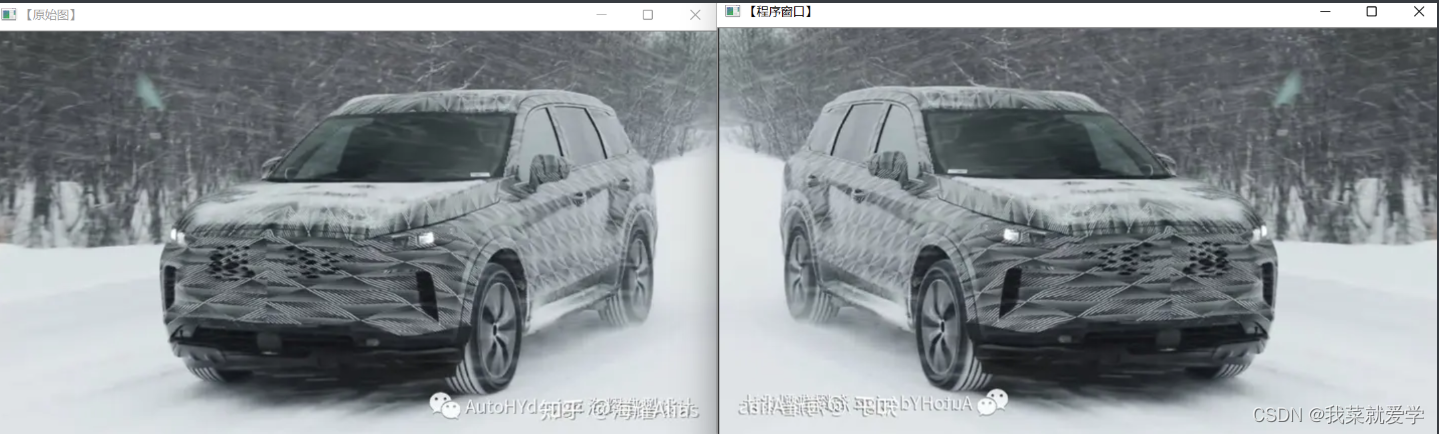
g_map_x.at<float>(j, i) = static_cast<float>(g_srcImage.cols-i);
g_map_y.at<float>(j, i) = static_cast<float>(j);
break;
case '4':
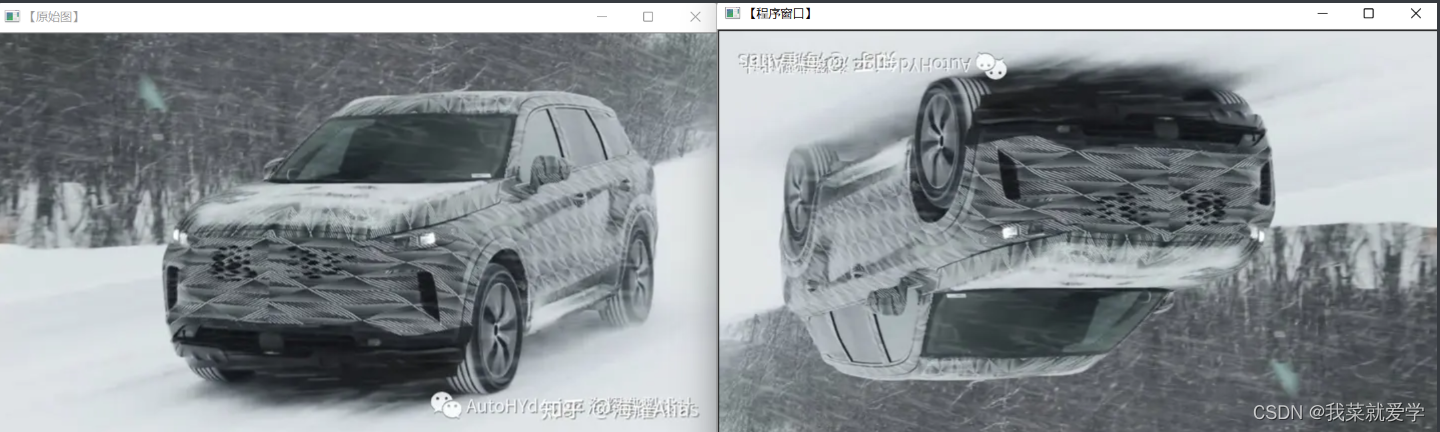
g_map_x.at<float>(j, i) = static_cast<float>(g_srcImage.cols - i);
g_map_y.at<float>(j, i) = static_cast<float>(g_srcImage.rows - j);
break;
}
}
}
return 1;
}
static void ShowHelpText()
{
cout << "\n\n\n\t欢迎来到重映射示例程序\n";
cout << "\n\n\n\tKeystrokes as follows:" ;
cout << "\n\n\n\t键盘按下【ESC】-退出程序" ;
cout << "\n\n\n\t键盘按下【1】-第一种映射方式,缩小2倍" ;
cout << "\n\n\n\t键盘按下【2】-第二种映射方式,y方向翻转" ;
cout << "\n\n\n\t键盘按下【3】-第三种映射方式,x方向反转" ;
cout << "\n\n\n\t键盘按下【4】-第四种映射方式,x,y方向反转" ;
}
第一种映射方式,缩小2倍
第二种映射方式,y方向翻转

第三种映射方式,x方向反转
第四种映射方式,x,y方向反转
边栏推荐
猜你喜欢
Deng Qinglin, Alibaba Cloud Technical Expert: Best Practices for Disaster Recovery across Availability Zones and Multiple Lives in Different Locations on the Cloud
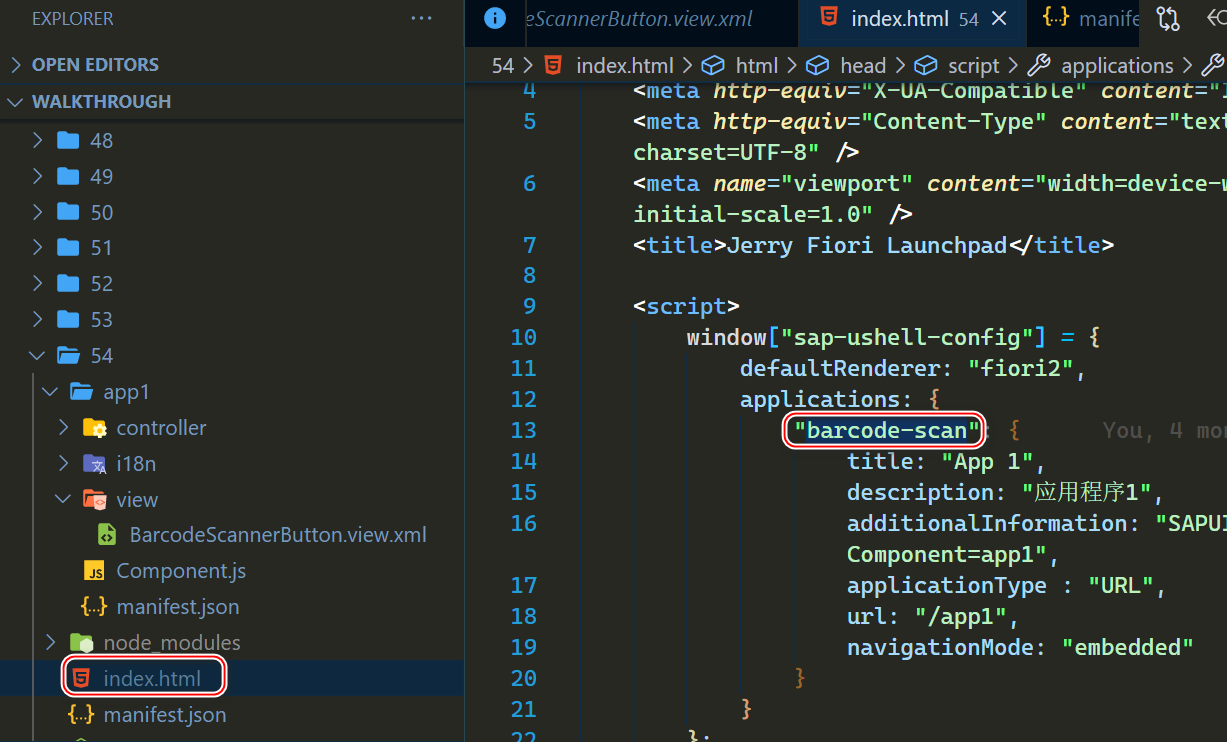
114. 如何通过单步调试的方式找到引起 Fiori Launchpad 路由错误的原因
C语言 函数递归
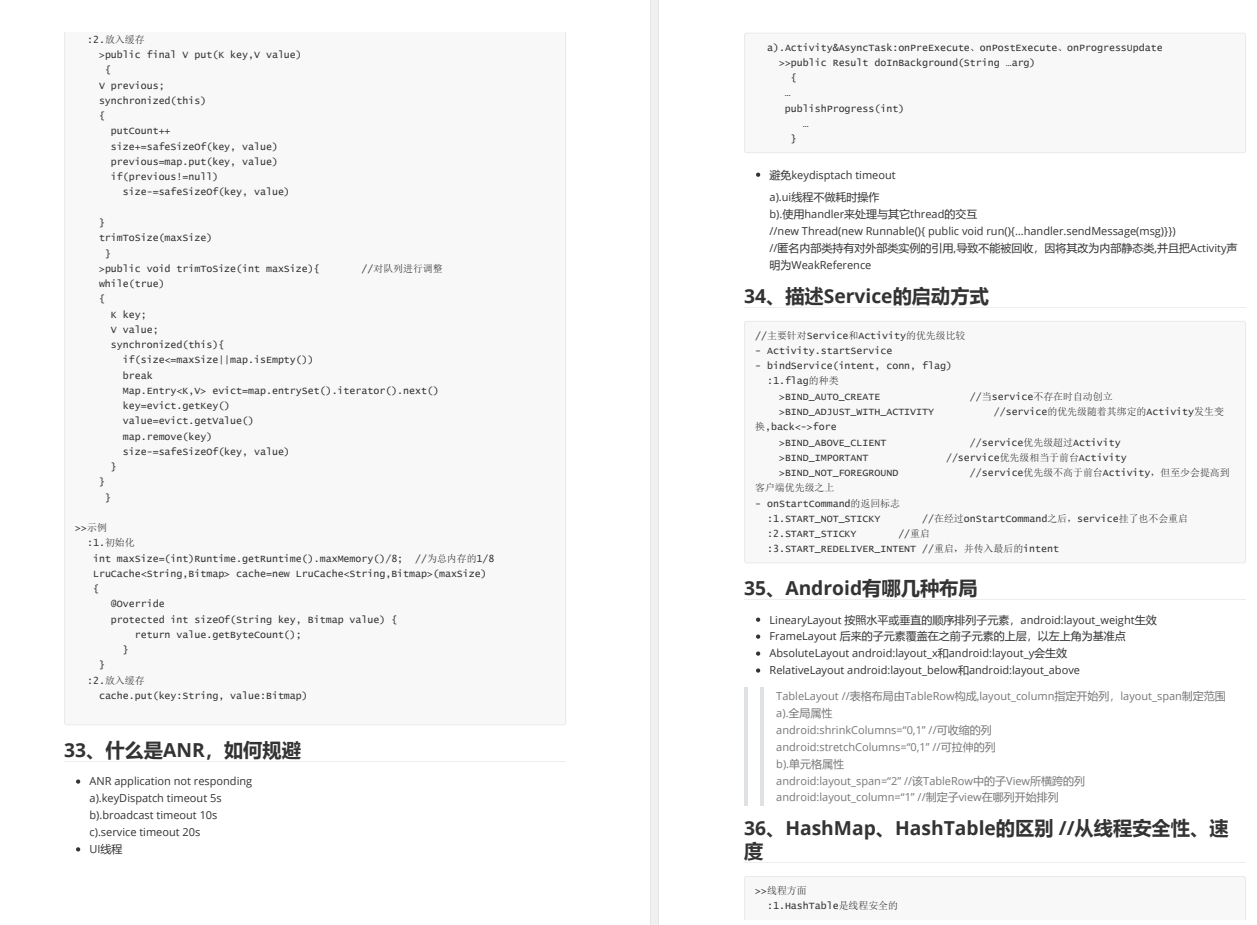
2022年上半年各大厂Android面试题整理及答案解析(持续更新中......)
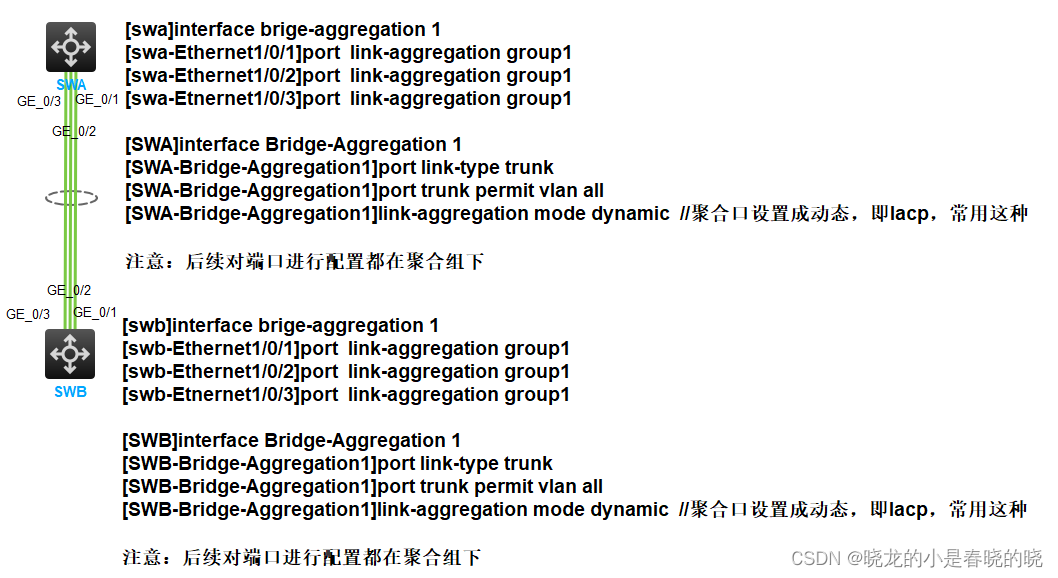
【链路聚合原理及配置】

Vant3—— 点击对应的name名称跳转到下一页对应的tab栏的name的位置

Web3 security risks daunting?How should we respond?
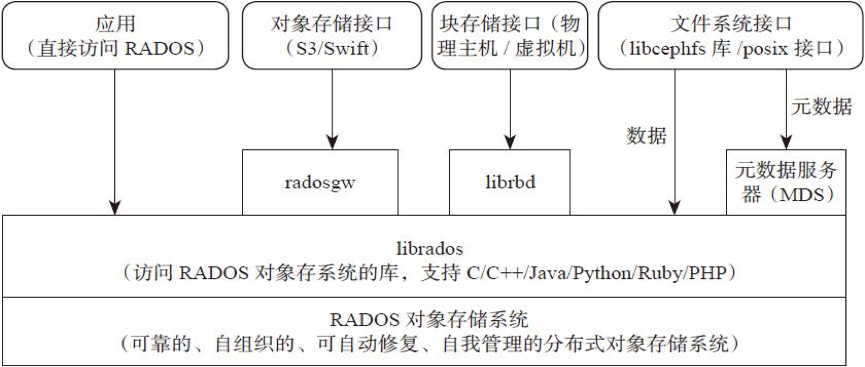
一文参透分布式存储系统Ceph的架构设计、集群搭建(手把手)

Observability:你所需要知道的关于 Syslog 的一些知识
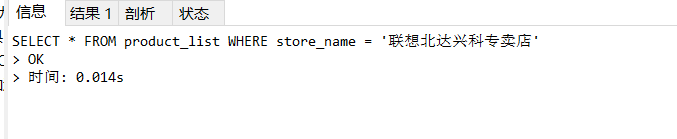
咱们500万条数据测试一下,如何合理使用索引加速?
随机推荐
教你如何定位不合理的SQL?并优化之
typescript55-泛型约束
Analysis: What makes the Nomad Bridge hack unique
typescript52 - simplify generic function calls
Android interview questions and answer analysis of major factories in the first half of 2022 (continuously updated...)
iframe通信
How to find the cause of Fiori Launchpad routing errors by single-step debugging
Mvc, Mvp and Mvvm
哎,又跟HR在小群吵了一架!
面试必问的HashCode技术内幕
[store mall project 01] environment preparation and testing
LDO investigation
跨域问题解决方式 代理服务器
LeetCode third topic (the Longest Substring Without Repeating Characters) trilogy # 3: two optimization
nodeJs--async/await
静态文件快速建站
typescript56-泛型接口
【详细教程】一文参透MongoDB聚合查询
新一代服务网关Gateway的实践笔记
KunlunBase 1.0 发布了!