Hello everyone , I'm Qiu Feng , stay Last one As mentioned in Three.js The goal of the series and Baoke dream game , So let's pass today Three.js Let's talk about perspective following in the game . Believe me, readers play some games more or less , For example, the glory of the king 、 The Jedi survive 、 Baokemeng 、 zelda 、 Games like proto God . So do you know what perspective they are ? Do you know the difference between the first person perspective and the third person perspective ? How can we achieve this effect through code ? If you are curious about the above questions , And can't completely answer . Then please follow me and look down .
Explain from a perspective
First, let's look at the first person perspective 、 The concept of third person perspective . In fact, for us first person and third person , Is very familiar with , The first person is to tell a thing in his own voice , For example, autobiographies are written in this form , The third person is a bystander , For example, many novels , It's all because of him (xxx) To expand the , The audience looked at the whole story from the perspective of God . The corresponding first person perspective 、 The third person perspective is the same concept , It's just visual . So they have the above differences ? The point of first person perspective is that it can bring maximum immersion to players , From a first person perspective “ I ” To observe the scenes and pictures , It can make players feel the details more carefully , The most common is something like Jedi survival 、 The best flying car or something .

The first person perspective also has its limitations . The player's vision is limited , Can't see a wider view . The other is that the first person perspective will bring “3D Dizziness ”. When the reaction speed is not as fast as the lens speed, it will cause dizziness . What about the third person perspective ? His advantage is freedom , vision , Character movement and perspective are separate , One is used to manipulate the direction of the character , The other is used to control the direction of vision .

Its disadvantage is that it can't focus well on the local , It's easy to miss details . But overall , At present, most games provide switching between two perspectives to meet different situations . For example, in absolute survival, we usually walk and follow the movement from the perspective of the third person , When shooting, you usually use the first person perspective . Okay , So far, we have known the first person perspective 、 Third person perspective, respective concepts 、 difference . Then let's take the third person perspective as an example , How can we achieve such an effect ?( When the third person is written , With a little modification, it can become the first person , So take the more complex third person as an example ) It takes a few steps to put the elephant in the fridge ? The three step ! Open the refrigerator , Put the elephant in the refrigerator , Turn off the fridge. . Obviously, it's hard to put an elephant in the fridge , But from a macro point of view , Three steps . Therefore, we also divide the realization of the function of third person perspective into three steps :
Step split
The following steps will not contain any code , Please feel free to use :1. We all know how the characters move in the physical world , We move by our legs , He started to move . What about this process from a more macro point of view ? In fact, if from outside the earth , From a further point of view , We move more like translational changes . In the same way , We represent motion in the computer, that is, we use translation change . The details of translation and change are familiar to everyone before , What if I'm not familiar with it now , It doesn't matter , First look at the coordinate axis below .( The side length of the small square is 1)

Small squares from A1 Move position to position A2 It's translation , If expressed in mathematical expression, it is

What do you mean by that ? That is to say, we let all the smaller ones in the small square x Add to the value 2, and y The value of does not change . Let's take some random values to verify . for example A1 Position square , The lower left corner is (0,0), Through the above changes , It becomes (2, 0), Let's come. A2 In the middle, the new position of the small square is (2, 0); Then use the... In the upper right corner (1,1) Plug in , Discovery becomes (3,1), It's the same as where we actually moved . So there is no problem with the above formula . But then , We think that the formula like the above is a little less general . As for why it is not general enough , In a later series of articles, we will explain in detail , Because there are other changes involved , For example, rotation 、 The zoom , They can all be described by a matrix , Therefore, if the translation can also be expressed in the form of matrix , Then the whole problem becomes simple , in other words : Movement changes = Matrix change Let's see what it looks like to turn the initial formula into a matrix :

You can briefly explain how the matrix on the right comes from

This part in the upper left corner is called the identity matrix , hinder 2 0 Is the translation change we need , As for why from 2 Dimension becomes 3 dimension , It is because of the introduction of the concept of a homogeneous matrix . Same principle , Analogous to 3 dimension , We need to use 4 D matrix . So , We use a series of examples , The final conclusion you want to get is , All sports are Matrix change .

2. We all know that the camera faces the person , In the real world, our vision is limited , It's the same in computers . Suppose our vision in the computer is 3 * 3 Of the lattice , Let's take the previous axis as an example , The yellow area is the visible area of our field of vision :

Now let's move the small piece to the right 3 A unit of , Then move online 1 A unit of .

At this time, we will find , We can't see this small piece in our field of vision . Just imagine , We are playing a shooting game , The enemy moved in front of him , What will we do to find it ? you 're right , We'll spin our heads , Thus exposing the enemy to our view . Just like this. :

Now the enemy is locked , It can always make the characters appear in our field of vision and remain relatively stationary .3. The lens is at the same distance from the character. It is not enough to have the lens facing the character , We also have to keep our lens at the same distance from the characters . Why do you say that , First of all, let's take an example of our coordinate axis , But this time we will expand one z Axis : Then let's take a look at the normal plane screenshot

Screenshot :

Now let's move our small pieces to -Z Move 1 A unit of :

Screenshot :

At this time, we found that the small square became smaller , And follow the small square to -z The more you move in the direction , The small pieces we see will get smaller and smaller . At this time, we have not changed our perspective , But it still can't track small pieces well . So we need to move the position for our perspective , When we can't see a distant road sign , What will we do ? you 're right , Get closer !

Screenshot :
perfect ! Now let's explain in three directions , The function of realizing a third person perspective is realized theoretically !

Code
We only need to follow the above theory , Just implement the code , Code can't be the way we implement it in another language , Knowing the principle is very simple .1. Initialize canvas scene
<canvas class="webgl"></canvas>
...
<script>
//  Create a scene
const scene = new THREE.Scene()
//  Add the camera
const camera = new THREE.PerspectiveCamera(75, sizes.width / sizes.height);
camera.position.y = 6;
camera.position.z = 18;
const controls = new OrbitControls(camera, canvas)
controls.enableDamping = true; //  Set the damping , Need to be in  update  call
scene.add(camera);
//  Rendering
const renderer = new THREE.WebGLRenderer({
    canvas
})
renderer.setSize(sizes.width, sizes.height)
renderer.setPixelRatio(Math.min(window.devicePixelRatio, 2))
renderer.render(scene, camera);
</script>
scene 、 The camera 、 Renderers are fixed things , This section does not mainly explain , It can be understood as some necessary statements during the initialization of our project . At this time, we open the page , It's a dark piece , For beauty , I added a floor to the whole scene .
// Set the floor
const geometry = new THREE.PlaneGeometry(1000, 1000, 1, 1);
// Floor mapping
const floorTexture = new THREE.ImageUtils.loadTexture( '12.jpeg' );
floorTexture.wrapS = floorTexture.wrapT = THREE.RepeatWrapping;
floorTexture.repeat.set( 10, 10 );
// Floor material
const floorMaterial = new THREE.MeshBasicMaterial({
map: floorTexture,
side: THREE.DoubleSide
});
const floor = new THREE.Mesh(geometry, floorMaterial);
// Set the floor position
floor.position.y = -1.5;
floor.rotation.x = - Math.PI / 2;
scene.add(floor);
`
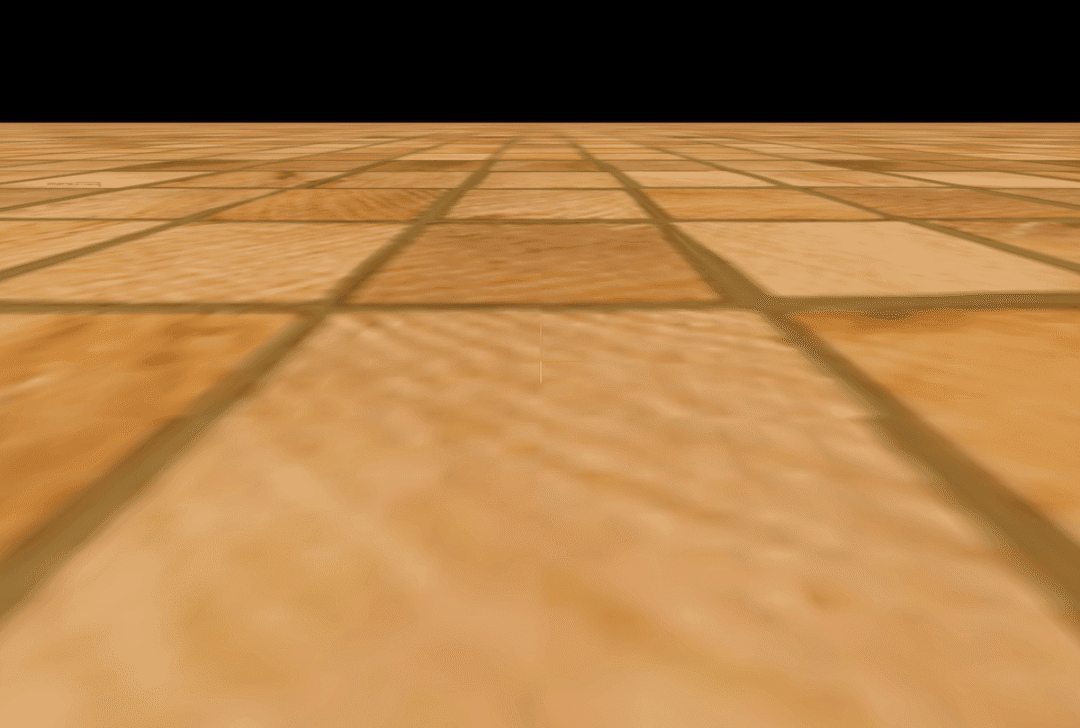
The picture is good at this time \~2. Character movement basis theory , We need to add a character , This is just for convenience , Or add a small square :
//  Small slider
const boxgeometry = new THREE.BoxGeometry(1, 1, 1);
const boxMaterials = [];
for (let i = 0; i < 6; i++) {
    const boxMaterial = new THREE.MeshBasicMaterial({
        color: Math.random() * 0xffffff,
    });
    boxMaterials.push(boxMaterial);
}
//  A small piece
const box = new THREE.Mesh(boxgeometry, boxMaterials);
box.position.y = 1;
box.position.z = 8;

scene.add(box);
To look good , I added six different colors to the small piece .

Although it still looks a little crude , The plain way of cooking is often the most common saying . Small pieces are small , But all the five internal organs . Now we render the small pieces , All you have to do is bind shortcuts .

Corresponding code :
//  Control code
const keyboard = new THREEx.KeyboardState();
const clock = new THREE.Clock();
const tick = () => {
    const delta = clock.getDelta();
    const moveDistance = 5 * delta;
    const rotateAngle = Math.PI / 2 * delta;

    if (keyboard.pressed("down"))
        box.translateZ(moveDistance);
    if (keyboard.pressed("up"))
        box.translateZ(-moveDistance);
    if (keyboard.pressed("left"))
        box.translateX(-moveDistance);
    if (keyboard.pressed("right"))
        box.translateX(moveDistance);

    if (keyboard.pressed("w"))
        box.rotateOnAxis( new THREE.Vector3(1,0,0), rotateAngle);
    if (keyboard.pressed("s"))
        box.rotateOnAxis( new THREE.Vector3(1,0,0), -rotateAngle);
    if (keyboard.pressed("a"))
        box.rotateOnAxis( new THREE.Vector3(0,1,0), rotateAngle);
    if (keyboard.pressed("d"))
        box.rotateOnAxis( new THREE.Vector3(0,1,0), -rotateAngle);

    renderer.render(scene, camera)
    window.requestAnimationFrame(tick)
}
tick();
Here's an explanation translateZ、translateX, These two functions are literally , Go to z Axis and x Axis movement , If you want to move forward , Just go -z Axis movement , If it's to Left is to -x Axis movement .clock.getDelta () What does that mean ? In short .getDelta () The function of the method is to obtain the time interval between the first and second execution of the method . For example, we want to be in 1 Move forward in seconds 5 A unit of , But direct movement must be stiff , So we want to add animation . We know that in order to achieve smooth animation , Usually through the browser APIrequestAnimationFrame Realization , The browser controls the rendering frequency , Generally, when the performance is ideal , Per second s Rendering 60 Times or so , In the actual project , If the scene to be rendered is complex , Generally lower than 60, That is, the time interval between two rendered frames is greater than 16.67ms. So in order to move this 5 A unit of , We will the distance of each frame to move , Split here 60 In the second rendering . Finally, let's talk about rotateOnAxios, This is mainly used to control The rotation of the small box .
.rotateOnWorldAxis ( axis : Vector3, angle : Float ) : this axis -- A standardized vector in world space .
angle -- angle , Expressed in radians .
3. The camera and the characters review the theoretical part simultaneously , Our last step is to make the camera ( The human eye ) Being relatively stationary with an object , That is, the distance remains the same .
const tick = () => {
  ...
  const relativeCameraOffset = new THREE.Vector3(0, 5, 10);

  const cameraOffset = relativeCameraOffset.applyMatrix4( box.matrixWorld );

  camera.position.x = cameraOffset.x;
  camera.position.y = cameraOffset.y;
  camera.position.z = cameraOffset.z;
  //  Always let the camera look at the object
  controls.target = box.position;
  ...
}
There is a core point here is relativeCameraOffset.applyMatrix4( box.matrixWorld ); In fact, we talked about this in the theoretical part , Because the underlying principle of our object movement is to make matrix changes , So I want to make the camera ( The human eye ) The distance from the object remains the same , We just need to make the camera ( The human eye ) Make the same changes as objects . And in the Three.js All the changes of the object itself are recorded in .matrix Inside , As long as the external scene does not change , that .matrixWorld Is equal to .matrix . and applyMatrix4 Multiplication means multiplication .

Effect demonstration
In this way, I finally realized the whole function ! See you next time !

Source code address :https://github.com/hua1995116...
Conclusion
️ Focus on + give the thumbs-up + Collection + Comment on + forward ️, Originality is not easy. , Encourage the author to create better articles
Official account Notes of autumn wind , One focused on front-end interviews 、 engineering 、 The official account of open source front-end public


