当前位置:网站首页>Jetson Nano 2GB Developer Kit Installation Instructions
Jetson Nano 2GB Developer Kit Installation Instructions
2022-08-02 05:23:00 【hello689】
目录
使用Jetson Nano开发者套件
如果使用JetsonRacer AI Kit的话,First you need to assemble the cart,This step of assembling the car is also relatively simple,You can refer to the official website for the car assemblypdf文档即可.
链接地址:
- https://www.waveshare.net/w/upload/9/96/Jetracer_pro_Assembly_CN.pdf

The assembled car: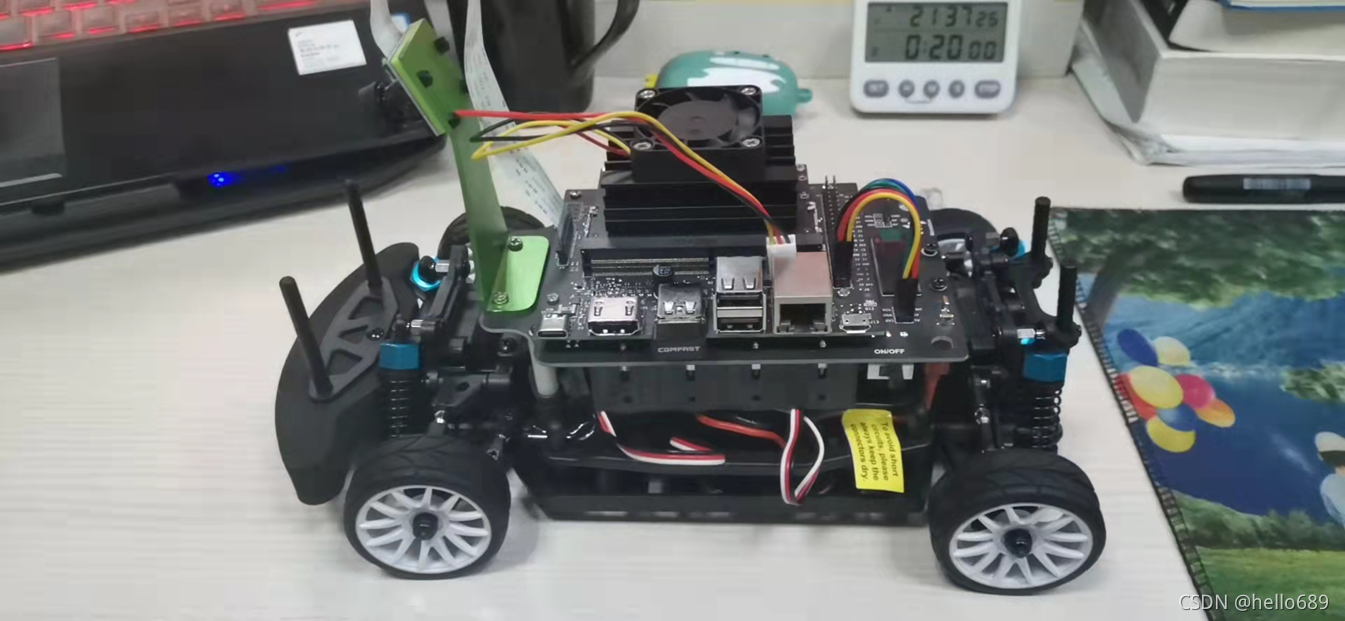
1. 安装镜像
准备工作
- Jetson Nano The developer kit will be microSD The card is used as a boot device and main memory.A high-capacity fast memory card is generally provided(64 GB内存卡).
- 下载 Jetson Nano 开发者套件 SD 卡镜像,And keep an eye on where it's saved on your computer.
镜像文件地址,It is recommended not to download the latest mirror.
将镜像写入microSD卡
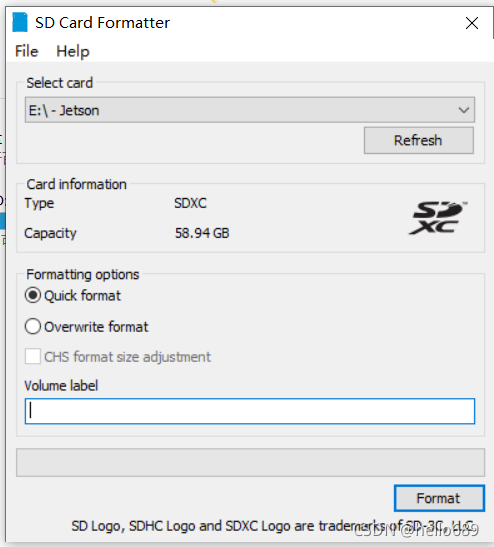
如果不是第一次使用SD卡,SDThere are other files on the card,Please make a backup first,然后格式化SD卡.使用 SD 协会的 SD Memory Card Formatter 格式化 microSD 卡.
- 下载、安装并启动 Windows 版 SD Memory Card Formatter
- Select the card drive
- 选择“Quick format”(快速格式化)
- 将“Volume label”(卷标)留空
- 单击“Format”(格式化)开始格式化,然后在警告对话框中单击“Yes”(是)
Next select Yes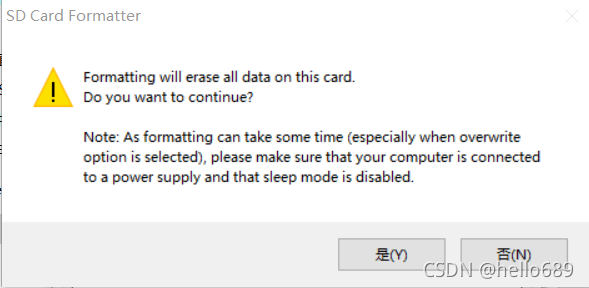
Writing of image files
- 下载、安装并启动Etcher

- 单击“Select image”(选择镜像),Then select the compressed image file you downloaded earlier
- 插入 microSD 卡(If not already inserted)
- 单击“Select drive”(选择驱动器),and select the correct device

- 单击“Flash!”(闪存!).如果 microSD 卡通过 USB3 连接,Etcher Write and verify approx 10 分钟
- Etcher 操作完成后,Windows 可能会提示您它不知如何读取 SD 卡.此时只需单击“Cancel”(取消),然后删除 microSD 卡即可.

2. 安装和首次启动
将 microSD 卡(已写入系统映像)插入 Jetson Nano in the slot on the underside of the module.(SDThe card slot is locatedJetson NanoThe back of the core board)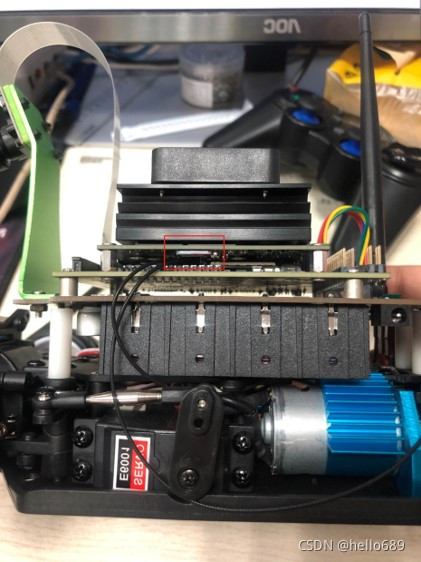
There are two ways to interact with the developer kit:
- monitor is connected、Interact with keyboard and mouse;
- by connecting to another computer,在“无外设模式”下进行交互.
You can do the initial setup in any of the ways above.
image source: https://developer.nvidia.com/embedded/learn/get-started-jetson-nano-devkit#setup
Perform initial settings with a monitor connected
- Turn on the computer monitor and connect it.
- 连接 USB 键盘和鼠标.
- 连接 Micro-USB 电源(或查看 Jetson Nano Developer Kit User Guide,for details on using DC power with barrel socket connectors).The developer kit will automatically power up and start.
首次启动
Once the developer kit is powered up,Micro-USB Green next to the interface LED The light will come on.首次启动时,You need to follow the developer kit's instructions,Complete some initial setup,包括:
- 查看并接受 NVIDIA Jetson 软件 EULA

- 选择系统语言、Keyboard layout and time zone
- 创建用户名、password and computer name

- Select the app partition size,The recommended maximum size is recommended
After logging in you will see the interface as shown.恭喜!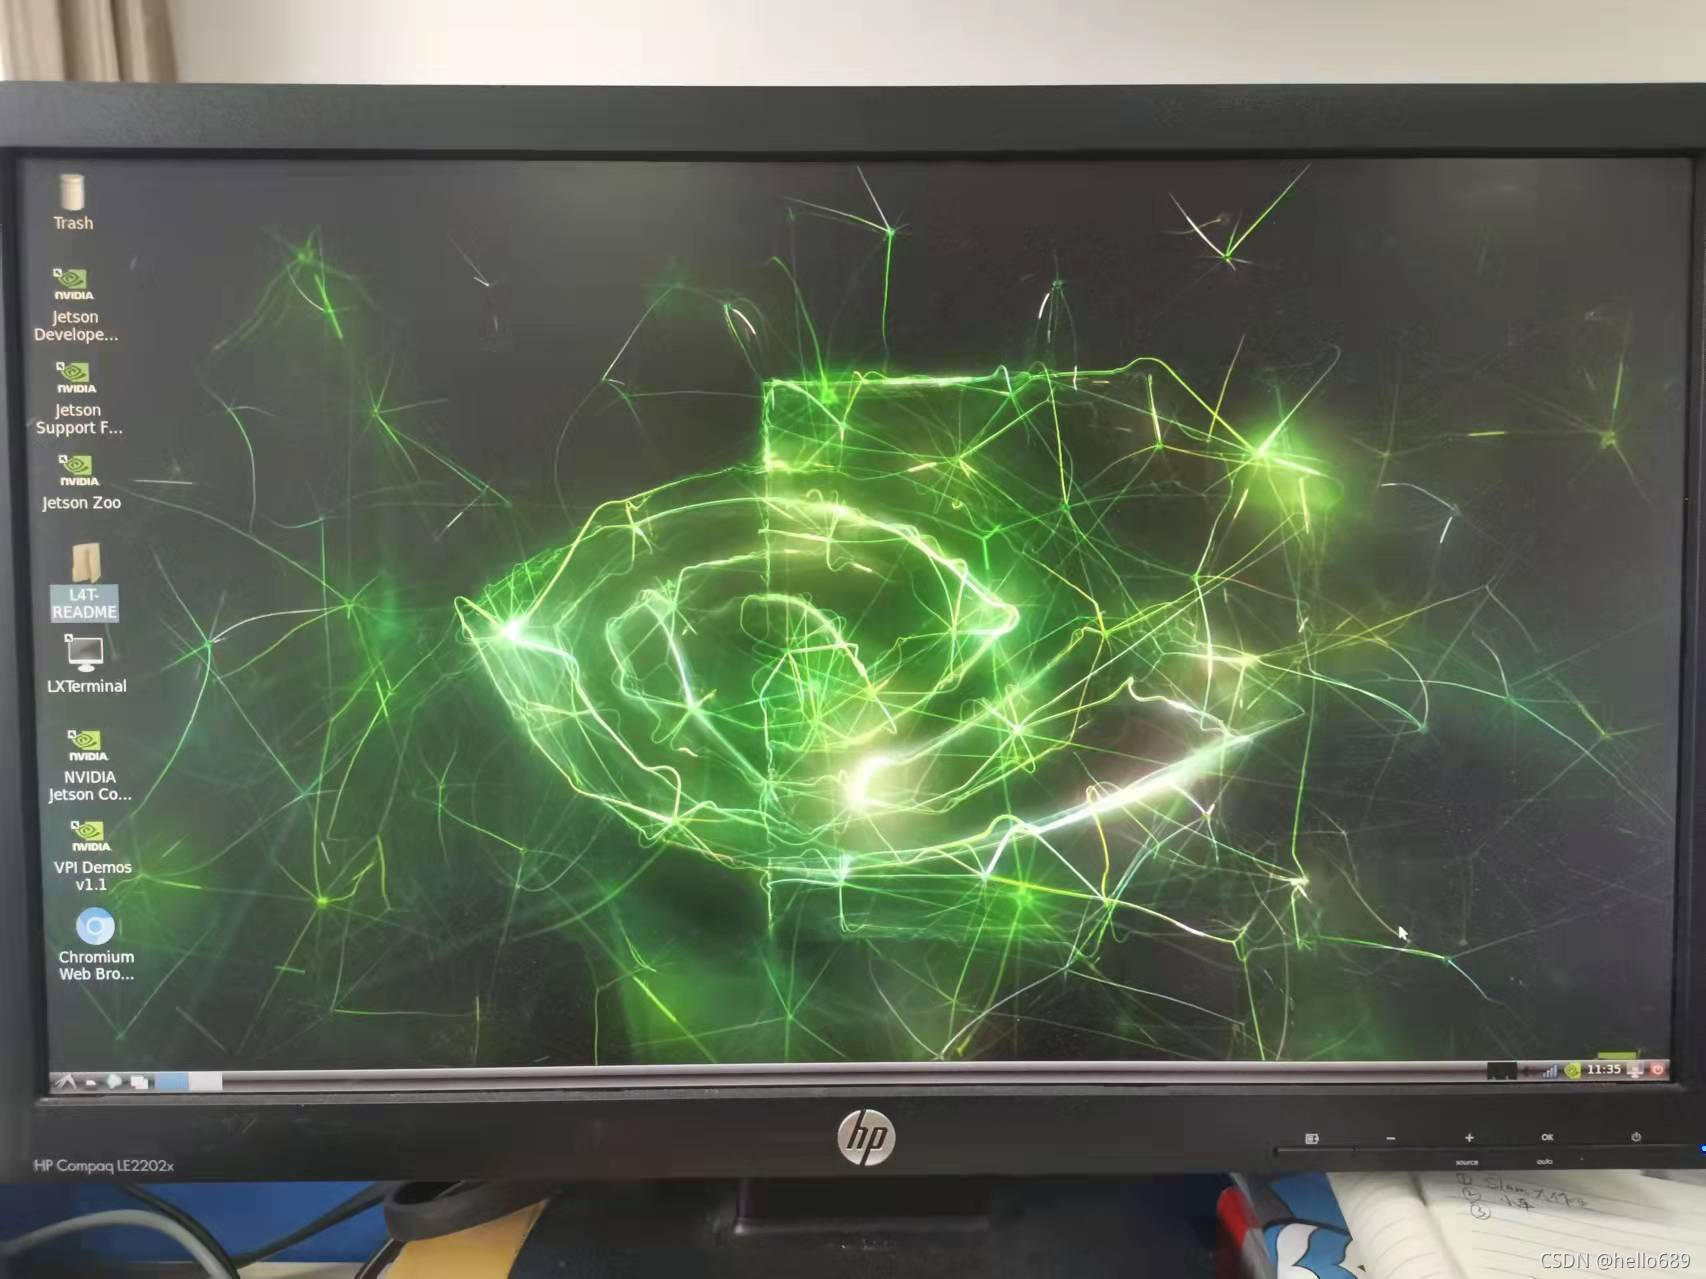
The monitor is not connected for initialization
To complete the setup without connecting the monitor to the developer kit,You need to connect the developer kit to another computer,Then through the terminal application(例如,Xshell、PuTTY下载或者SecureCRT)与其进行通信,for processing on that computer USB 串行通信.
设置步骤:
- 将 microSD 卡(已写入系统映像)插入 Jetson Nano in the slot on the underside of the module.
- Flip the power switch,等待 1 分钟,for the developer kit to start(Better to wait here).
- Connect another computer to the developer kit's Micro-USB 接口.
- 在另一台计算机上,Use the serial terminal application to connect to the developer kit through the host serial port.
可以使用Window来进行设置,也可以使用Linux进行配置,这里以Windows为例来进行说明.
首次启动
查看端口信息:
假设您已将 Windows PC connected to the developer kit Micro-USB 接口,右键单击 Windows 的“Start”(开始)图标,然后选择“Device Manager”(设备管理器).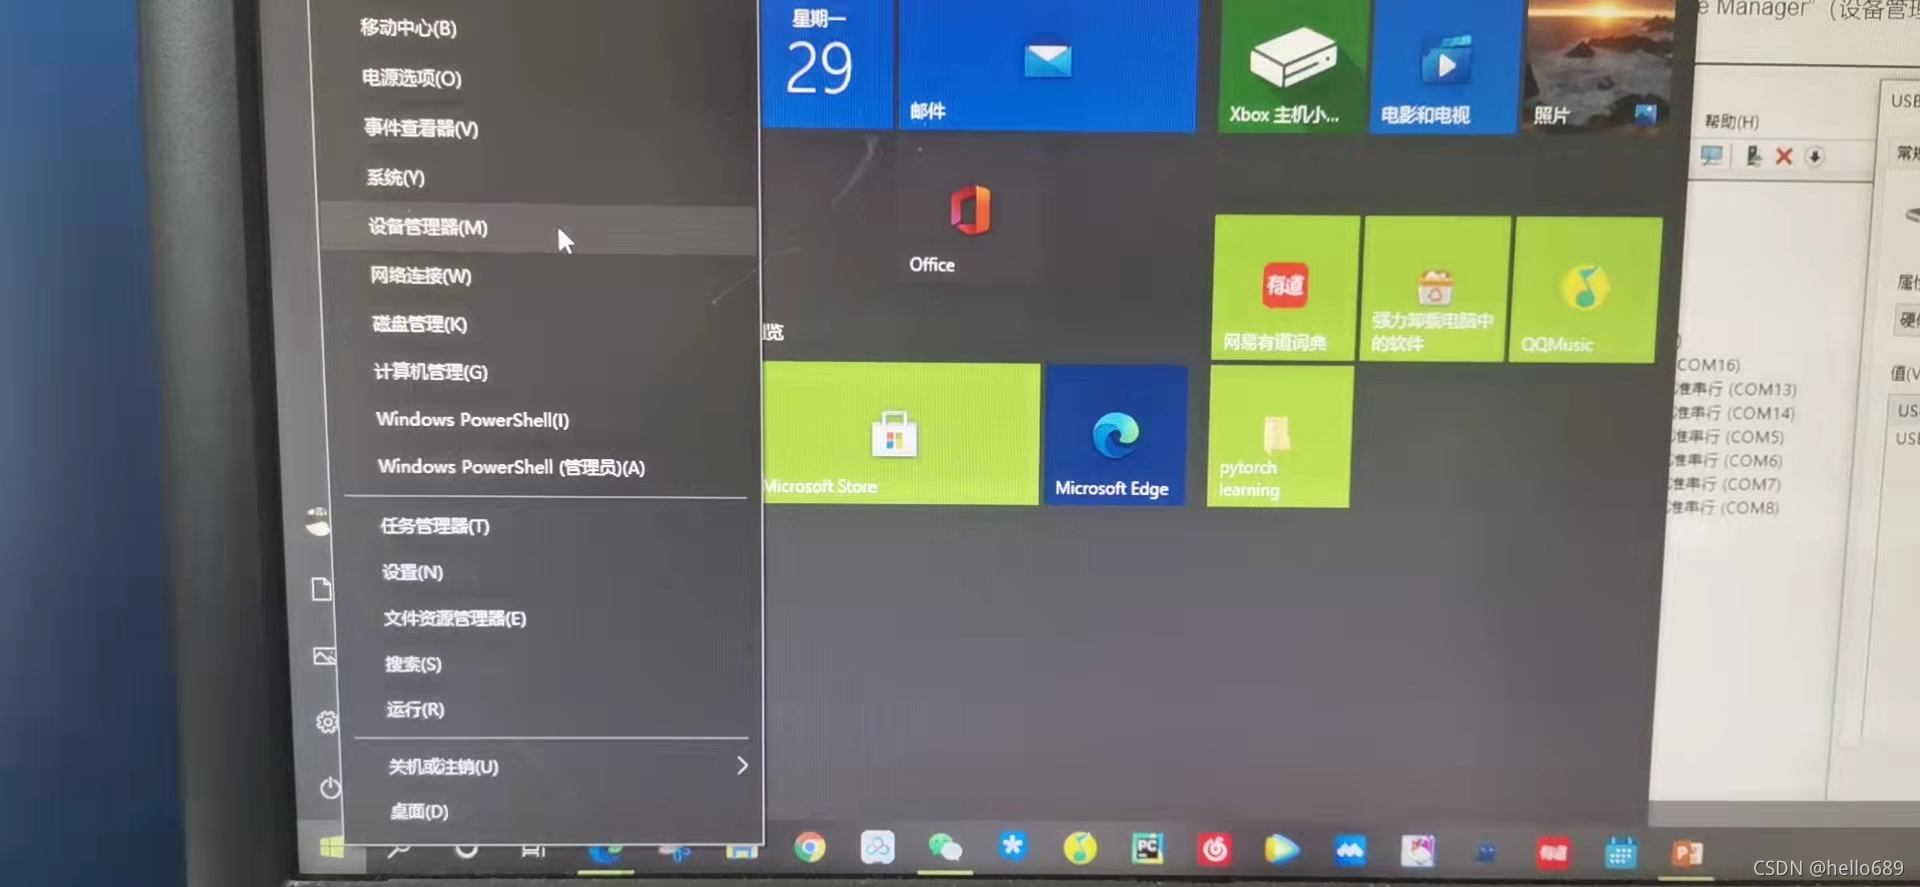
打开“Ports”(端口)(COM 和 LPT)以查找“USB 串行设备”的 COM 端口号(在本示例中为“COM 16”).双击每个 USB Serial device entry,to view its properties.转到“Details”(详细信息)选项卡,然后选择“Hardware Ids”(硬件 Id).如果您看到了 VID 0955 和 PID 7020,则您可在 Jetson Use this in the developer kit USB 串行设备.记下 COM 端口名称(在本示例中为 COM16)以便稍后使用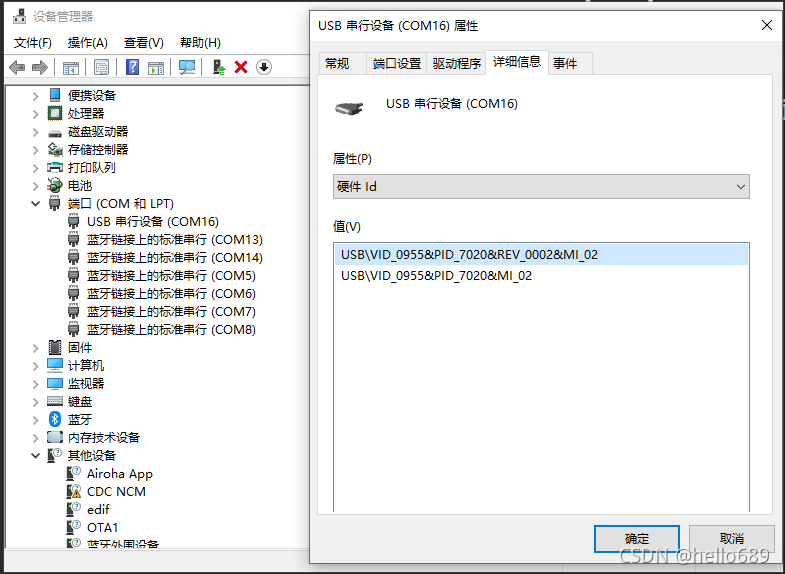
下图以SecureCRT为例,在SecureCRT中打开该COM端口,波特率设置为“115200”.
与上一小节类似,Some initial setup is required.
- 查看并接受 NVIDIA Jetson 软件 EULA
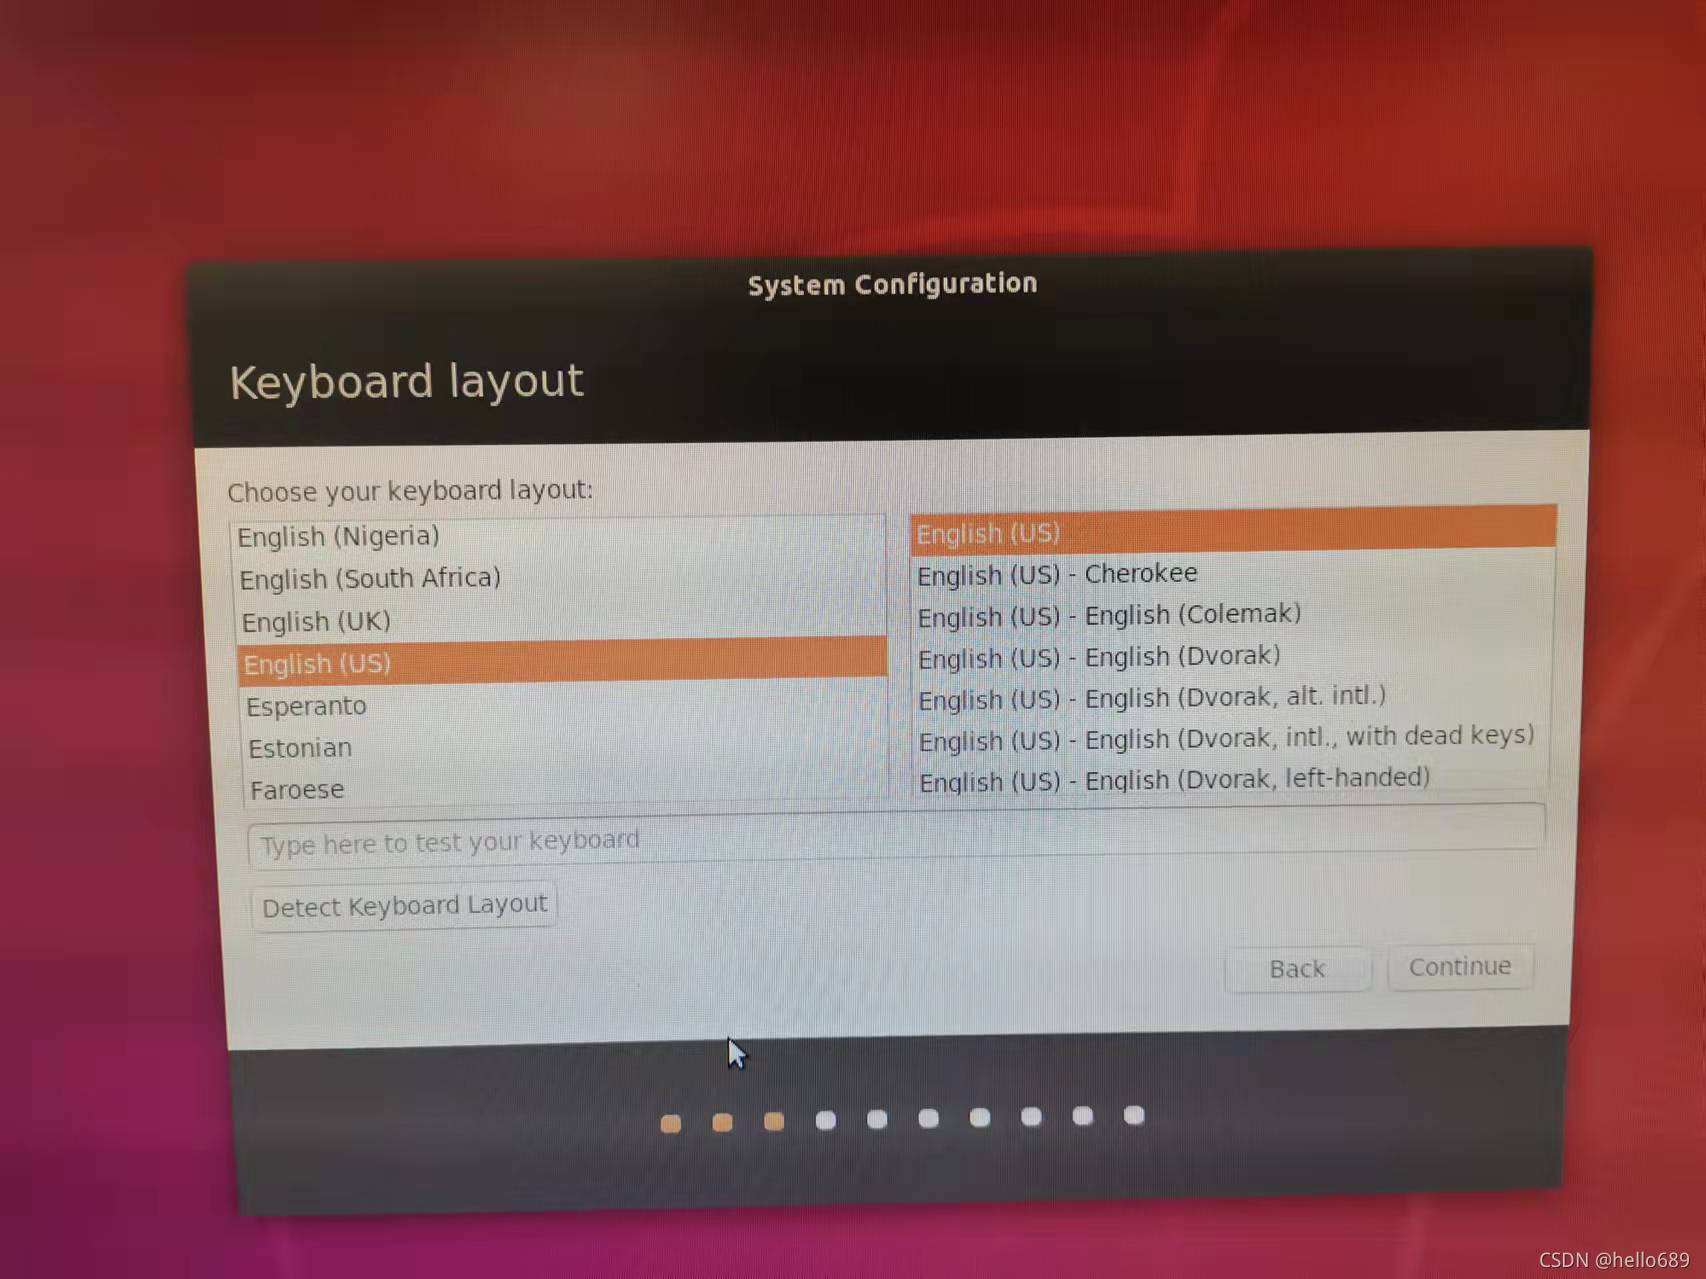
- 选择系统语言、Keyboard layout and time zone
- 创建用户名、password and computer name
- Select the app partition size,The recommended maximum size is recommended
回车键,选择OK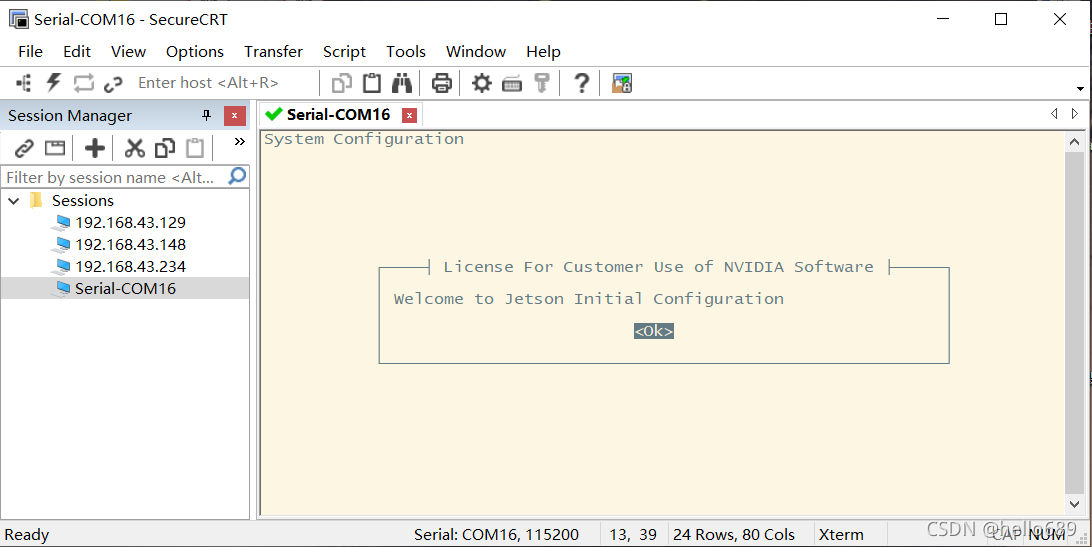
首先是Tab键,Make the cursor jump toOk中,然后回车键,选择OK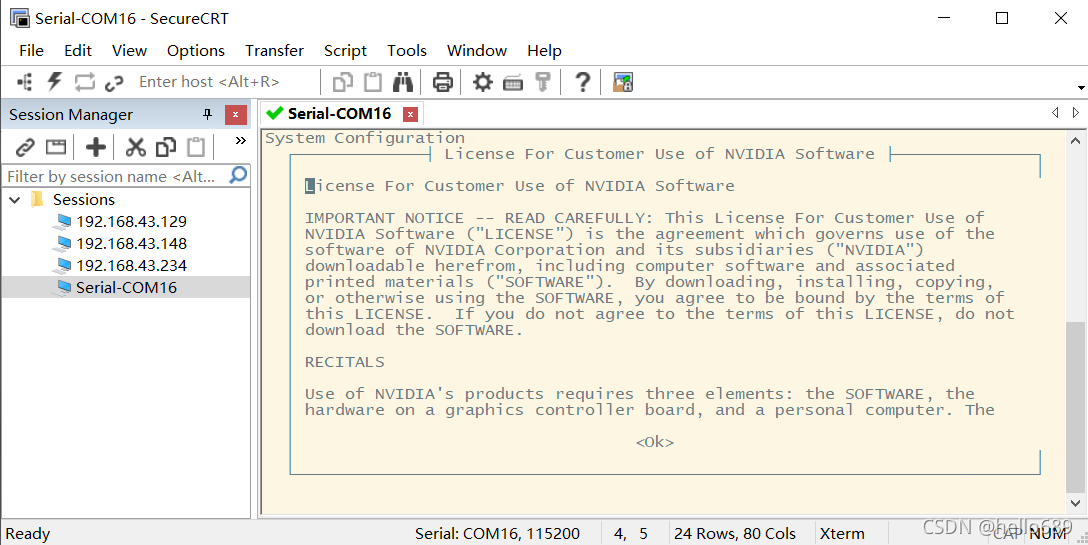
选择语言,It is recommended to select the default English,The probability of error is low,同样Tabkey to adjust the cursor position
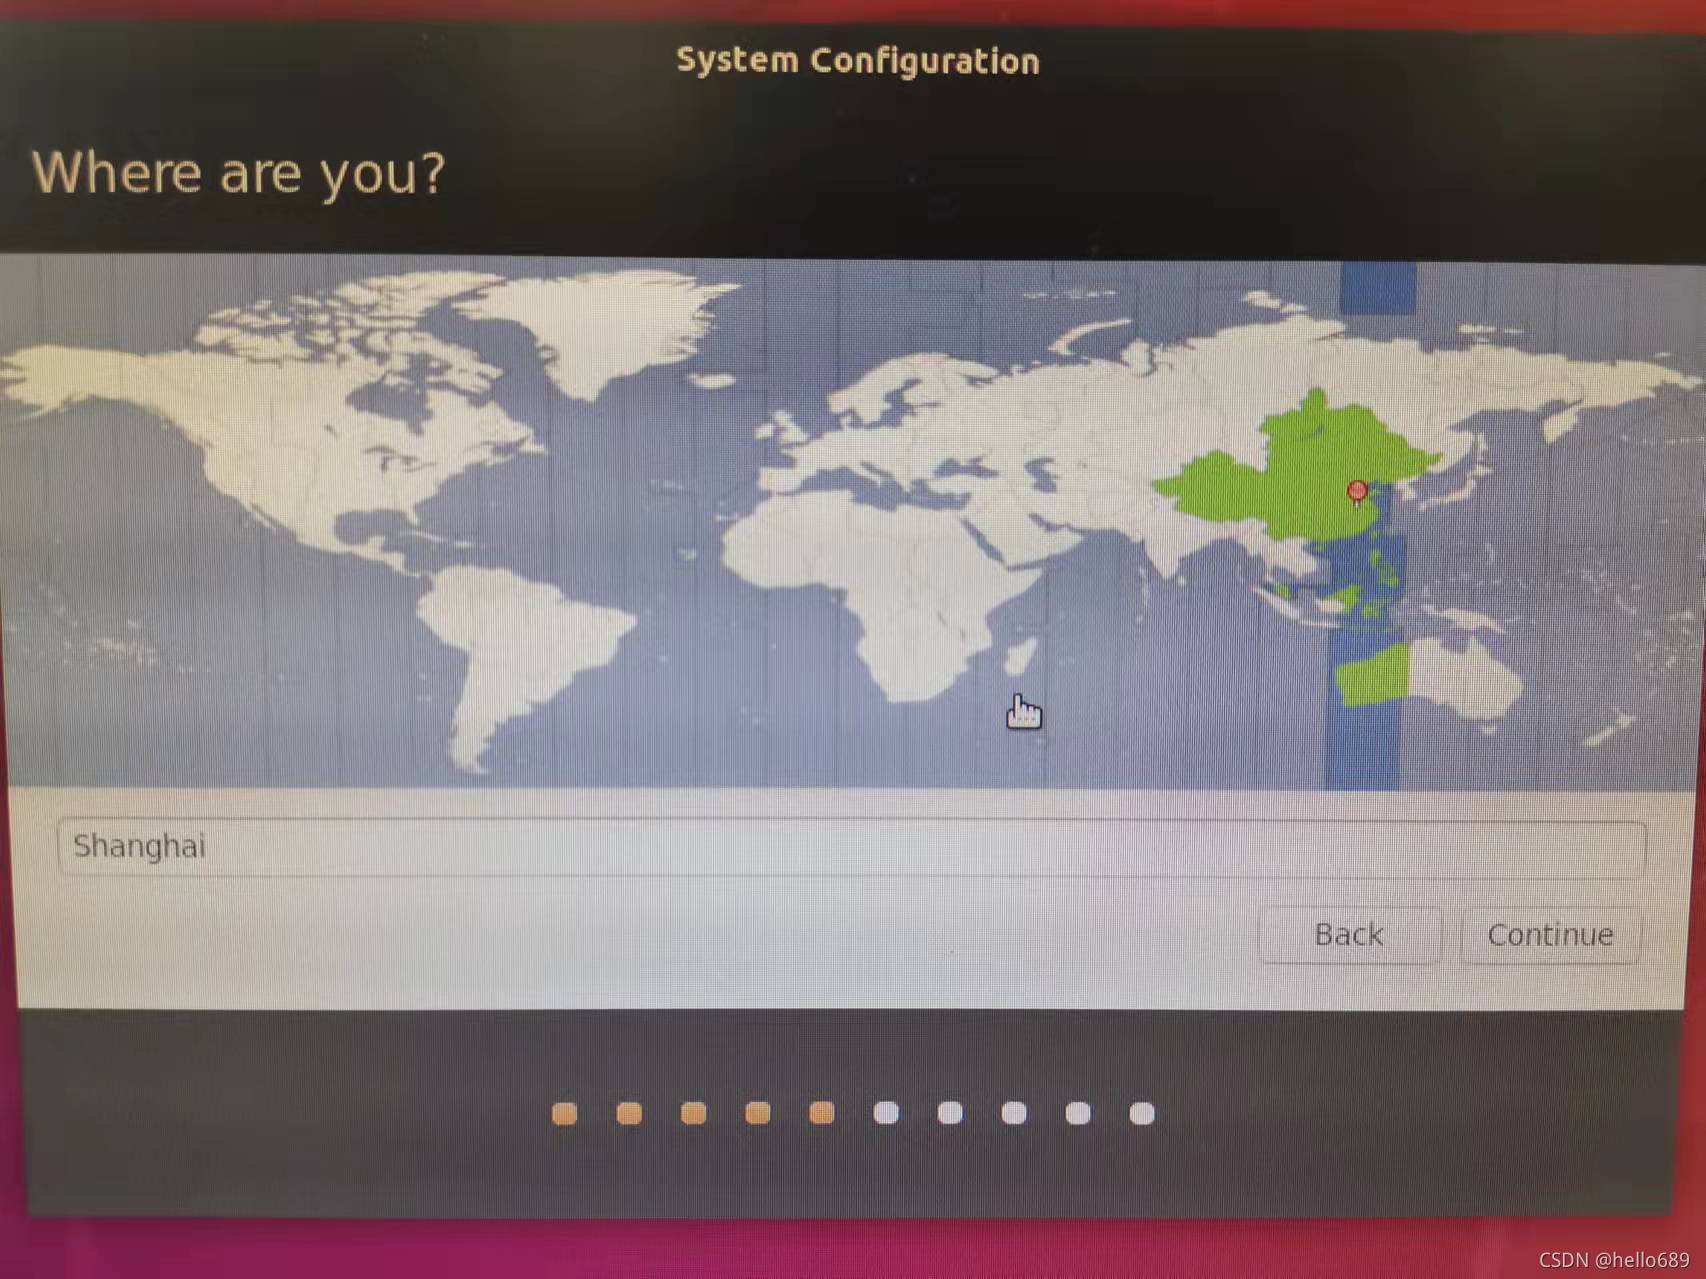
设置地点,选择Other中的Asia,然后选择China
编码方式
时钟设置,I choose the default
设置用户名(我这里设置的是 jetson),然后usercount也选择jetson,I also set the password in this stepjetson,好记.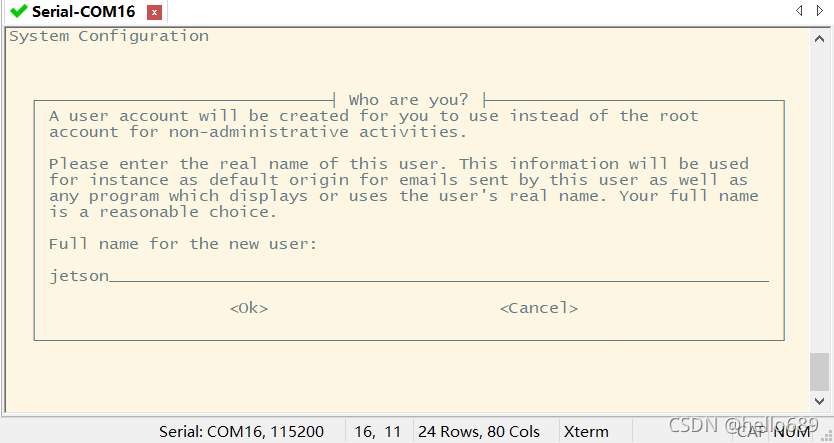
Below is the allocation of space,选择默认的yes就好.
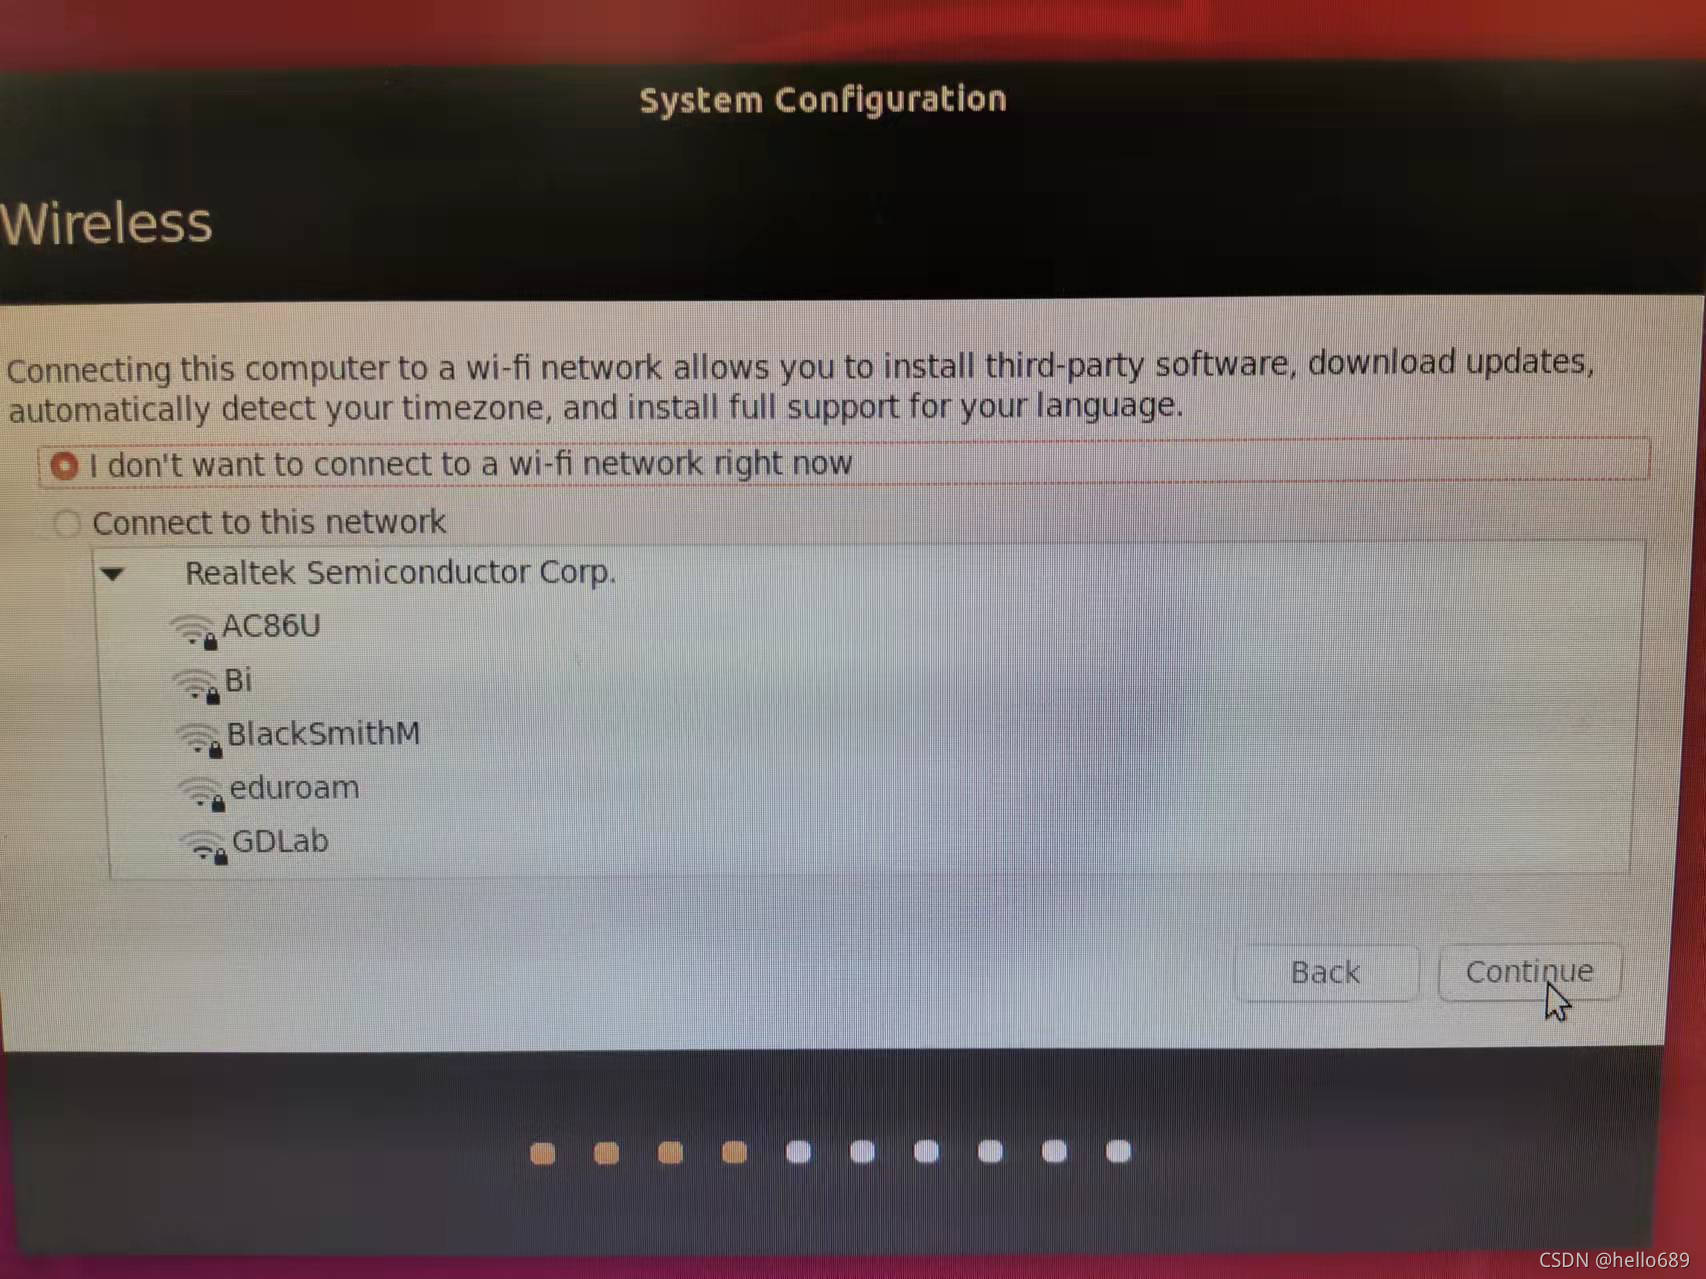
选择网络,The trolley is usedUSB无线网卡,Here I choose to connect oneUSB网络.
Do not configure this network yet,进行下一步.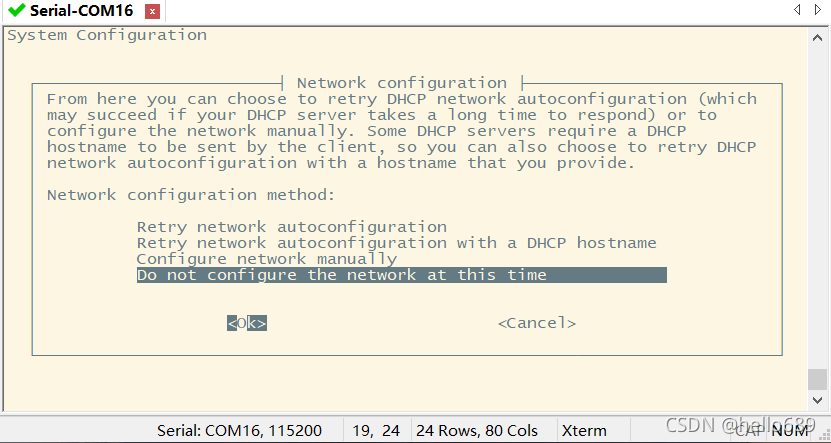
供电模式选择5W.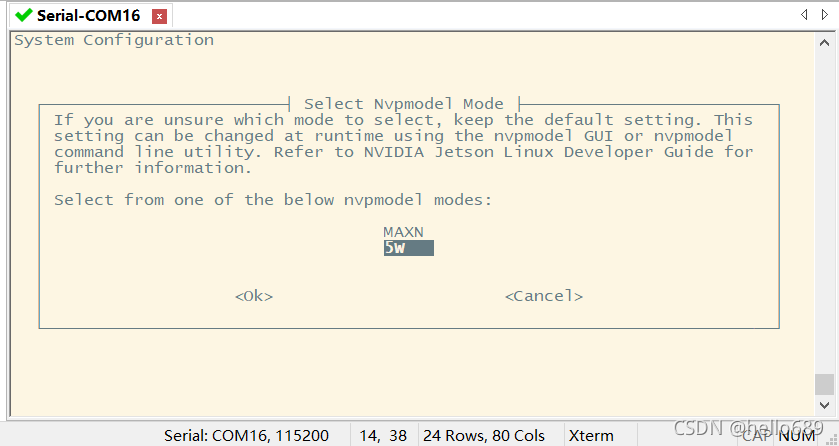
输入用户名和密码,登录成功,大功告成.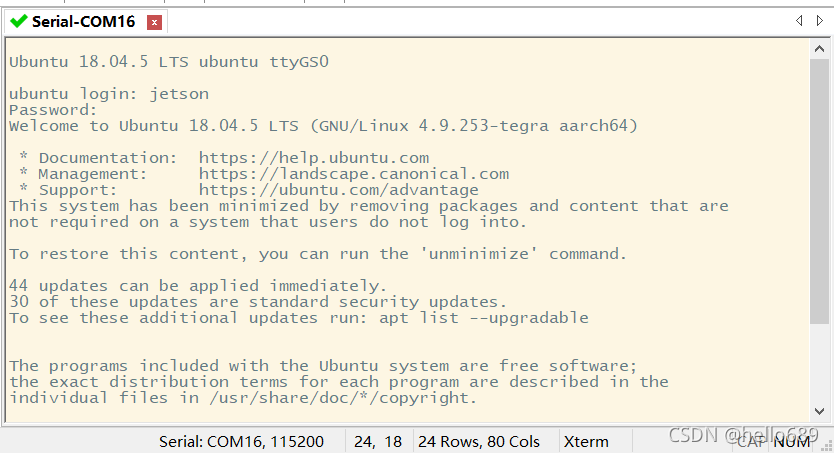
连接WIFI
You can use the monitor and keyboard to connectJetson Nano的板子;也可以用micro USB连接电脑,利用putty或者securCRT方式进行连接,然后执行以下步骤.
初次连接WIFI需要执行以下命令:
sudo apt update
sudo apt install network-manager
sudo service NetworkManager start
Scan for available networks
sudo nmcli device wifi list
Then enter the following command to connectWiFi,其中<ssid_name>, 替换为你的WIFI账号密码.(If you cannot connect to the network,Power off the car and restart it,注意拔下micro USB,Plug it back in after restarting)
sudo nmcli device wifi connect <ssid_name> password <password>
How to connect the monitor:
No display mode:
Run the following command to queryWIFI 接口wlan0 的 IP 地址.断开USBConnecting and restarting the system is also availableOLED显示器上显示IP地址:
ifconfig
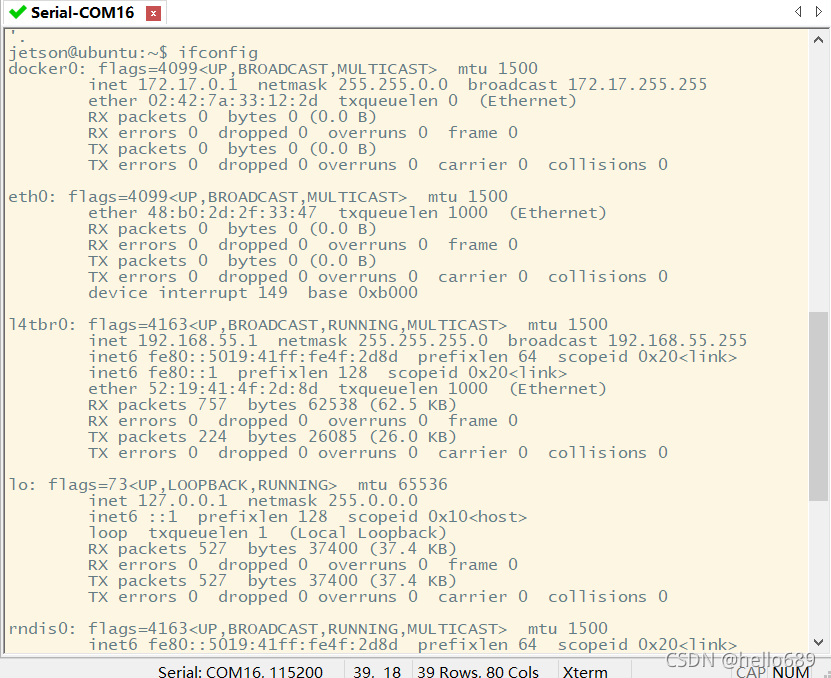
This time the carOLEDNo information will be displayed on the screen,**此时,If using no display mode,则从Jetson Nanoup and downmicro USB线,断电重启Jetson Nano.**After normal startupOLEDThere is a car on the screenIP地址.
Configure the power mode
进行以下设置,Power will be displayed:
- 为了防止Jetson NanoMore power is consumed than the battery can supply,我们将其设置为5W模式 Open a terminal and enter the following command settings5W模式
sudo nvpmodel -m1
Check to confirmJetson Nano处于5W功耗模式
nvpmodel -q
同时OLEDwill also be displayed on the MODE:5W
3. 相关资料整理
If you don't want to use command line accessJetson Nano,I don't want to add another monitor,You can choose to buildVNC Server,I found a build step online:
Development guide book:
参考资料:https://developer.nvidia.com/embedded/learn/get-started-jetson-nano-devkit#next-projects
边栏推荐
猜你喜欢


随机推荐
LVS+Keepalived实现高可用的负载均衡
微服务入门
空卡安装设置树莓派4B并安装opencv+QT
树莓派上QT连接海康相机
如何将 DevSecOps 引入企业?
Go的安装使用(一)
VisibleDeprecationWarning: Creating an ndarray from ragged nested sequences (which is a list-or-tupl
深蓝学院-视觉SLAM十四讲-第六章作业
深蓝学院-视觉SLAM十四讲-第五章作业
如何将PDF中的一部分页面另存为新的PDF文件
吴恩达机器学习系列课程笔记——第十五章:异常检测(Anomaly Detection)
侦听器watch及其和计算属性、methods方法的总结
字典基本操作方法
BCS演讲实录 | 未来智安CTO陈毓端精讲《XDR扩展威胁检测响应探索与实践》
2022华为软件精英挑战赛(初赛)-总结
MapFi论文架构整理
吴恩达机器学习系列课程笔记——第十四章:降维(Dimensionality Reduction)
STM32/TMS320F2812+W5500硬软件调试总结
SLSA 框架与软件供应链安全防护
企业需要知道的5个 IAM 最佳实践