当前位置:网站首页>OpenPCDet environment configuration of 3 d object detection and demo test
OpenPCDet environment configuration of 3 d object detection and demo test
2022-08-02 05:29:00 【hello689】
Haven't blogged about environment configuration in a long time,This time it was because,Oneself is thereOpenPCDetThere is a pit in the configuration of the environment.一环扣一环,As my experimental environment isubuntu16.04,Unlike most tutorials online,So I encountered a lot of version mismatch problems.
文章目录
实验环境
- Ubuntu 16.04
- RTX 2080
- CUDA 10.1
一、安装步骤
1. 安装之前
验证cmake版本
cmake --versioncmake版本要大于等于1.13,Not the library on the other sidesetup过程会报错.Don't watch online blogs blindly executepip install cmake或者apt-get autoremove cmake,This will cause some additional errors.我参考的是这篇博客进行cmake的升级.
验证cuda和cudnn是否安装好了
先说一下我遇到的问题,Because this time the machine was taken over by someone else,It looks like it is insidecuda和cudnn都配置好了,But it still doesn't work when it's running.
nvcc -V和nvidia-smi两个命令显示的cuda是不一致的,这个问题不大.主要看nvcc -Vdisplayed by this commandcuda版本.nvidia-smi所显示的cuda是,This machine installed the driver can drive the maximumcuda版本,nvcc -V显示的cudaThe version is the version that runs yes.一般来说nvidia-smiThe version shown is higher.但是,I have this machinenvcc -VShown is10.2,nvidia-smi所显示的是10.1,In line with the principle of not changing the driver without changing the driver(担心ubuntu的黑屏),我把~/bashrcThe environment variables in 10.1版本的.nvcc -V # 显示安装的cuda版本 cat /usr/local/cuda/include/cudnn.h | grep CUDNN_MAJOR -A 2 ## 显示安装的cudnn版本After all the libraries below are installed,It is best to verify that the installation was successful,成功后,再进行下一步,Otherwise, it is easy to make mistakes later,and difficult to locate.
2. 配置环境,安装需要的库
- 创建虚拟环境
conda create -n openpcdet python=3.7 - 进入该虚拟环境
conda activate openpcdet - 安装pytorch
注:安装的是gpu版本,You can test it after installation,torch是否能调用cuda.
安装命令,建议去官网复制粘贴,不容易出现cuda和torch版本不匹配的问题.I didn't switch sources,Just use the command line below,Download and installation is also very fast.pip install torch==1.8.1+cu101 torchvision==0.9.1+cu101 torchaudio==0.8.1 -f https://download.pytorch.org/whl/torch_stable.html - 安装spconv
This step is more prone to problems.目前spconv出了2.0以上版本,而spconv2.只支持cuda10.2以上版本,如果cuda版本合适,直接运行pip安装即可,Like my system is installedcuda10.1,Only honestly download the original version.
找个文件夹,开始安装spconv1.2:
If you are using the machine,可以安装spconv2.x:#安装libboost sudo apt-get install libboost-all-dev # 下载spconv,并切换分支 git clone -b v1.2.1 https://ghproxy.com/https://github.com/traveller59/spconv.git cd spconv # spconv项目中的third_partyThere are three folders in the corresponding directory that are empty,删除了就行; #下载pybind11This package replaces empty files,并把pybind11放入 cd third_party git clone https://ghproxy.com/https://github.com/pybind/pybind11 cd .. #退回 cd ./dist pip to install spconv-1.2.1-cp37-cp37m-linux_x86_64.whl# 先检查一下dist里边的文件,有可能是空的 python3 setup.py bdist_wheel #如setup.py这一步报错,可能需要你删掉build/ dist/ spconv.egg-info/,这几个文件夹之后再编译
cuda版本对应的spconv版本:方法一(pip安装): pip install spconv-cu102 -i https://pypi.tuna.tsinghua.edu.cn/simple 方法二(源码安装): #cumm安装 git clone https://ghproxy.com/https://github.com/FindDefinition/cumm cd ./cumm pip install -e . #spconv安装 git clone https://ghproxy.com/https://github.com/traveller59/spconv cd ./spconv pip install -e .
验证是否安装成功:
参考资料:python import spconv
spconv1.2.1安装指南
python ~/.local/lib
3. 安装OpenPCDet
命令:
git clone https://ghproxy.com/https://github.com/open-mmlab/OpenPCDet.git
cd OpenPCDet
pip install -r requirements.txt
python setup.py develop
注:numpyLibrary can't be too low,Mine is installed by default1.16.0版本,The following error message will not be displayed directlynumpy版本过低,而是显示No Module xxx,很难看出是numpy版本的问题.
验证pcdet是否安装成功:
python
import pcdet
参考资料
- OpenPCDet安装
- openpcdet环境配置
- 安装 open-mmlab /OpenPCDet并测试demo
- OpenPCDet v0.5版本的安装与测试
二、可视化部分
1. 安装可视化库
First you need to install the visualization library,mayavi或者open3d两者都可以,One of them can be installed,也可以两个都安装,我在安装mayavialways had problems,转而安装open3d,下边以open3d为例.
Because the new version does not support itubuntu16.04,So here I am specifyingopen3d版本号,这里要感谢这篇博客,之前没有考虑到open3dThe version selection followsubuntuThe version number is also relevant.如果不是ubuntu18.04及以上版本,open3dversion can be higher.
conda install -c open3d-admin open3d==0.9.0
pip install open3d-python
注:open3dfor installationconda来安装,pipInstallation keeps going wrong.
验证open3d是否安装成功:
python
import open3d
如果有错误,You can go to the third part of the text(问题汇总),查看原因,可能是open3d版本不对,It may also be called~/.local中的open3d库.
参考资料:
2. 测试
从官方下载,The network model you want to test.
将训练模型和测试的点云数据放在合适的位置,执行下边的命令.
python3 demo.py --cfg_file cfgs / kitti_models / pointpillars.yaml \
    --ckpt pointpillars.pth \
    --data_path $ {
    POINT_CLOUD_DATA}
我用的数据是kitti数据集中的000000.bin,选用pointpillars来进行测试;
测试结果: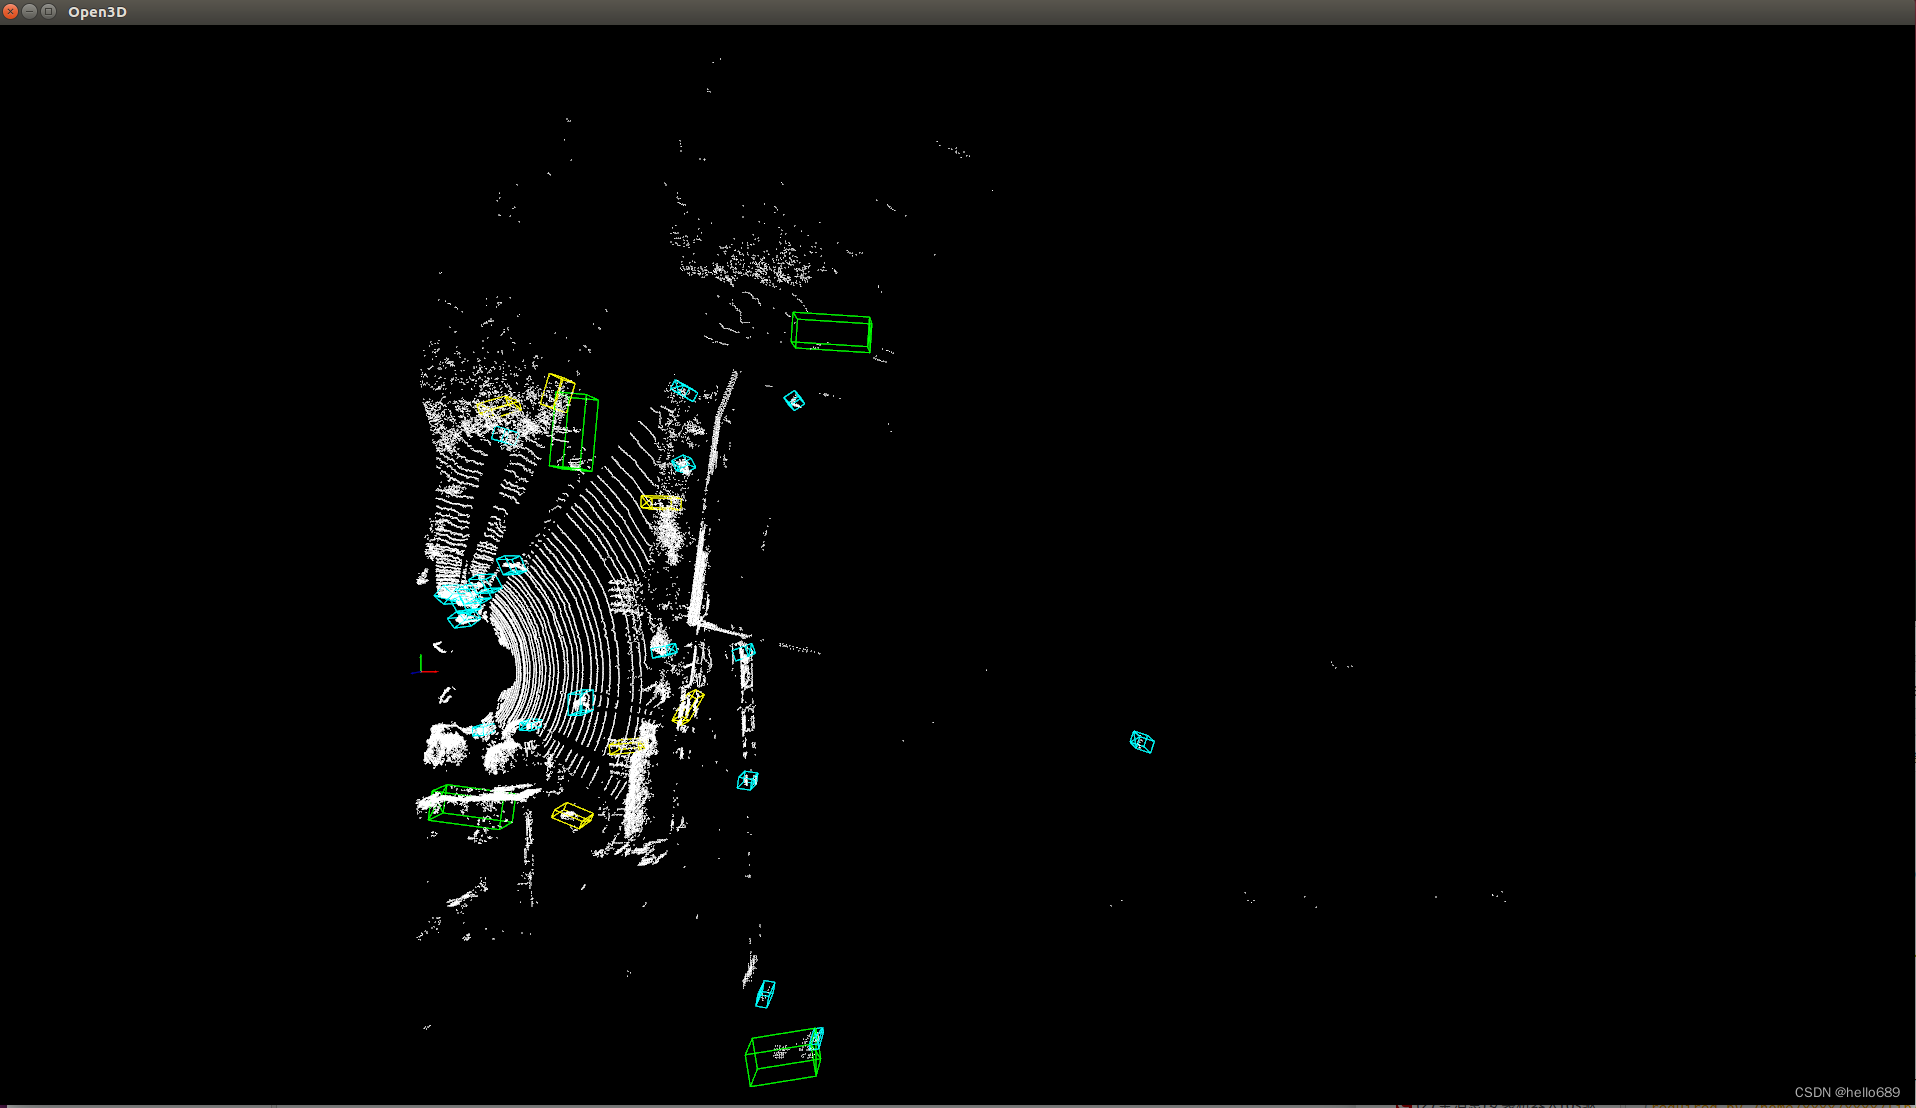
 参考资料:
参考资料:
PointPillarsPoint cloud detection is inOpenPCDetDetailed reasoning code
三、问题汇总
mayavi的问题:python3.8安装mayavi4.7.3
安装的顺序,The installed version has certain requirements,The order in which these are compiled cannot be reversed.
pip install vtk==8.1.2 # 自动安装的vtk是9,会产生冲突
pip install mayavi==4.7.3
pip install PyQt5
报错信息:
AttributeError: type object 'DialogCode' has no attribute 'Accepted'
这个问题,I have not solved it,网上很多方法,It doesn't work on my machine.
参考资料:
Open3d的问题:
If you encounter a situation similar to the following,大概率为open3d版本问题导致.
情况一:
AttributeError: 'open3d.geometry.PointCloud()' object has no attribute 'voxel_down_sample'
情况二:
ImportError: /lib/x86_64-linux-gnu/libm.so.6: version `GLIBC_2.27' not found (required by /home/xxxx/xxxx/lib/python3.7/site-packages/open3d/open3d_pybind.cpython-37m-x86_64-linux-gnu.so)
 I'm stuck on the second question for a while,Obviously the version is correct,why rundemo.py的时候还是出错.
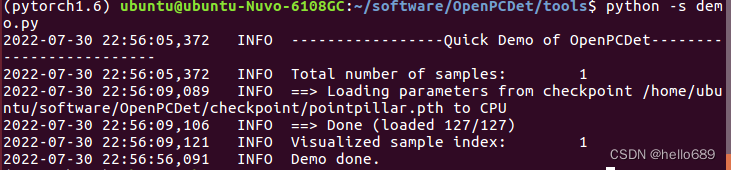
另外,因为我之前安装过open3d,所以在~/.localThere is a wrong versionopen3d,在运行demo程序的时候,需要加上-s,-s可以让PythonDo not look for libraries in the user directory.
python -s demo.py
参考资料:
- open3dA summary of environment errors
- 如何运行pythonwithout including it in its module search path~/.local/lib/pythonX.Y/sitepackages
运行demo时出错
情况一:段错误(核心已转储)
(pcdet) [email protected]:~/OpenPCDet/tools$ python demo.py --cfg_file cfgs/kitti_models/pv_rcnn.yaml --ckpt pv_rcnn_8369.pth --data_path ../data/kitti/testing/velodyne/000008.bin
2022-03-06 21:32:26,628   INFO  -----------------Quick Demo of OpenPCDet-------------------------
2022-03-06 21:32:26,628   INFO  Total number of samples:        1
/home/auto/anaconda3/envs/pcdet/lib/python3.7/site-packages/torch/functional.py:445: UserWarning: torch.meshgrid: in an upcoming release, it will be required to pass the indexing argument. (Triggered internally at  ../aten/src/ATen/native/TensorShape.cpp:2157.)
  return _VF.meshgrid(tensors, **kwargs)  # type: ignore[attr-defined]
2022-03-06 21:32:29,122   INFO  ==> Loading parameters from checkpoint pv_rcnn_8369.pth to CPU
2022-03-06 21:32:29,154   INFO  ==> Done (loaded 367/367)
2022-03-06 21:32:29,300   INFO  Visualized sample index:        1
段错误 (核心已转储)
参考资料:
边栏推荐
- matlab作图显示中文正常,保存图片中文乱码
- 无主复制系统(1)-节点故障时写DB
- 吴恩达机器学习系列课程笔记——第十三章:聚类(Clustering)
- 深度学习基础之过拟合、欠拟合问题和正则化
- 视觉SLAM十四讲--第13讲 实践:设计SLAM系统(最详细的代码调试运行步骤)
- Research Notes (6) Indoor Path Planning Method Based on Environment Perception
- 从事功能测试1年,裸辞1个月,找不到工作的“我”怎么办?
- 吴恩达机器学习系列课程笔记——第七章:正则化(Regularization)
- 吴恩达机器学习系列课程笔记——第十六章:推荐系统(Recommender Systems)
- 自定义一个下划线分词器
猜你喜欢

无主复制系统(1)-节点故障时写DB
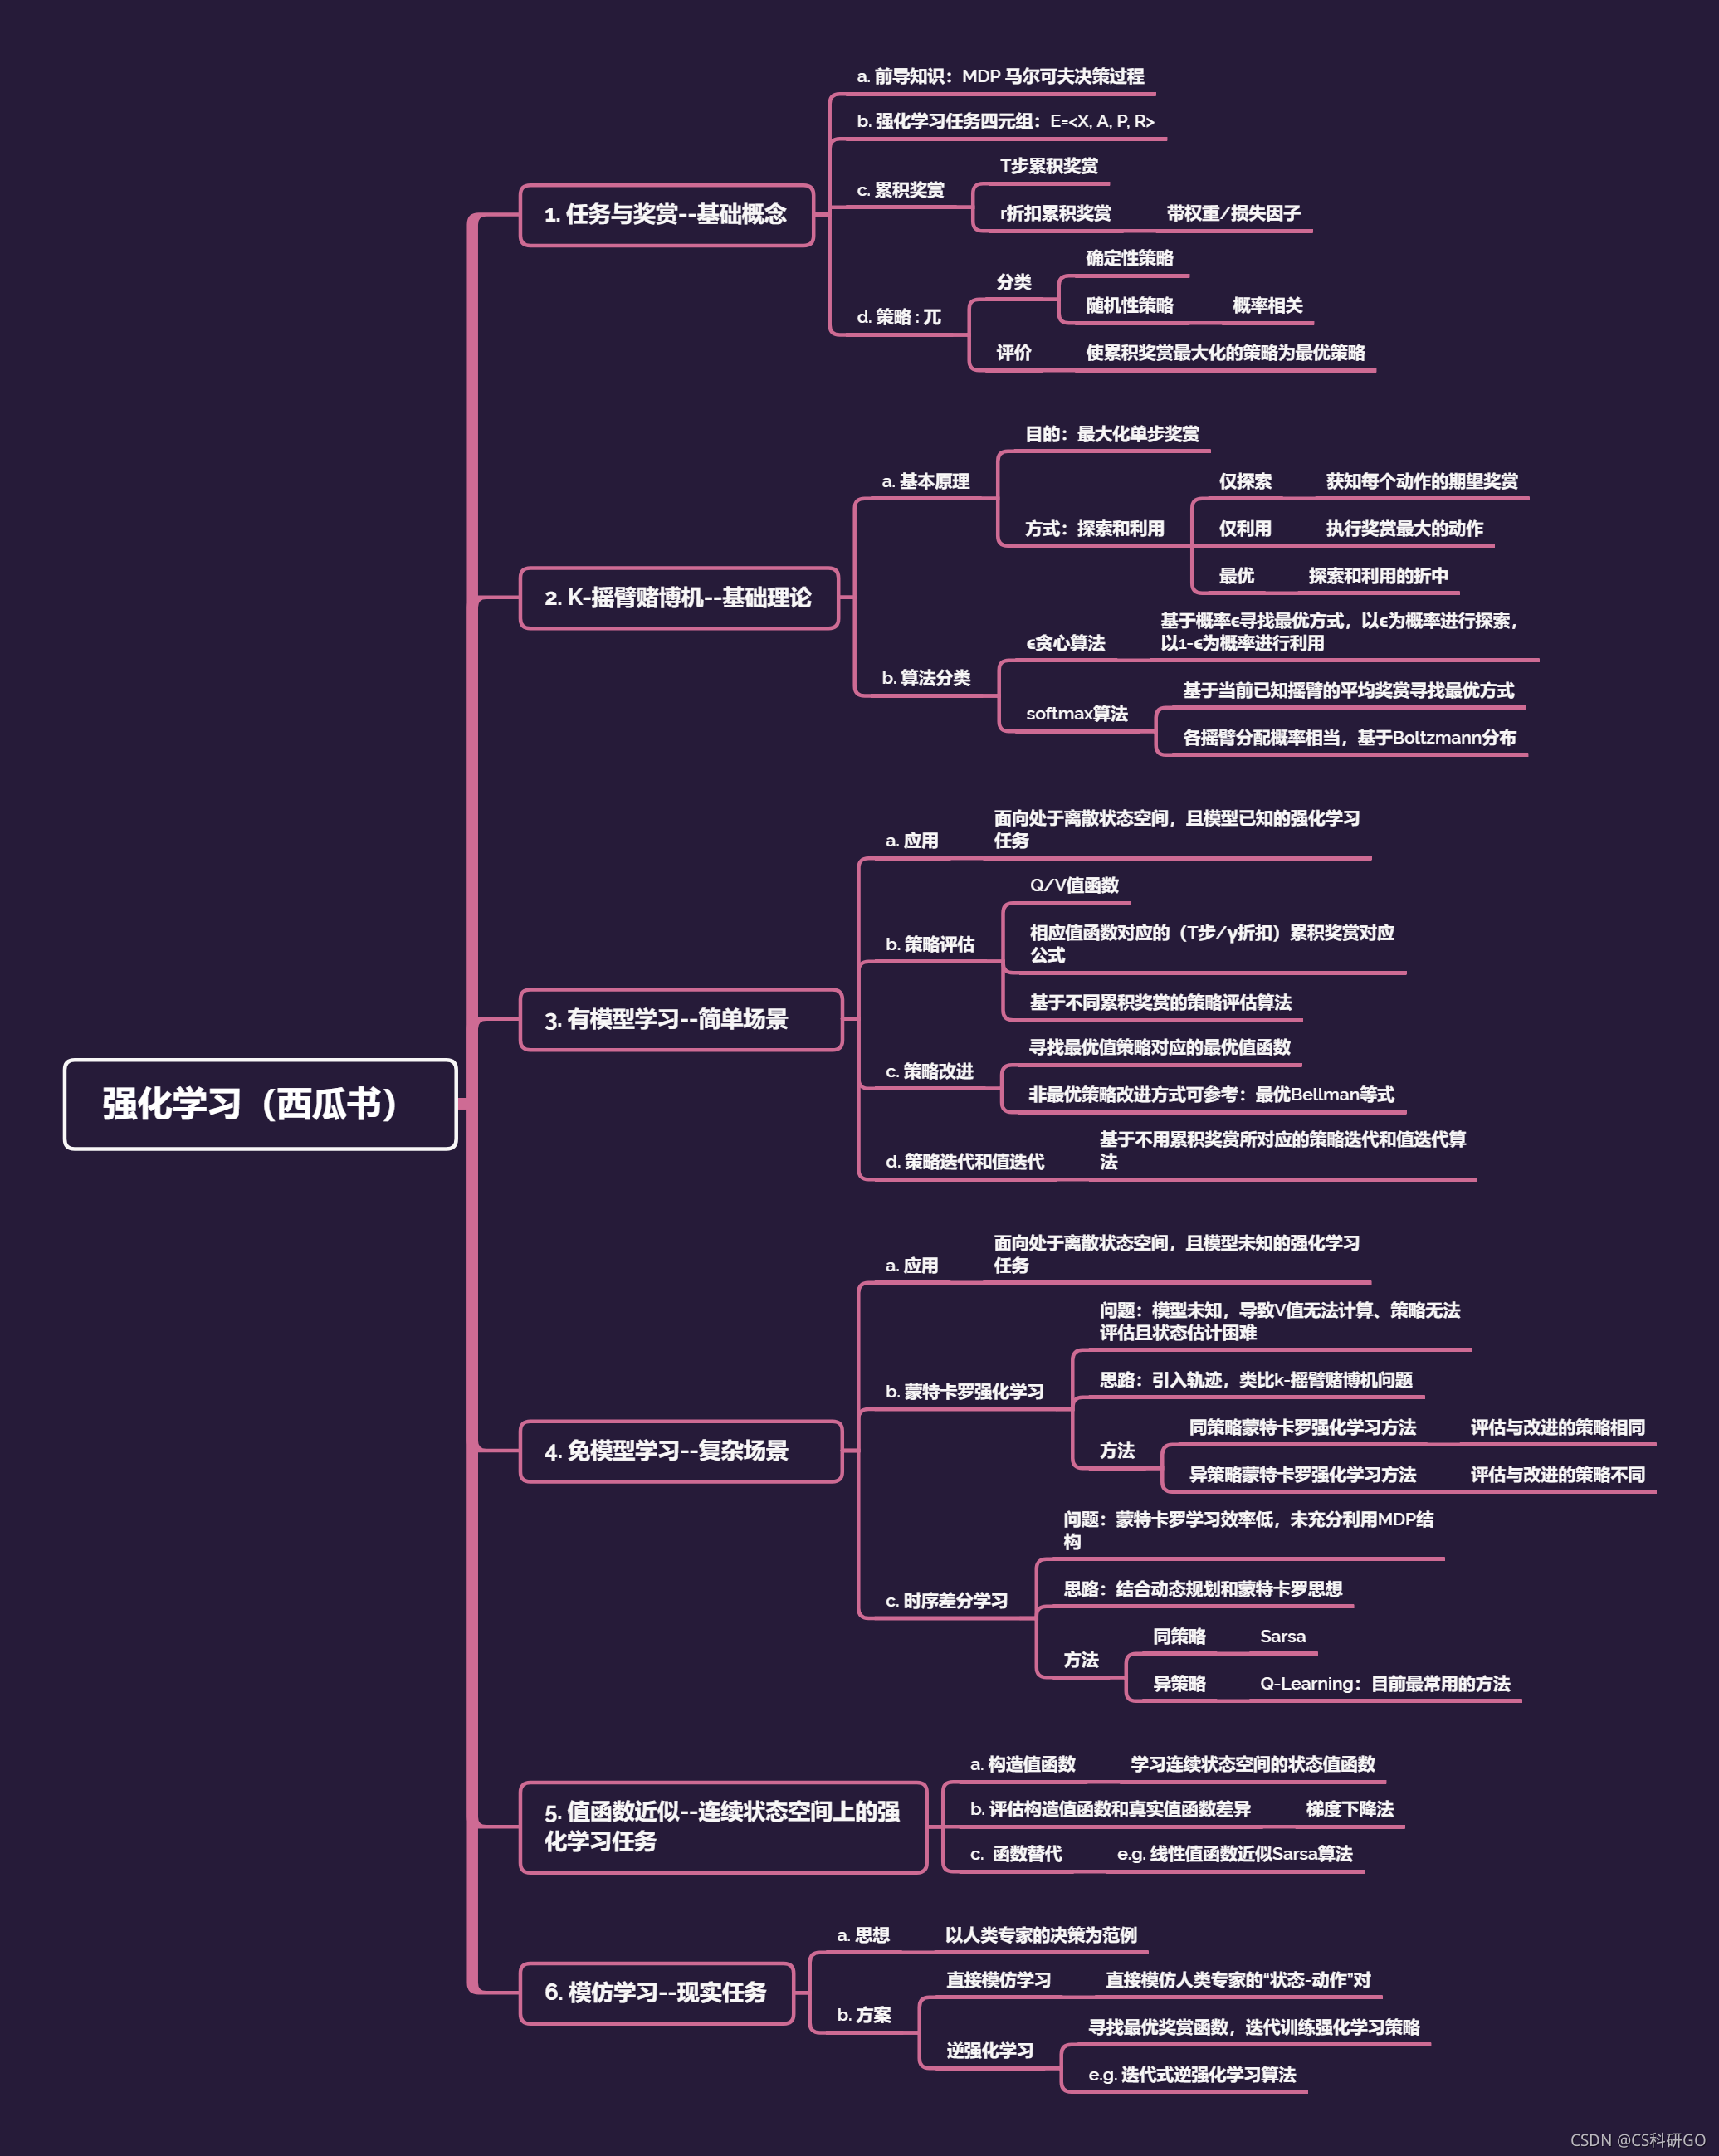
强化学习(西瓜书第16章)思维导图
3D object detection dataset

数据可视化之百变柱状图

【学习笔记】如何打造运维组织架构
VisibleDeprecationWarning: Creating an ndarray from ragged nested sequences (which is a list-or-tupl
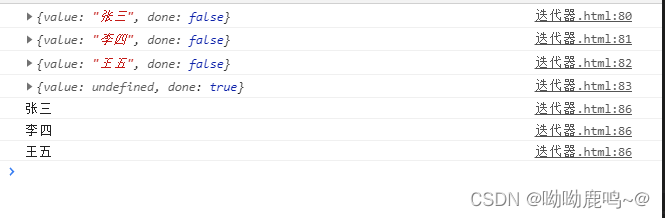
迭代器与生成器

ScholarOne Manuscripts submits journal LaTeX file and cannot convert PDF successfully!

ffmpeg视频播放、格式转化、缩放等命令

ClickHouse的客户端命令行参数
随机推荐
SCI期刊最权威的信息查询步骤!
生物识别学习资源推荐
使用docker-compose 安装Redis最新版,并且设置密码
【FreeRTOS】12 任务通知——更省资源的同步方式
Transfer of UKlog.dat and QQ, WeChat files
Computer Basics
el-input 只能输入整数(包括正数、负数、0)或者只能输入整数(包括正数、负数、0)和小数
科研笔记(八) 深度学习及其在 WiFi 人体感知中的应用(上)
arr的扩展方法、数组的遍历及其他方法
ffmpeg推流USB到rtsp
多主复制下处理写冲突(1)-同步与异步冲突检测及避免冲突
[Win11] PowerShell cannot activate Conda virtual environment
Zabbix删除一些大表历史数据脚本
字典基本操作方法
数据可视化之百变柱状图
jetracer_pro_2GB AI Kit系统安装使用说明
力扣 215. 数组中的第K个最大元素
视觉SLAM十四讲--第13讲 实践:设计SLAM系统(最详细的代码调试运行步骤)
[Win11] PowerShell无法激活Conda虚拟环境
盒子移动和滚动加载效果练习