当前位置:网站首页>Typecho blog site wide deployment of Tencent cloud CDN tutorial - Xingze V Club
Typecho blog site wide deployment of Tencent cloud CDN tutorial - Xingze V Club
2022-06-11 00:01:00 【Xingze V Club】
Yesterday I wrote an article about using cdn A tutorial for , Because it's my first time to do , A lot of mistakes have been made , Write a new article today . In this paper, the reference IOIOX Blog Article tutorial modification , Authorized by author , If you don't understand anything, please Look at the original ;
The deployment is really good
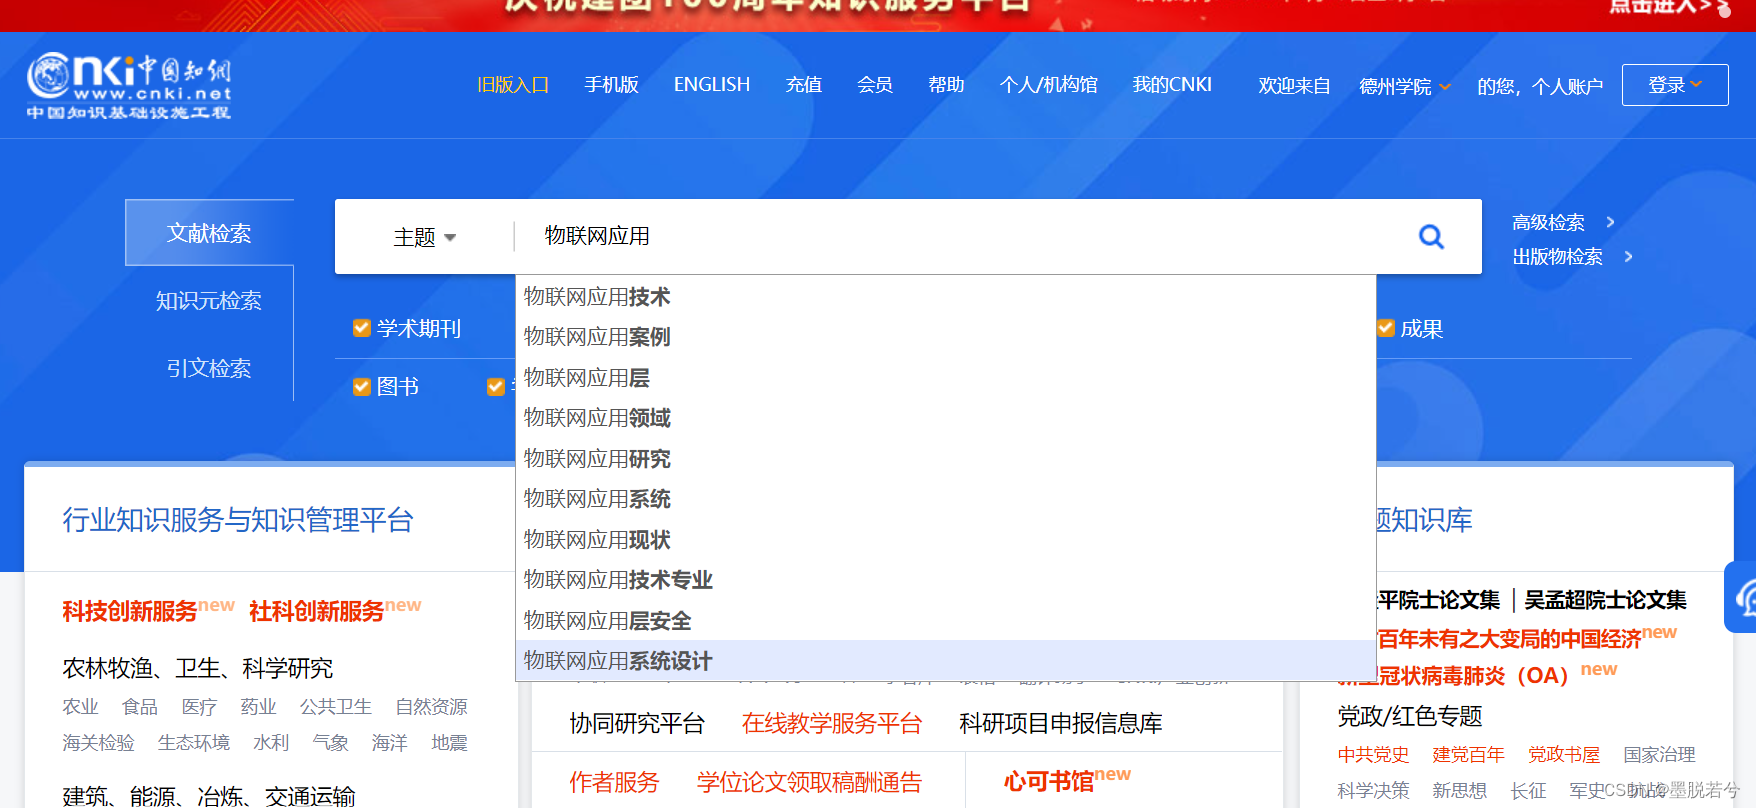
Add domain name
Tencent cloud - Console - Content distribution network Domain name management - Add domain name
Domain name configuration - Add top-level domain names and www Two level domain name Origin type - Own origin station Source station settings - Your server IP Business types - Static acceleration ( The recommendation here is static acceleration )
Submit - Cache filtering can be configured in detail later
Manage domain names
Click Manage on the right side of the domain name after adding it successfully
Basic configuration
Confirm domain name , Business types , Origin information , The configuration of the return source is correct , Keep the default .
Access control
Filter parameter configuration - Turn on Anti theft chain configuration - Configure according to the actual situation IP Black and white list configuration - Configure according to the actual situation IP Access restriction configuration - Turn on 10-30QPS that will do Video drag - Off by default
Cache configuration
Cache expiration configuration - Advanced cache expiration settings : Off by default Add cache configuration - Refer to the below
The text is given below for easy reproduction
/usr/themes/handsome/usr/img
/usr/uploads
.php;.jsp;.asp;.aspx
.jpg;.jpeg;.png;.bmp;.gif;.psd;.ico;.tga;.imb;.tiff;.svg;.woff;.ttf;.woff2
.css;.js;.txt;.doc;.wri;.docs;.dot;.xml;.log;.bat;.csv
The big guy's picture referred to here should be from a long time ago , Now Tencent cloud has been revised , The pictures in some places are different , Attach my configuration diagram ( The same below ), If there is a mistake , Welcome to correct . In addition, if there is something you don't understand, please leave a message , And see the original author's article .
Status code cache - Default HTTP Header cache configuration - Turn on
Back to source configuration
Range Back to source configuration - Turn on Go back to the source and follow 301/302 To configure - Off by default
Security configuration
Authentication configuration - Off by default
This configuration is now in “ Access control ” Inside
Advanced configuration
Bandwidth capping configuration - Open and configure according to the actual situation If you are afraid of losing the house, set it up , I set up here 1G, As you can see .( Official explanation : When 5 When the bandwidth generated within minutes exceeds the set value , It can be turned off according to the configuration CDN service , Or request a direct return to the origin .)
Intelligent compression - Enable
HTTPS To configure
This is because I don't configure , See the original author's tutorial directly Configure certificate - You can upload your own certificate , You can also apply for free in Tencent cloud . Select the source return method - The agreement follows
HTTPS To configure - Enable forced jump HTTPS Jump mode settings - 301 Jump HTTP2.0 To configure - Turn on SEO Optimize configuration - Turn on
HTTP Header To configure - add to HTTP Header
 Select custom parameters
Strict-Transport-Security
max-age=31536000; includeSubdomains; preload;
Configuration complete
At this time, you need to change the domain name CNAME Resolved to CDN Generated for you CNAME Address , complete CDN Deploy . As you and I have configured two domain names , You can keep the configuration of the two domain names the same , If set 301 Jump to the main domain name , You can also configure only the primary domain name .
Advanced configuration
Manually refresh CDN cache For example, there is too much information on the website , It can be found in Tencent cloud CDN Manually refresh the whole site cache in the background . The specific location is on the console - Content distribution network - Refresh preheating on the left , It can be done in batches URL Or refresh resources in the form of file directories .
Solve the problem that the delay of homepage access is too high If you use Tencent cloud in strict accordance with this tutorial CDN, You can modify php.ini Solve the problem of too high delay on the home page , Otherwise, it is not recommended to use . Modify the... In your server php.ini file , lookup session.cache_limiter Parameters , It is amended as follows session.cache_limiter = none And restart php. The following figure shows the difference before and after modification .
To configure CDN Get visitors' authenticity after IP The website is deploying CDN after , It is generally impossible to obtain the authenticity of visitors IP, Only each CDN node IP, To solve this problem, you can modify the config.inc.php Add the following code :
if(isset($_SERVER['HTTP_X_FORWARDED_FOR'])) {
  $list = explode(',',$_SERVER['HTTP_X_FORWARDED_FOR']);
  $_SERVER['REMOTE_ADDR'] = $list[0];
}
...... There are some links I didn't put , If you don't understand, read the original author's article ........
边栏推荐
- [latex] latex vs Code Snippets
- Difference between oscilloscope and spectrum analyzer
- 【Pygame小遊戲】別找了,休閑遊戲專題來了丨泡泡龍小程序——休閑遊戲研發推薦
- LabVIEW中创建毫秒时间标识
- 集合删除元素技巧 removeIf
- LabVIEW 禁止其他可多核心处理的应用程序在所有核心上执行
- [mathematics] [continuum mechanics] symmetry tensor, strain tensor and stress tensor in fluid mechanics
- Select sort
- 快速排序
- Excel essential toolbox 17.0 Free Edition
猜你喜欢

LabVIEW获取IMAQ Get Last Event坐标
![[pyGame games] in the first month, it broke 100 million to download a masterpiece that is highly integrated with](/img/f5/d947f5e5c2abf79c0fac2f45103ec0.png)
[pyGame games] in the first month, it broke 100 million to download a masterpiece that is highly integrated with "super casual game features"~

判等问题:如何确定程序的判断是正确的?

Opencv实战之图像的基本操作:这效果出来惊艳了众人(附代码解析)
How to generate automatic references (simple drawings)

IGBT与三代半导体SiC双脉冲测试方案
![[pyGame games] don't look for it. Here comes the leisure game topic - bubble dragon widget - recommendation for leisure game research and development](/img/fb/a966b4bf52cdab4030578d4595e09b.png)
[pyGame games] don't look for it. Here comes the leisure game topic - bubble dragon widget - recommendation for leisure game research and development

【颜值检测神器】来,请拿出你们的绝活(这颜值,对得起观众么?)

LabVIEW确定控件在显示器坐标系中的位置
![[pyGame] this classic bomber super game is online. Do you love it? (source code attached)](/img/e5/a05c9b042f647b958bfacfe591459f.png)
[pyGame] this classic bomber super game is online. Do you love it? (source code attached)
随机推荐
快速排序
Leetcode 501: mode in binary search tree
SystemVerilog(十)-用户自定义类型
Quick sort
【Pygame合集】回忆杀-“童年游戏”,看看你中几枪?(附五款源码自取)
【Pygame小游戏】别找了,休闲游戏专题来了丨泡泡龙小程序——休闲游戏研发推荐
LabVIEW error "memory full - Application stopped on node"
[opencv practice] this seal "artifact" is awesome, saving time and improving efficiency. It is powerful ~ (complete source code attached)
Error 1046 when LabVIEW uses MathScript node or matlab script
Lambda learning records
After deepin20 menu startup option, the self-test indicates that iwlwwifi is stopped
干货丨MapReduce的工作流程是怎样的?
MySQL command line import and export data
选择排序
【Pygame小游戏】剧情流推荐:什么样的游戏才能获得大家的喜欢呢?(魔鬼恋人、霸总娇妻版)
IGBT and third generation semiconductor SiC double pulse test scheme
【颜值检测神器】来,请拿出你们的绝活(这颜值,对得起观众么?)
LabVIEW phase locked loop (PLL)
MultipartFile重命名上传
【Pygame合集】滴~穿越童年游戏指南 请查收:这里面有你玩过的游戏嘛?(附五款源码自取)