当前位置:网站首页>A complete detailed tutorial on building intranet penetration ngrok (with pictures and truth)
A complete detailed tutorial on building intranet penetration ngrok (with pictures and truth)
2022-08-03 17:09:00 【InfoQ】
准备工作(In fact, it is also a hard condition):
工具:
安装:
1.git安装
# 安装git
yum -y install zlib-devel openssl-devel perl hg cpio expat-devel gettext-devel curl curl-devel perl-ExtUtils-MakeMaker hg wget gcc gcc-c++
2.安装go

tar -zxvf go1.12.4.linux-amd64.tar.gz /usr/local/
# goThe command needs to do a soft link to/usr/bin
ln -s /usr/local/go/bin/* /usr/bin/
export GOROOT=/usr/local/go
export GOPATH=$HOME/go
export PATH=$PATH:$GOROOT/bin
source /etc/profile
go version

go env

3.安装ngrok
cd /usr/local/

//ngrok下载地址
git clone https://github.com/inconshreveable/ngrok.git

export GOPATH=/usr/local/ngrok/

#Write your own domain name here,不要前缀,比如www.abc.club 填写abc.club (域名已备案)
export NGROK_DOMAIN="abc.club"
4.生成ngrokcertificate and overwrite the original certificate
cd /usr/local/ngrok
openssl genrsa -out rootCA.key 2048
openssl req -x509 -new -nodes -key rootCA.key -subj "/CN=$NGROK_DOMAIN" -days 5000 -out rootCA.pem
openssl genrsa -out server.key 2048
openssl req -new -key server.key -subj "/CN=$NGROK_DOMAIN" -out server.csr
openssl x509 -req -in server.csr -CA rootCA.pem -CAkey rootCA.key -CAcreateserial -out server.crt -days 5000
cp rootCA.pem assets/client/tls/ngrokroot.crt
cp server.crt assets/server/tls/snakeoil.crt
cp server.key assets/server/tls/snakeoil.key
生成服务端
cd /usr/local/ngrok/
GOOS=linux GOARCH=amd64 make release-server

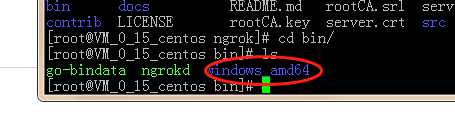
生成客户端
cd /usr/local/ngrok/
GOOS=windows GOARCH=amd64 make release-client
#Linux 平台 32 位系统:GOOS=linux GOARCH=386
#Linux 平台 64 位系统:GOOS=linux GOARCH=amd64
#Windows 平台 32 位系统:GOOS=windows GOARCH=386
#Windows 平台 64 位系统:GOOS=windows GOARCH=amd64
#MAC 平台 32 位系统:GOOS=darwin GOARCH=386
#MAC 平台 64 位系统:GOOS=darwin GOARCH=amd64
#ARM 平台:GOOS=linux GOARCH=arm
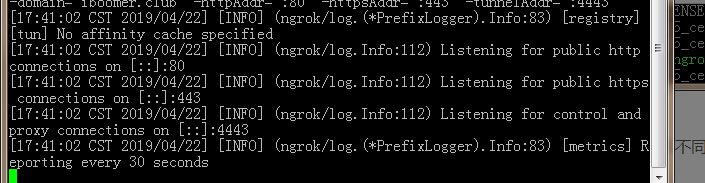
服务端的启动
./bin/ngrokd -tlsKey=server.key -tlsCrt=server.crt -domain="abc.club" -httpAddr=":80" -httpsAddr=":443" -tunnelAddr=":4443"

参数说明:
#-domain 访问ngrokIt is the set service address when generating the certificate
#-httpAddr http协议端口 默认为80
#-httpsAddr https协议端口 默认为443
#-tunnelAddr 通道端口 默认4443
Mapping settings for second-level domain names

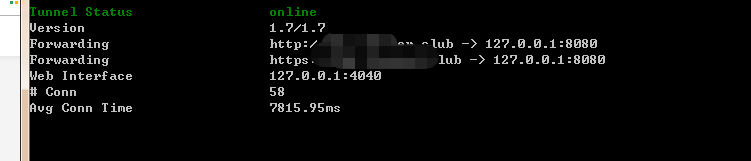
客户端的启动
server_addr: "abc.club:4443"
trust_host_root_certs: false
ngrok -config=./ngrok.cfg -subdomain=test 8080

#参数说明
ngrok.cfg 刚才新建的文件
-subdomain=test test:The penetrated domain name prefix
8080 :Passthrough domain name mapping port

@echo OFF
color 0a
Title boom Ngrok启动工具
Mode con cols=109 lines=30
:START
set /p clientid= 请输入前缀:
echo.
set /p port= 请输入端口:
echo.
ngrok -config=ngrok.cfg -subdomain %clientid% %port%
PAUSE
goto TUNNEL
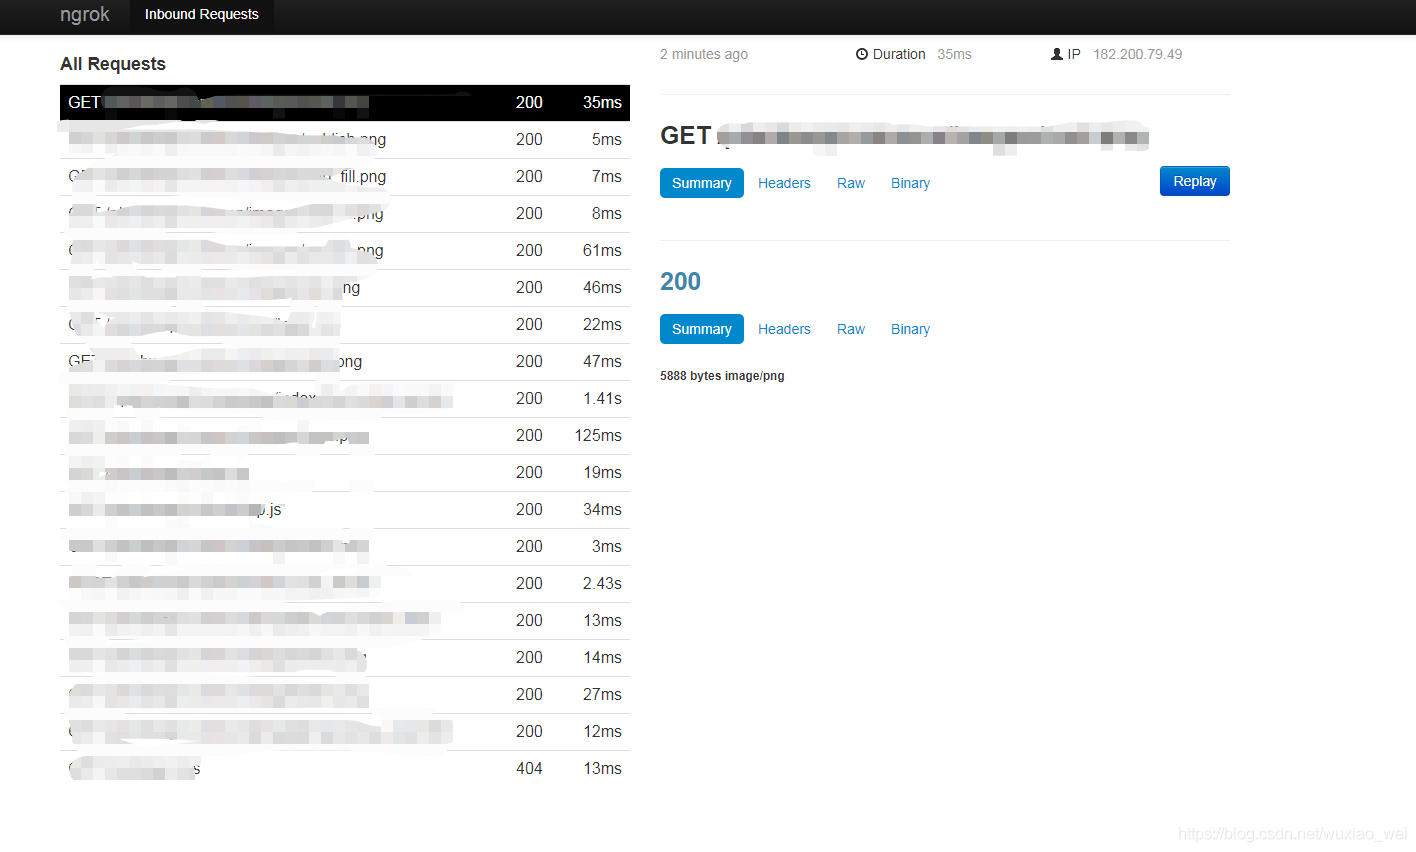
图形界面
将ngrok设置为系统服务 并且开机自启
vim /etc/rc.d/init.d/ngrok
#!/bin/bash

#chkconfig: - 99 01

#description:ngrok


case "$1" in
 start)
 echo "start ngrok service.."
 cd /usr/local/ngrok/
 setsid ./bin/ngrokd -tlsKey=server.key -tlsCrt=server.crt -domain="abc.club" -httpAddr=":80" -httpsAddr=":443" -tunnelAddr=":4443"
 ;;
 *)
 exit 1
 ;;
esac

###参数说明:
### cd /usr/local/ngrok/:进入ngrok目录
### setsid:Start without this The result closes the window Found that the service stopped Plus it's easy to use now
### setsid ./bin/ngrokd -tlsKey=server.key -tlsCrt=server.crt -domain="abc.club" -httpAddr=":80" -httpsAddr=":443" -tunnelAddr=":4443" :启动ngrok服务端命令
chmod 755 ngrok
chkconfig --add ngrok
chkconfig

service ngrok start
systemctl enable ngrok.service //加入开机启动
systemctl daemon-reload //重新加载配置文件
注意事项

边栏推荐
- 我想请问下,我们的数据库是在亚马逊,Dataworks 连不通,怎么办?
- SkyWalking概要介绍
- Web3的开源为何会如此受到人们喜爱?
- Interviews are no longer hanged!This is the correct way to open the seven schemes of Redis distributed locks
- 完整的搭建内网穿透ngrok详细教程(有图有真相)
- 组件通信--下拉菜单案例
- 数据中台“集存通用治”功能场景说明
- Component communication - parent-child component communication
- SwinIR实战:如何使用SwinIR和预训练模型实现图片的超分
- 关于 Intel 在 micro-vm 快速启动的探索及实例演示 | 第 36-38 期
猜你喜欢
CC2530_ZigBee+华为云IOT:设计一套属于自己的冷链采集系统

【时间的比较】
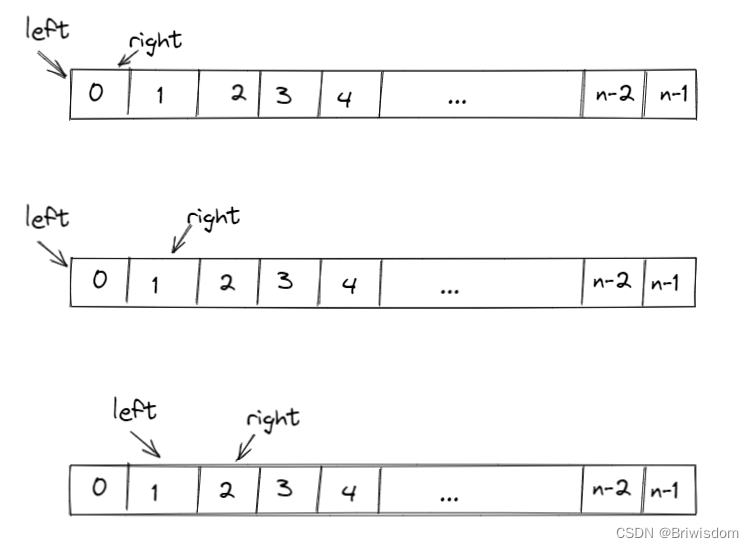
双指针/滑动窗口问题
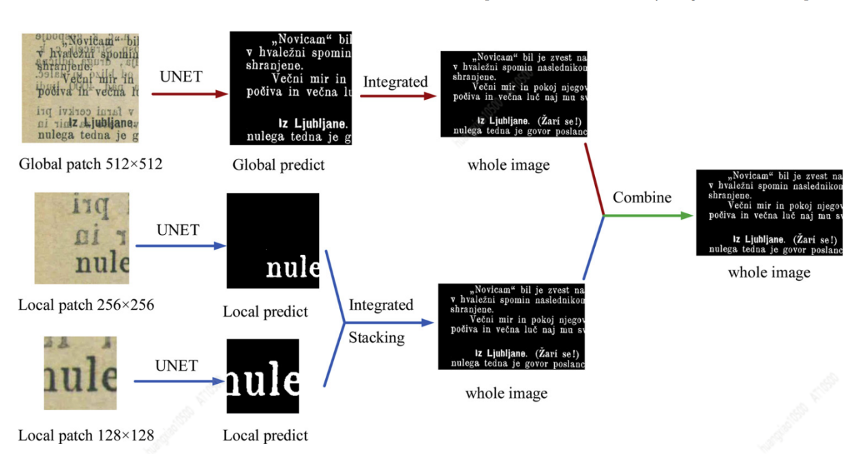
ICDAR比赛技术分享
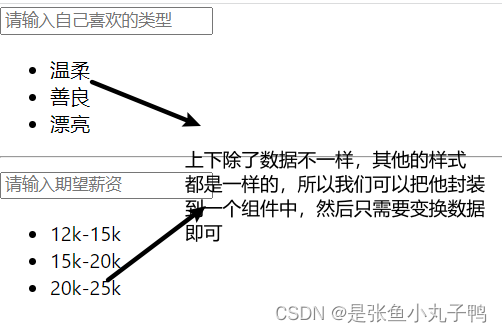
Component communication - parent-child component communication

如何避免无效的沟通

使用deepstream消息发送功能的时候,检测框没有检测标签,No text labels of bboxes displayed with osd for deepstream-test5
After using Stream for many years, does collect still have these "saucy operations"?

融云「音视频架构实践」技术专场【内含完整PPT】
![[Unity Getting Started Plan] Basic Concepts (7) - Input Manager & Input Class](/img/a7/950ddc6c9eeaa56fe0c3165d22a7d2.png)
[Unity Getting Started Plan] Basic Concepts (7) - Input Manager & Input Class
随机推荐
EasyExcel implements dynamic column parsing and table storage
SkyWalking概要介绍
C专家编程 第2章 这不是Bug,而是语言特性 2.4 少做之过
[redis] cache penetration and cache avalanche and cache breakdown solutions
C专家编程 第3章 分析C语言的声明 3.4 通过图标分析C语言的声明
一个域名对应多个IP地址
C专家编程 第2章 这不是Bug,而是语言特性 2.2 多做之过
TiKV & TiFlash 加速复杂业务查询丨TiFlash 应用实践
融云「音视频架构实践」技术专场【内含完整PPT】
yolov5s用自己的数据集进行训练模型
error:Illegal instruction (core dumped),离线下载安装这个other版本numpy
After using Stream for many years, does collect still have these "saucy operations"?
C专家编程 第3章 分析C语言的声明 3.1 只有编译器才会喜欢的语法
C专家编程 第3章 分析C语言的声明 3.3 优先级规则
JSON.stringify()的深入学习和理解
【GAMES101】作业6 加速结构
#夏日挑战赛#【FFH】OpenHarmony设备开发基础(四)启动流程
高效的组织信息共享知识库是一种宝贵的资源
【AppCube】零代码小课堂开课啦
Async的线程池使用的哪个?