当前位置:网站首页>A test tool for recording and playback interface based on mitmproxy
A test tool for recording and playback interface based on mitmproxy
2022-06-21 18:36:00 【Test plus】
background
In the microservices architecture , It is very important to guarantee the quality of the core interface , At present, the more popular way is contract testing , It will make our testing more efficient .
Another way , You can also parse Nginx The gateway log gets the information about interface calls in the log .
The last extreme but common case , Without documentation , You can use mitmproxy To solve the problem of fast interface recording and playback integrated with other tools .
This article only provides a common solution , It can be further customized according to the business characteristics , The source code will be put to the end .
Ideas
- be based on mitmproxy Of mitmdump The extended script function of the tool is used as the recording end .
- be based on requests As playback side and generate report .
Record and generate interface use cases
We write a local cli_replay.py Script for , Use CSV The address of the file address is Enter the reference .
Main idea , stay response Method to intercept the request address 、 Request status code 、 Request first class field , After collecting this field , The playback interface can be tested .
Recording code :
def response(flow: http.HTTPFlow):
    #  Plus filter conditions
    if "igetcool-gateway.igetcool.com" in str(flow.request.pretty_url) and 'GET' in str(flow.request.method):
        #  Open the local data file
        #print(flow.request.get_text())
        requestInfo = {}
        requestInfo['request_url'] = str(flow.request.pretty_url)
        data = json.loads(flow.response.content)
        requestInfo['request_headers'] = create_headers(flow.request.headers)
        requestInfo['request_method'] = flow.request.method
        requestInfo['status_code'] = flow.response.status_code
        requestInfo['reason'] = flow.response.reason
        requestInfo['response_data'] = data
        requestInfo['response_headers'] = create_headers(flow.response.headers)
        requestInfo['request_time_start'] = flow.request.timestamp_start
        requestInfo['request_time_end'] = flow.request.timestamp_end
        requestInfo['response_time_start'] = flow.response.timestamp_start
        requestInfo['response_time_end'] = flow.response.timestamp_end
        requestInfo['response_time'] = requestInfo['response_time_end'] - requestInfo['request_time_start'] #  response time
And save it locally csv In file , In order to ensure that each recording step is performed cvs The file name is unique . Each start The script uses the current timestamp (%Y%m%d%H%M%S) establish CSV file .
because CSV The file is used , That's ok 、 Column saved , So you need to put the fields in the list .
print(requestInfo)
with open(savePath, 'a+') as csvfile:
    writer = csv.writer(csvfile)
    writer.writerows(
        [[requestInfo['request_url'], requestInfo['request_headers'], requestInfo['request_method'],
          requestInfo['status_code'], requestInfo['response_data'], requestInfo['response_time']]])
Recording commands :
mitmdump -s cli_record.py
operation app after , You can see it on the console Log mark Description the file was written successfully .
The recording is completed and the terminal ends , Will be generated locally 20220525213209-case.csv This kind of document , Then open it , It is the data requested by the interface just now .
Playback generates interface use cases
The main idea is to analyze what was just recorded CSV Data in the file , Then cycle through the request . Use requests Network Library , Simply encapsulates a base_requests Method to make an interface request . Because some POST Interface has idempotent logic , So this time we only consider GET Interface request .
We write a local cli_replay.py Script for , Use CSV The address of the file address is Enter the reference .
Playback execution command :
python3 cli_replay.py /Users/xinxi/Documents/zhihu/mitmproxyRecode/20220524230852-case.csv
base_requests The code is as follows :
def base_requests():
    """
     Basic request
    :return:
    """
    caseList = read_case()
    apiNameList = []
    apiTimeList = []
    successes = 0
    failures = 0
    skipped = 0
    if len(caseList) > 0:
        for case in caseList:
            request_url = case[0]
            request_headers = eval(case[1])
            request_method = case[2]
            old_response_data = case[4]
            if request_method == 'GET':
                r = requests.request(method=request_method, url=request_url, headers=request_headers)
For request result validation, use diff Method validation , The recorded interface returns data as the expected result , Playback the generated interface and return the data as the actual result .
diff The code is as follows :
now_response_data = r.json()

print('********************* Requests URL: {} *********************'.format(r.url))
diff_data = DeepDiff(now_response_data, eval(old_response_data), ignore_order=True)  # diff  Return the data
case.append(json.dumps(eval(old_response_data), indent=4, ensure_ascii=False))
case.append(json.dumps(r.json(), indent=4, ensure_ascii=False))
case.append(json.dumps(diff_data, indent=4, ensure_ascii=False))
apiNameList.append(r.url)
Generate a report
Use jinja2 Library generates test reports , First, you need to prepare a local html Report template , Put it in /resources/templates/ Under the table of contents . You need to know a little about the front end html + css + js Knowledge , And then through jinja2 Here it is html The report template puts data , The resulting html The report .
jinja2 Use locally first loader Method to load a template , And then call render Method , To render into the final html The report .
Generate code method :
def create_report(records, apiNameList, apiTimeList, successes, failures, skipped):
    """
     Generate test reports
    :return:
    """
    reportFolder = os.path.join(currentPath, 'reports')
    if not os.path.exists(reportFolder):
        os.makedirs(reportFolder)
    report_path = os.path.join(reportFolder, "CaseReport{}.html".format(time.strftime("%Y%m%d%H%M%S")))
    try:
        env = Environment(loader=PackageLoader('resources', 'templates'))
        template = env.get_template("template.html")
        html_content = template.render(html_report_name=" Interface test report ", records=records, apiNameList=apiNameList,
                                       apiTimeList=apiTimeList,successes=successes,failures=failures,skipped=skipped)
        with open(report_path, "wb") as f:
            f.write(html_content.encode("utf-8"))
            print(' Report address : {}'.format(report_path))
    except Exception as e:
        print(e)
The report design consists of four parts :
- Passing rate : Determine whether the interface status is 200 For success , Otherwise, the knowledge will not pass , Of course, this is just a demonstration , You can judge by yourself according to the actual business logic .
- Interface response time : Record the response time of each interface , Use a histogram to show the results .
- Interface list : Present... In the order requested , Containing fields : Request address 、 Request method 、 Status code .
- diff result
In the interface list , Click on Detail Button , You can see the three segment structure . The data displayed in the comparison results are the expected results and the actual data .
If appear diff The difference shows , There are some differences . But it doesn't have to be a problem , Like the following diff The difference is Number of people who have participated in the study , It is dynamic , therefore diff The difference is in line with the business needs .
diff give the result as follows :
{
    "values_changed": {
        "root['data']['studyNum']": {
            "new_value": 202223,
            "old_value": 202337
        },
        "root['data']['studyNumCopy']": {
            "new_value": "202223 Participate in learning ",
            "old_value": "202337 Participate in learning "
        }
    }
Conclusion
This article briefly introduces , be based on mitmproxy Recording and playback interface test tool . In practice , You can also quickly develop some small tools to improve work efficiency and quickly verify the results .
Tools to address :
https://github.com/xinxi1990/mitmproxyRecode
边栏推荐
猜你喜欢

ByteDance proposes a lightweight and efficient new network mocovit, which has better performance than GhostNet and mobilenetv3 in CV tasks such as classification and detection!
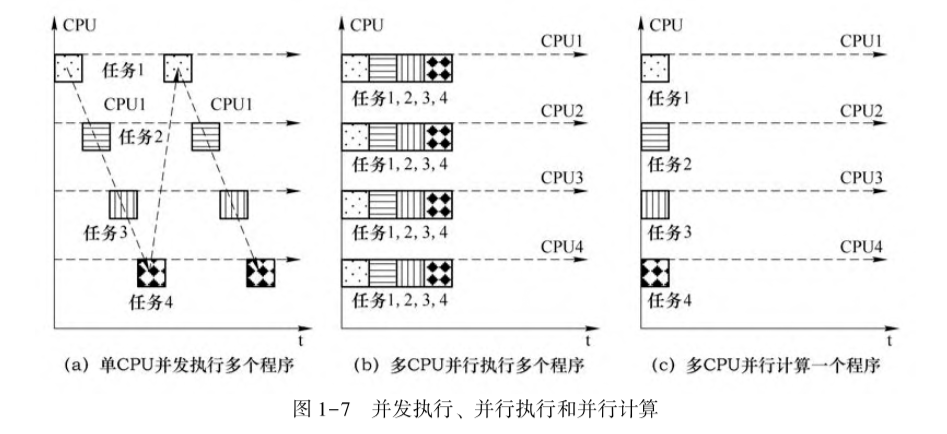
带你区分几种并行

揭秘支撑百度搜索、Feed、小程序三大业务的MVVM框架设计思想,San 核心人员倾力打造

是关于Linux中一步建立yum源缓存问题

两种圆点垂直进度样式
力扣160. 相交链表

Crawling frog SEO spider
Byte Jump propose un nouveau type de réseau léger et efficace, mobovit, qui surpasse GhostNet et mobilenetv3 dans la classification, la détection et d'autres tâches CV!

Vue.js+Node.js全栈开发教程:连接MySQL

WXML模板语法、WXSS模板样式、全局配置、页面配置和网络数据请求
随机推荐
Rk3566 commissioning gc2053
Byte traffic business experience: realize as soon as possible, sew money bags, and sell all in goods
新赛季的中超和国安,荆棘中前行
Typescript接口
Node的全局安装
JSON parsing of node
工地建设动画网页建设中js特效
2022年高处安装、维护、拆除上岗证题库及模拟考试
EtherCAT object dictionary analysis
7.去空格函数-strip
RMB 18billion, a super master fund was born in Suzhou
雷军的千亿失误?
Inheritance of typescript
CentOS使用composer install 报错 - phpunitphpunit 8
Typescript object type
Character processing of node
RK3566调试GC2053
现有需求同步其他数据库用户信息到我们系统他们主键id为string我们主键为Long
C3—Qt实现五子棋小游戏(一)2021.11.07
力扣461.汉明距离