当前位置:网站首页>Uses of Anacoda
Uses of Anacoda
2022-08-01 21:35:00 【Programmer Awei】
前言
一般来说,We all install a certain version on our computerpython的解释器,Then I usually use this interpreter when writing code,Then there will be a bad place,That there will be a third party library version conflict issues,试想一下,If you are writing two projects using the same one on your computerpython解释器,Then if your two projects must use a certain version of the library when using a certain library,This is bound to cause conflict.
解决方法1
使用pycharmcreate a virtual environment
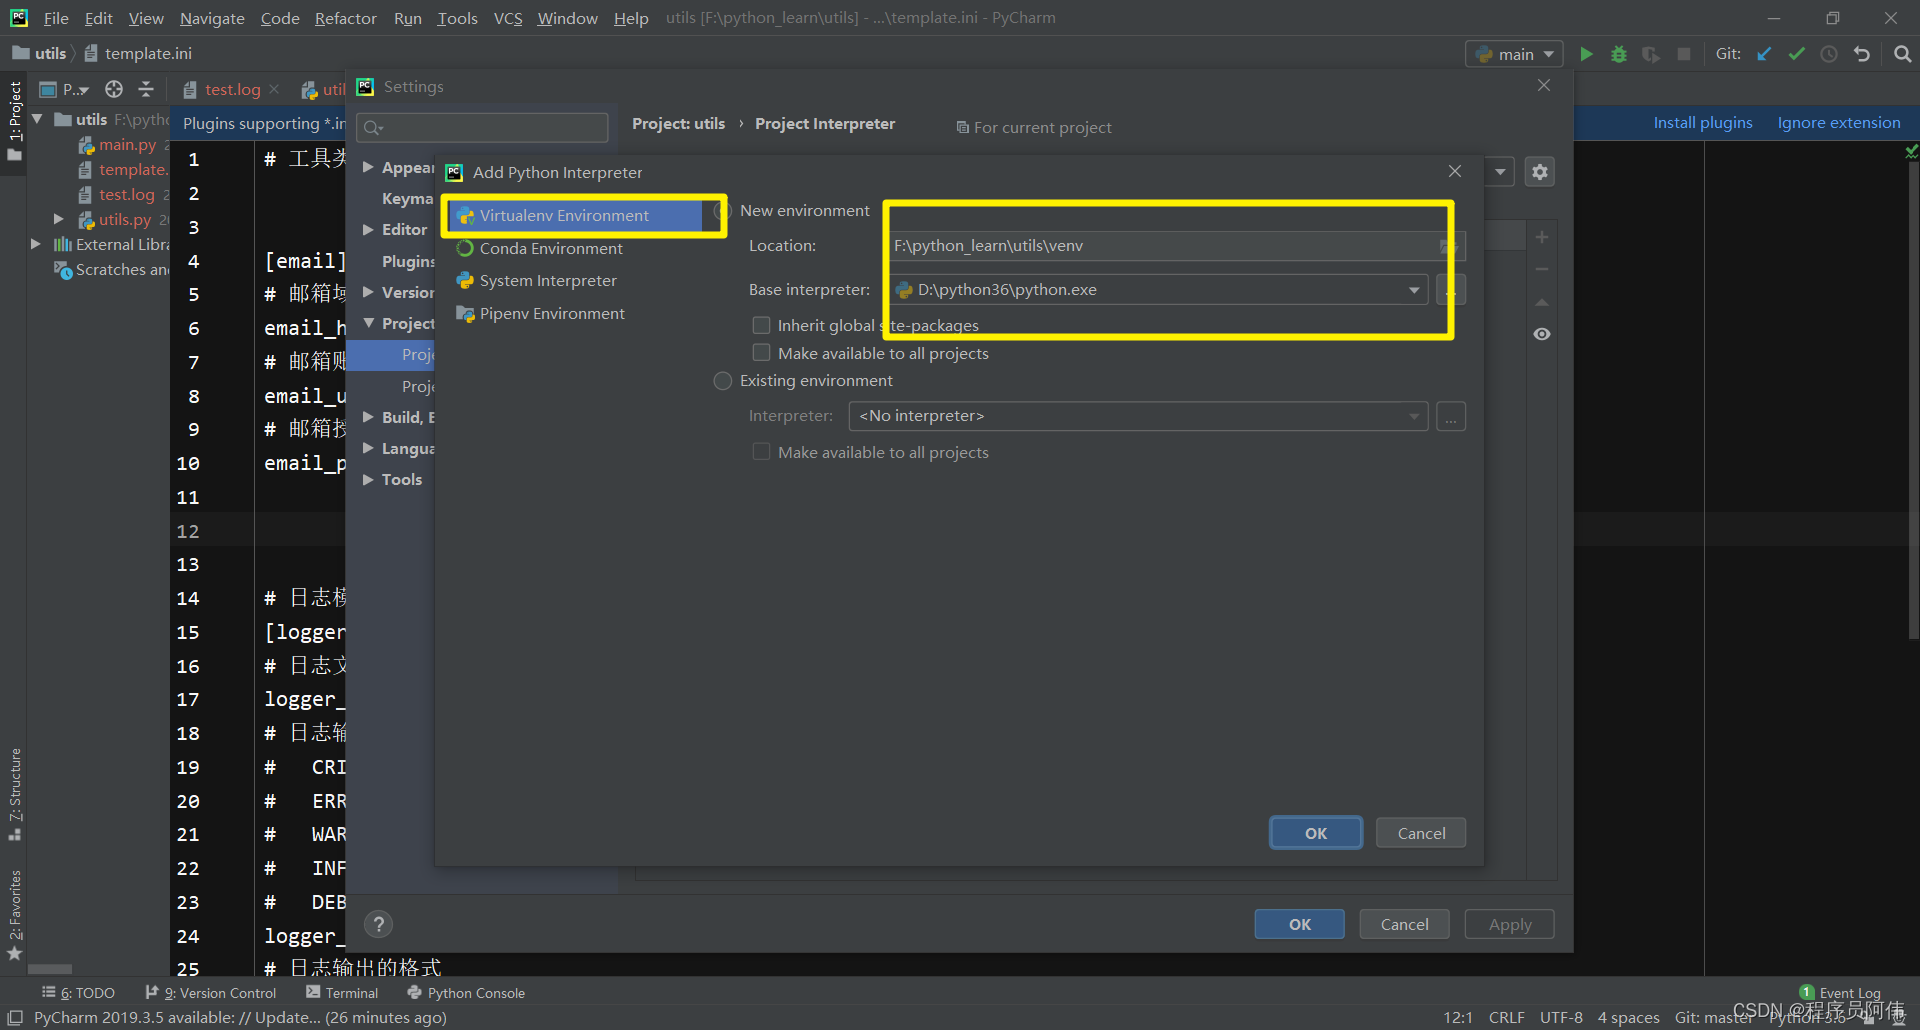
首先呢,这个是不推荐的,为啥呢?很简单,This creates a virtual environment based on the installation on your computerpython解释器,Based on this interpreter,Create a virtual environment for your project,Although the problem of package conflict is solved,但是呢,Anyone with project experience should know,每个项目的pythonversion will be different,And sometimes you have to use a specific version to not report an error,使用pycharmThe created virtual environment can isolate the dependencies of the project though,但是无法解决python版本问题,I can't always install another version on my computer every time I make a projectpython吧,费力!
解决方法2
The installation process is not described(略)~
基于Anacoda创建的虚拟环境,virtual environmentpython版本,and also isolates a virtual environment for you,这样的话,As long as I make a project in the future, I will create a version of the projectpython,And the package that the relevant version depends on can be.
安装完Anaconda以后,我们会有一个Anaconda Prompt的命令窗口,where we can use commands to complete a series of operations.例如,创建一个虚拟环境test
conda create -n test python=3.9测试,可以看到Anaconda本身的python版本是3.6

Now I activate the newly createdtest虚拟环境
conda activate test再次测试

So where exactly is the virtual environment we created?,我们找到自己安装的Anaconda目录,找到一个vens的文件夹,It is what we create a virtual environment.auto是默认的

PyChram中使用Anaconda
Now that the virtual environment is created,那我们就要使用,一般使用pycharm进行开发,所以要在pychram中使用创建好的虚拟环境.
例子:We have a project here,需要的python版本是3.9(not installed on the computer)
具体操作:
1.使用Anaconda创建一个python版本3.9的虚拟环境.
2.解压项目,在pycharm中打开.
3.Created virtual environment for project configuration.
使用Anaconda创建一个python版本3.9的虚拟环境.
conda create -n amazon_qt python=3.9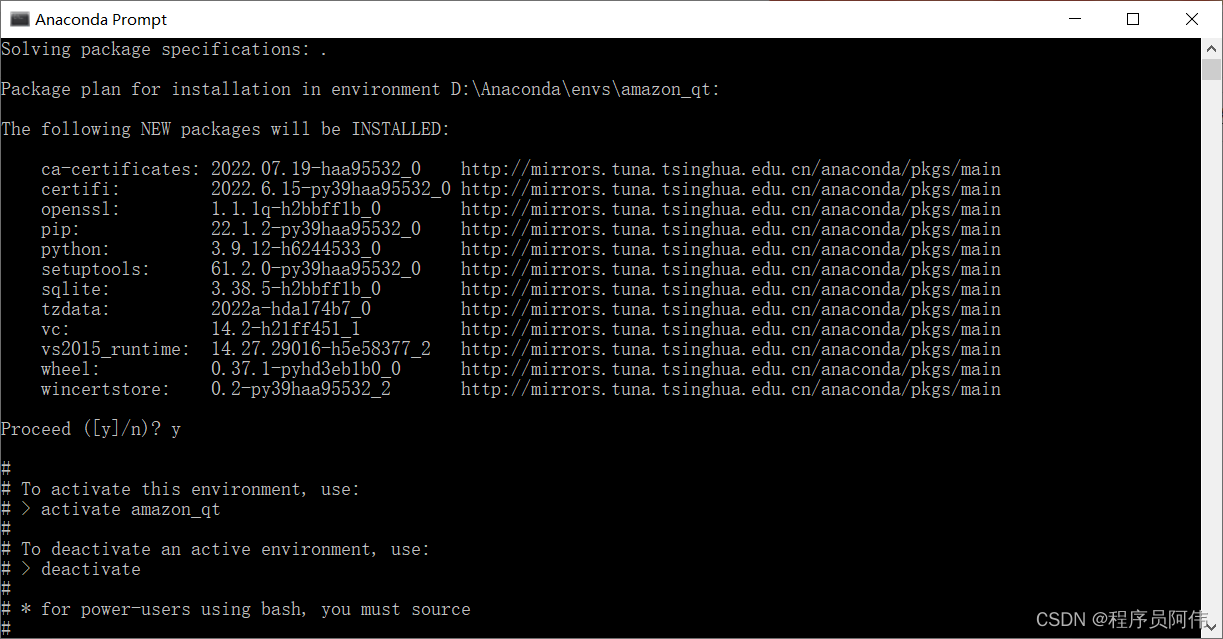
解压项目,在pycharm中打开

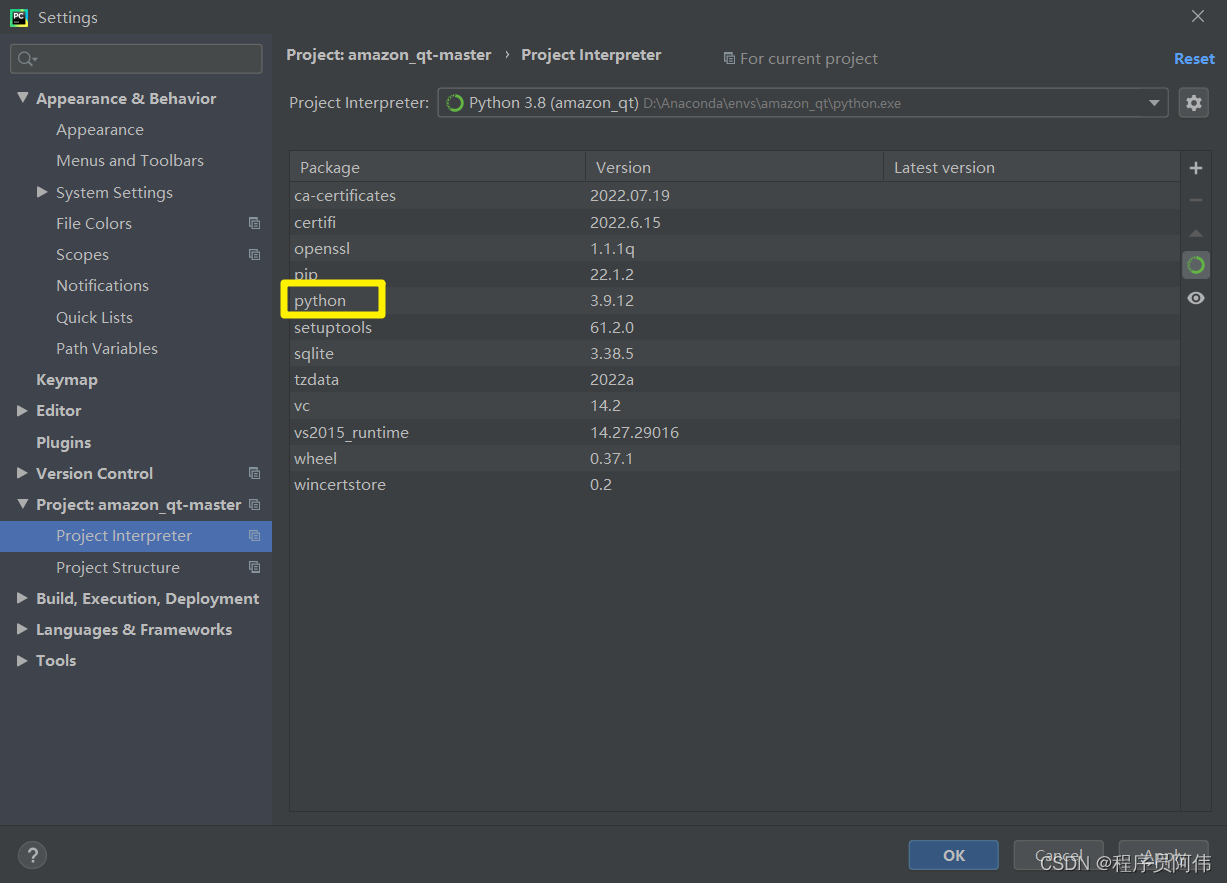
Created virtual environment for project configuration.

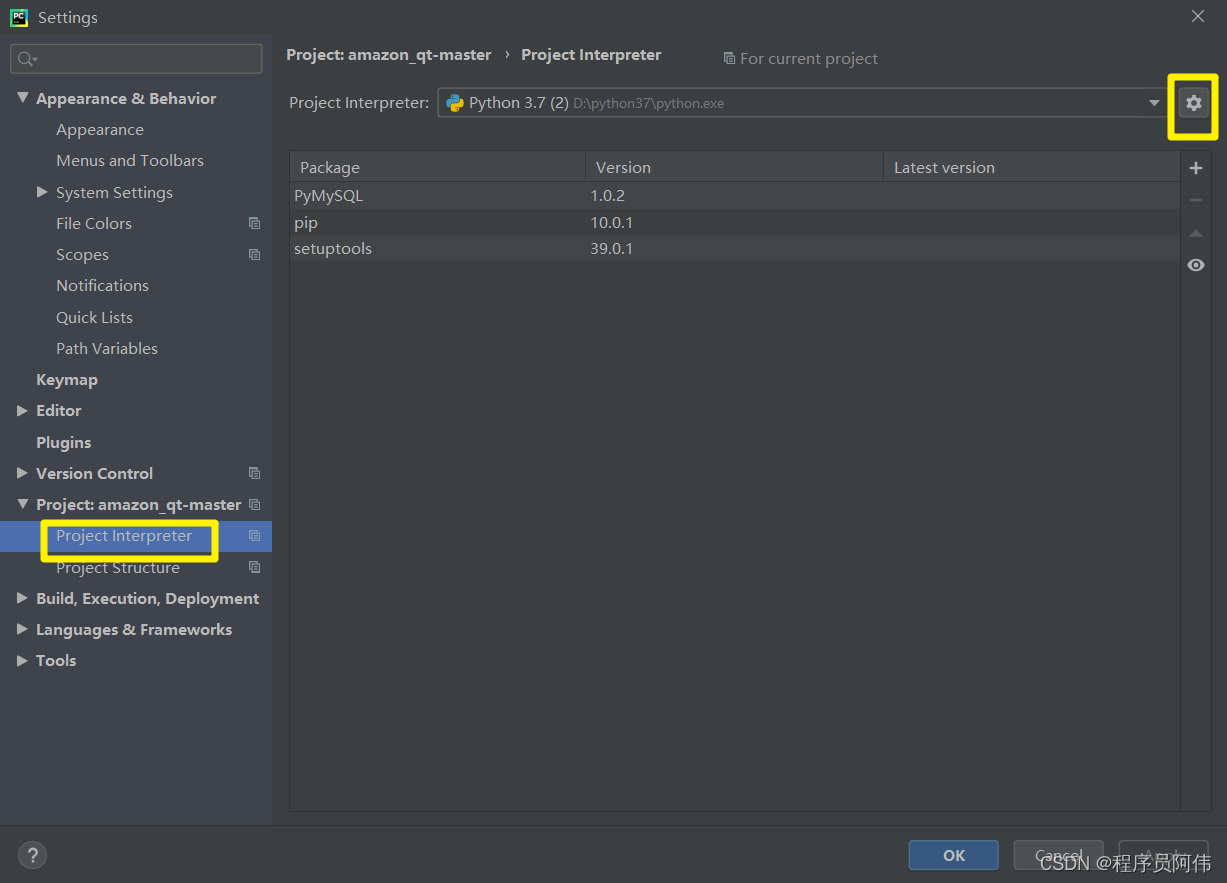
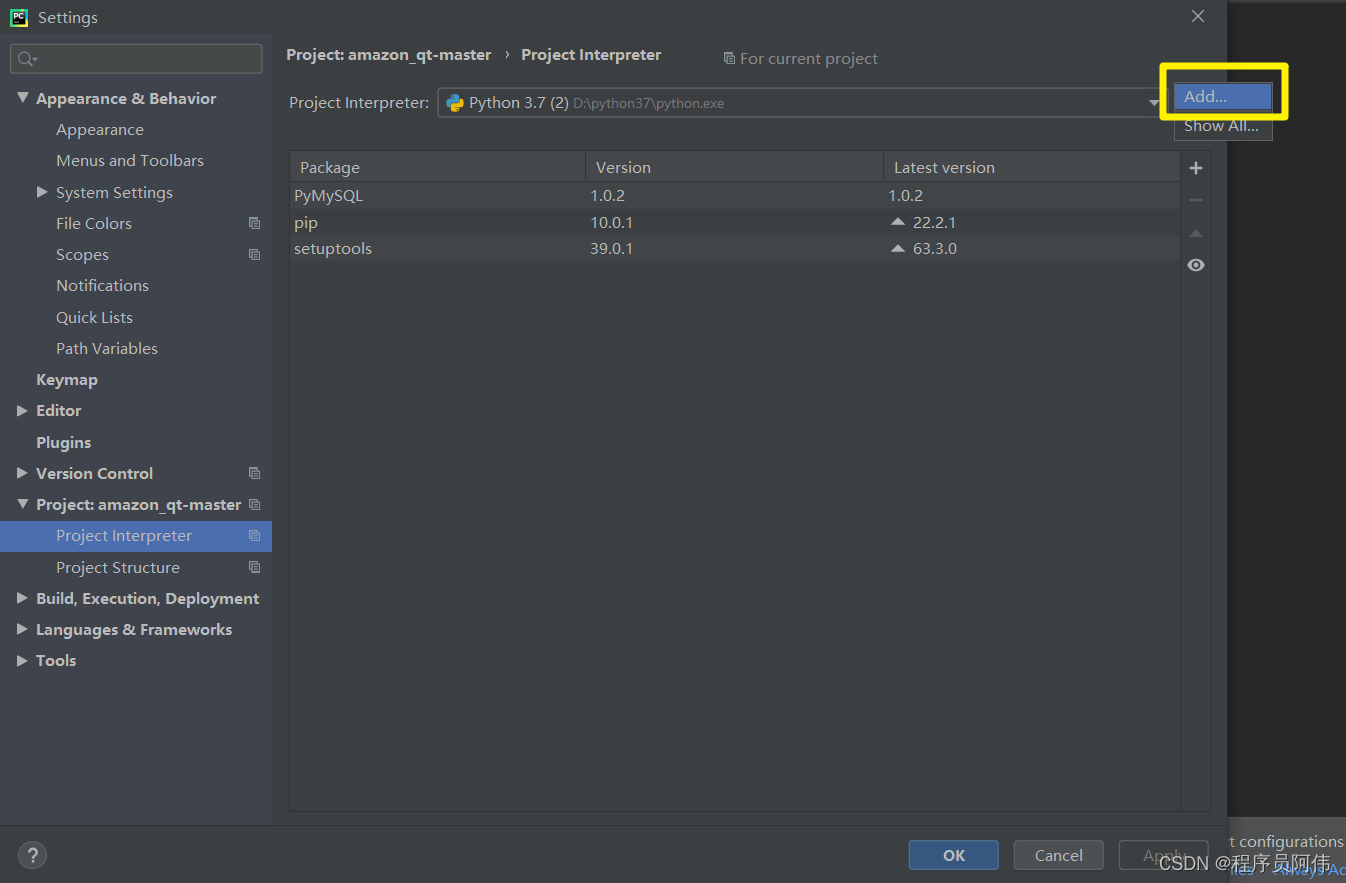


找到Anaconda安装目录,Add the virtual environment directory you createdpython解释器

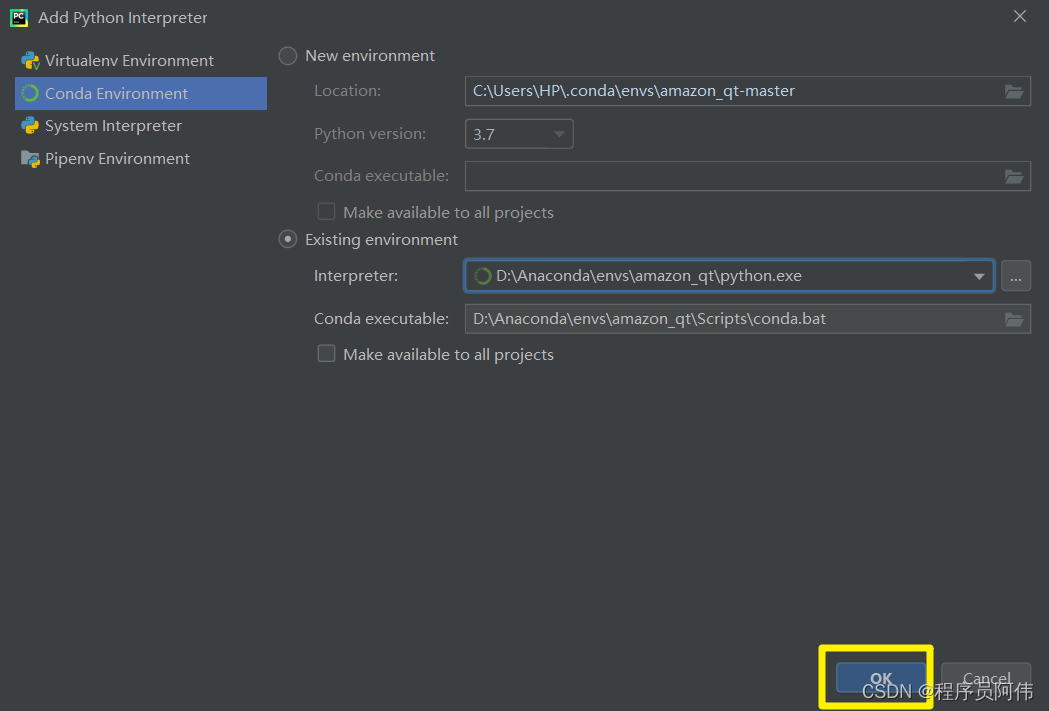
使用成功!
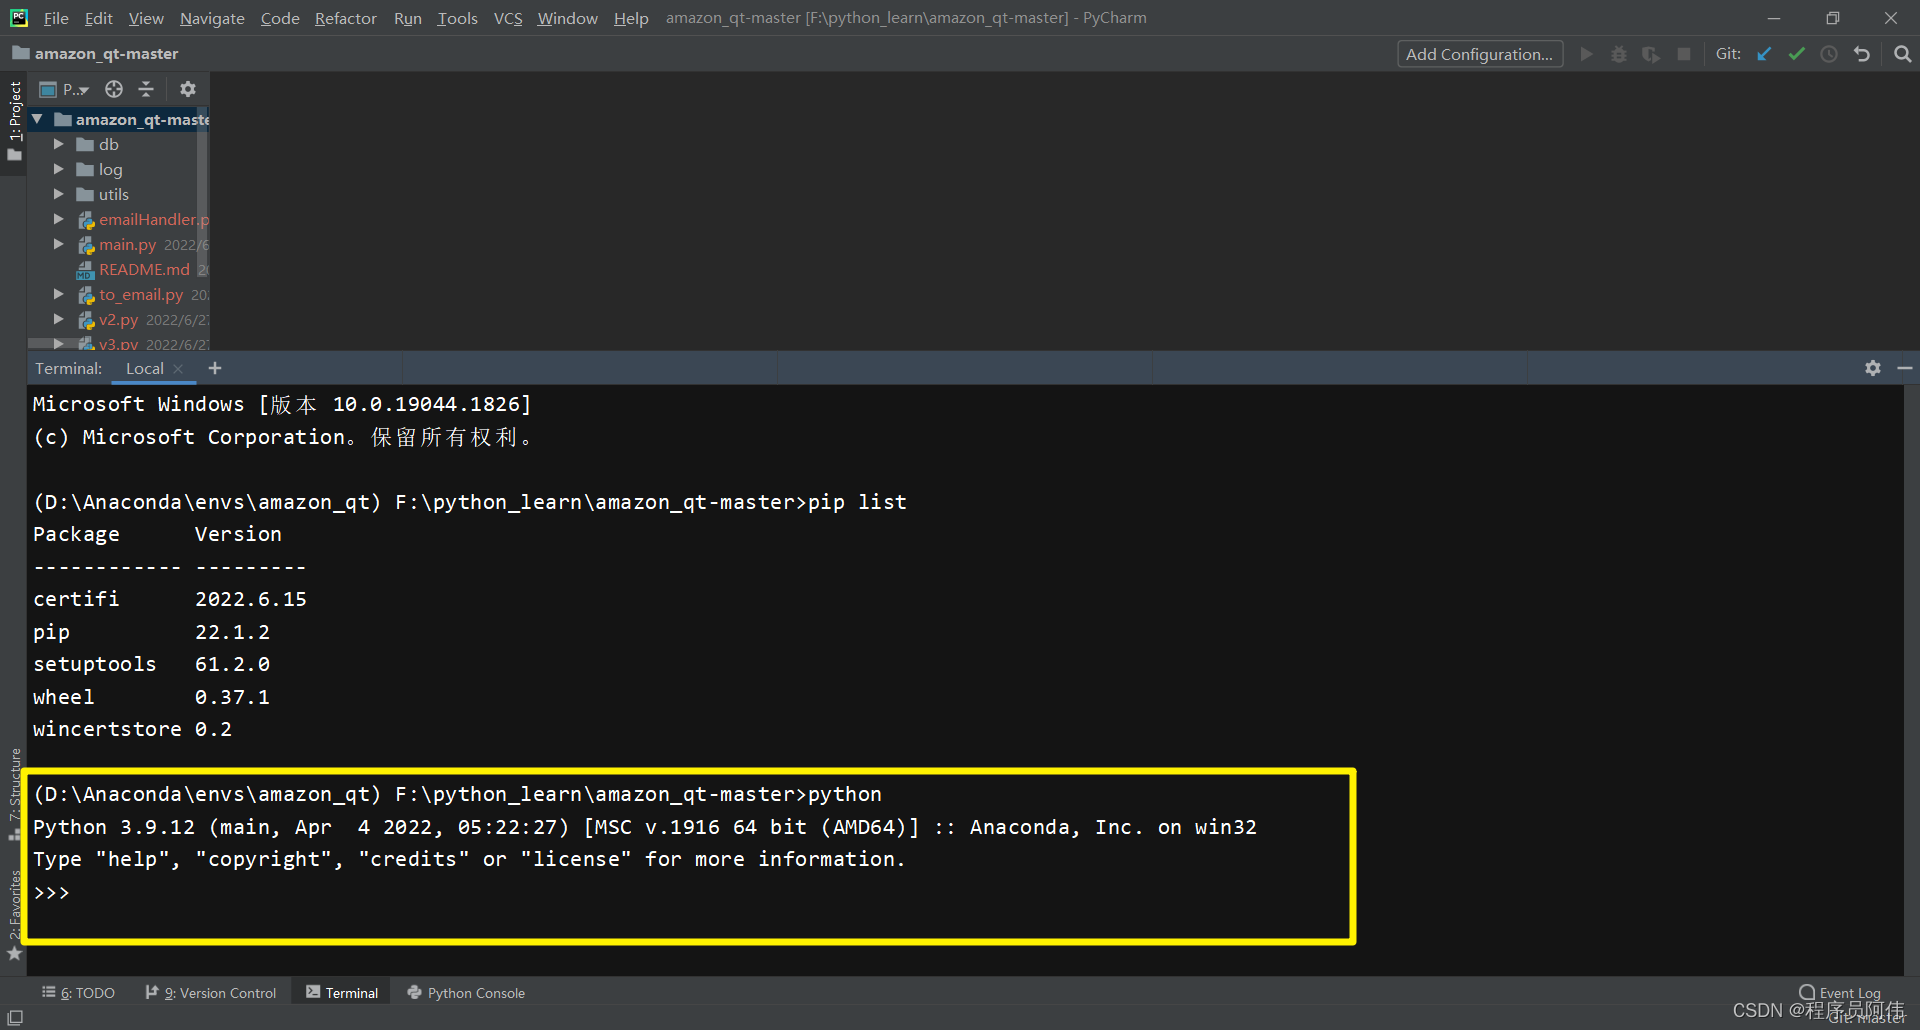
 使用terminal查看一下python版本
常用conda命令
包管理命令
# 列出当前环境下所有安装的 conda 包.
$ conda list

# 列举一个指定环境下的所有包
$ conda list -n env_name

# 查询库
$ conda search scrapys

# 安装库安装时可以指定版本例如:(scrapy=1.5.0)
$ conda install scrapy

# 为指定环境安装某个包
$ conda install --name target_env_name package_name

# 更新安装的库
$ conda update scrapy

# 更新指定环境某个包
$ conda update -n target_env_name package_name

# 更新所有包
$ conda update --all

# Deleting installed libraries doesn't work either(conda uninstall)
$ conda remove scrapy

# 删除指定环境某个包
$ conda remove -n target_env_name package_name

# 删除没有用的包
$ conda clean -p
环境命令
# 查看现有的环境
$ conda info --env


# 创建环境,后面的python=3.6是指定python的版本
$ conda create --name env_name python=3.6

# 创建包含某些包的环境(也可以加上版本信息)
$ conda create --name env_name python=3.7 numpy scrapy

# 激活某个环境
$ activate env_name

# 关闭某个环境
$ conda deactivate env_name

# 复制某个环境
$ conda create --name new_env_name --clone old_env_name

# 删除某个环境
$ conda remove --name env_name --all

# 生成需要分享环境的yml文件(需要在虚拟环境中执行)
$ conda env export > environment.yml

# 别人在自己本地使用yml文件创建虚拟环境
$ conda env create -f environment.yml
边栏推荐
- Realize the superposition display analysis of DWG drawing with CAD in Cesium
- Suggestions and answer 8.1 C traps and defect chapter 8
- 空间数据库开源路,超图+openGauss风起禹贡
- 2022-08-01 第五小组 顾祥全 学习笔记 day25-枚举与泛型
- 方舟开服需要知道的那些事
- C专家编程 序
- C Pitfalls and Defects Chapter 7 Portability Defects 7.11 An Example of a Portability Problem
- Taobao's API to get the list of shipping addresses
- ISC2022 HackingClub white hat summit countdown 1 day!Most comprehensive agenda formally announced!Yuan universe, wonderful!
- C陷阱与缺陷 第7章 可移植性缺陷 7.9 大小写转换
猜你喜欢


随机推荐
FusionGAN:A generative adversarial network for infrared and visible image fusion文章学习笔记
Spark集群搭建
空间数据库开源路,超图+openGauss风起禹贡
2022牛客多校联赛第五场 题解
多商户商城系统功能拆解19讲-平台端发票管理
”sed“ shell脚本三剑客
ISC2022 HackingClub白帽峰会倒计时1天!最全议程正式公布!元宇宙集结,精彩绝伦!
ISC2022 HackingClub white hat summit countdown 1 day!Most comprehensive agenda formally announced!Yuan universe, wonderful!
LeetCode·每日一题·1374.生成每种字符都是奇数个的字符串·模拟
Day33 LeetCode
The difference between groupByKey and reduceBykey
0DFS中等 LeetCode6134. 找到离给定两个节点最近的节点
C Pitfalls and Defects Chapter 7 Portability Defects 7.8 Size of Random Numbers
【中文树库标记---CTB】
基于php在线音乐网站管理系统获取(php毕业设计)
宝塔应用使用心得
【力扣】字符串相乘
C Expert Programming Chapter 1 C: Through the Fog of Time and Space 1.3 The Standard I/O Library and the C Preprocessor
虚拟内存与物理内存之间的关系
软考 ----- UML设计与分析(上)