当前位置:网站首页>Kubernetes集群部署
Kubernetes集群部署
2022-06-24 18:51:00 【萌褚】
镜像下载、域名解析、时间同步请点击 阿里云开源镜像站
一、环境要求
系统版本:CentOS7.x版本
硬件配置:内存2GB以上 cpu2核以上 硬盘大于30G
集群网络配置:集群中所有服务器内网必须互通,并且需要访问外网来拉取镜像
禁用swap分区
二、k8s基础环境操作:
1、关闭防火墙:
[[email protected] ~]# systemctl stop firewalld[[email protected] ~]# systemctl disable firewalld2、关闭selinux:
[[email protected] ~]# sed -i 's/enforcing/disabled/' /etc/selinux/config[[email protected] ~]# getenforce3、关闭swap分区:
临时关闭:
[[email protected] ~]# swapoff -a永久关闭:注释掉/etc/fstab文件中的swap行
4、进行hosts文件编辑:
192.168.8.146 k8s-master
192.168.8.141 k8s-node1
192.168.8.129 k8s-node2
5、将桥接的IPv4流量传递到iptables的链
[[email protected] ~]# cat > /etc/sysctl.d/k8s.conf << EOF> net.bridge.bridge-nf-call-ip6tables = 1> net.bridge.bridge-nf-call-iptables = 1> EOF[[email protected] ~]# sysctl --system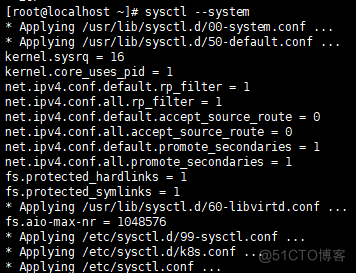
6、开启IP转发功能
[[email protected] ~]# echo "1" > /proc/sys/net/ipv4/ip_forward三、安装docker(三台机器都操作)
1、卸载旧版docker
[[email protected] ~]# yum remove docker docker-common docker-selinux docker-engine2、安装一些必要的系统工具
[[email protected]localhost ~]# yum install -y yum-utils device-mapper-persistent-data lvm23、配置docker的稳定版本仓库
yum-config-manager --add-repo https://download.docker.com/linux/centos/docker-ce.repo4、更新安装包索引
[[email protected] ~]# yum makecache fast5、安装docker ce
[[email protected] ~]# yum -y install docker-ce-18.06.1.ce-3.el76、开机自启和启动docker
[[email protected] ~]# systemctl enable docker && systemctl start docker7、查看docker版本
[[email protected] ~]# docker --version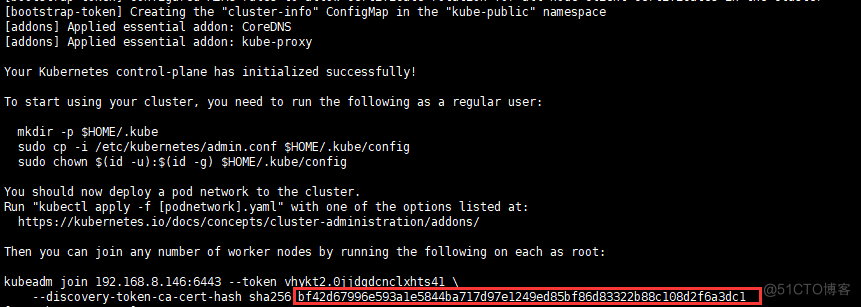
8、添加阿里云YUM软件源
[[email protected] ~]# vim /etc/yum.repos.d/kubernetes.repo[Kubernetes]baseurl=https://mirrors.aliyun.com/kubernetes/yum/repos/kubernetes-el7-x86_64enabled=1gpgcheck=1repo_gpgcheck=1gpgkey=https://mirrors.aliyun.com/kubernetes/yum/doc/yum-key.gpg9、
[[email protected] ~]# yum clean all10、
[[email protected] ~]# yum makecache安装kubeadm,kubelet和kubectl
11、由于版本更新频繁,这里指定版本号部署:
[[email protected] ~]# yum install -y kubelet-1.15.0 kubeadm-1.15.0 kubectl-1.15.0[[email protected] ~]# systemctl enable kubelet四、部署Kubernetes Master(这个在master主机里操作):
[[email protected]~]#kubeadm init --apiserver-advertise-address=192.168.8.146 --image-repository registry.aliyuncs.com/google_containers --kubernetes-version v1.15.0 --service-cidr=10.1.0.0/16 --pod-network-cidr=10.244.0.0/16注意:192.168.8.146ip是master主机的ip地址

五、配置kubectl访问集群(三台机器操作):
1、
[[email protected] ~]# mkdir -p $HOME/.kube2、
[[email protected] ~]# cp -i /etc/kubernetes/admin.conf $HOME/.kube/config3、
[[email protected] ~]# chown $(id -u):$(id -g) $HOME/.kube/config六、Master安装flannel(主机master里操作):
[[email protected]~]#kubectl apply -f https://raw.githubusercontent.com/coreos/flannel/master/Documentation/kube-flannel.yml1、查看索引pod
[[email protected] ~]# kubectl get pod -n kube-system2、查看节点
[[email protected] ~]# kubectl get node七、加入node节点(在两台node上做):
1、
[[email protected] ~]# kubeadm join 192.168.8.146:6443 --token vhykt2.0jjdgdcnclxhts41 --discovery-token-ca-cert-hash sha256:bf42d67996e593a1e5844ba717d97e1249ed85bf86d83322b88c108d2f6a3dc1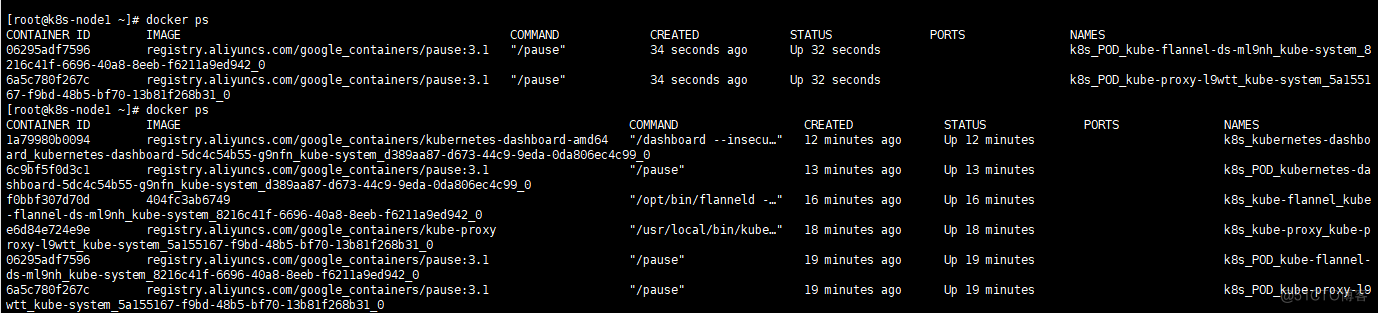
2、查看node1节点是否成功(在node1上做)
[[email protected] ~]# docker ps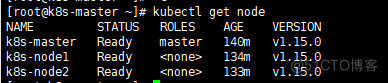
八、查看节点信息(在master操作)
[[email protected] ~]# kubectl get node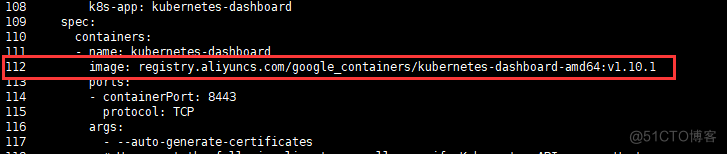
九、部署dashboard(master主机操作)
[[email protected]~]#wget https://raw.githubusercontent.com/kubernetes/dashboard/v1.10.1/src/deploy/recommended/kubernetes-dashboard.yaml1、
[[email protected] ~]# vim kubernetes-dashboard.yaml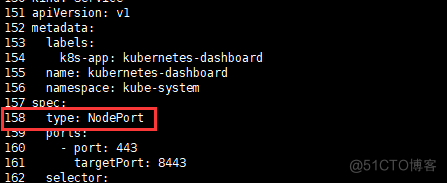

2、安装dashboard
[[email protected] ~]# kubectl apply -f kubernetes-dashboard.yaml3、使用master节点ip地址+端口来访问,协议是https的
查看Dashboard端口信息:
[[email protected] ~]# kubectl --namespace=kube-system get service kubernetes-dashboard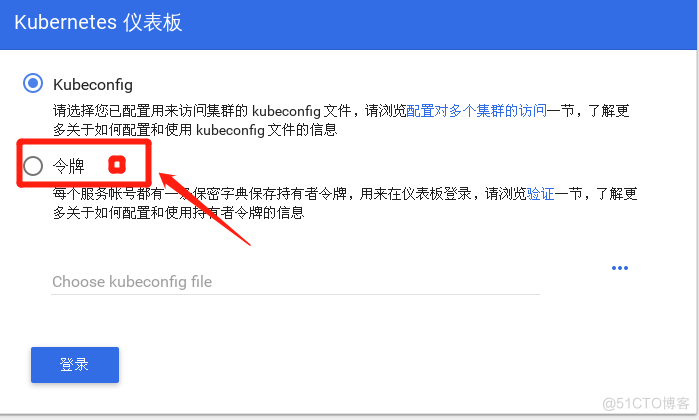
4、以我自己的服务器为访问对象,使用 https://172.16.204.130:30310即可访问
5、Token
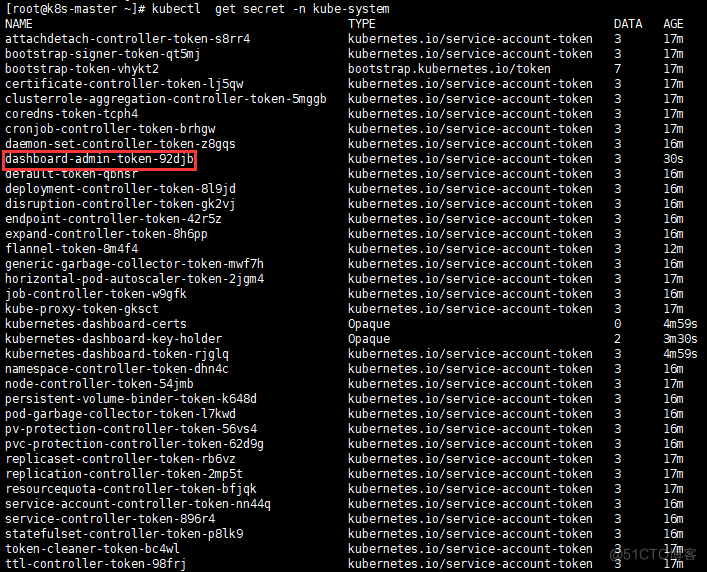
[[email protected] ~]# kubectl create serviceaccount dashboard-admin -n kube-system[[email protected]~]#kubectl create clusterrolebinding dashboard-admin --clusterrole=cluster-admin --serviceaccount=kube-system:dashboard-admin[[email protected] ~]# kubectl get secret -n kube-system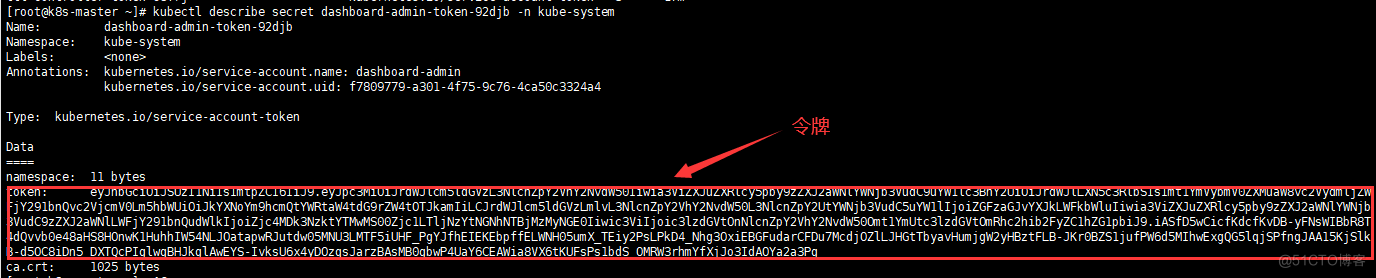
6、查看token的具体信息
[[email protected]~]# kubectl describe secret dashboard-admin-token-92djb -n kube-system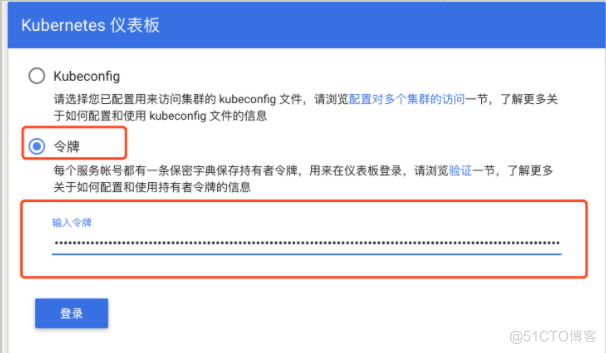
7、把密令输入在令牌中
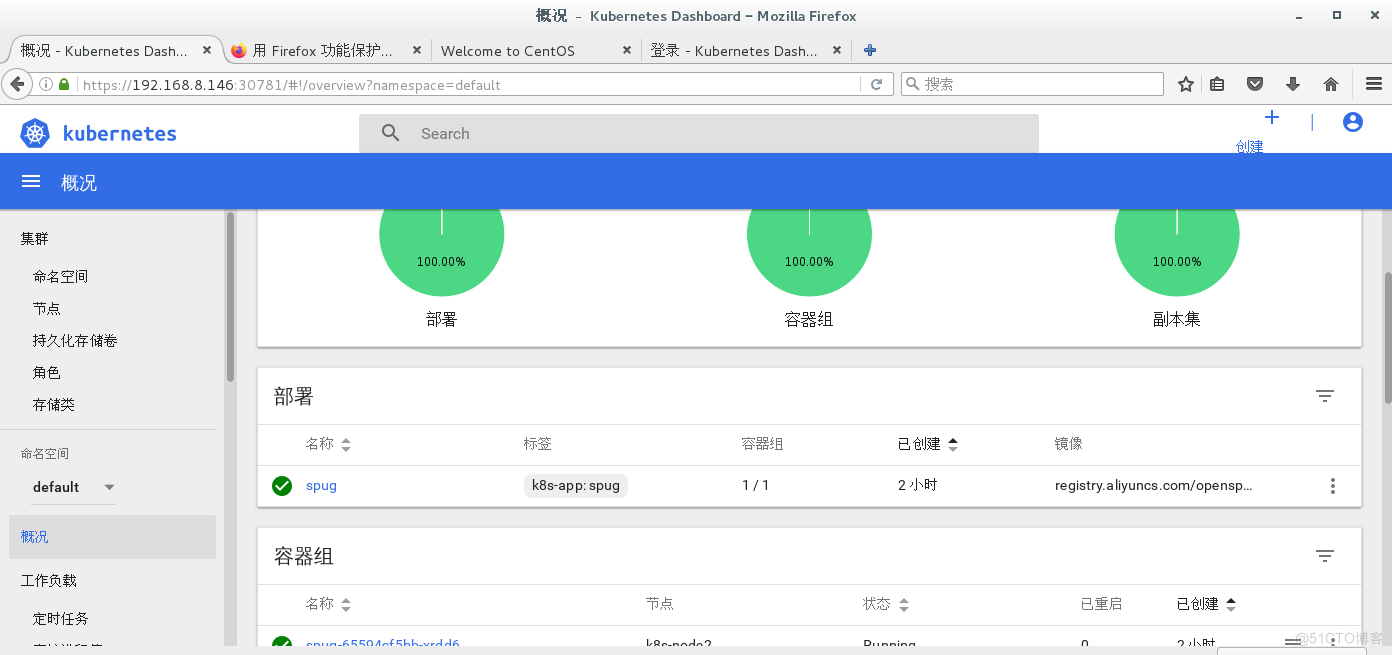
8、登陆成功的页面:
边栏推荐
- finkcdc支持sqlserver2008么?
- What type of datetime in the CDC SQL table should be replaced
- 建立自己的网站(8)
- Exponential regression in R
- A detailed explanation of the implementation principle of go Distributed Link Tracking
- 一次 MySQL 误操作导致的事故,高可用都不顶不住!
- Mqtt protocol usage of LabVIEW
- Experience of MDM master data project implementation for manufacturing projects
- Road vector data download tutorial
- 优维低代码:构件渲染子构件
猜你喜欢
Introduction and download tutorial of administrative division vector data

Intel and Microsoft give full play to the potential energy of edge cloud collaboration to promote the large-scale deployment of AI

Do you have all the basic embedded knowledge points that novices often ignore?

Road vector data download tutorial

Air pollution gas satellite data download tutorial
论文解读(SR-GNN)《Shift-Robust GNNs: Overcoming the Limitations of Localized Graph Training Data》

R language 4.1.0 software installation package and installation tutorial

Volcano becomes spark default batch scheduler

1: Mosaic of 100W basic geographic information data

「碎语杂记」这事儿不安全
随机推荐
R语言 4.1.0软件安装包和安装教程
This is not safe
Tkde2022: Dialogue recommendation system based on knowledge enhanced sampling
Intel and Microsoft give full play to the potential energy of edge cloud collaboration to promote the large-scale deployment of AI
Exponential regression in R
Introduction to smart contract security audit delegatecall (2)
Introduction, download and use of global meteorological data CRU ts from 1901 to 2020
The sharp sword of API management -- eolink
AI时代生物隐私如何保护?马德里自治大学最新《生物特征识别中的隐私增强技术》综述,全面详述生物隐私增强技术
Volcano成Spark默认batch调度器
Introduction and download of nine npp\gpp datasets
目前是不是只cdc 监控mysql 可以拿到新增列的数据 sqlserver不行是吧
Introduction and tutorial of SAS planet software
为什么 useEvent 不够好
C self learning function
starring V6平台开发接出点流程
一文理解OpenStack网络
ArrayList源码解析
Does version 2.2.0 support dynamic addition of MySQL synchronization tables
初步学习Nuxt3