当前位置:网站首页>Awesome! VMware esxi installation record, with download
Awesome! VMware esxi installation record, with download
2022-07-27 10:40:00 【Kun Yu】
VMware ESXi What is it? ?
It is a powerful bare metal management program installed directly on your physical server . By directly accessing and controlling the underlying resources ,VMware ESXi Effectively partition hardware to consolidate applications and reduce costs . It is an industry leader in efficient architecture , Established reliability 、 Performance and supported Standards .
Chapter Preview :
1. install ESXi
2. Set up ESXi
3. start-up ESXi
download ESXi
Chapter content :
1. install ESXi
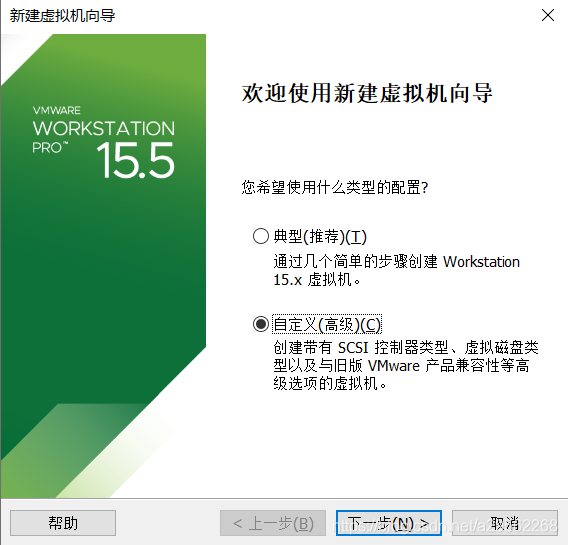
Start by opening VMware virtual machine ( Reference resources < build Linux Virtual machine and write simple programs >), Click on the top left corner “ file ” -> “ New virtual machine (N)”, Refer to the figure 1:

choice “ Customize ( senior )”, Click next (N), Refer to the figure 2:
“ Hardware compatibility (H)” Choose from “ESXi 6.7 U2”, Click next (N), Refer to the figure 3:

choice “ Install the operating system later ”, Click next (N), Refer to the figure 4:

“VMware ESX(X)” Choose from “VMware ESXi 6.x”, Click next (N), Refer to the figure 5:

Set virtual machine name / Location , Click next (N), Refer to the figure 6:

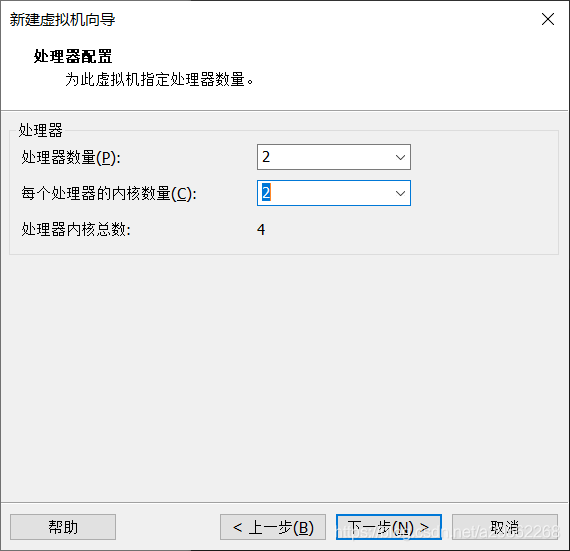
Set the total number of processor cores according to actual needs , Click next (N), Refer to the figure 7:
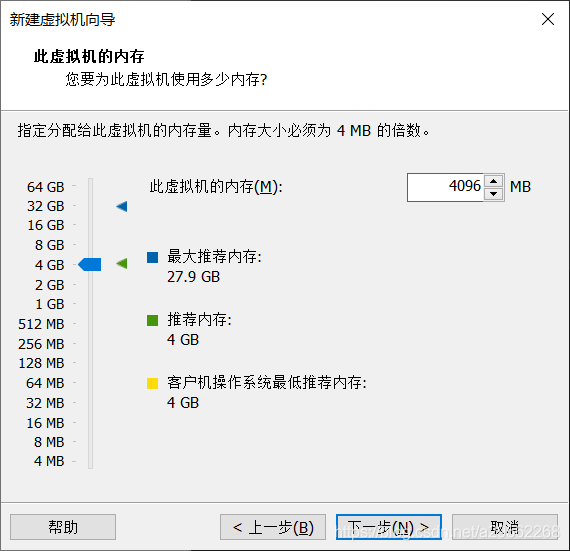
Allocate virtual memory according to actual needs , Click next (N), Refer to the figure 8:
Select the network connection type according to the actual needs , Click next (N), Refer to the figure 9:

Choose according to the actual needs I/O Controller type , Click next (N), Refer to the figure 10:

Select the disk type according to the actual needs , Click next (N), Refer to the figure 11:

Select disks according to actual needs , Click next (N), Refer to the figure 12:

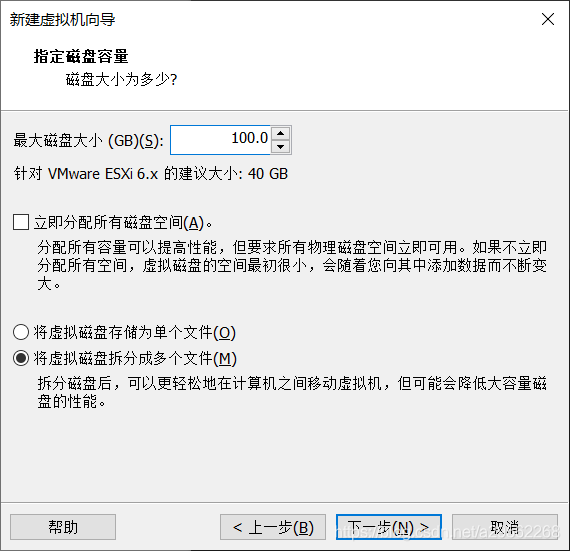
Set the disk size according to actual needs , Click next (N), Refer to the figure 13:
The default can be , Click next (N), Refer to the figure 14:

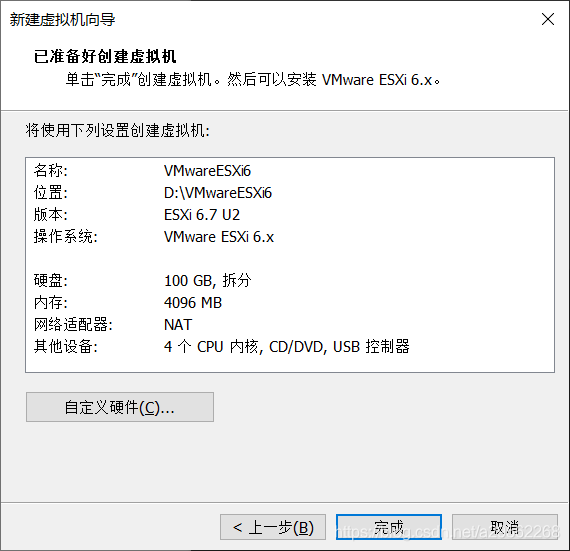
All hardware configurations have been basically completed here ( Click on “ Custom hardware ” You can modify the content just set ), Click next (N), Refer to the figure 15:
2. Set up ESXi
Click on “ Edit virtual machine settings ”, Refer to the figure 16:

Click on “CD/DVD(IDE)”, choice “ Use ISO Image file (M)”, Click on “ Browse (B)” find iso file , And then click “ determine ”, Refer to the figure 17:

Click on “ Start starting the virtual machine ”, Refer to the figure 18:

Press “Enter” key , Refer to the figure 19:

Press “F11” key , Refer to the figure 20:

Press “Enter” key , Refer to the figure 21:

Press “Enter” key , Refer to the figure 22:

The login password must contain numbers 、 English and special symbols , The password length is greater than 8 position ( Such as qwer1234!), Refer to the figure 23:

Press “F11” key , Refer to the figure 24:

Press “Enter” key , Refer to the figure 25:

3. start-up ESXi
Click on “ Start starting the virtual machine ”, Refer to the figure 26:
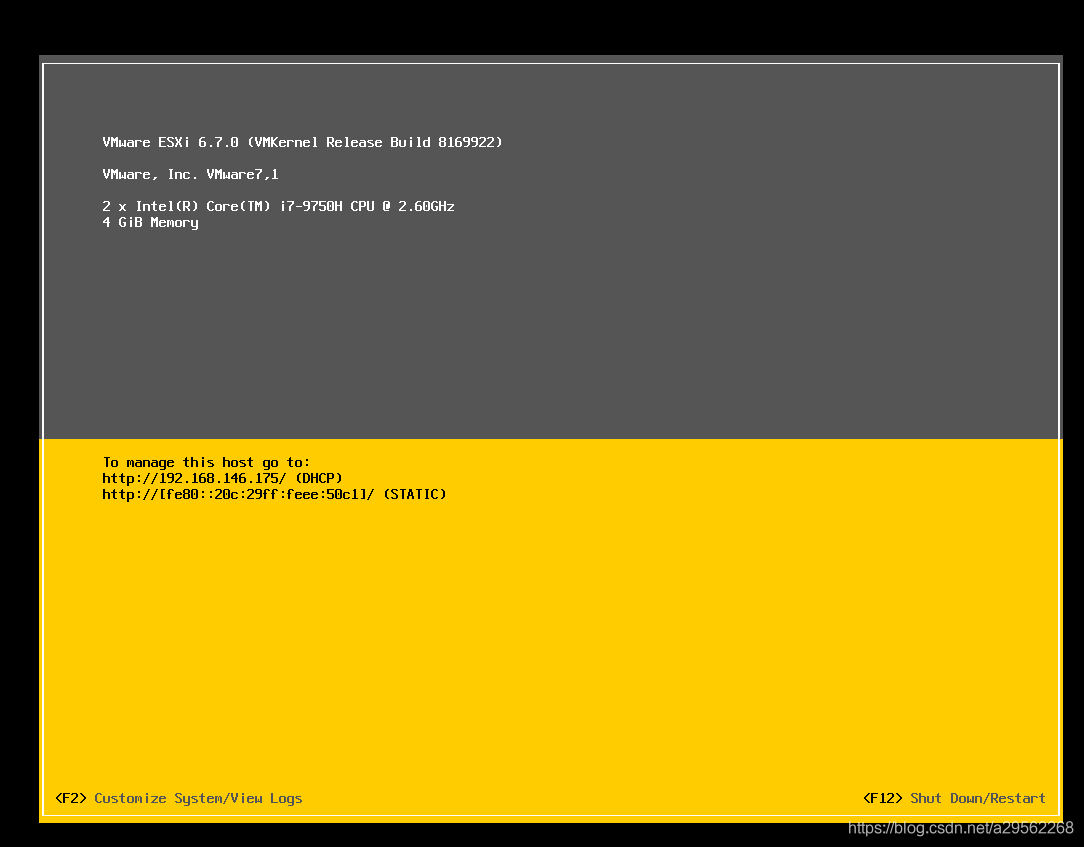
At the moment ,ESXi The server can be accessed normally , Press “F2” Key can modify some configurations , Press “F12” Key to choose restart or shutdown , Refer to the figure 27:
Input ESXi On the interface ip Address , Sign in Web Operating platform , Refer to the figure 28:

Click on “ virtual machine ”, And then click “ establish / Register virtual machine ”, At this point, we can freely allocate virtual machine resources according to actual needs (), Refer to the figure 29:

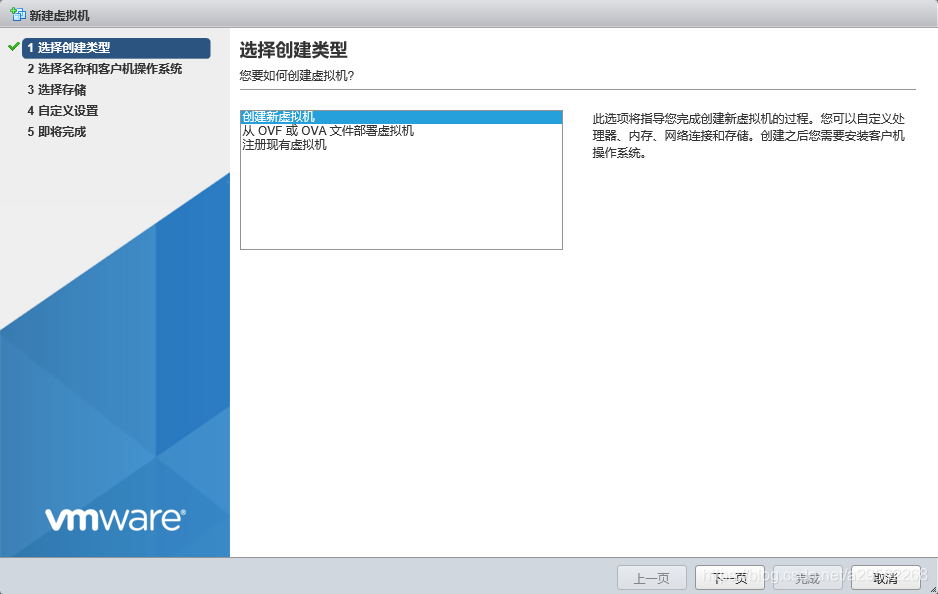
Click on “ Create a new virtual machine ”, And then click “ The next page ”, Refer to the figure 30:
Enter the name according to actual needs 、 Compatibility, etc , And then click “ The next page ”, Refer to the figure 31:

Choose data storage according to actual needs , And then click “ The next page ”, Refer to the figure 32:

Customize virtual machine hardware information , And then click “ The next page ”, Refer to the figure 33:

At this point, the virtual machine has been configured , And then click “ complete ”, Refer to the figure 34:

stay “ establish / Register virtual machine ” You can see the newly created virtual machine below , Then click virtual machine “test”, Refer to the figure 35:

Now you can start the virtual machine , We also learned about the general deployment process , Refer to the figure 36:

download ESXi
SkyDrive address !
Extraction code :qisj
边栏推荐
猜你喜欢

php生成文字图片水印
![[shutter] SharedPreferences](/img/e4/e7518126d35c9ed0eeeacabb262cd3.png)
[shutter] SharedPreferences

It is thought-provoking: is syntax really important? Qiu Xipeng group proposed a powerful baseline for aspect based emotional analysis

Sub query of database performance series

warning package. Json: no license field error

MySQL 索引、事务与存储引擎

Metasploit Eternal Blue attack

分享机器学习笔记(PDF版)+实战项目(数据集+代码)

程序的翻译和执行,从编辑、预处理、编译、汇编、链接到执行
![[Flink] Flink builds clusters in standalone mode](/img/5b/e566fdd2792b5cda7d37d308ee32e2.png)
[Flink] Flink builds clusters in standalone mode
随机推荐
Matlab create text cloud
[Linux] mariadb/mysql scheduled full backup script and data recovery
简单几步教您实现为工业树莓派共享网络
7z用法
R语言管道符(%>%)及占位(.)的简单介绍
Warning: remote head references to nonexistent ref, unable to checkout error messages
kgdb调试内核无法执行断点及kdb-22:Permisson denied
【英雄哥六月集训】第 27天: 图
No Identifier specified for entity的解决办法
Metaspolit
语音数据采集-实时语音数据可视化
FTP 服务器
ctf (hardrce)
JSP自定义标签之自定义分页01
Server access speed
Eslint's error message module error (from./node_modules/ [email protected] @Eslint loader / index. JS)
A brief introduction to R language pipeline symbols (% >%) and placeholders (.)
MySQL must know and know!!! Reading this article is enough!!!
WEB服务如何平滑的上下线
程序的翻译和执行,从编辑、预处理、编译、汇编、链接到执行