当前位置:网站首页>uniCloud address book combat
uniCloud address book combat
2022-08-02 04:32:00 【GentleTK】
1 新建uni-app项目——通讯录
在 HBuilder 选择文件,新建(Install a plugin if prompted,按照提示安装即可,Login will be requested later,如果没有HBuilder账户,You can follow the prompts to register):

2 Create cloud service spaces and associate projects
在 uniCloud 目录上单击右键,选择打开 uniCloud Web 控制台,Follow the prompts to create a cloud service space:

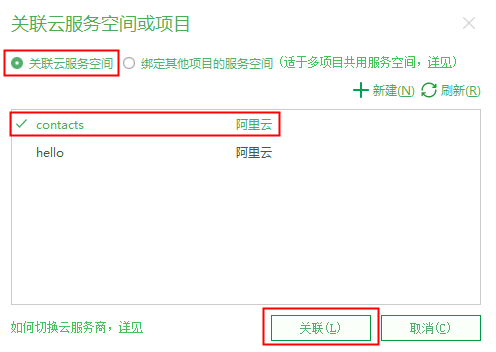
在 uniCloud 目录上单击右键,选择 关联云服务空间或项目,Select the cloud service space you just created:
3 创建数据表
在WebClick on Cloud Database in the console创建数据表:

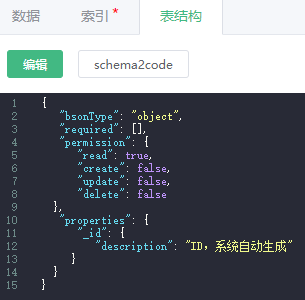
Click Table Structure,编辑 read 属性值为 true:
4 录入数据
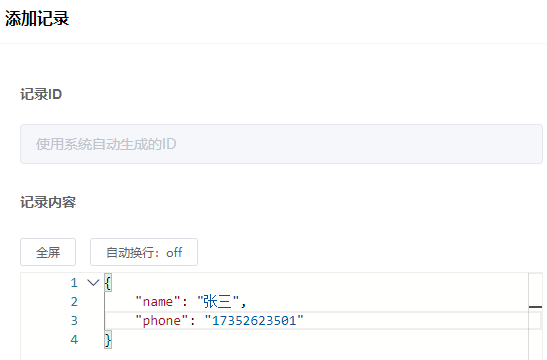
点击 添加记录:
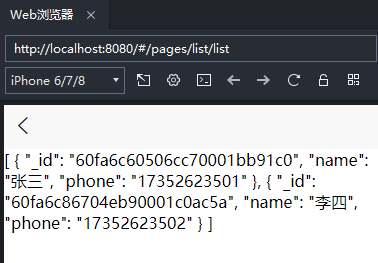
List of data after adding records:

5 Front-end creates components,读取数据表
在 pages 目录上单击右键,点击新建页面,新建 list 页面:

点击预览,运行当前项目,然后修改 list.vue 如下:
<template>
	<view>
		<unicloud-db v-slot:default="{data, loading, error, options}" collection="contacts">
			<view v-if="error">{
   {error.message}}</view>
			<view v-else>
				{
   {data}}
			</view>
		</unicloud-db>
	</view>
</template>

<script>
	export default {
		data() {
			return {

			}
		},
		methods: {

		}
	}
</script>

<style>

</style>
运行出现如下错误:

在 database 目录上单击右键,点击下载所有DB schema及扩展校验函数,After refreshing, you can see the queried data:
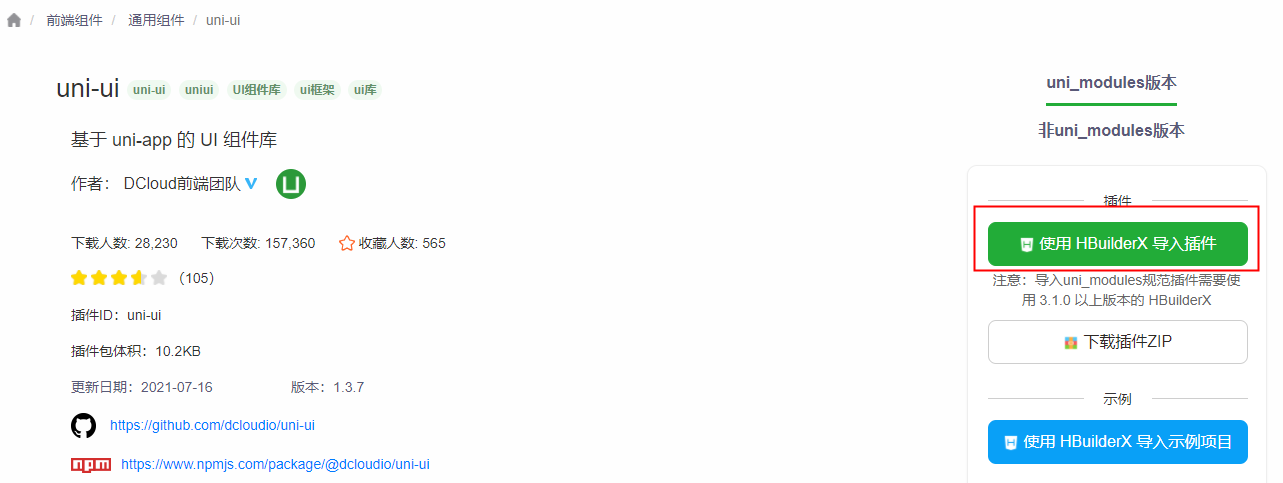
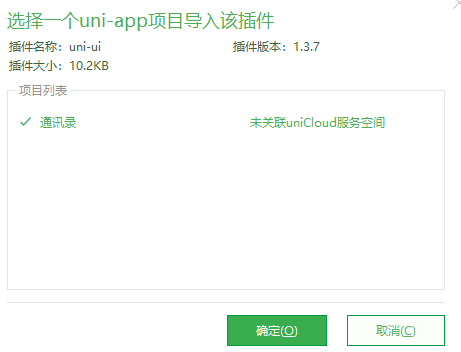
在 DCloud 插件市场中搜索 uni-ui ,点击使用HBuilderX 导入插件:
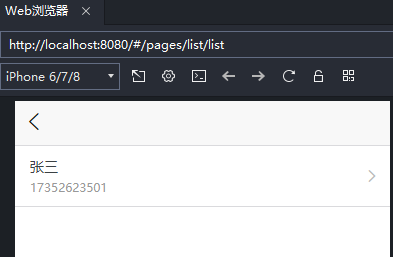
修改 list.vue 如下,实现通讯录列表:
<template>
	<view>
		<unicloud-db v-slot:default="{data, loading, error, options}" collection="contacts">
			<view v-if="error">{
   {error.message}}</view>
			<view v-else>
				<uni-list>
					<uni-list-item v-for="item in data" :key="item._id" :title="item.name" :note="item.phone" link></uni-list-item>
				</uni-list>
			</view>
		</unicloud-db>
	</view>
</template>

<script>
	export default {
		data() {
			return {

			}
		},
		methods: {

		}
	}
</script>

<style>

</style>
点击预览,出现scss/sassCompile plugin not installed error,Follow the prompts to install:

修改 list.vue 如下,Implement long press to delete records:
<template>
	<view>
		<unicloud-db ref="udb" v-slot:default="{data, loading, error, options}" collection="contacts">
			<view v-if="error">{
   {error.message}}</view>
			<view v-else>
				<uni-list>
					<uni-list-item v-for="item in data" @longpress.native="rmItem(item._id)" :key="item._id" :title="item.name" :note="item.phone" link></uni-list-item>
				</uni-list>
			</view>
		</unicloud-db>
	</view>
</template>

<script>
	export default {
		data() {
			return {

			}
		},
		methods: {
			rmItem(id) {
				this.$refs.udb.remove(id)
			}
		}
	}
</script>

<style>

</style>
The effect after long press is as follows:

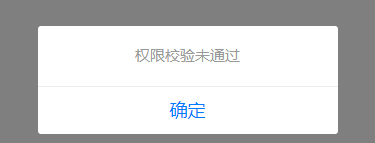
Clicking OK will prompt that the permission verification failed:
可以修改 database/contacts.schema.json 文件的 delete 字段值为 true,然后在 contacts.schema.json 上单击右键,点击上传DB Schema,Then click OK to delete,删除后如下所示:
在 pages 目录上单击右键,点击新建页面,新建 add 页面,修改 add.vue 如下,Implement the new record function:
<template>
	<view>
		<uni-easyinput  v-model="item.name" placeholder="姓名" />
		<uni-easyinput  v-model="item.phone" placeholder="电话" />
		<button type="default" @click="submit">提交</button>
	</view>
</template>

<script>
	export default {
		data() {
			return {
				item:{
					"name":"",
					"phone":""
				}
			}
		},
		methods: {
			submit() {
				const db = uniCloud.database();
				db.collection('contacts').add(this.item).then(e=>{
					console.log(e)
				})
			}
		}
	}
</script>

<style>

</style>
运行效果如下:

The permission check failed,只需修改 database/contacts.schema.json 文件的 create 字段值为 true,然后在 contacts.schema.json 上单击右键,点击上传DB Schema,Then click OK to add,I got an error after adding it:Database validation failed:提交的字段[“name”,“phone”]in the local datasheetschema文件中不存在".
修改 database/contacts.schema.json 文件如下所示:
{

	"bsonType": "object",
	"required": [],
	"permission": {

		"read": true,
		"create": true,
		"update": false,
		"delete": true
	},
	"properties": {

		"_id": {

			"description": "ID,系统自动生成"
		},
		"name":{
    },
		"phone":{
    }
	}
}
然后在 contacts.schema.json 上单击右键,点击上传DB Schema,After submitting again, the effect is as follows:

回到列表页,发现已经添加成功了:

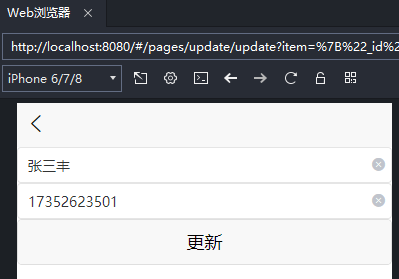
在 pages 目录上单击右键,点击新建页面,新建 update 页面,修改 update.vue 如下,Implement the update record function:
<template>
	<view>
		<uni-easyinput  v-model="item.name" placeholder="姓名" />
		<uni-easyinput  v-model="item.phone" placeholder="电话" />
		<button type="default" @click="submit">更新</button>
	</view>
</template>

<script>
	export default {
		data() {
			return {
				item:{
					"_id":"",
					"name":"",
					"phone":""
				}
			}
		},
		onLoad({item}) {
			this.item = JSON.parse(item)
		},
		methods: {
			submit() {
				const db = uniCloud.database();
				let item = {...this.item}
				delete item._id
				db.collection('contacts').doc(this.item._id).update(item).then(e=>{
					console.log(e)
				})
			}
		}
	}
</script>

<style>

</style>
修改 list.vue 如下:
<template>
	<view>
		<unicloud-db ref="udb" v-slot:default="{data, loading, error, options}" collection="contacts">
			<view v-if="error">{
   {error.message}}</view>
			<view v-else>
				<uni-list>
					<uni-list-item v-for="item in data" @click.native="updateFn(item)" @longpress.native="rmItem(item._id)" :key="item._id" :title="item.name" :note="item.phone" link></uni-list-item>
				</uni-list>
			</view>
		</unicloud-db>
	</view>
</template>

<script>
	export default {
		data() {
			return {

			}
		},
		methods: {
			updateFn(item){
				uni.navigateTo({
					url: '../update/update?item='+JSON.stringify(item),
					success: res => {},
					fail: () => {},
					complete: () => {}
				})
			},
			rmItem(id) {
				this.$refs.udb.remove(id)
			}
		}
	}
</script>

<style>

</style>
修改 database/contacts.schema.json 文件如下所示:
{

	"bsonType": "object",
	"required": [],
	"permission": {

		"read": true,
		"create": true,
		"update": true,
		"delete": true
	},
	"properties": {

		"_id": {

			"description": "ID,系统自动生成"
		},
		"name":{
    },
		"phone":{
    }
	}
}
然后在 contacts.schema.json 上单击右键,点击上传DB Schema,After the preview runs,在listOn the page, click a contact to enter the modification page:
点击更新后,回到list页面刷新后:

边栏推荐
猜你喜欢


随机推荐
属性动画的使用和原理解析
Laravel打印执行的SQL语句
【Arduino 连接DHT11 湿度和温度传感器】
阿里云华为云对比分析
Kotlin - 静态方法
哈工大2021机器学习期末考试题
面试必备:Android性能分析与优化实战进阶手册
【Arduino 连接 SD 卡模块实现数据读写】
Gradle源码解析:生命周期的三个阶段
SyntaxError: unexpected character after line continuation character
SGDP(1)——猜数字游戏
01背包问题(动态规划)
完全背包问题(动态规划)
Quo Vadis, Action Recognition? A New Model and the Kinetics Dataset I3D论文精读
基于阿里云OSS+PicGo的个人图床搭建
【水位传感器与 Arduino 连接测量水位】
kotlin语法总结(二)
Spark特征工程-归一化 和 分桶
C# Form按ESC关闭窗体
树莓派入门(1)系统镜像烧录