background
18 The company is going to transform its technology in , The company's technical team is independent of each other , There's a lot of resistance to new technology . We need to find an entry point . The company has a lot of projects , And the systems don't communicate with each other , Every system has a login system , It brings great inconvenience to employees and customers . So it's definitely the best way to log in , The cost of technical transformation for each team is also small . So the first project of our team is to build a unified login authentication and authorization system , So the huludan project came into being .
Technical solution
Back end framework :.NET Core3.1( It will be launched later .NET 5 edition )
The front frame :rect
database :mysql( According to the actual situation , Free to switch )
middleware :redis
Detailed features
Authentication authorization service
be based on IdentityServer4 The agreement achieved , Support website 、 Local applications 、 Mobile 、web Authentication and authorization logic of services and other applications .
Single sign on log out
Support single sign on logout for various types of applications . Out of the box basic user management module , Include : register 、 Sign in 、 Mobile phone verification code 、 Forget the password, etc . For safety , Inherited Tencent graphic verification code .
Third party login ( WeChat 、 nailing )
Perfect third party login support . It supports binding existing users or registering new users when logging in for the first time , Auto bind .
How to use
1. Download code
clone Code to local . The root directory structure is as follows :

among ,backend It stores the back-end code ,frontend The front-end code is stored .
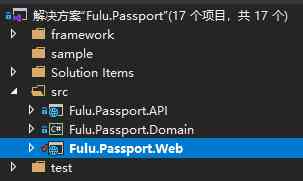
Get into backend Catalog , Use Visual Studio Open the solution . The directory structure is as follows :
2. Generate database
First, in the Fulu.Passport.Web Find appsettings.Development.json file . Edit database connection string :

Open the package manager , Switch the default item to :Fulu.Passport.Web, As shown in the figure below :
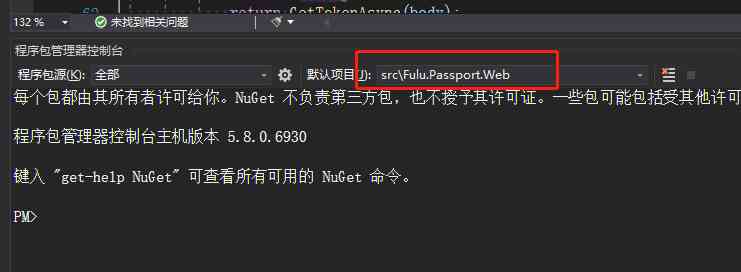
Then execute the following command in the package manager :
Add-Migration Init
Finally, after the execution is completed , Then execute the following command :
update-database
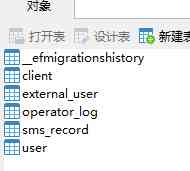
After doing the above , If no error is reported , The database will be created , And will be in Client Create a test data in the table , As shown in the figure below :
3. Press F5 Start the backend service
notes : Because the project depends on redis To handle caching , So before it's officially launched , Need to put appsettings.Development.json In the file redis Configuration changed to your own .
4. Start the front end
Switch directories to frontend, Execute the following command on the command line :
npm install
After execution , Execute the following command :
npm run demo
The execution result is shown in the figure below :
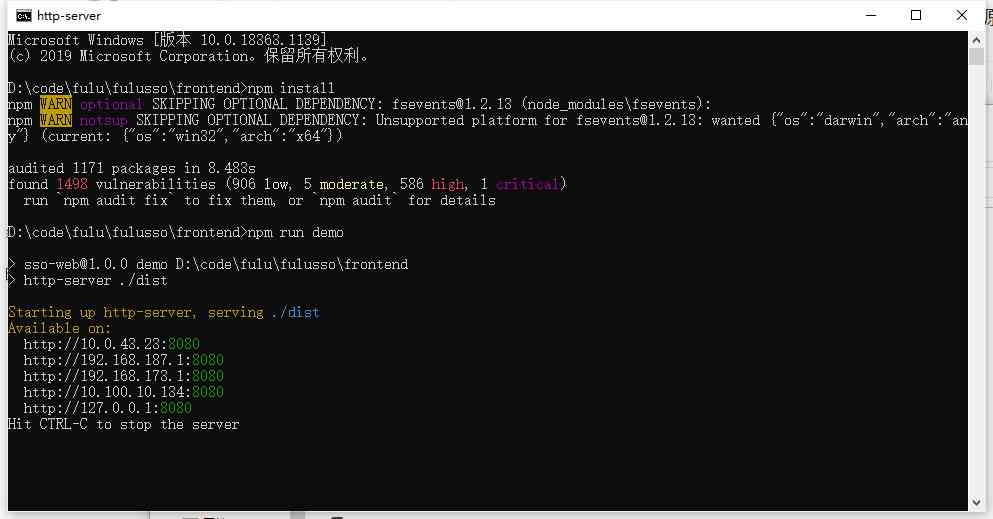
And then through http://localhost:8080 Visit . The interface is as follows :
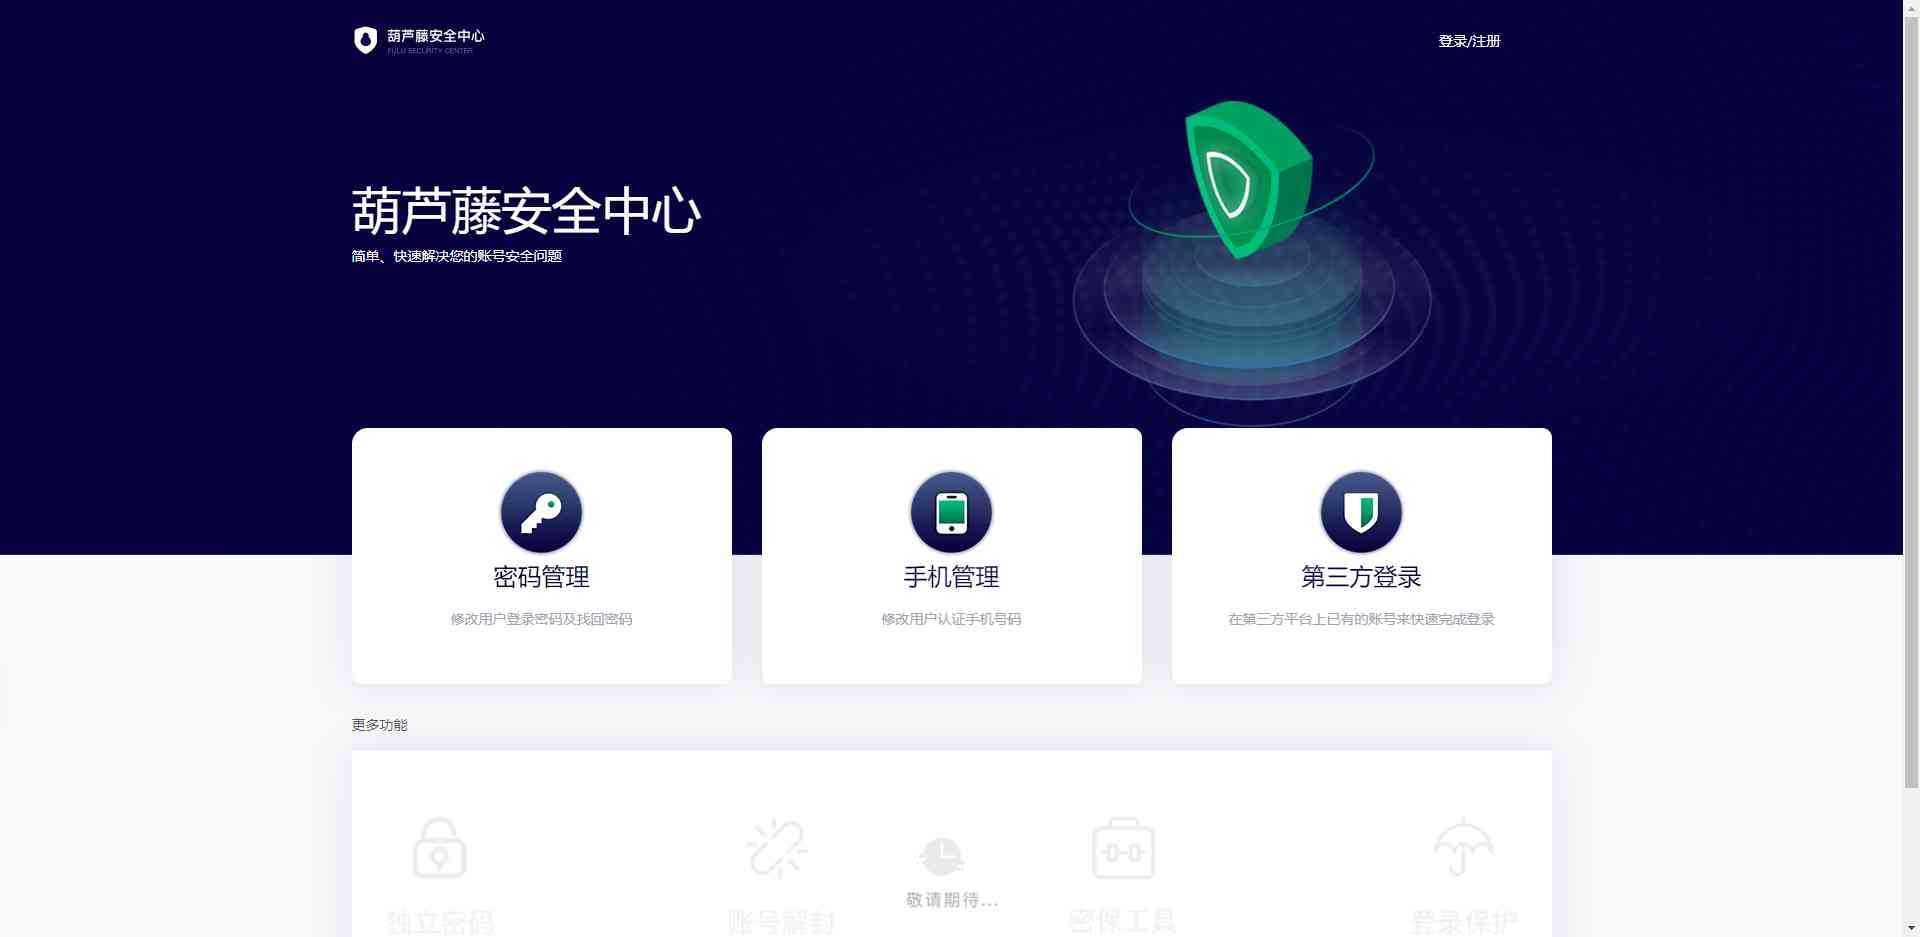
thus , The front and rear end services have been started , An out of the box authentication and authorization service is completed .
5. How to quickly access authentication service for new clients ?
The significance of the existence of authentication and authorization service is to provide a unified access to authentication and authorization , With this service , Each new client application does not need to develop a separate authentication and authorization module . Let's take a look at how to quickly connect new applications to authentication and authorization services .( Here to ASP.NET Core As an example , Other languages are similar ).
The sample code is in sample In the folder , As shown in the figure below :
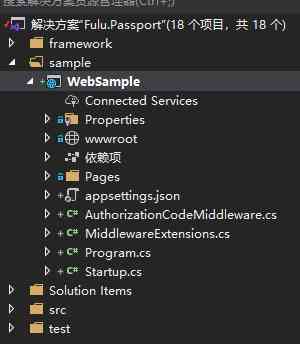
Before the official access , Apply first .( This version does not provide application management services ) By adding sample information to the database , As shown in the figure below :

Example sql Script :
INSERT INTO `fulusso`.`client`(`client_secret`, `full_name`, `host_url`, `redirect_uri`, `description`, `enabled`, `id`) VALUES ('14p9ao1gxu4q3sp8ogk8bq4gkct59t9w', ' Calabash vine 2', 'http://localhost:5003/', 'http://localhost:5003', NULL, 1, UUID());
among ,redirect_uri The parameter refers to get from the authentication service code after , The redirection of url. For the convenience of development , Our authentication service only checks the domain name of the callback domain name , The full address will not be verified . such as , Yours redirect_uri by http://www.xxx.com/abc/aaa, In the database redirect_uri Fill in the fields http://www.xxx.com that will do .
After the application information is imported into the database , stay Startup Class ConfigureServices In the method , Add the following code :
services.AddServiceAuthorize(o =>
{
    o.AllowClientToken = true;
    o.AllowUserToken = true;
    o.OnClientValidate = false;
    o.Authority = "http://localhost:5000";
    o.ValidateAudience = false;
    o.ClientId = Configuration["AppSettings:ClientId"];
    o.ClientSecret = Configuration["AppSettings:ClientSecret"];
});
notes : Need to add Fulu.Service.Authorize Project reference , As shown in the figure below :
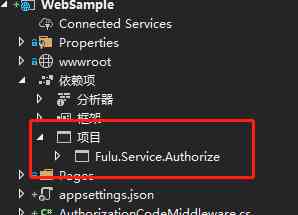
And then in Configure In the method , Add the following code :
 app.UseRouting();
 app.UseJwtAuthorize();
 app.UseAuthorization();
among ,UseJwtAuthorize It's a custom middleware , In order to achieve OAuth2.0 The logic of authorization code .
Limited to space , The specific code is not listed here . It can be viewed in the code repository .
Only this and nothing more , This new application has successfully connected to the authentication service .
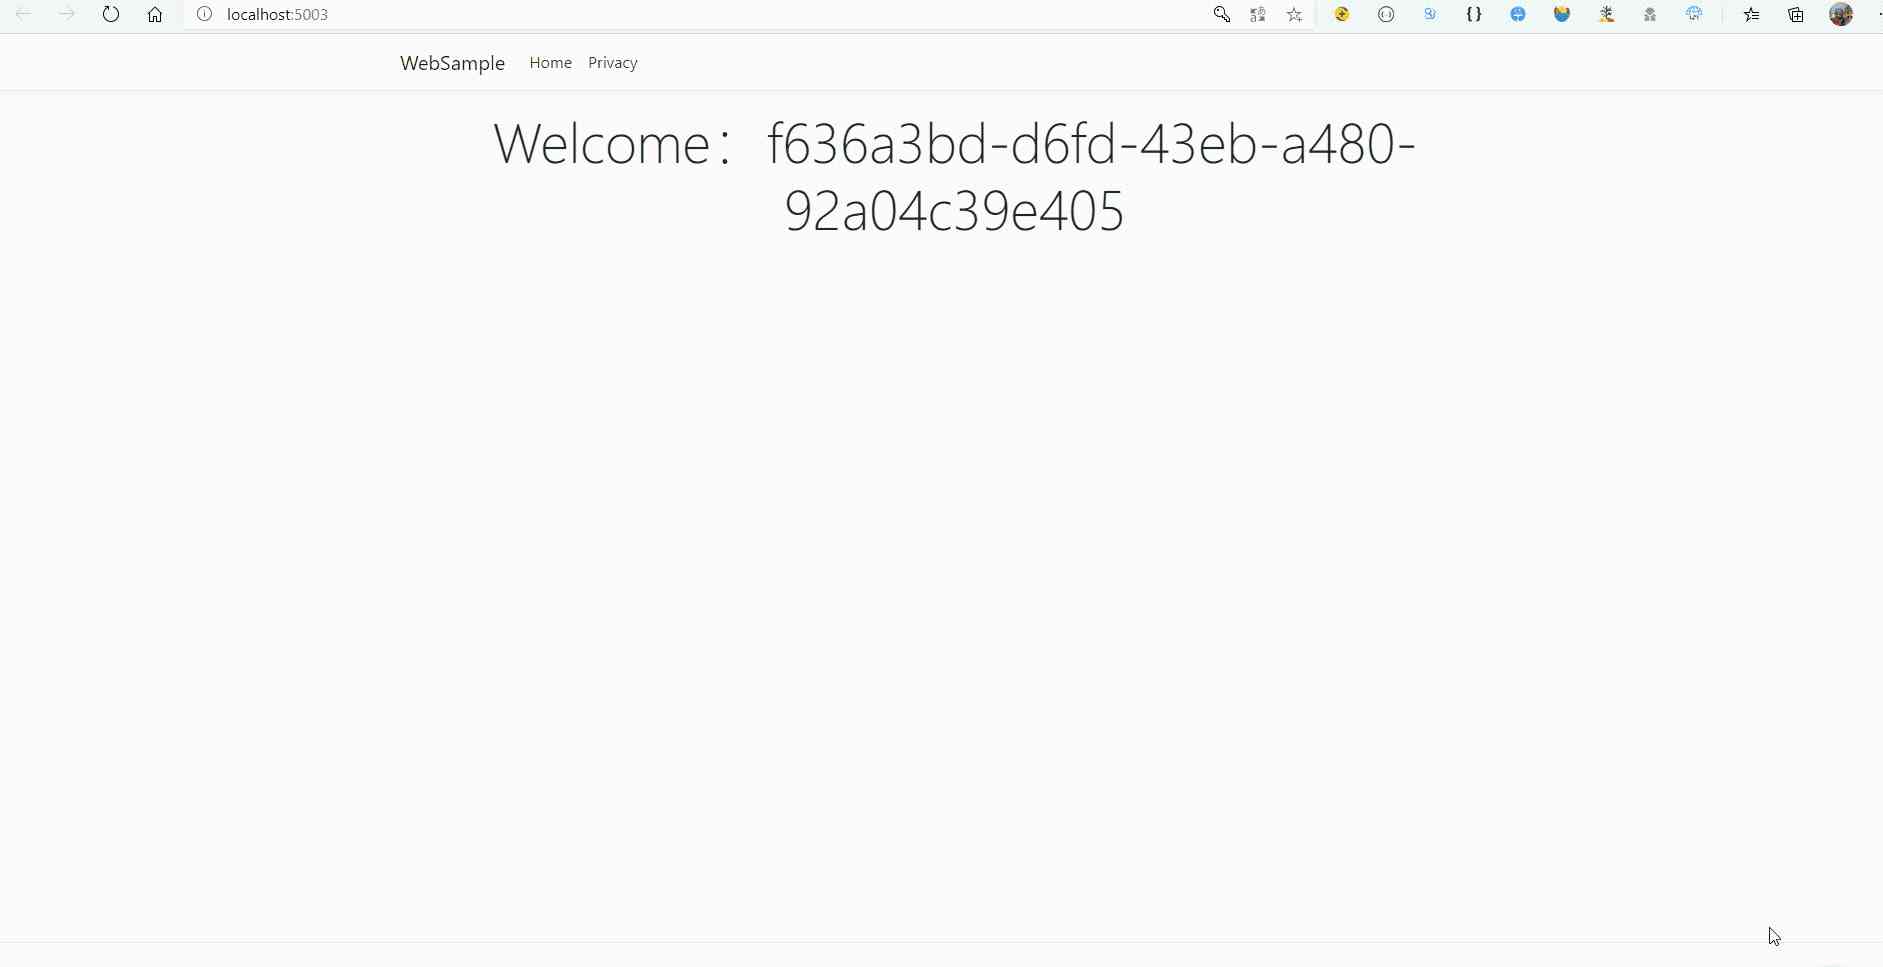
When not logged in , Access to this application page will automatically jump to the authentication service login Interface . After login , Will be redirected back to the previous page . As shown in the figure below :
The next version of functional planning
1. Access to more third-party platforms (QQ、 Microblogging, etc )
2.api Authorized service
3. More secure secondary verification , Integrate google token
4. Application management
wait ~~~~, Do please look forward to .
Experience
Demo address :https://account.suuyuu.cn/
Code warehouse :https://github.com/fuluteam/fulusso

