当前位置:网站首页>【一步到位】Jenkins的安装、部署、启动(完整教程)
【一步到位】Jenkins的安装、部署、启动(完整教程)
2022-08-04 04:44:00 【软测小西瓜】
一、测试环境
- Linux系统 Centos 7
二、安装步骤:
1、安装jdk
我安装的是jdk8,此处就不多说了,自己百度哈,很简单
2、安装jenkins
首先依次执行如下三个命令:
2.1、导入镜像:
[[email protected] ~]# sudo wget -O /etc/yum.repos.d/jenkins.repo https://pkg.jenkins.io/redhat-stable/jenkins.repo
--2019-12-24 17:59:44--  https://pkg.jenkins.io/redhat-stable/jenkins.repo
Resolving pkg.jenkins.io (pkg.jenkins.io)... 52.202.51.185
Connecting to pkg.jenkins.io (pkg.jenkins.io)|52.202.51.185|:443... connected.
HTTP request sent, awaiting response... 200 OK
Length: 85
Saving to: ‘/etc/yum.repos.d/jenkins.repo’

100%[=====================================================================================================================================================>] 85          --.-K/s   in 0s

2019-12-24 18:00:47 (17.4 MB/s) - ‘/etc/yum.repos.d/jenkins.repo’ saved [85/85]
2.2、导入公钥
[[email protected] ~]# sudo rpm --import https://pkg.jenkins.io/redhat-stable/jenkins.io.key
2.3、安装jenkins:
[[email protected] ~]# yum install jenkins
Loaded plugins: fastestmirror
Loading mirror speeds from cached hostfile
Resolving Dependencies
--> Running transaction check
---> Package jenkins.noarch 0:2.204.1-1.1 will be installed
--> Finished Dependency Resolution

Dependencies Resolved

===============================================================================================================================================================================================
 Package                                      Arch                                        Version                                           Repository                                    Size
===============================================================================================================================================================================================
Installing:
 jenkins                                      noarch                                      2.204.1-1.1                                       jenkins                                       60 M

Transaction Summary
===============================================================================================================================================================================================
Install  1 Package

Total download size: 60 M
Installed size: 61 M
Is this ok [y/d/N]: y
Downloading packages:
Delta RPMs disabled because /usr/bin/applydeltarpm not installed.
jenkins-2.204.1-1.1.noarch.rpm FAILED
http://pkg.jenkins.io/redhat-stable/jenkins-2.204.1-1.1.noarch.rpm: [Errno 12] Timeout on http://pkg.jenkins.io/redhat-stable/jenkins-2.204.1-1.1.noarch.rpm: (28, 'Operation too slow. Less than 1000 bytes/sec transferred the last 30 seconds')
Trying other mirror.
jenkins-2.204.1-1.1.noarch.rpm FAILED
http://pkg.jenkins.io/redhat-stable/jenkins-2.204.1-1.1.noarch.rpm: [Errno 12] Timeout on http://pkg.jenkins.io/redhat-stable/jenkins-2.204.1-1.1.noarch.rpm: (28, 'Connection timed out after 30001 milliseconds')
Trying other mirror.
jenkins-2.204.1-1.1.noarch.rpm                                                                                                                                          |  60 MB  00:04:26
Running transaction check
Running transaction test
Transaction test succeeded
Running transaction
Warning: RPMDB altered outside of yum.
** Found 1 pre-existing rpmdb problem(s), 'yum check' output follows:
authconfig-6.2.8-30.el7.x86_64 has missing requires of newt-python
  Installing : jenkins-2.204.1-1.1.noarch                                                                                                                                                  1/1
  Verifying  : jenkins-2.204.1-1.1.noarch                                                                                                                                                  1/1

Installed:
  jenkins.noarch 0:2.204.1-1.1

Complete!
2.4、修改配置文件
[[email protected] ~]# vi /etc/sysconfig/jenkins
修改这部分:
## Default:     8080
## ServiceRestart: jenkins
#
# Port Jenkins is listening on.
# Set to -1 to disable
#
JENKINS_PORT="8091"

## Type:        string
## Default:     ""
## ServiceRestart: jenkins
2.5、启动jenkins
[[email protected] ~]# systemctl  start  jenkins
Job for jenkins.service failed because the control process exited with error code. See "systemctl status jenkins.service" and "journalctl -xe" for details.
2.6、查看jenkins的启动状态
[[email protected] ~]# systemctl status  jenkins
● jenkins.service - LSB: Jenkins Automation Server
   Loaded: loaded (/etc/rc.d/init.d/jenkins; bad; vendor preset: disabled)
   Active: failed (Result: exit-code) since Tue 2019-12-24 18:12:05 CST; 11s ago
     Docs: man:systemd-sysv-generator(8)
  Process: 23175 ExecStart=/etc/rc.d/init.d/jenkins start (code=exited, status=1/FAILURE)

Dec 24 18:12:05 centos7  systemd[1]: Starting LSB: Jenkins Automation Server...
Dec 24 18:12:05 centos7 runuser[23180]: pam_unix(runuser:session): session opened for user jenkins by (uid=0)
Dec 24 18:12:05 centos7 jenkins[23175]: Starting Jenkins bash: /usr/bin/java: Is a directory
Dec 24 18:12:05 centos7  systemd[1]: jenkins.service: control process exited, code=exited status=1
Dec 24 18:12:05 centos7 jenkins[23175]: [FAILED]
Dec 24 18:12:05 centos7 systemd[1]: Failed to start LSB: Jenkins Automation Server.
Dec 24 18:12:05 centos7  systemd[1]: Unit jenkins.service entered failed state.
Dec 24 18:12:05 centos7 systemd[1]: jenkins.service failed.
出现这种情况的解决办法是:
修改 jenkins 的配置文件中使用的 jdk 路径
[[email protected] ~]#  echo $JAVA_HOME
/usr/java/jdk1.8.0_191

[[email protected] ~]# vi /etc/init.d/jenkins

注意:这里echo $JAVA_HOME 出来的路径,后面一定跟启动路径(/bin/java)
2.7、重启并查看 jenkins 状态
systemctl daemon-reload

systemctl restart jenkins
我的 jenkins 启动后是这样子的:
[[email protected] docker]# systemctl daemon-reload
[[email protected] docker]# systemctl restart jenkins
[[email protected] docker]# systemctl status jenkins
● jenkins.service - LSB: Jenkins Automation Server
   Loaded: loaded (/etc/rc.d/init.d/jenkins; bad; vendor preset: disabled)
   Active: active (running) since Tue 2019-12-24 18:16:08 CST; 12s ago
     Docs: man:systemd-sysv-generator(8)
  Process: 23787 ExecStart=/etc/rc.d/init.d/jenkins start (code=exited, status=0/SUCCESS)
   CGroup: /system.slice/jenkins.service
           └─23832 /software/jdk1.8.0_191/bin/java -Dcom.sun.akuma.Daemon=daemonized -Djava.awt.headless=true -DJENKINS_HOME=/var/lib/jenkins -jar /usr/lib/jenkins/jenkins.war --logfile=/v...

Dec 24 18:16:02 centos7 systemd[1]: Starting LSB: Jenkins Automation Server...
Dec 24 18:16:02 centos7 runuser[23792]: pam_unix(runuser:session): session opened for user jenkins by (uid=0)
Dec 24 18:16:08 centos7 runuser[23792]: pam_unix(runuser:session): session closed for user jenkins
Dec 24 18:16:08 centos7 systemd[1]: Started LSB: Jenkins Automation Server.
Dec 24 18:16:08 centos7 jenkins[23787]: Starting Jenkins [  OK  ]
[[email protected] ~]# lsof -i:8091
COMMAND   PID    USER   FD   TYPE   DEVICE SIZE/OFF NODE NAME
java    23832 jenkins  160u  IPv4 11605726      0t0  TCP *:jamlink (LISTEN)
好了,此时已经表示 Jenkins 顺利安装并启动成功了!
2.8、访问浏览器: http://localhost:8091/ 出现如下提示:
Please wait while Jenkins is getting ready to work...
解决办法:
进入jenkins的工作目录(/var/lib/jenkins/),打开 hudson.model.UpdateCenter.xml
把 http://updates.jenkins-ci.org/update-center.json 改成如下三个地址之一均可:
# 修改更新地址(到其中一种即可):
http://mirror.xmission.com/jenkins/updates/update-center.json

http://updates.jenkins.io/update-center.json

https://mirrors.tuna.tsinghua.edu.cn/jenkins/updates/update-center.json

http://mirror.esuni.jp/jenkins/updates/update-center.json
然后重启并查看 jenkins 状态:
[[email protected] ~]# vi hudson.model.UpdateCenter.xml
[[email protected] ~]# systemctl daemon-reload
[[email protected] ~]# systemctl restart jenkins
[[email protected] ~]# systemctl status jenkins
查看密码:
cat /var/lib/jenkins/secrets/initialAdminPassword
然后直接选推荐安装的插件,或者直接下一步就完事儿了!
2.9、设置jenkin语言为中文
需要的话,还可以设置语言为中文
- 1、系统管理->插件管理->可用插件:安装Locale Plugin插件(https://wiki.jenkins.io/display/JENKINS/Locale+Plugin),重启;
- 2、如果没有搜索到这个插件,就直接官网(https://github.com/jenkinsci/locale-plugin或者https://updates.jenkins.io/download/plugins/locale/)下载安装:
系统管理->插件管理->高级->上传插件,安装重启; - 3、系统管理->系统管理->locale language->输入zh_CN

最新版本的jenkins,即使设置了zh_CN也有可能是中英文混搭风, 因为最新版本没有针对所有内容都翻译成中文。

三、卸载
[[email protected] ~]# rpm -e jenkins
warning: /etc/sysconfig/jenkins saved as /etc/sysconfig/jenkins.rpmsave
warning: /etc/init.d/jenkins saved as /etc/init.d/jenkins.rpmsave
[[email protected] ~]# systemctl stop jenkins
Failed to stop jenkins.service: Access denied
See system logs and 'systemctl status jenkins.service' for details.
Failed to get load state of jenkins.service: Access denied
[[email protected] ~]# rpm -ql jenkins
package jenkins is not installed
[[email protected] ~]# find / -iname jenkins | xargs -n 1000 rm -rf
[[email protected] ~]#
边栏推荐
- 【技巧】借助Sentinel实现请求的优先处理
- 2022年软件测试——精选金融银行面试真题
- How to automatically export or capture abnormal login ip and logs in elastic to the database?
- 小程序 + 电商,玩转新零售
- 机器学习之视频学习【更新】
- 怎么把elastic中的异常登录ip和日志自动导出或抓取到数据库中?
- XSS相关知识点
- [Ryerson emotional speaking/singing audiovisual dataset (RAVDESS)]
- JVM的内存模型简介
- How class only static allocation and dynamic allocation
猜你喜欢
7.LVS负载均衡群集之原理叙述

Turn: Management is the love of possibility, and managers must have the courage to break into the unknown

获取单选框选中内容
【C语言进阶】程序环境和预处理

How to systematically plan and learn software testing?

Towards Real-Time Multi-Object Tracking(JDE)
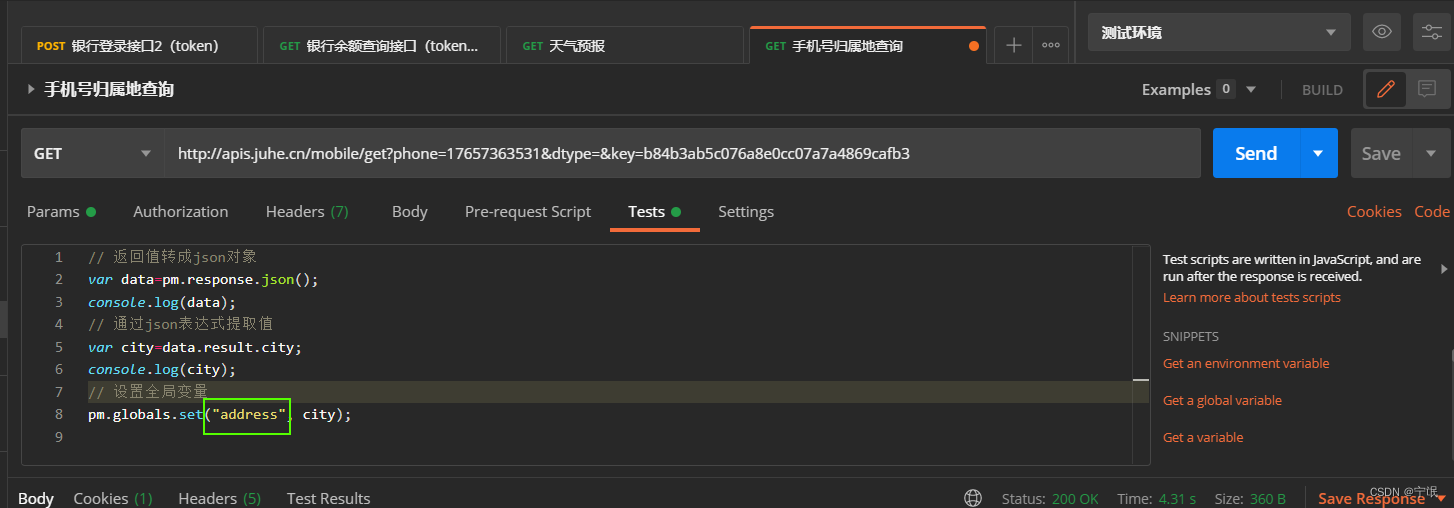
day13--postman接口测试

Stop behind.

信息学奥赛一本通 1312:【例3.4】昆虫繁殖

学会iframe并用其解决跨域问题
随机推荐
Significant differences between Oracle and Postgresql in PLSQL transaction rollback
Metaverse "Drummer" Unity: Crazy expansion, suspense still exists
There is an 8 hour difference between the docker installation of mysql and the host.
Eight guiding principles to help businesses achieve digital transformation success
ADC噪声全面分析 -03- 利用噪声分析进行实际设计
This Thursday evening at 19:00, the fourth live broadcast of knowledge empowerment丨The realization of equipment control of OpenHarmony smart home project
结构体函数练习
How to dynamically add script dependent scripts
2022 Hangzhou Electric Power Multi-School League Game 5 Solution
【机器学习】21天挑战赛学习笔记(一)
[Skill] Using Sentinel to achieve priority processing of requests
How to keep the source code confidential in the development under the burning scenario
OpenGL绘制圆
Large chain best freight d audit with what software?What are the functions?
如何动态添加script依赖的脚本
Turn: Management is the love of possibility, and managers must have the courage to break into the unknown
商城系统APP如何开发 都有哪些步骤
商城App开发都有哪些功能呢
小程序 + 电商,玩转新零售
2022年PMP考试延迟了,该喜该忧?