当前位置:网站首页>PyTorch学习记录
PyTorch学习记录
2022-07-01 23:39:00 【OPTree412】
1.TENSORS
1.1 什么是tensors(张量)
在 PyTorch 中,使用tensors来编码模型的输入和输出,以及模型的参数。tensors相当于是numpy.array(),可以在GPU或者其它硬件上用。
1.2 Tensor初始化
1. torch.tensor
torch.tensor(data, *, dtype=None, device=None, requires_grad=False, pin_memory=False)
将data转换为Tensor。data可以是list, tuple, NumPy ndarray, scalar等呈现数组形式的数据。
import torch

# list类型
data = [[1, 2], [3, 4]]
x_data = torch.tensor(data)
print(x_data)

# np.array类型
score = np.array([[0,1],[2,3]])
y_data = torch.tensor(data)
print(y_data)

2. from_numpy(ndarray)
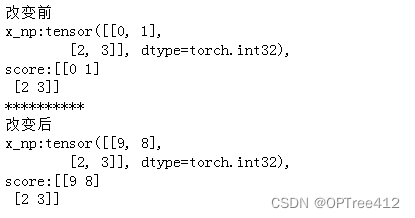
torch.from_numpy(ndarray)将一个numpy.ndarray转换为Tensor,但是要注意这个转换是浅拷贝。(深拷贝用tensor.copy_())
score = np.array([[0,1],[2,3]])
x_np = torch.from_numpy(score) # 浅拷贝score对象
print(f"改变前\nx_np:{
      x_np},\nscore:{
      score} ")

# 改变后
score[0][0] = 9
x_np[0][1] = 8
print(f"**********\n改变后\nx_np:{
      x_np},\nscore:{
      score} ")
3. torch.ones()、torch.rand()与torch.zeros()
torch.zeros(*size, *, out=None, dtype=None, layout=torch.strided, device=None, requires_grad=False)构建一个所有元素都是0的张量。
torch.ones()、torch.rand()与torch.zeros()同理,但所有元素不同。
rand = torch.rand((3,4))
zero = torch.zeros((3,4))
ones = torch.ones((3,4))

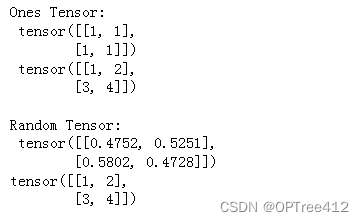
4. torch.ones_like()与torch.rand_like()
torch.ones_like()与torch.rand_like()新张量保留参数张量的属性(形状、数据类型)
x_ones = torch.ones_like(x_data) # 保留 x_data 的属性
print(f"Ones Tensor: \n {
      x_ones} \n {
      x_data} \n")

x_rand = torch.rand_like(x_data, dtype=torch.float)
print(f"Random Tensor: \n {
      x_rand} \n{
      x_data} \n")
5. arange()
arange(start=0, end, step=1, *, out=None, dtype=None, layout=torch.strided, device=None, requires_grad=False)
rr = torch.arange(6,13)
rrr = torch.arange(13)
rrrr = torch.arange(6, 13, 0.5)
rr,rrr,rrrr

1.3 Tensor 属性
tensor = torch.rand(3, 4)

print(f"Shape of tensor: {
      tensor.shape}")
print(f"Datatype of tensor: {
      tensor.dtype}")
print(f"Device tensor is stored on: {
      tensor.device}")

2. Tensor 使用方式
1. Tensor使用GPUtensor.to('cuda')
if torch.cuda.is_available():
  tensor = tensor.to('cuda')
  print(f"Device tensor is stored on: {
      tensor.device}")

2. 更改元素
tensor = torch.ones(4, 4)
tensor[:,1] = 0
print(tensor)

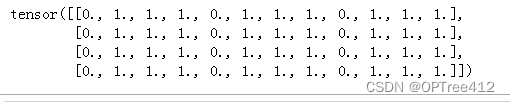
3. 拼接 torch.cat()
torch.cat(tensors, dim=0, *, out=None)串接tensors(一堆非空Tensor进行拼接,在非dim维度必须形状相同),返回结果。
注意:拼接是特定的某个维度进行拼接,其他维度都不管
tensor = torch.ones(4, 4)
tensor[:,0] = 0
t1 = torch.cat([tensor, tensor, tensor], dim=1)
print(t1)
4. Tensors 乘法
对元素层面的乘法Tensor1.mul(Tensors2)或*,矩阵乘法Tensor1.matmul(Tensors2) 或@
temp = torch.ones(4,4)

print(f"\ntemp.mul(nn) {
      temp.mul(temp)} \n")
print(f"temp * temp \n {
      temp * temp}")

print(f"temp @ temp \n {
      temp @ temp}")
print(f"temp.matmul(temp) \n {
      temp.matmul(temp)}")

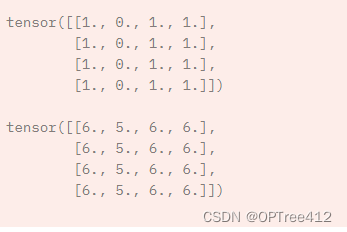
5. Tensors 加法add_(n)
所有元素加n
print(tensor, "\n")
tensor.add_(5)
print(tensor)
6. 塑形reshape(input, (row,colmn))
把input矩阵改变成row行,colmn列
a = torch.arange(4.).reshape((2, 2))
b = torch.tensor([[0, 1], [2, 3]]).reshape((-1,))

''' 或者 a = torch.arange(4.).reshape((2, 2)) a = torch.reshape(a, (2, 2)) b = torch.tensor([[0, 1], [2, 3]]).reshape((-1,)) a = torch.reshape(b, (-1, )) '''

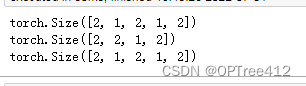
7. 张量收缩squeeze()
squeeze(Tensor, dim=None, *, out=None)去掉Tensor中维度为1的维度,并返回这个Tensor。如果有dim就只对指定维度进行squeeze操作。是深拷贝。
x = torch.zeros(2, 1, 2, 1, 2)
print(x.size())

y = torch.squeeze(x,dim = 1)
print(y.size())
print(x.size())
8. 张量扩张unsqueeze(input, dim)
unsqueeze(input, dim)在input指定维度插入一个长度为1的维度,返回Tensor
9. 维度交换transpose()
transpose(input, dim0, dim1)返回input转置的Tensor,dim0和dim1交换。
x = torch.tensor([1, 2, 3, 4])
print(x.shape)
print(torch.unsqueeze(x, 0))
print(torch.unsqueeze(x, 0).shape)
print(torch.unsqueeze(x, 1))
print(torch.unsqueeze(x, 1).shape)

10. 找非零元素nonzero()
nonzero(input, *, out=None, as_tuple=False)
①as_tuple=False:返回一个二维Tensor,每一行是一个input非零元素的索引
torch.nonzero(torch.tensor([[0.6, 0.0, 0.0, 0.0],
                            [0.0, 0.4, 0.0, 0.0],
                            [0.0, 0.0, 1.2, 0.0],
                            [0.0, 0.0, 0.0,-0.4]]))
tensor([[ 0,  0],
        [ 1,  1],
        [ 2,  2],
        [ 3,  3]])
②as_tuple=True:返回一个由一维索引Tensor组成的tuple(每个元素是一个维度上的索引)
注意:where(condition) 和 torch.nonzero(condition, as_tuple=True) 相同
torch.nonzero(torch.tensor([[0.6, 0.0, 0.0, 0.0],
                             [0.0, 0.4, 0.0, 0.0],
                             [0.0, 0.0, 1.2, 0.0],
                             [0.0, 0.0, 0.0,-0.4]]), as_tuple=True)

(tensor([0, 1, 2, 3]), tensor([0, 1, 2, 3]))
11. 求和,平均数,平方
y=x.sum(),y=x.mean(),y=x.pow(2)
2.Autograd
torch.autograd是PyTorch提供的自动求导包,非常好用,可以不用自己算神经网络偏导了。
2.1 一轮训练
- 前向传播:
prediction = model(data) - 反向传播:
1.计算loss
2.loss.backward()(autograd会在这一步计算参数的梯度,存在相应参数Tensor的grad属性中)
3.更新参数
1.加载optimizer(通过torch.optim)
2.optimizer.step()对参数使用梯度下降的方法进行更新(梯度来源自参数的grad属性)
import torch, torchvision
# 构建模型、参数、标签
model = torchvision.models.resnet18(pretrained=True) # 模型
data = torch.rand(1, 3, 64, 64) # 数据 创建一个随机数据张量来表示具有 3 个通道、高度和宽度为 64 的单个图像
labels = torch.rand(1, 1000) # 将其对应的标签初始化为一些随机值。 预训练模型中的标签具有形状 (1,1000)。

# 前向传播
prediction = model(data) # 获取模型预测结果
loss = (prediction - labels).sum() # 计算损失函数

# 反向传播
loss.backward() # 计算参数的梯度 .grad()中存储梯度
optim = torch.optim.SGD(model.parameters(), lr=1e-2, momentum=0.9) # 随机梯度下降 学习率0.001
#最后,调用 .step() 来启动梯度下降。 优化器通过存储在 .grad 中的梯度来调整每个参数。
optim.step() #gradient descent
参考:
边栏推荐
- URL introduction
- from pip._ internal. cli. main import main ModuleNotFoundError: No module named ‘pip‘
- Know --matplotlib
- Daily three questions 6.28
- 【无标题】
- Key points and difficulties of the course "information content security" at Harbin Institute of Technology
- PostgreSQL source code (58) tuple splicing heap_ form_ Tuple analysis
- Paramètres communs de matplotlib
- cookie、session、tooken
- 问题随记 —— /usr/bin/perl is needed by MySQL-server-5.1.73-1.glibc23.x86_64
猜你喜欢
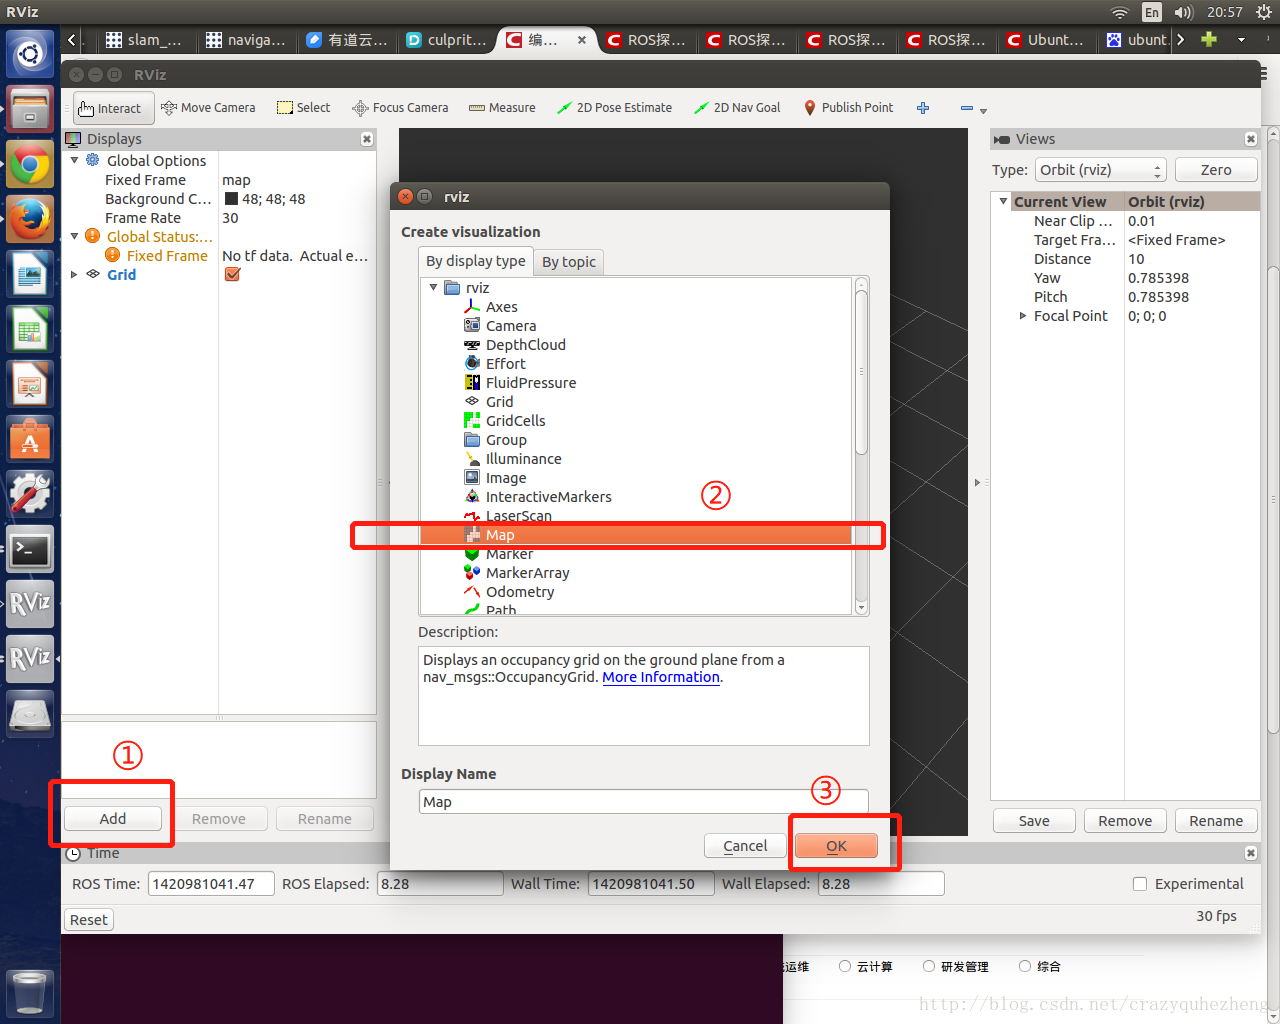
How to display real-time 2D map after rviz is opened
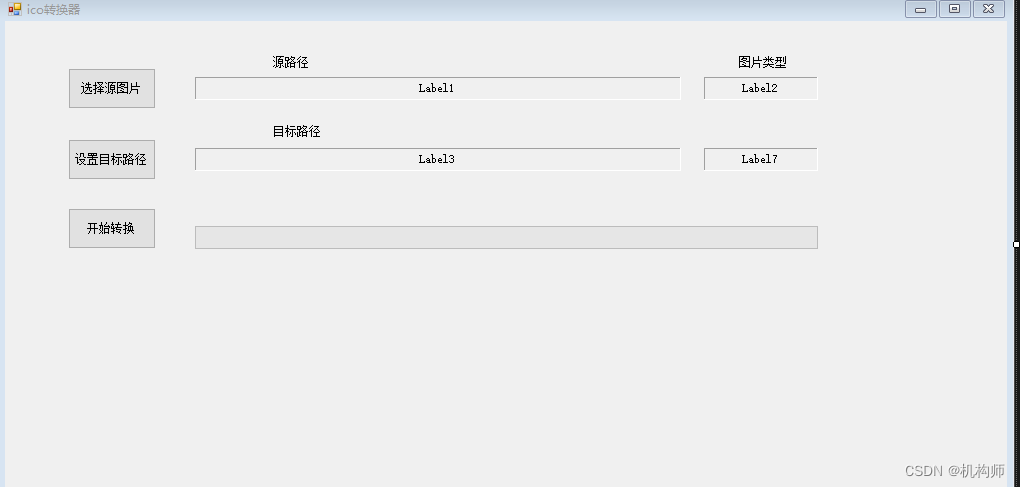
Use vb Net to convert PNG pictures into icon type icon files
【.Net Core】程序相关各种全局文件

Zero foundation tutorial of Internet of things development

2022年最佳智能家居开源系统:Alexa、Home Assistant、HomeKit生态系统介绍

Deep learning | three concepts: epoch, batch, iteration
PostgreSQL source code (57) why is the performance gap so large in hot update?
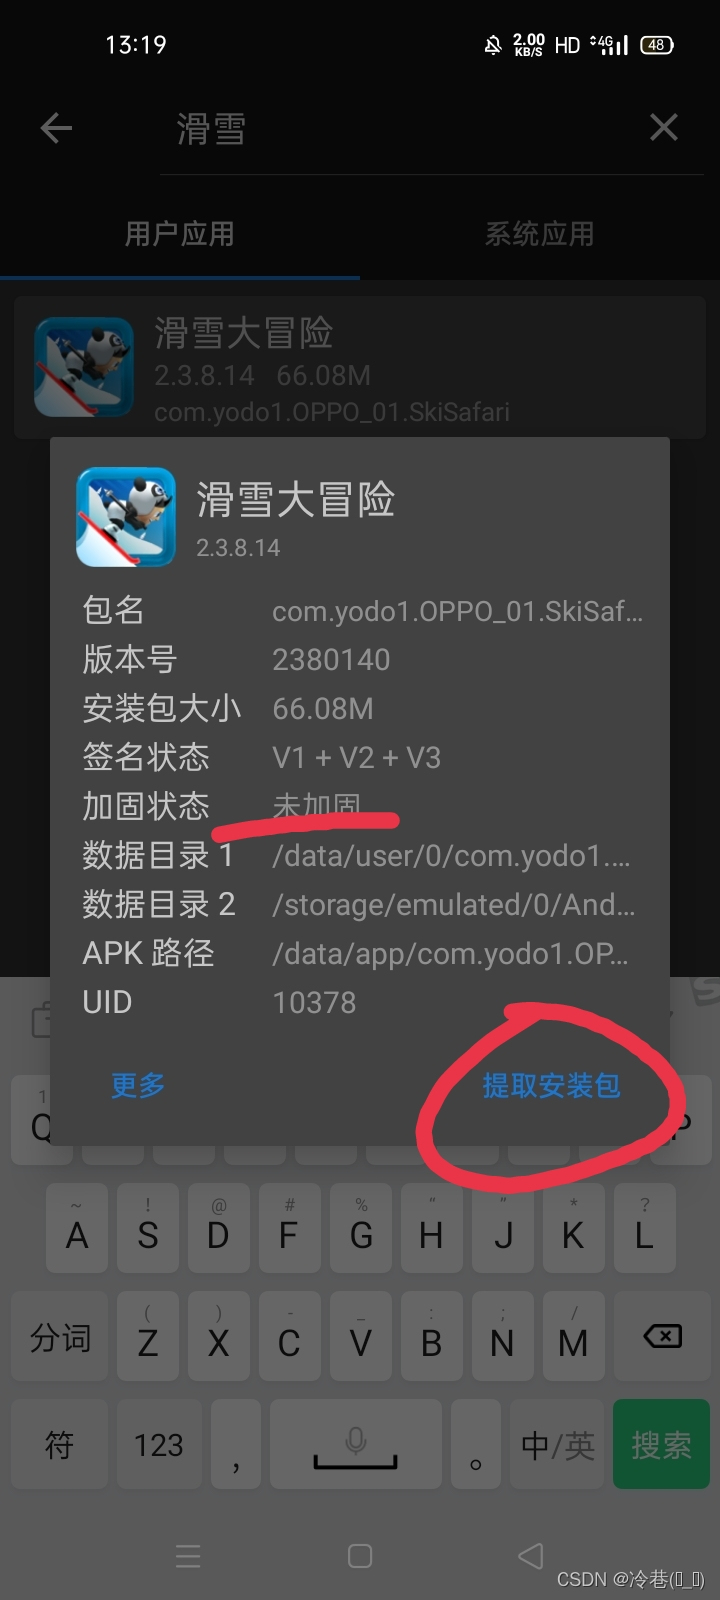
mt管理器测试滑雪大冒险

Paramètres communs de matplotlib
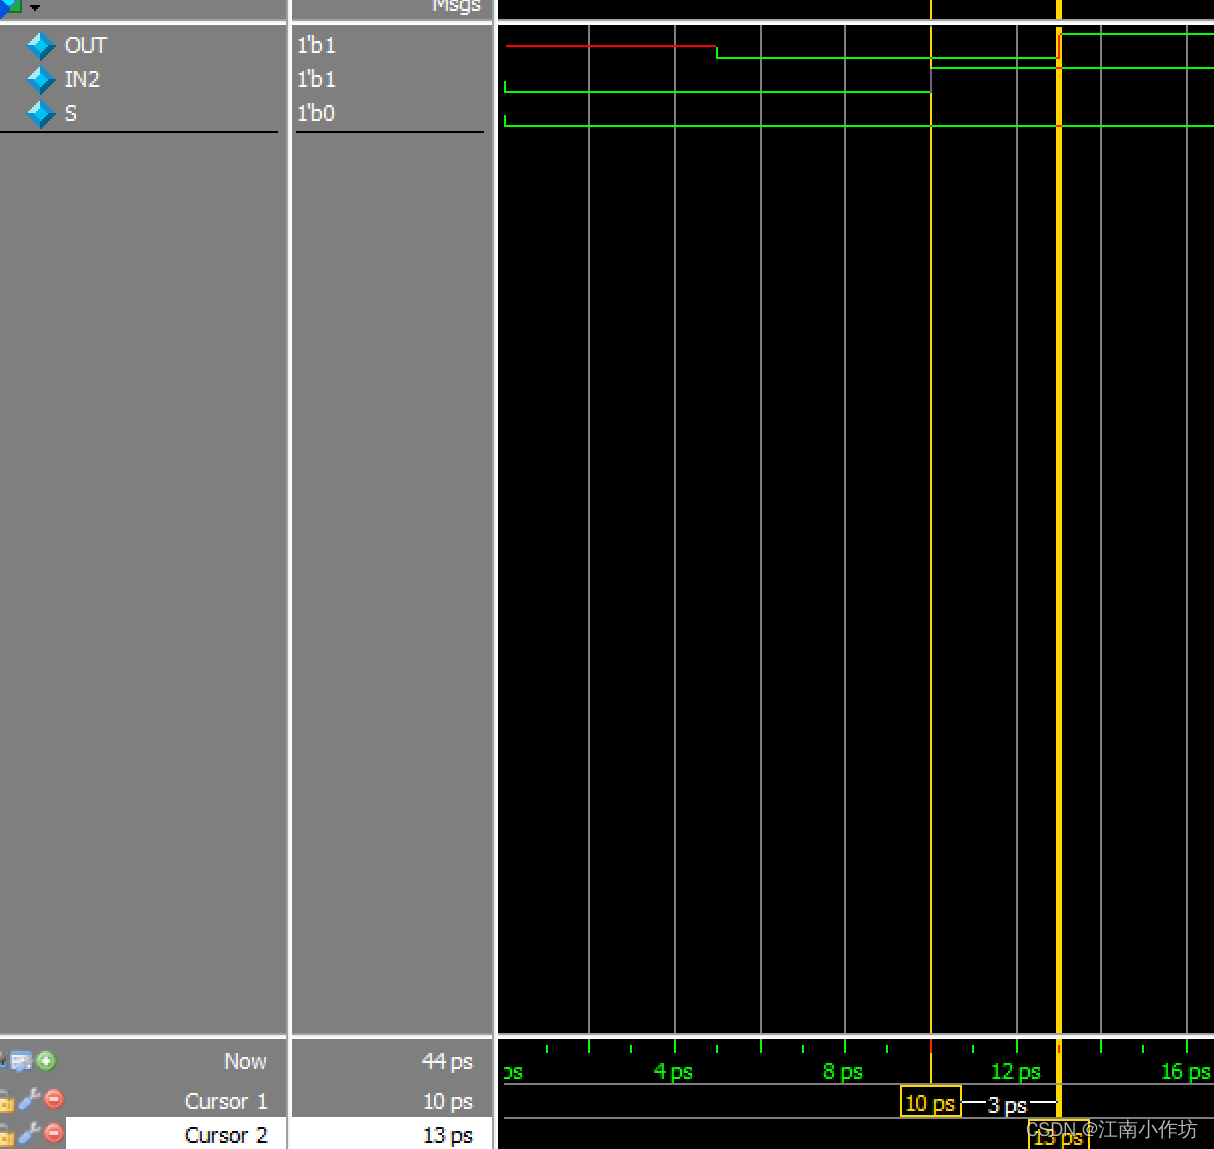
Door level modeling - after class exercises
随机推荐
PostgreSQL source code (58) tuple splicing heap_ form_ Tuple analysis
ADO.NET之SqlDataAdpter对象
Is it safe to choose mobile phone for stock trading account opening in Shanghai?
MySQL Replication中并行复制怎么实现
Postgresql源码(57)HOT更新为什么性能差距那么大?
Redis data types and application scenarios
kubernetes资源对象介绍及常用命令(三)
from pip._internal.cli.main import main ModuleNotFoundError: No module named ‘pip‘
Openwrt enable kV roaming
物联网应用技术专业是属于什么类
mysql:insert ignore、insert和replace区别
TS初次使用、ts类型
【ES实战】ES上的安全性运行方式
神经网络物联网的未来趋势与发展
在长城证券上买基金安全吗?
[must] bm41 output the right view of the binary tree [medium +]
PyCharm调用matplotlib绘图时图像弹出问题怎么解决
The best smart home open source system in 2022: introduction to Alexa, home assistant and homekit ecosystem
Redis RDB snapshot
What category does the Internet of things application technology major belong to