当前位置:网站首页>多线程案例
多线程案例
2022-08-03 05:55:00 【盛夏洋光】
文章目录
设计模式—单例模式
设计模式:就是"棋谱",软件开发中针对很多的"问题场景",针对这些问题场景,前辈总结了很多套路.我们可以按照这些套路来写代码.
单例模式:保证某个类在程序中只创建出唯一的实例
单例模式又分为了 饿汉模式 和 懒汉模式
饿汉模式
饿汉模式就是很着急,在类创建的初始就创建出实例,我们用static来创建实例,并且立刻实例化.
class Singleton{

    private static Singleton instance = new Singleton();

    public static Singleton getInstance(){

        return instance;
    }

    //构造方法设为私有 其他类对其就无法new了
    private Singleton(){


    }
}
懒汉模式
懒汉模式就是不着急初始化实例,而是在需要实例的时候在完成初始化
但是在多线程的情况下,很可能涉及到线程安全的问题
因为懒汉模式涉及到 读 写 的操作,且多线程又是随即调度的,所以我们做出优化:
- 加锁
- 双重if
- volatile
class SingletonLazy{

    private static volatile SingletonLazy instance = null;

    public static SingletonLazy getInstance(){

        if(instance == null){

            synchronized (SingletonLazy.class) {

                 if (instance == null) {

                instance = new SingletonLazy();
                }
            }
        }
        return instance;
    }
}
指定SingletonLazy.class为锁对象,这样的话,就可以规避线程安全的问题,其次在多次读取的时候,为了避免编译器优化到只读寄存器中instance的内容,我们对其加上volatile.
阻塞队列
阻塞队列,拥有队列先进先出的性质,又具有其他方面的功能:
1.线程安全的
2. 当队列为空时,如果尝试出队列,则会造成线程堵塞,直到队列不为空
当队列满时,如果尝试进队列,也会造成线程堵塞,知道队列不满
通过这种特性,我们就可以实现 “生产消费者” 模型,这里的阻塞队列就相当一生产者和消费者的交易场所
生产消费者模型
简单来说,就是一个作为消费者,一个作为生产者.假设有两个服务器A和B,A和B互相传递数据来完成任务.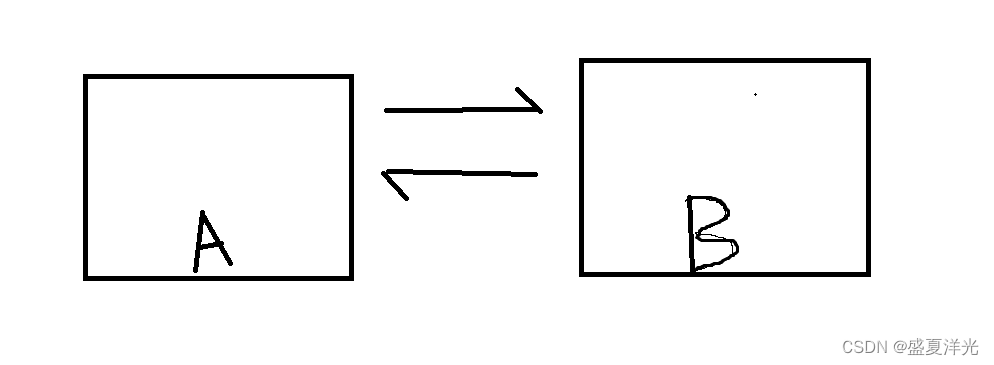
但是这样来说,A和B的耦合性就会很强,如果想要把代码B换成代码C的话,此时A也需要很大的改动.如果B出现了问题,那么也很可能连带A也出现问题.
那么此时使用生产消费者模型就可以很好的解决此时的问题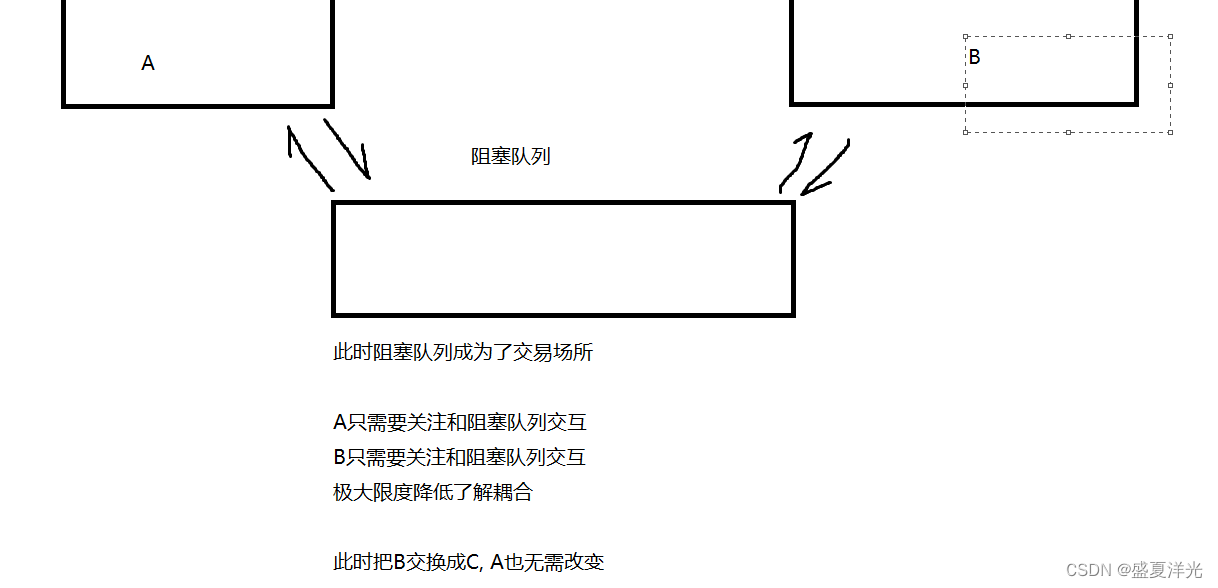
削峰填谷
如果A的数据量暴涨的话,那么B作为数据处理的程序会承受很大的压力,也很有可能使程序造成崩溃.
那么如果使用阻塞队列进行一个数据的储存的话,在数据量暴涨时,阻塞队列对数据进行一个数据的暂时储存,这样就可以进行"削峰",在数据量恢复正常时,阻塞队列再将存储的数据交给B处理,这样就做到了"填谷".
java标准库的阻塞队列
java内部定义了BlockingQueue来实现阻塞队列
public static void main(String[] args) {

        BlockingQueue<Integer> queue = new LinkedBlockingQueue<>();

        Thread customer = new Thread(() ->{

            while(true){

                try {

                    int val = queue.take();
                    System.out.println("消费元素" + val);
                } catch (InterruptedException e) {

                    e.printStackTrace();
                }
            }
        });
        customer.start();

        Thread producer = new Thread(() ->{

            int n = 0;
            while(true){

                try {

                    queue.put(n);
                    System.out.println("生产元素" + n);
                    n++;
                   Thread.sleep(500);
                } catch (InterruptedException e) {

                    e.printStackTrace();
                }
            }
        });

        producer.start();
    }
运行结果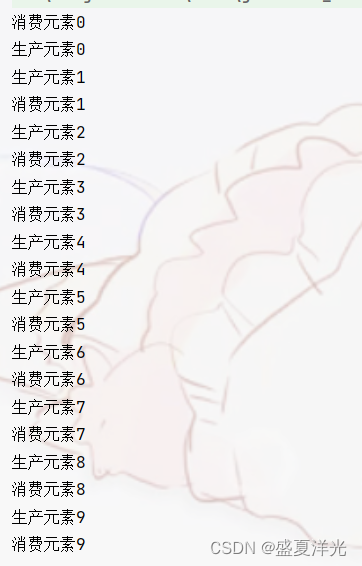
可见在阻塞队列没有元素时,线程处于等待状态,直到阻塞队列中有了新的元素,阻塞被唤醒.
自己实现一个阻塞队列
我们采用数组实现,在循环队列的基础上加上线程安全和阻塞唤醒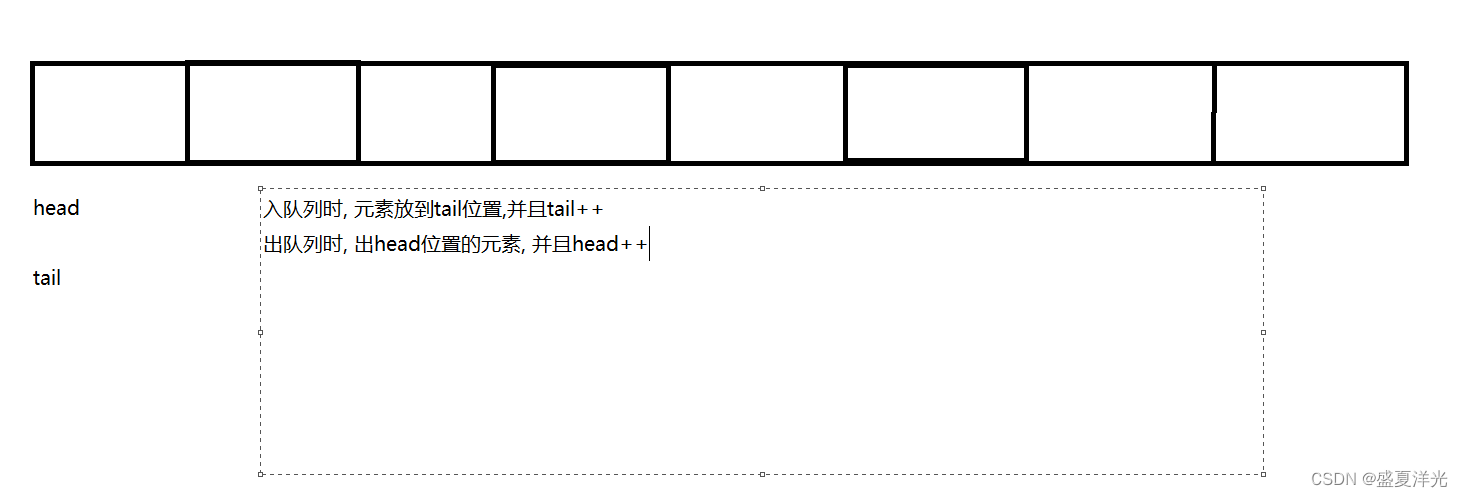
为了实现循环队列,我们需要在tail == items.length时,将tail重新赋值为0,
在head == items.length时,将head重新赋值为0.
为了区分空队列和满队列,我们引入一个变量size来记录元素的个数,当为满队列时,size == items.length
当队列为空队列时, size == 0
如何保证线程安全
出队和入队的代码分别是一个整体,是原子性的,所以我们要分别为其加上锁
如何实现阻塞效果
使用wait和notify来实现阻塞的效果
当队列为满时,执行入队操作应该造成堵塞效果
当队列为空时,执行出队操作应该造成堵塞效果
class MyBlockingQueue{

    //队列的最大容量
    private int[] items = new int[10000];
    //设置队列头
    private int head = 0;
    //设置队列尾部
    private int tail = 0;
    //队列实时的元素个数
    private volatile int size = 0;

    public void put(int val) throws InterruptedException {

        synchronized (this){

            while(size == items.length){
    //循环判断
                //队列已满,无法插入
                this.wait();
            }

            items[tail] = val;
            tail++;

            if(tail == items.length){

                tail = 0;
            }
            size++;
            this.notify();
        }
    }

    public int take()  throws InterruptedException{

        int ret = 0;
        synchronized (this){

            while(size == 0){

                this.wait();
            }

            ret = items[head];
            head++;
            if(head  == items.length){

                head = 0;
            }
            size--;
            this.notify();
        }
        return ret;
    }


}
唤醒效果: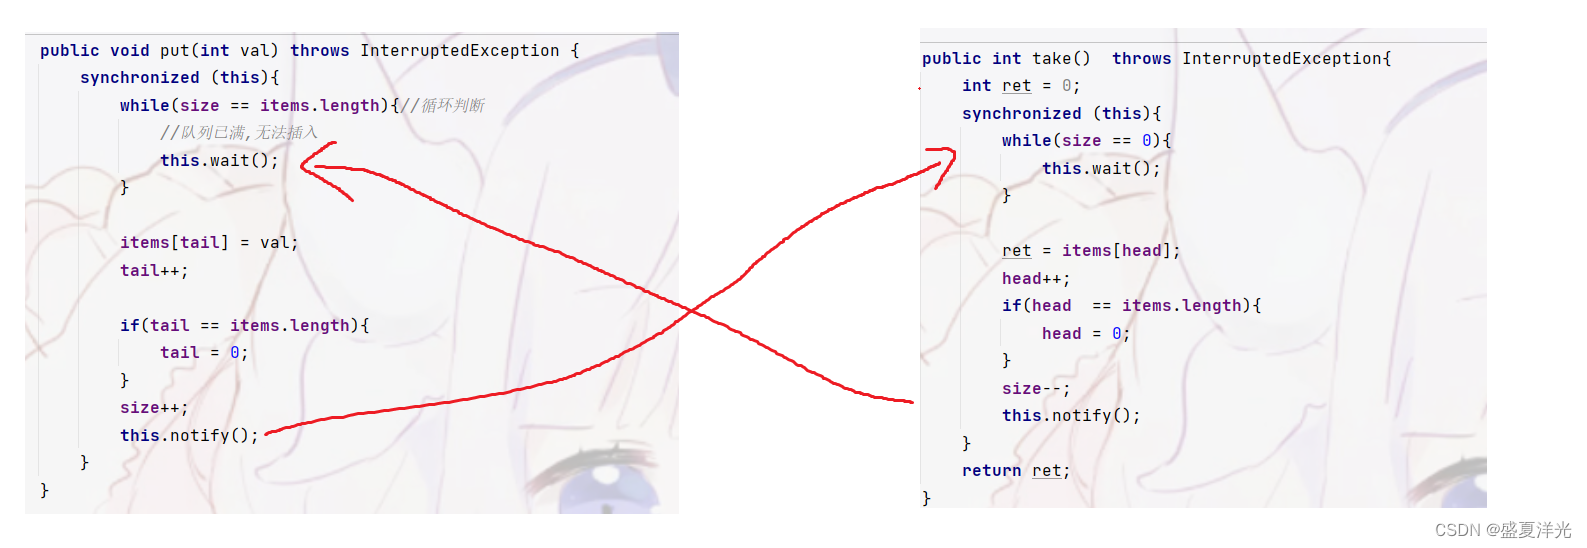
定时器
在设定一定的时间后,被唤醒并执行之前设定好的代码任务,
java内部实现的计时器
java内部实现了Timer,通过Timer的核心方法schedule来用于注册一个任务,并指定这样一个任务多久后执行.Timer的内部有专门的线程来完成注册的任务,故而在执行任务完成后,不会马上退出程序.’
在面对许多的任务时,我们需要对任务进行组织管理:
1.通过类TimerTask来描述要被执行的任务
2.根据要执行的时间来组织管理不同的任务,要快速找到执行时间最近的任务
3.执行到达时间的任务
使用Timer类
public static void main(String[] args) throws InterruptedException {

        Timer timer = new Timer();

        timer.schedule(new TimerTask(){


            @Override
            public void run() {

                System.out.println("等待被执行的任务");
            }
        },3000);

        System.out.println("main");

    }

见到并没有出现Process finished with exit code 0的退出显示,可见Timer内部还有线程.
实现一个计时器
class MyTask implements Comparable<MyTask>{

    // 描述任务
    private Runnable command;
    // 描述任务进行的时间
    private long time;

    public MyTask(Runnable command,long after){

        this.command = command;
        //此处的时间为绝对的时间戳,不是"多长时间后执行"
        this.time = System.currentTimeMillis() + after;
    }

    //执行任务的方法,内部调用 Runnable 的 run
    public void run(){

        command.run();
    }

    public long getTime(){

        return time;
    }
    @Override
    public int compareTo(MyTask o) {

        //希望时间小的在前面
        return (int)(this.time - o.time);
    }
}
//自己创建定时器类
class MyTimer{

    // 用来阻塞等待的锁对象
    private Object locker = new Object();

    //使用优先级队列来保存若干个任务
    private PriorityBlockingQueue<MyTask> queue = new PriorityBlockingQueue<MyTask>();

    //command 要执行的任务是什么
    //after 多长时间后执行任务
     public void schedule(Runnable command,long after){

         MyTask myTask = new MyTask(command,after);
         synchronized (locker){

             queue.put(myTask);
             locker.notify();
         }
     }

     public MyTimer(){

         //此处启动一个线程
         Thread t = new Thread(() ->{

         //循环,不断地从队首获取元素,到时间就执行,不到时间就等待
             while(true){

                 try{

                     synchronized (locker){

                         while(queue.isEmpty()){

                             locker.wait();
                         }
                         MyTask myTask = queue.take();
                         long curTime = System.currentTimeMillis();
                         if(myTask.getTime() > curTime){

                             //时间还没有到,塞回阻塞队列中
                             queue.put(myTask);
                             //堵塞应该等待的时间,避免多次读取首元素浪费cpu资源
                             locker.wait(myTask.getTime() - curTime);
                         }else{

                             // 时间到了 执行任务
                              myTask.run();
                         }
                     }
                 }catch (InterruptedException e){

                     e.printStackTrace();
                 }
             }
         });
         t.start();
     }
}
public class Demo29 {

    public static void main(String[] args) {

        MyTimer myTimer = new MyTimer();
        myTimer.schedule(new Runnable(){

           @Override
           public void run(){

               System.out.println("111111");
           }
        },6000);

        myTimer.schedule(new Runnable() {

            @Override
            public void run() {

                System.out.println("2222");
            }
        }, 4000);

        myTimer.schedule(new Runnable() {

            @Override
            public void run() {

                System.out.println("3333");
            }
        }, 2000);

    }

}
运行结果
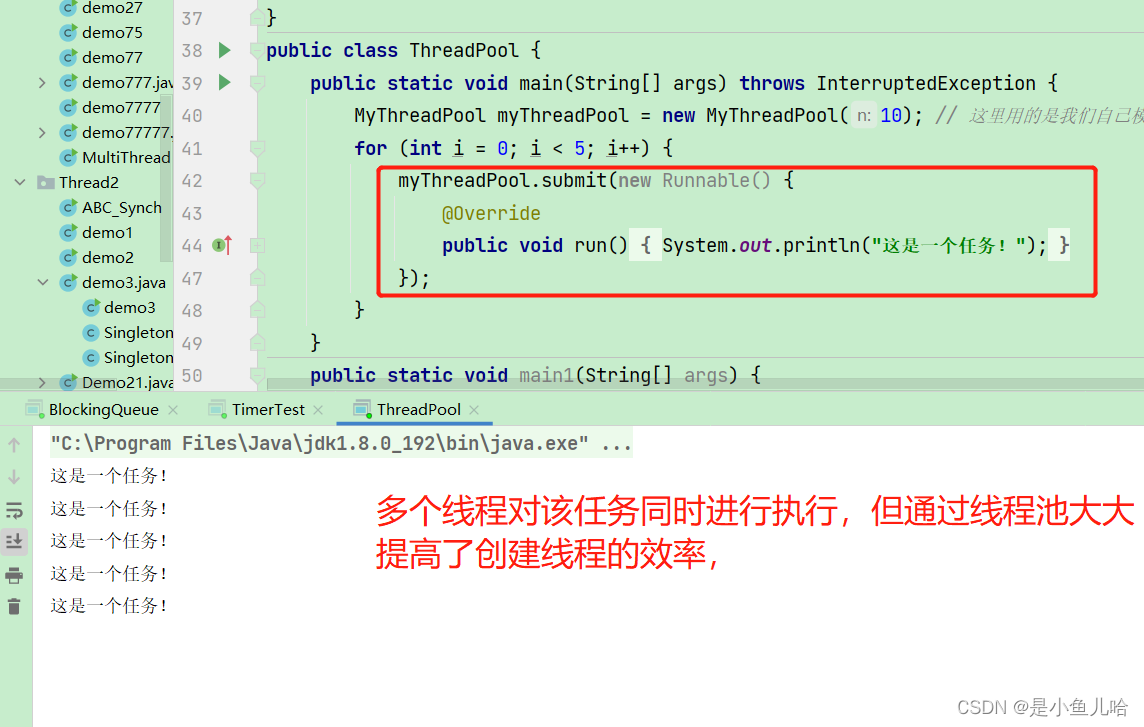
线程池
线程已经比进程轻量很多了,但是线程的创建和销毁还是会有不小的损耗,所以就有了线程池的想法
线程池:提前把线程创建好,放到池子里,下次需要时就直接拿出来用,不需要时放回池子里备用.
这样就减少了线程创建和销毁的时间
用户态和内核态
从池子里取线程使用,是纯用户态操作
而创建新的线程,涉及到了内核态操作
通常认为 涉及到内核态的操作 就是比涉及到用户态的操作低效
标准库内的线程池
- 使用 Executors.newFixedThreadPool(10) 能创建出固定包含 10 个线程的线程池.
- 返回值类型为 ExecutorService
- 通过 ExecutorService.submit 可以注册一个任务到线程池中
public static void main(String[] args) {

        //创建固定线程数目的线程池
        ExecutorService pool = Executors.newFixedThreadPool(10);
        //创建会自动扩容的线程池
        Executors.newCachedThreadPool();
        //创建只有一个线程的线程池
        Executors.newSingleThreadExecutor();
        for(int i = 0; i < 10; i++){

            pool.submit(new Runnable() {

                @Override
                public void run() {

                    System.out.println("hello");
                }
            });
        }
    }
自己实现线程池
- 直接使用Runnable描述任务
- 使用BlockingQueue组织任务
- 创建工作线程
- 给工作线程分配任务
class MyThreadPool{

    // 创建任务队列,将等待完成的任务存入队列中
    //再由线程池内部的工作线程完成他们
    private BlockingQueue<Runnable> queue = new LinkedBlockingQueue<>();

    //核心任务 往线程池里加入任务
    public void submit(Runnable runnable){

        try {

            queue.put(runnable);
        } catch (InterruptedException e) {

            e.printStackTrace();
        }
    }

    //设定线程池里有多少线程
    public MyThreadPool(int n){

        for (int i = 0; i < n; i++) {

            Thread t = new Thread(() ->{

               while(!Thread.currentThread().isInterrupted()){

                   try {

                       Runnable runnable = queue.take();
                       runnable.run();
                   } catch (InterruptedException e) {

                       e.printStackTrace();
                       break;
                   }

               }
            });
            t.start();
        }
    }
}
边栏推荐
猜你喜欢
Charles抓包显示<unknown>解决方案

El - table column filter functions, control columns show and hide (effect and easy to implement full marks)

MySQL的Replace用法详解
MySQL之DQL——查询语言

重量级大咖来袭:阿里云生命科学与智能计算峰会精彩内容剧透
Chrome插件开发入门
Multi-Head-Attention原理及代码实现
连续型特征做embedding代码示例
《多线程案例》阻塞队列、定时器、线程池、饿汉与懒汉模式

html+css+php+mysql实现注册+登录+修改密码(附完整代码)
随机推荐
Composer require 报错 Installation failed, reverting ./composer.json and ./composer.lock to their ...
信息学奥赛一本通T1451:棋盘游戏
pyspark df 二次排序
MySQL的10种常用数据类型
DIFM network, rounding and repetition
MySQL忘记密码怎么办
Scala 高阶(八):集合内容汇总(下篇)
docker-compose部署mysql
5G网络入门基础--5G网络的架构与基本原理
FiBiNet torch复现
用代码构建UI界面
【卫朋】硬件创业:营销与开发同行
MySQL之DQL——查询语言
ES6中 Symbol 的基础学习,迭代器和生成器的基本用法
ES6 - 剩余参数,Array的扩展方法,String的扩展方法
Nacos与Eureka的区别
Flink对比Spark
UniApp scroll-view 事件不生效(@scroll、@scrolltolower、@scrolltoupper ...)
单节点部署 gpmall 商城系统(二)
Autowired注解与Resource注解的区别