当前位置:网站首页>Teach you how to deploy Nestjs projects
Teach you how to deploy Nestjs projects
2022-07-31 18:29:00 【poetry】
前端进阶之旅:https://interview2.poetries.top 博客:https://blog.poetries.top 公众号/小程序:「前端进阶之旅」 Share technical dry goods every day,Don't get lost in the front end of the school 作者:程序员poetry
一、云服务器docker-compose部署
安装docker环境
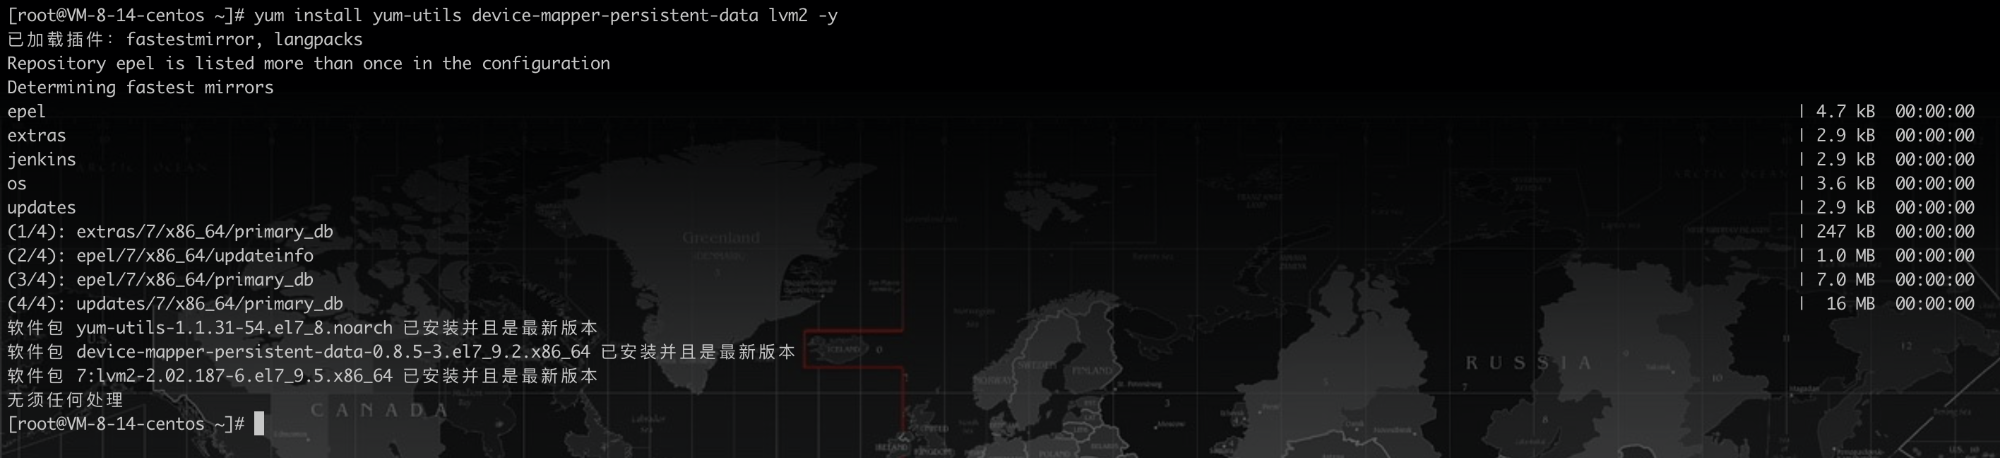
安装工具包
yum install yum-utils device-mapper-persistent-data lvm2 -y
Set the Ali mirror source
yum-config-manager --add-repo https://mirrors.aliyun.com/docker-ce/linux/centos/docker-ce.repo

安装docker
yum install docker-ce docker-ce-cli containerd.io -y
启动docker
systemctl start docker

# 设为开机启动
systemctl enable docker
设置docker镜像源
vi /etc/docker/daemon.json
{
  "registry-mirrors": [
    "https://register.docker-cn.com/"
  ],
}
Subsequent pull mirrors directly from https://hub.docker.com Website pulls are faster
重启docker
systemctl restart docker
安装mysql镜像测试
docker pull daocloud.io/library/mysql:8.0.20

运行mysql镜像
docker run -d -p 3307:3306 --name mysql -e MYSQL_ROOT_PASSWORD=123456(设置登录密码) be0dbf01a0f3(镜像ID)

进入mysql容器内部
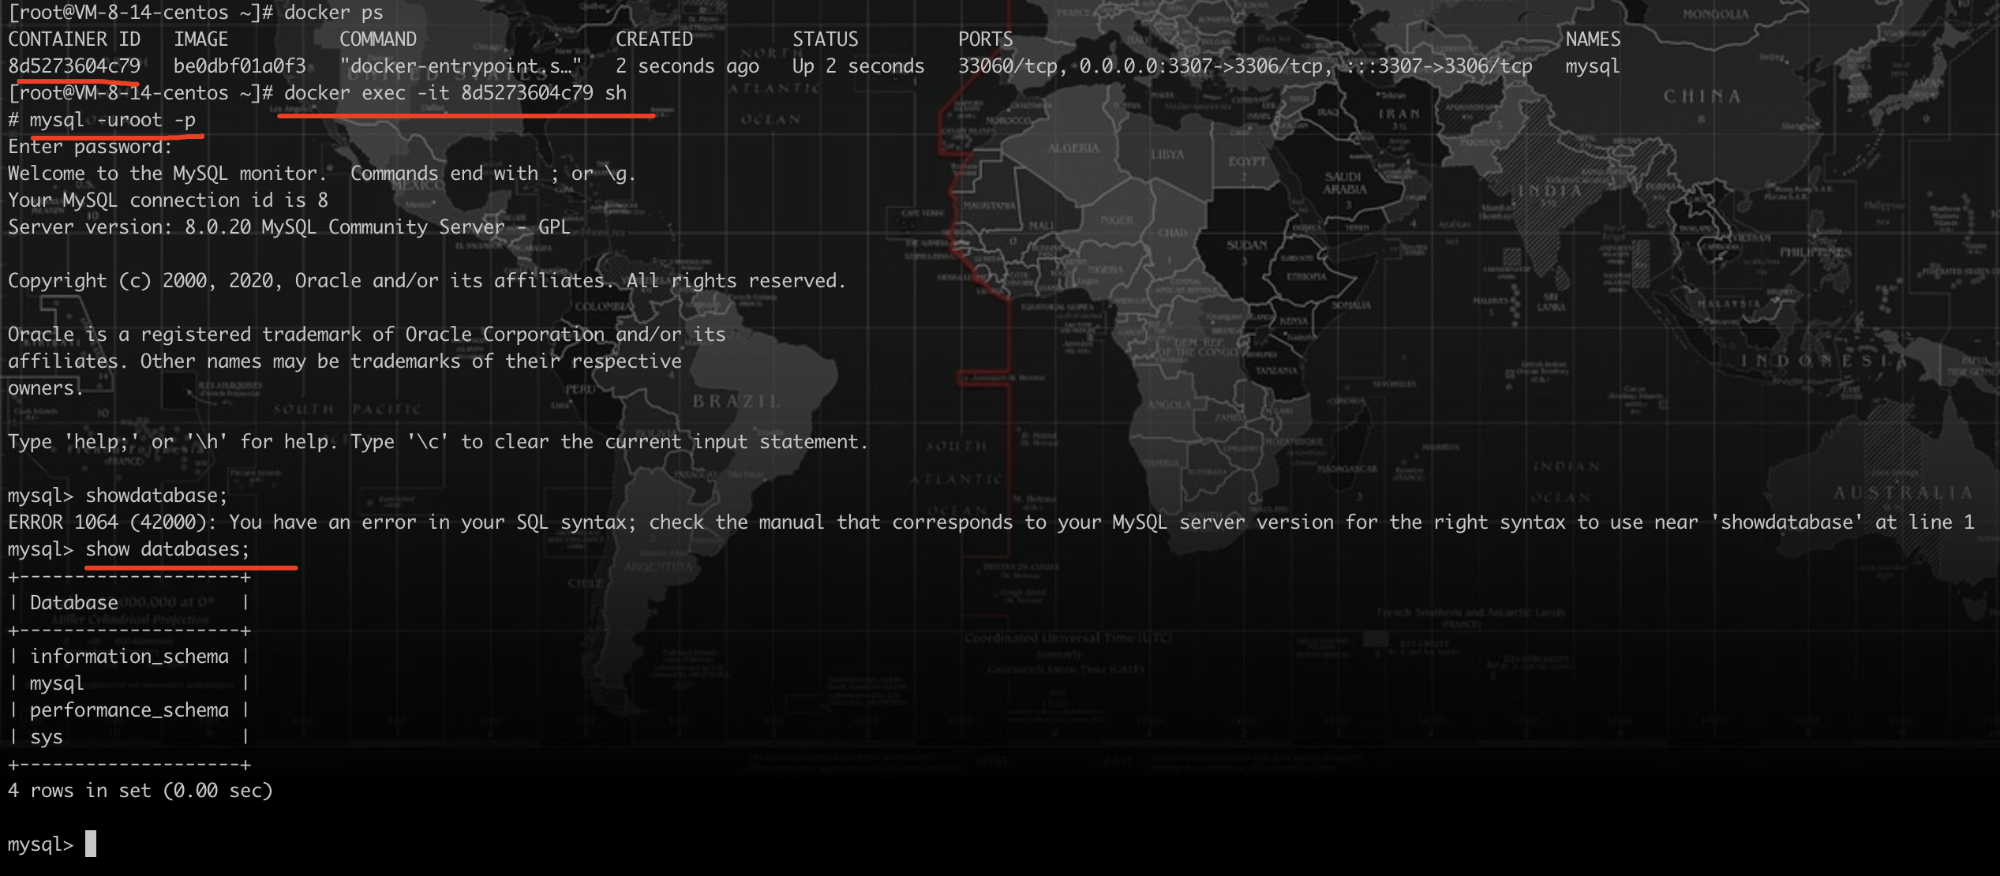
至此mysqlMirror build successfully,下面我们使用
docker-compose来管理docker容器,Not installed one by oneMySQL、redis、nginx
安装docker-compose
# 使用国内源安装
curl -L https://get.daocloud.io/docker/compose/releases/download/1.22.0/docker-compose-`uname -s`-`uname -m` > /usr/local/bin/docker-compose
设置docker-compose执行权限
chmod +x /usr/local/bin/docker-compose
创建软链
sudo ln -s /usr/local/bin/docker-compose /usr/bin/docker-compose
测试是否安装成功:
$ docker-compose --version

docker-compose version 1.22.0, build f46880fe
编写docker-compose
version: "3.0"
services:
# docker容器启动的redis默认是没有redis.conf的配置文件,所以用docker启动redis之前,需要先去官网下载redis.conf的配置文件
redis: # 服务名称
container_name: redis # 容器名称
image: daocloud.io/library/redis:6.0.3-alpine3.11 # 使用官方镜像
# 配置redis.conf方式启动
command: redis-server /usr/local/etc/redis/redis.conf --requirepass 123456 --appendonly yes # 设置redis登录密码 123456、--appendonly yes:这个命令是用于开启redis数据持久化
# Startup without configuration file
# command: redis-server --requirepass 123456 --appendonly yes # 设置redis登录密码 123456
ports:
- 6380:6379 # 本机端口:容器端口
restart: on-failure # 自动重启
volumes:
- ./deploy/redis/db:/data # Mount persistent data to the host
- ./deploy/redis/conf/redis.conf:/usr/local/etc/redis/redis.conf # 把redisThe configuration file is mounted to the host
- ./deploy/redis/logs:/logs # 用来存放日志
environment:
- TZ=Asia/Shanghai # 解决容器 时区的问题
networks:
- my-server
mysql:
container_name: mysql
image: daocloud.io/library/mysql:8.0.20 # 使用官方镜像
ports:
- 3307:3306 # 本机端口:容器端口
restart: on-failure
environment:
- MYSQL_ROOT_PASSWORD=993412 # root用户密码
volumes:
- ./deploy/mysql/db:/var/lib/mysql # Used to store database table files
- ./deploy/mysql/conf/my.cnf:/etc/my.cnf # Store custom configuration files
# 我们在启动MySQLThe database and tables we need are automatically created when the container is used
# mysqlAutomatic container startup is provided in the official imagedocker-entrypoint-initdb.dfunction of the script below
- ./deploy/mysql/init:/docker-entrypoint-initdb.d/ # Stores the initialization script
networks:
- my-server
server: # egg服务
container_name: server
build: # 根据Dockerfile构建镜像
context: .
dockerfile: Dockerfile
ports:
- 9000:9000
restart: on-failure # 设置自动重启,This step must be set,主要是存在mysqlIt starts before it is finishednode服务
networks:
- my-server
depends_on: # node服务依赖于mysql和redis
- redis
- mysql
# Declare the bridge my-server.
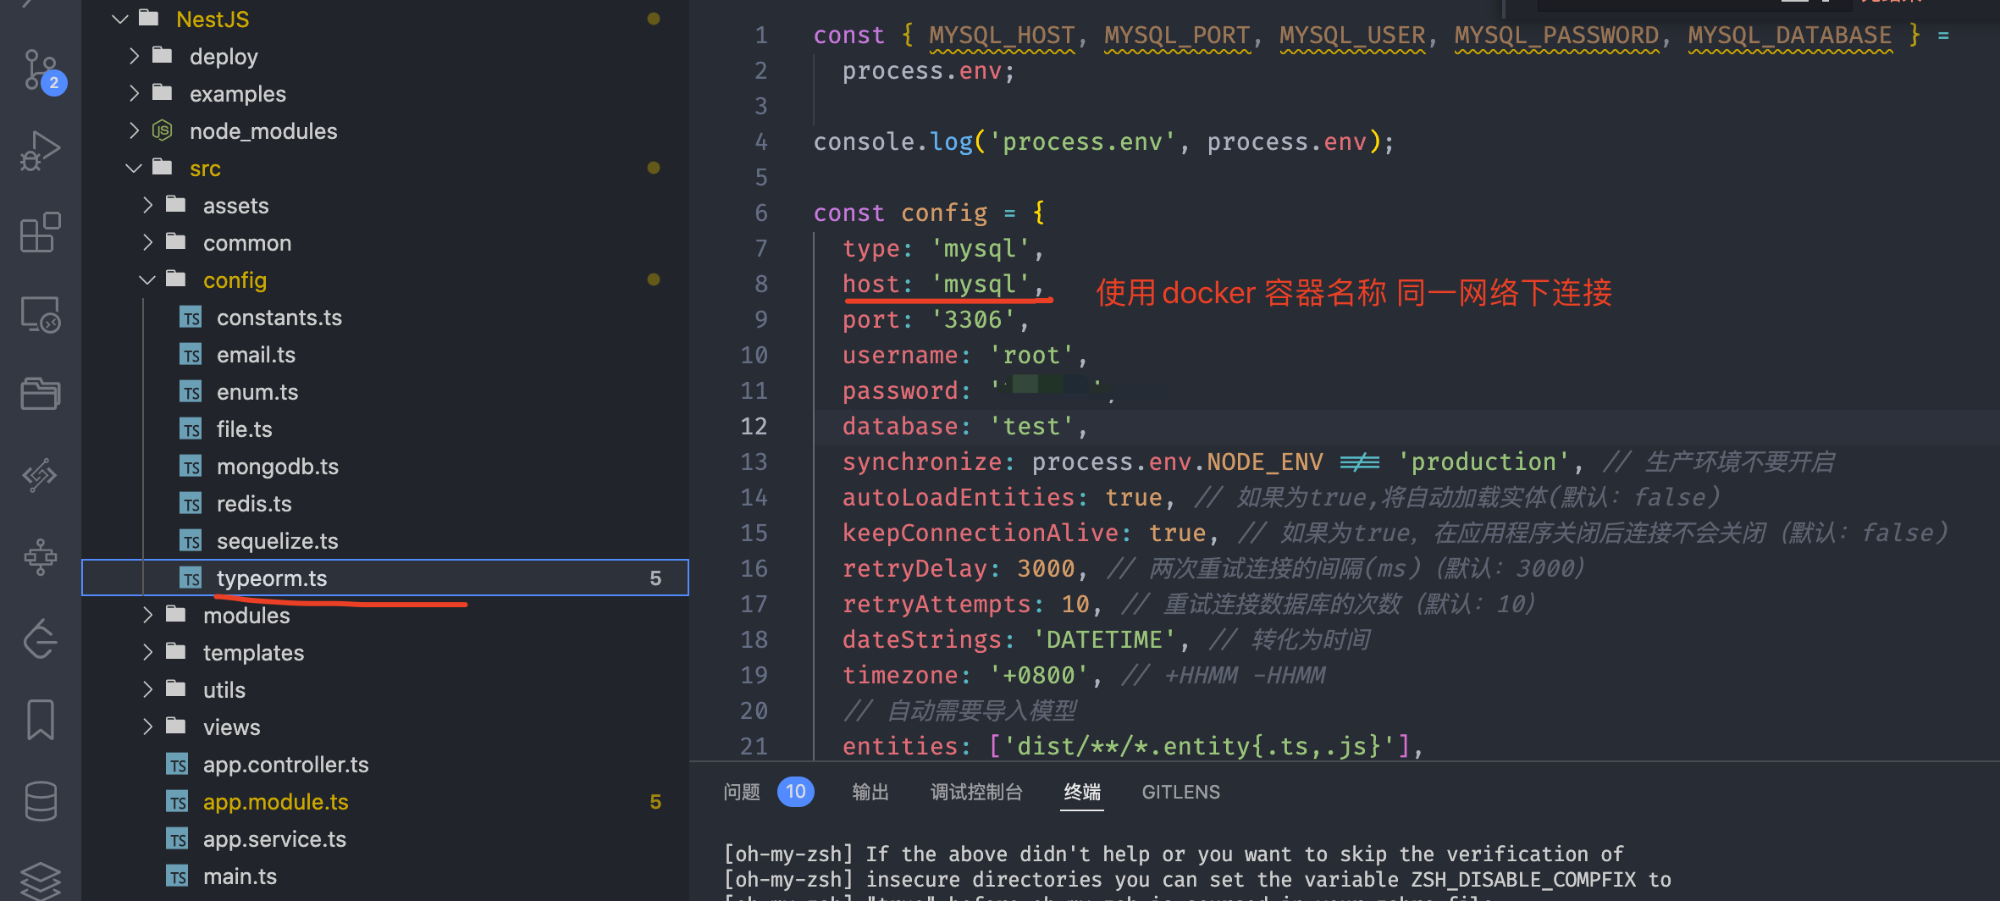
# 重要:Mount all services on the same bridge to communicate with each other through the container name
# 如egg连接mysql和redis,You can communicate with each other through the container name
networks:
my-server:
nestjs/Dockerfile
FROM daocloud.io/library/node:14.7.0

# 设置时区
ENV TZ=Asia/Shanghai \
    DEBIAN_FRONTEND=noninteractive
RUN ln -fs /usr/share/zoneinfo/${TZ} /etc/localtime && echo ${TZ} > /etc/timezone && dpkg-reconfigure --frontend noninteractive tzdata && rm -rf /var/lib/apt/lists/*

# 创建工作目录
RUN mkdir -p /app

# 指定工作目录
WORKDIR /app

# Copy the current code to /app工作目录
COPY . ./

# npm 源,Use domestic mirror sources to improve download speed
# RUN npm config set registry https://registry.npm.taobao.org/

# npm 安装依赖
RUN npm install
# 打包
RUN npm run build

# 启动服务
# "start:prod": "cross-env NODE_ENV=production node ./dist/src/main.js",
CMD npm run start:prod

EXPOSE 9000
修改代码

开放云服务器端口
开放端口9000、6380、3307
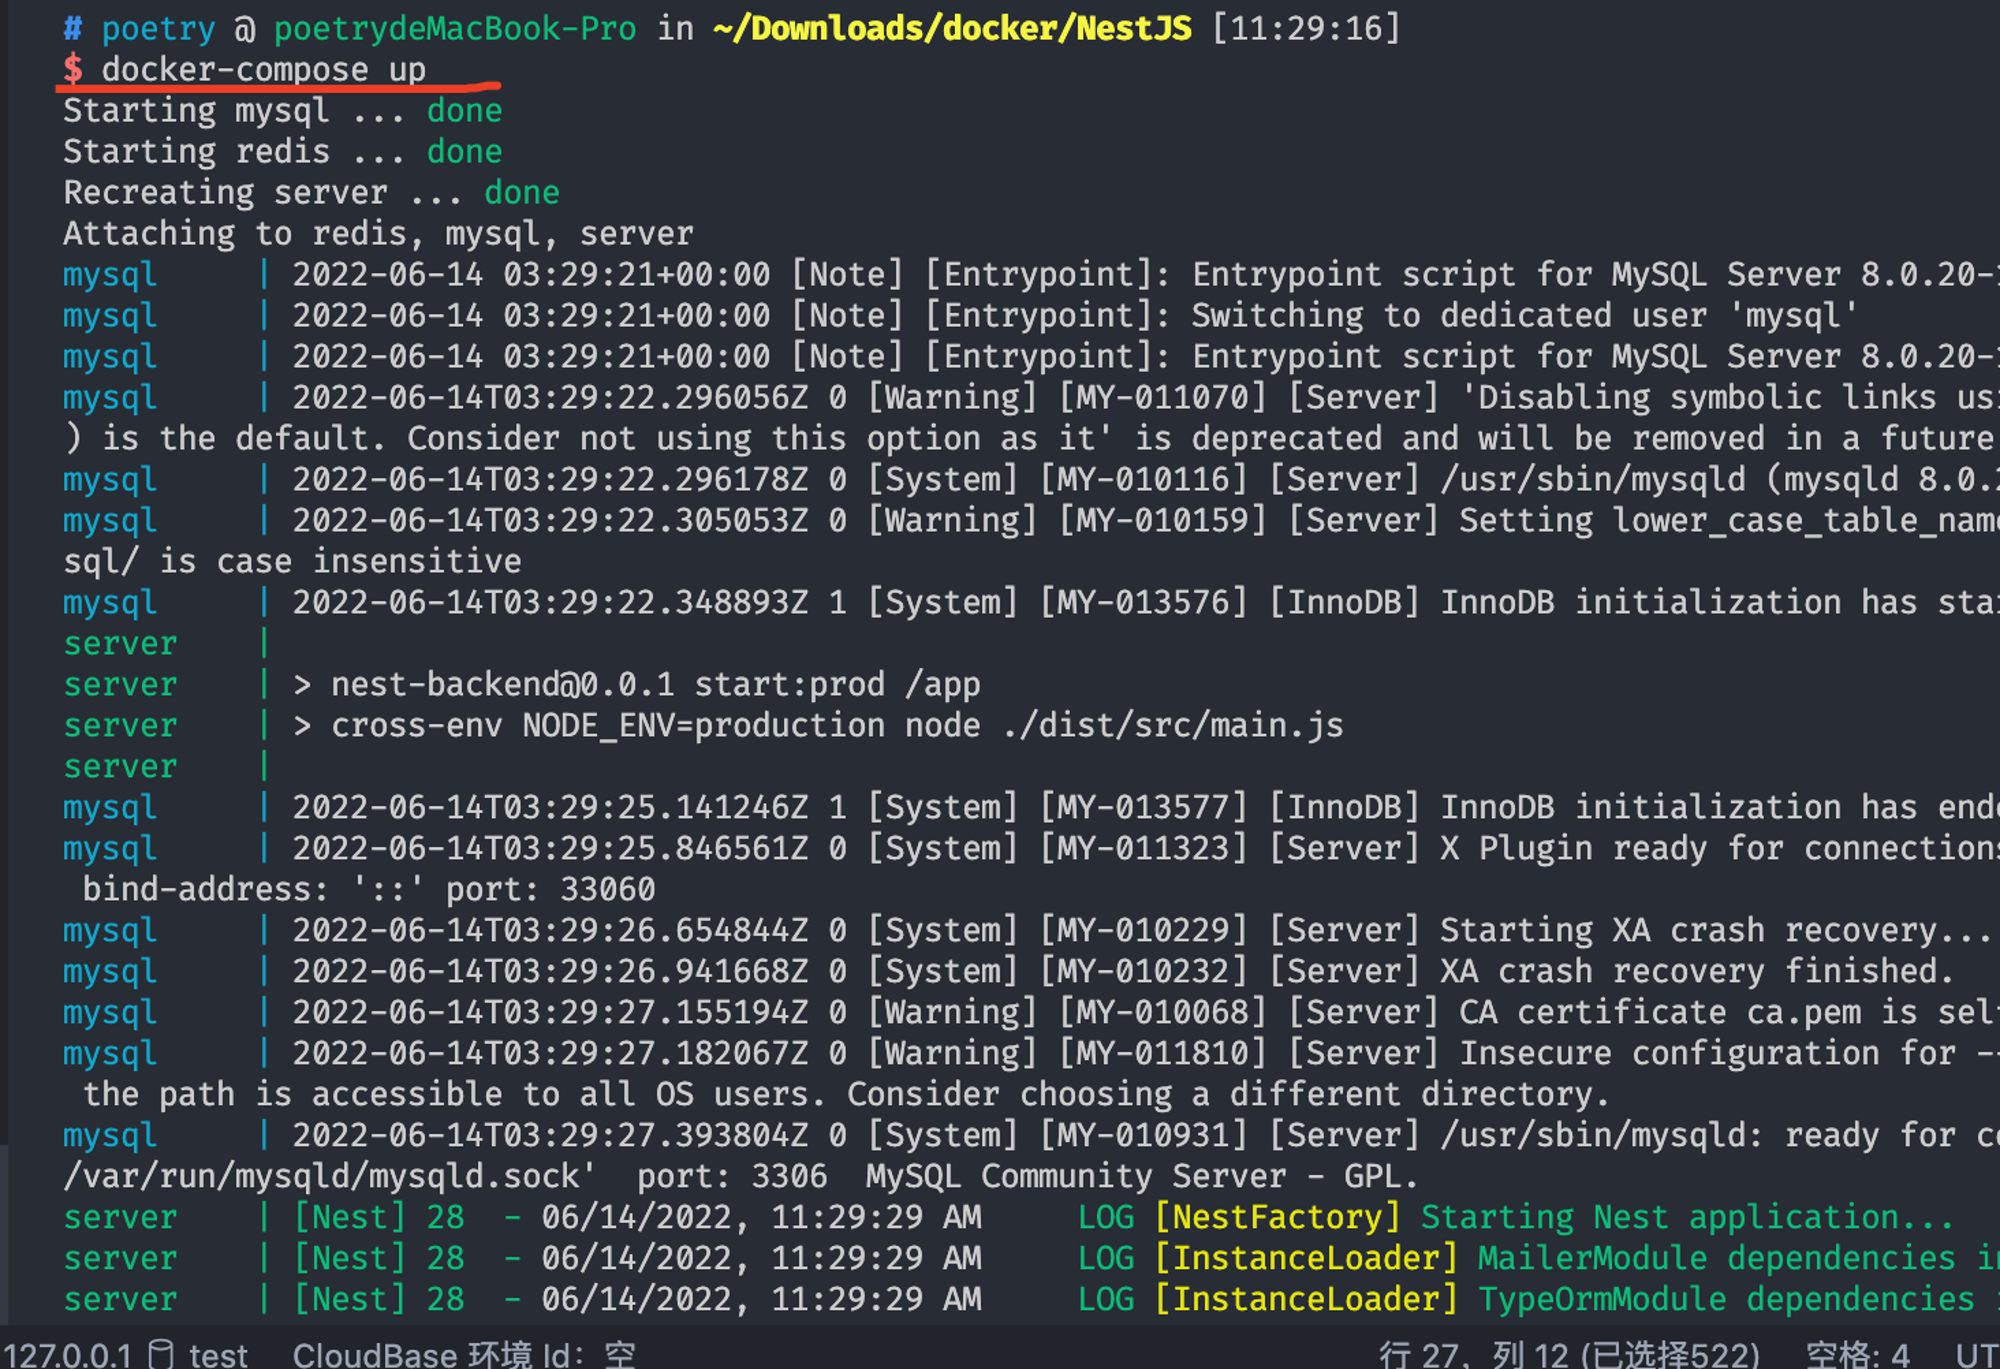
启动项目
docker-compose -h查看命令
docker-compose up启动服务,Console visible logsdocker-compose up -d后台启动服务docker-compose build --no-cacheRebuilding the image does not use the cache(最后docker-compose up -d启动)停止服务 docker-compose down下载镜像过程 docker-compose pull重启服务 docker-compose restart
后台启动服务 docker-compose up -d

测试
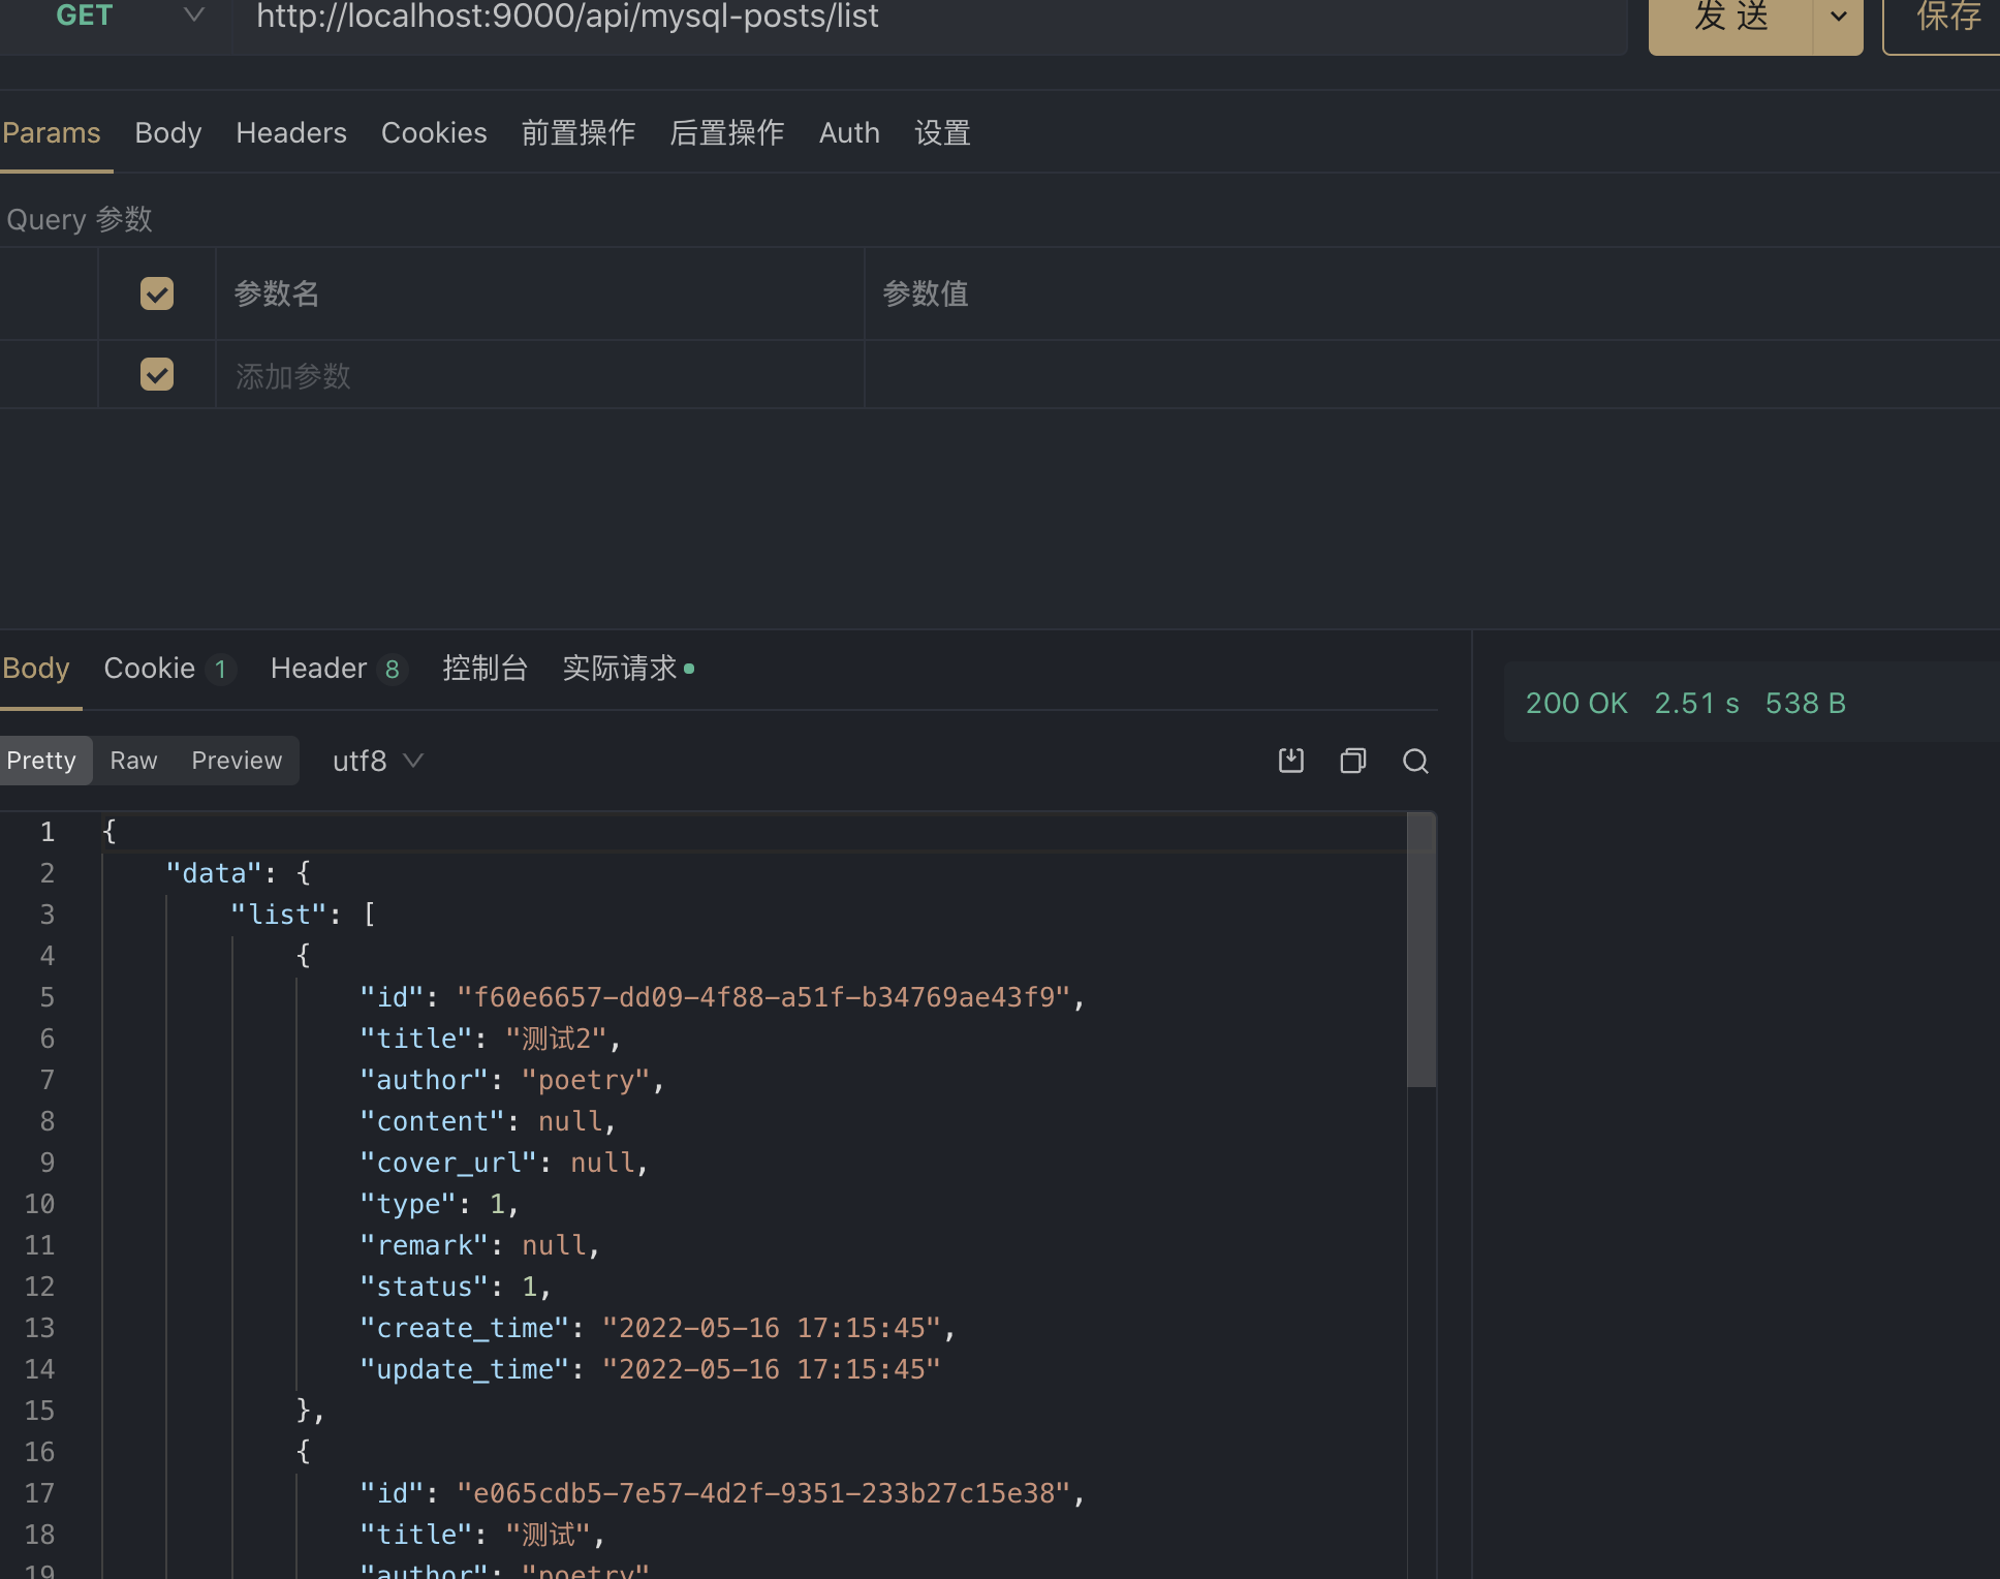
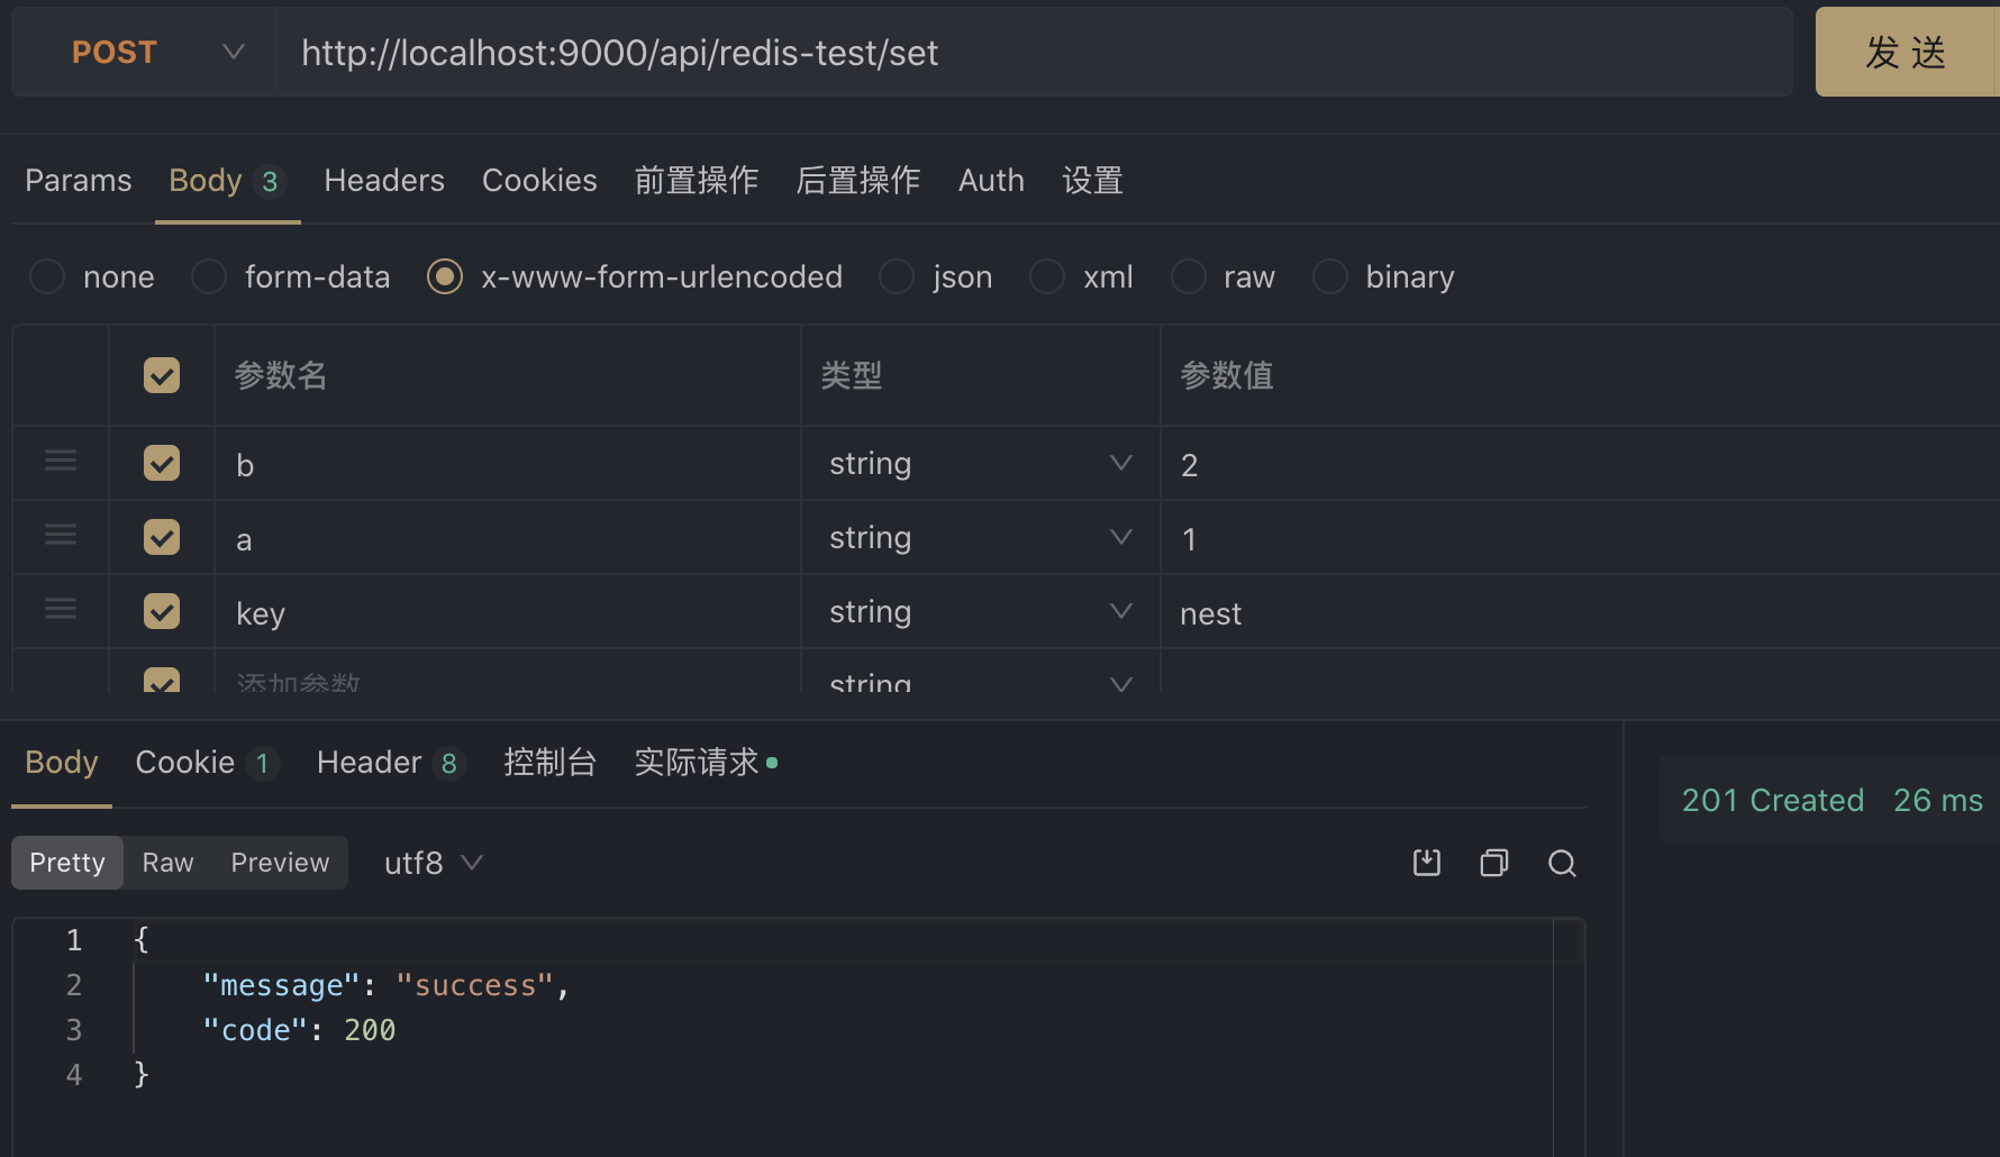

二、微信云托管部署
Cloud-hosted pipeline deployment is more convenient
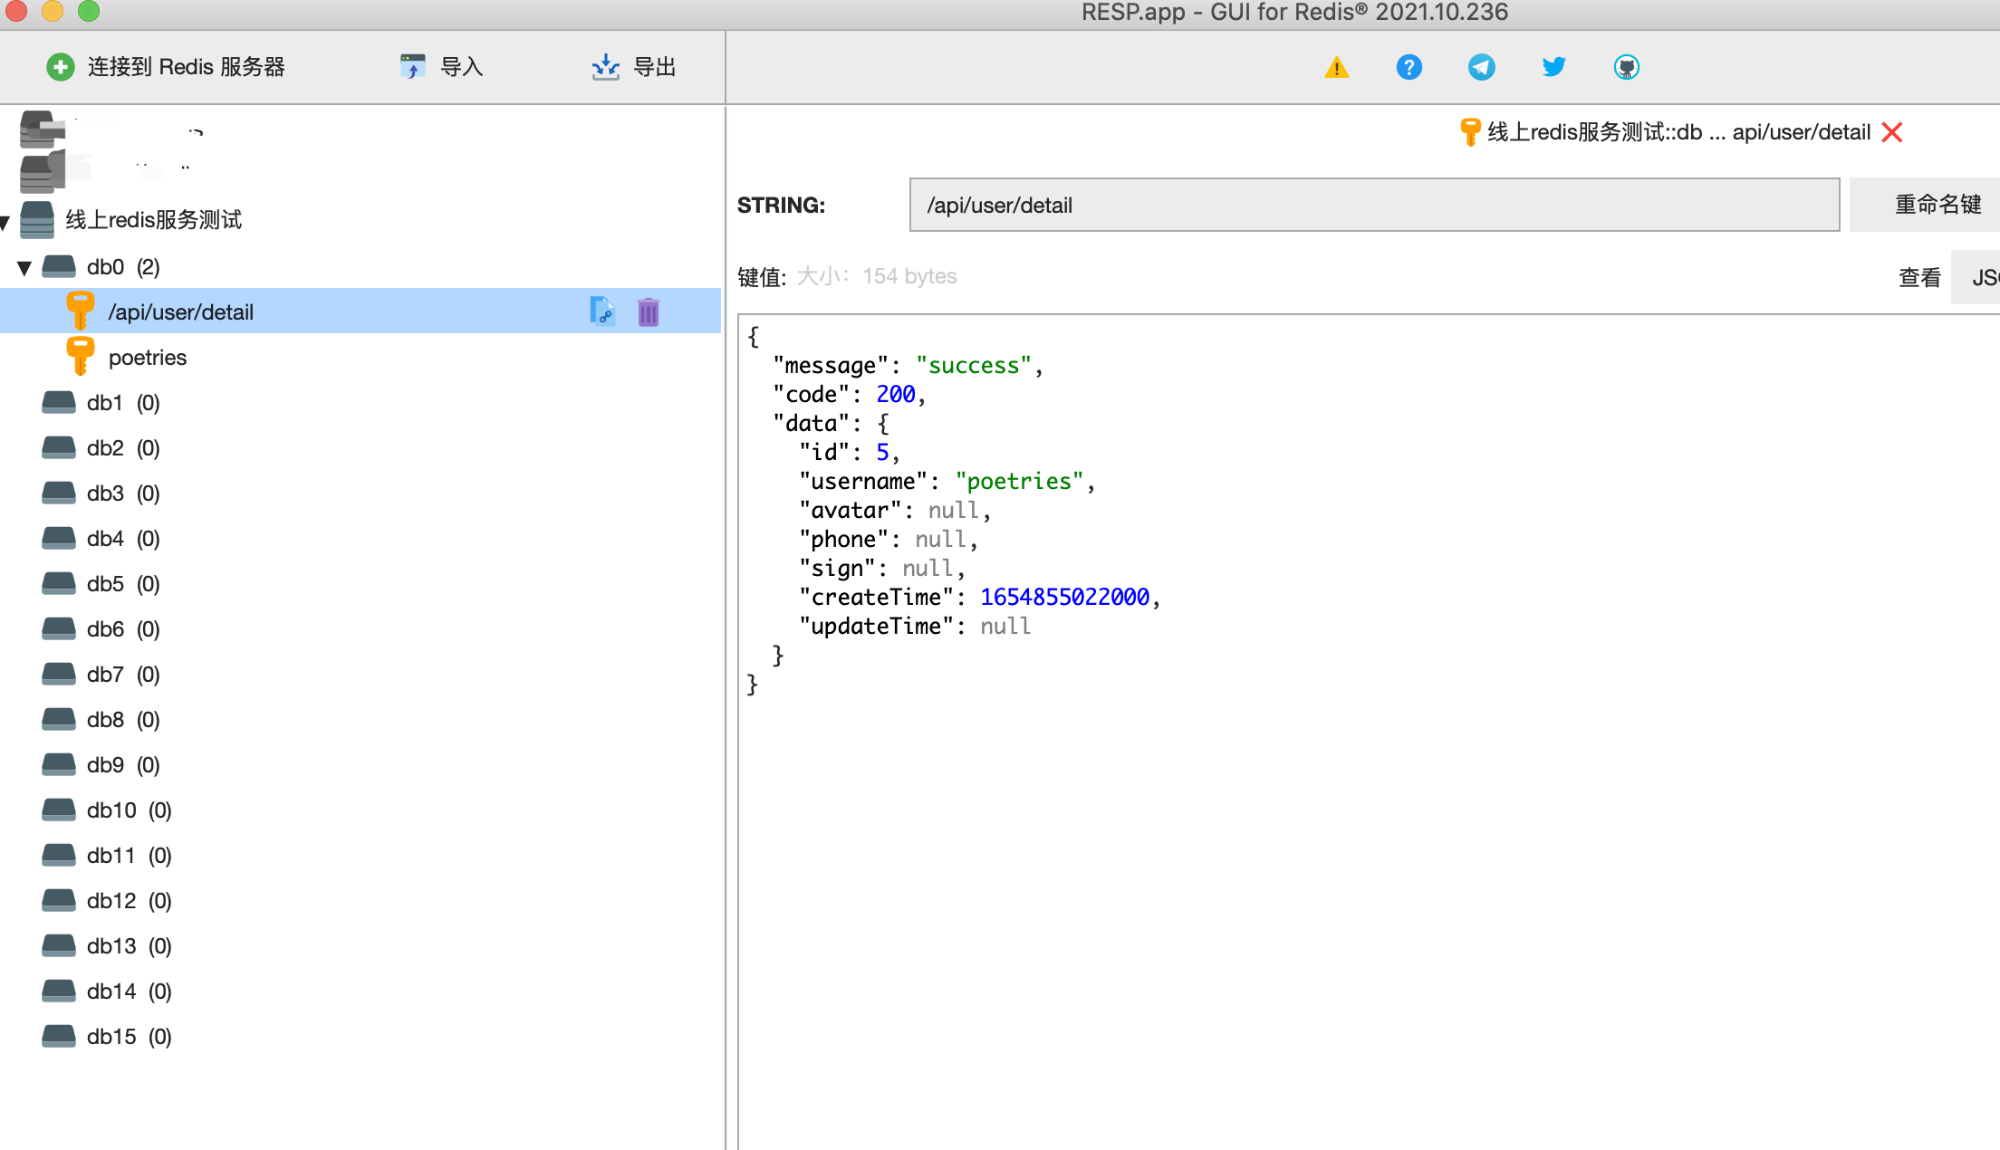
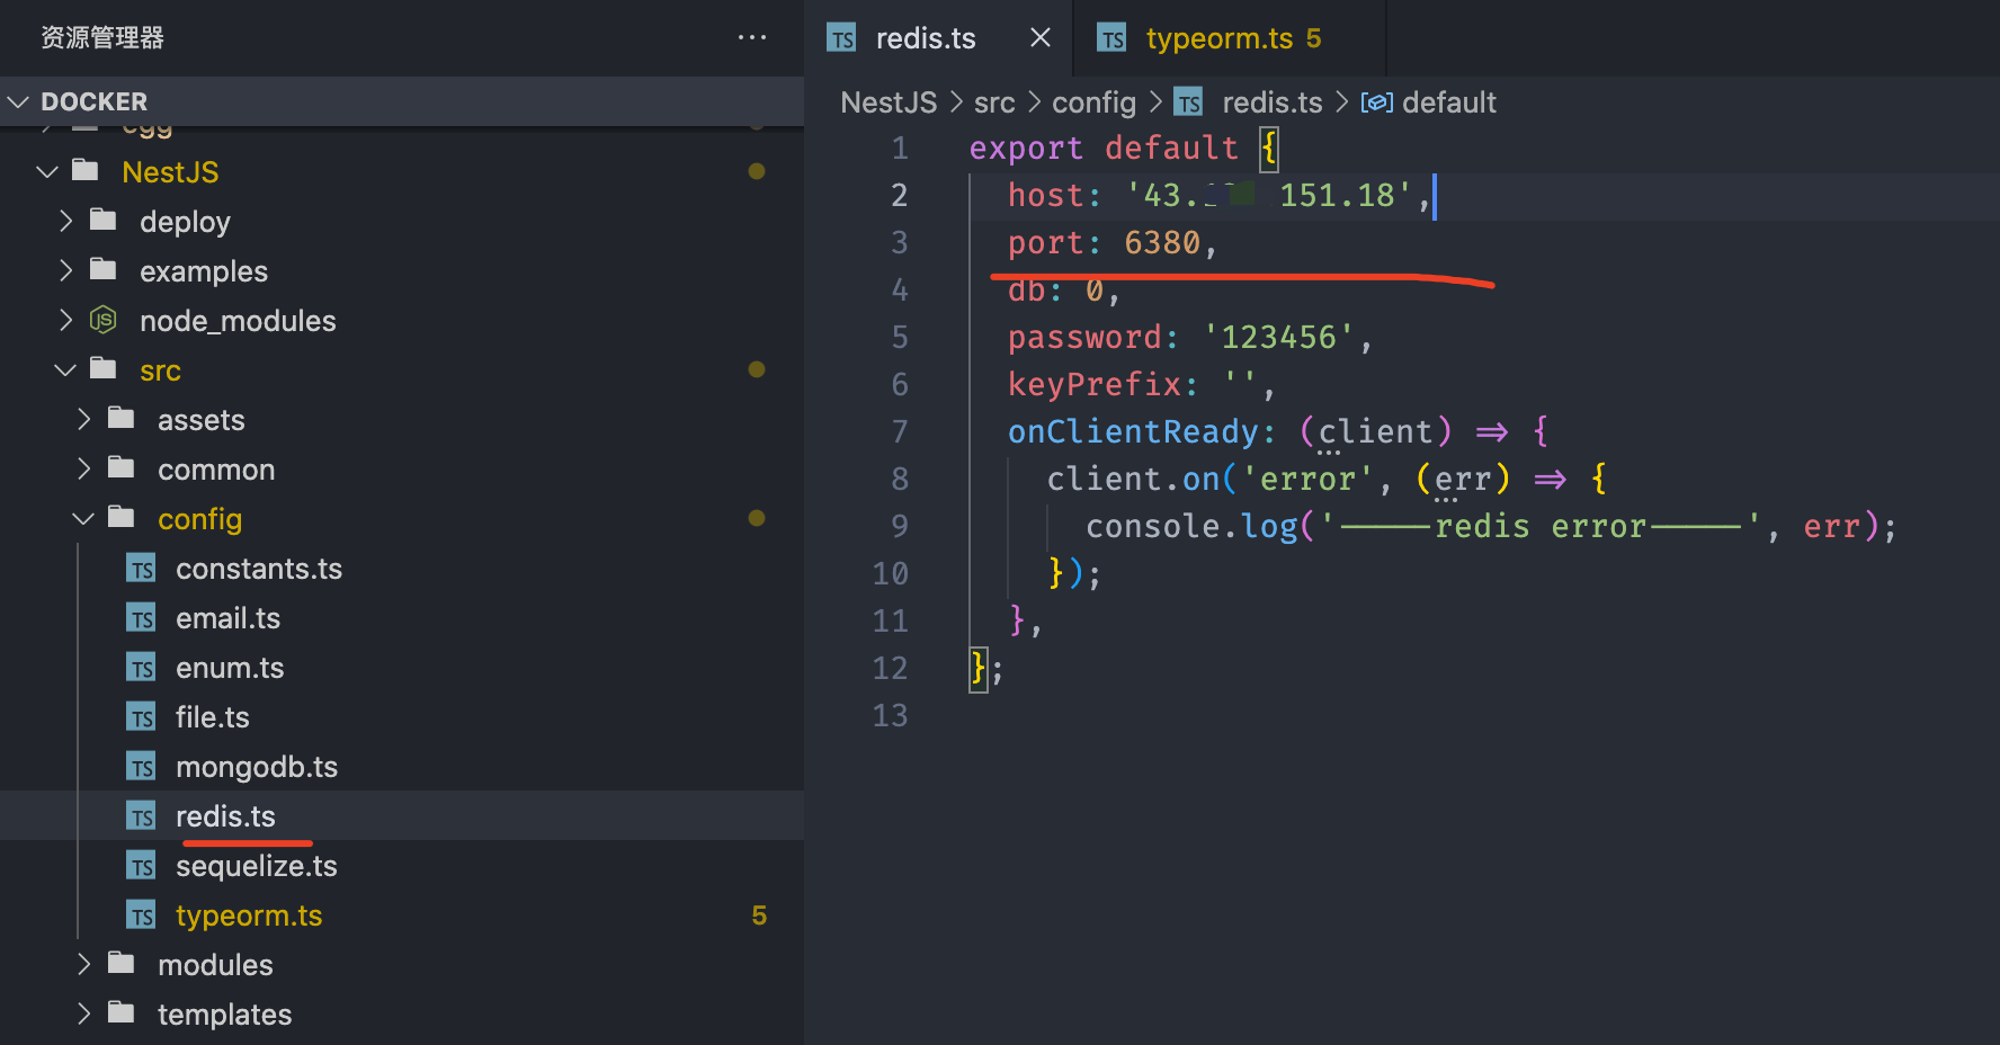
redis服务
Here we deploy on the self-built server used abovedocker搭建的redisservice as a demo
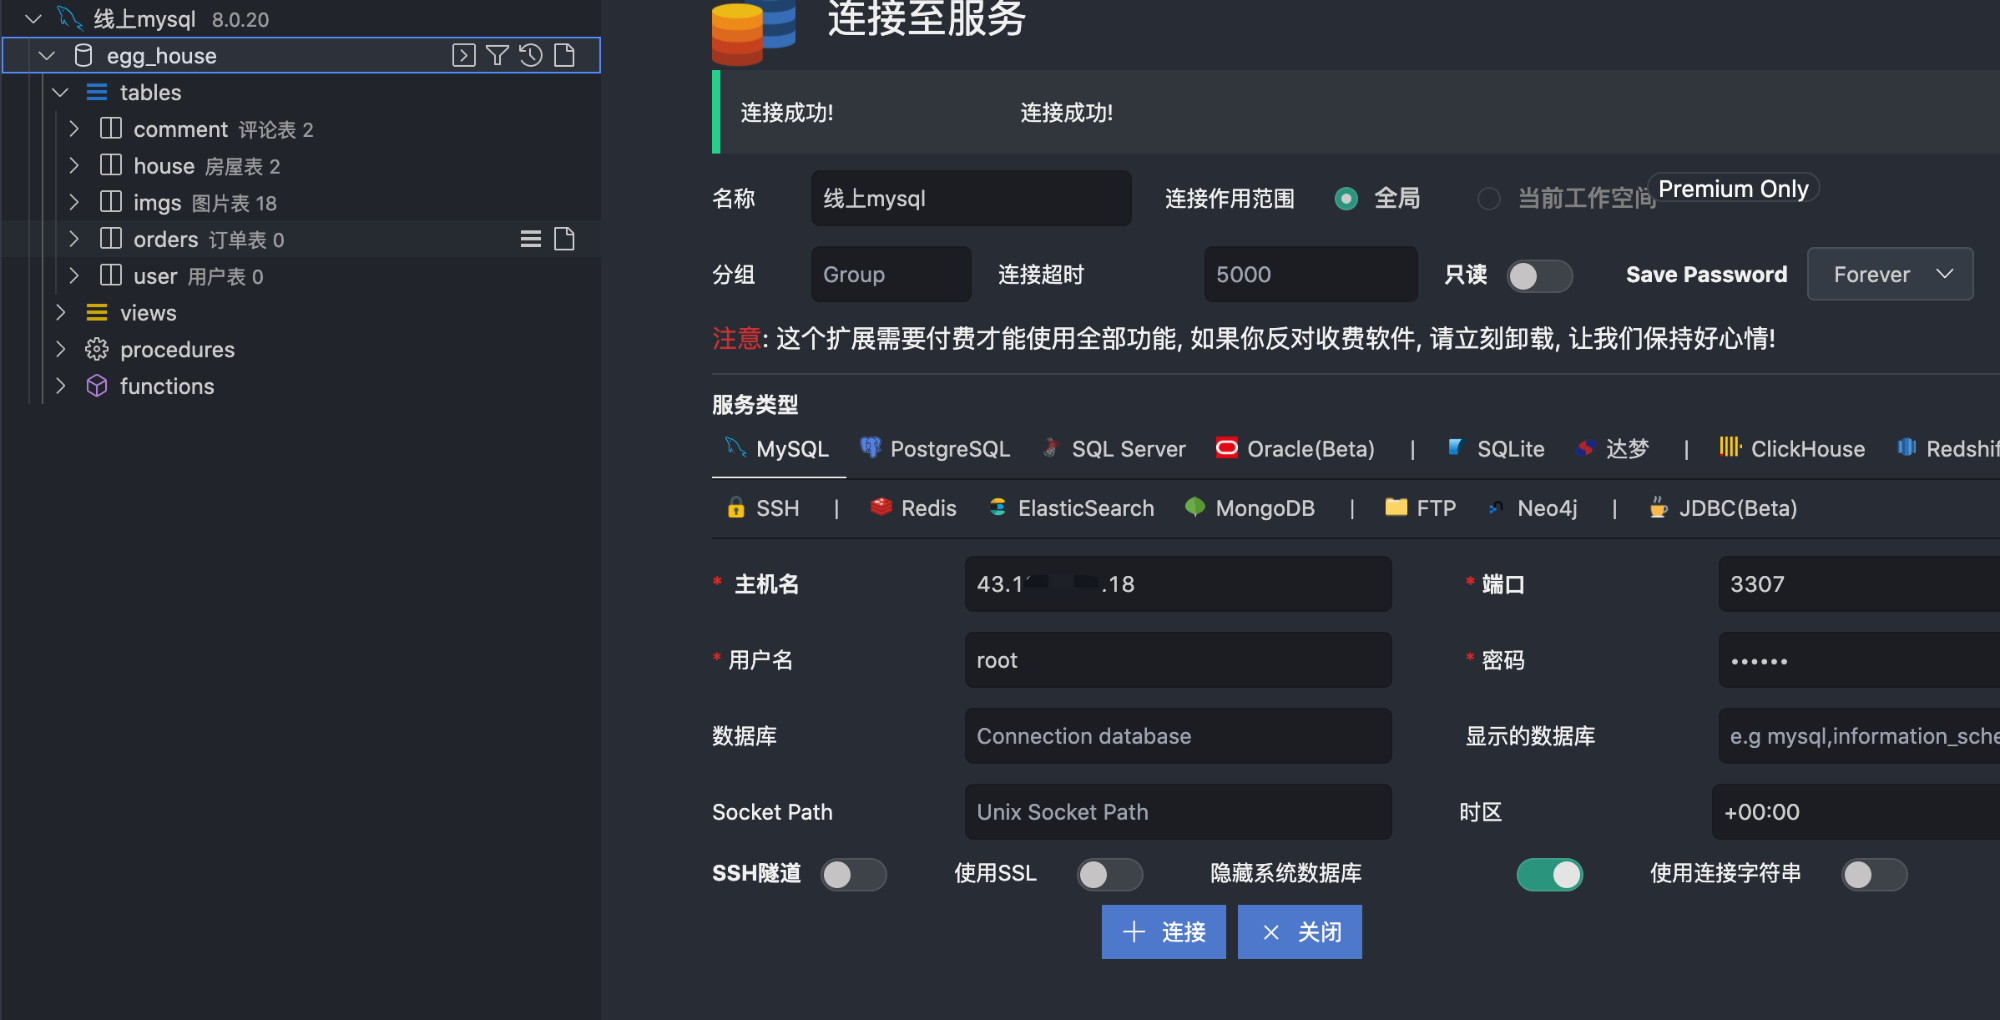
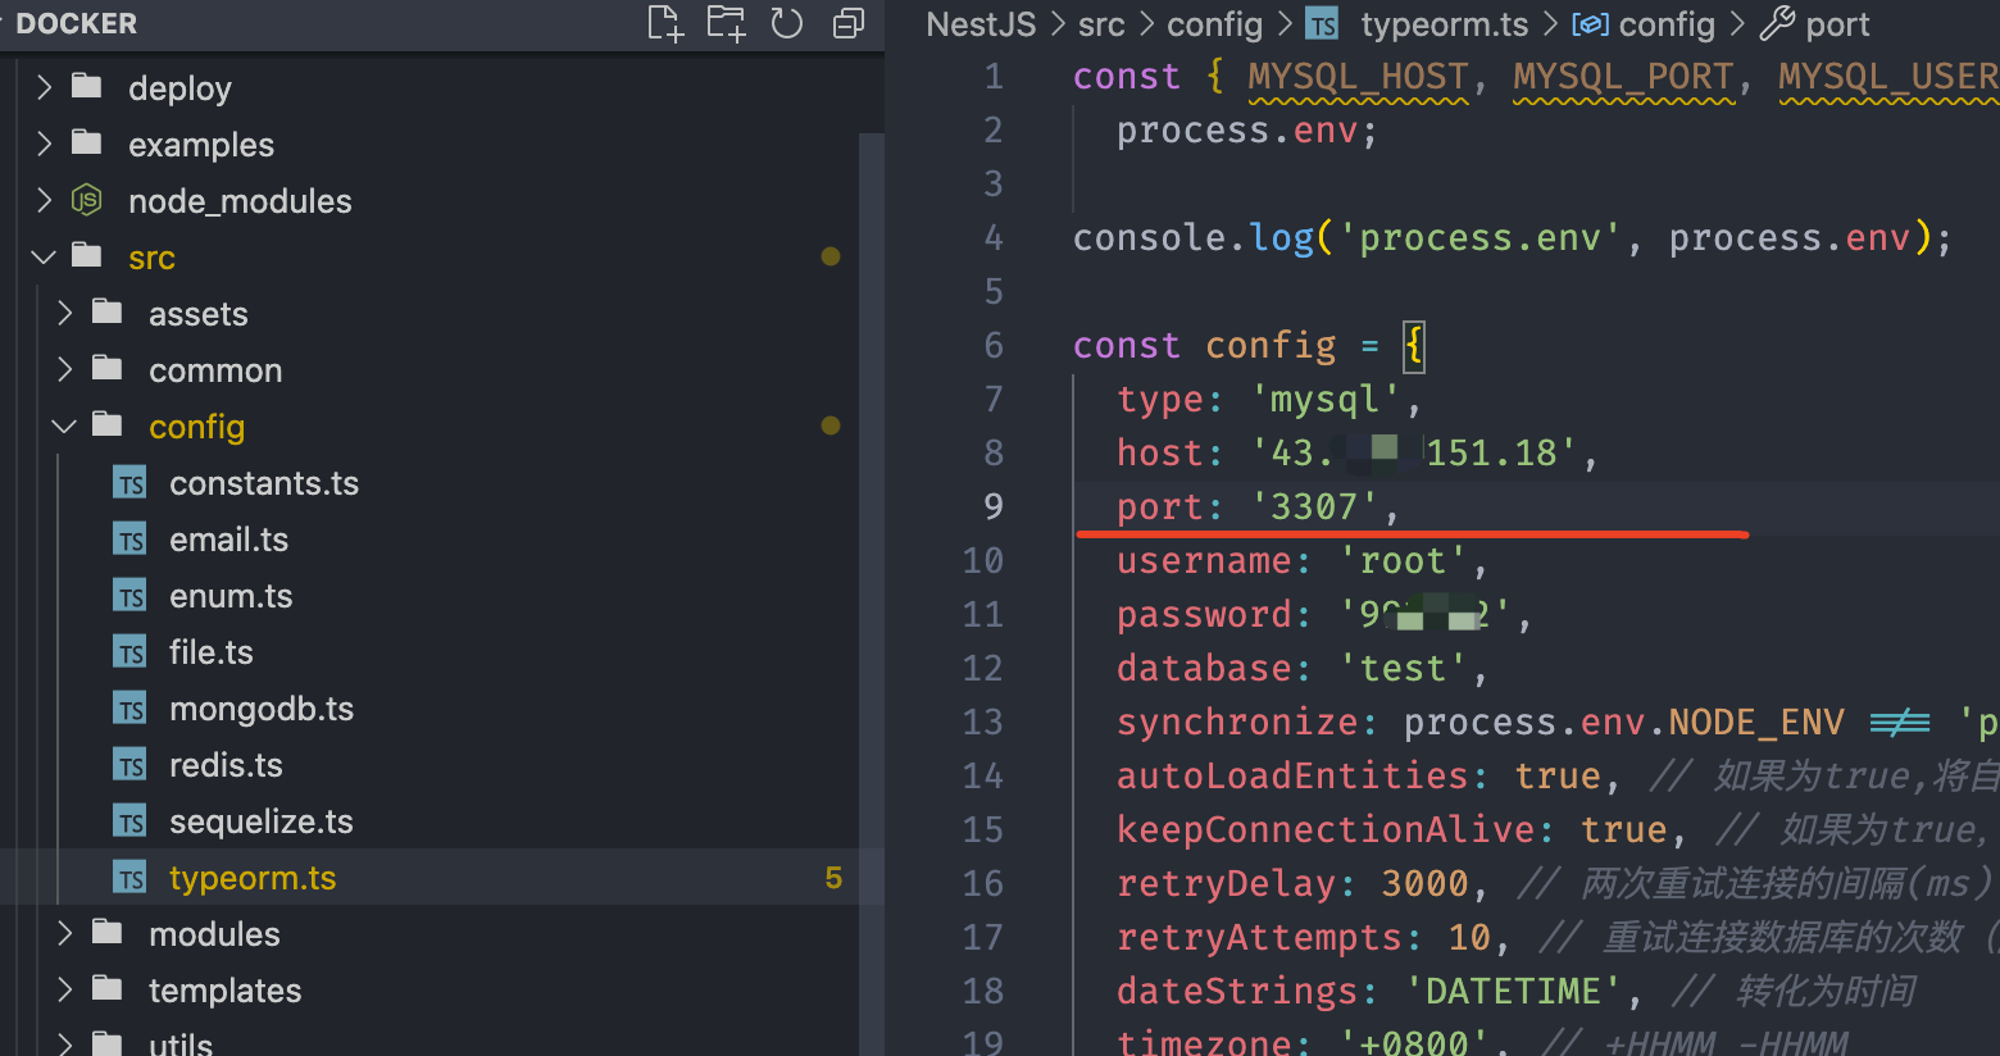
mysql服务
Here we deploy on the self-built server used abovedocker搭建的mysqlservice as a demo
修改代码
Then upload the code to github,Build with cloud-hosted pipelines
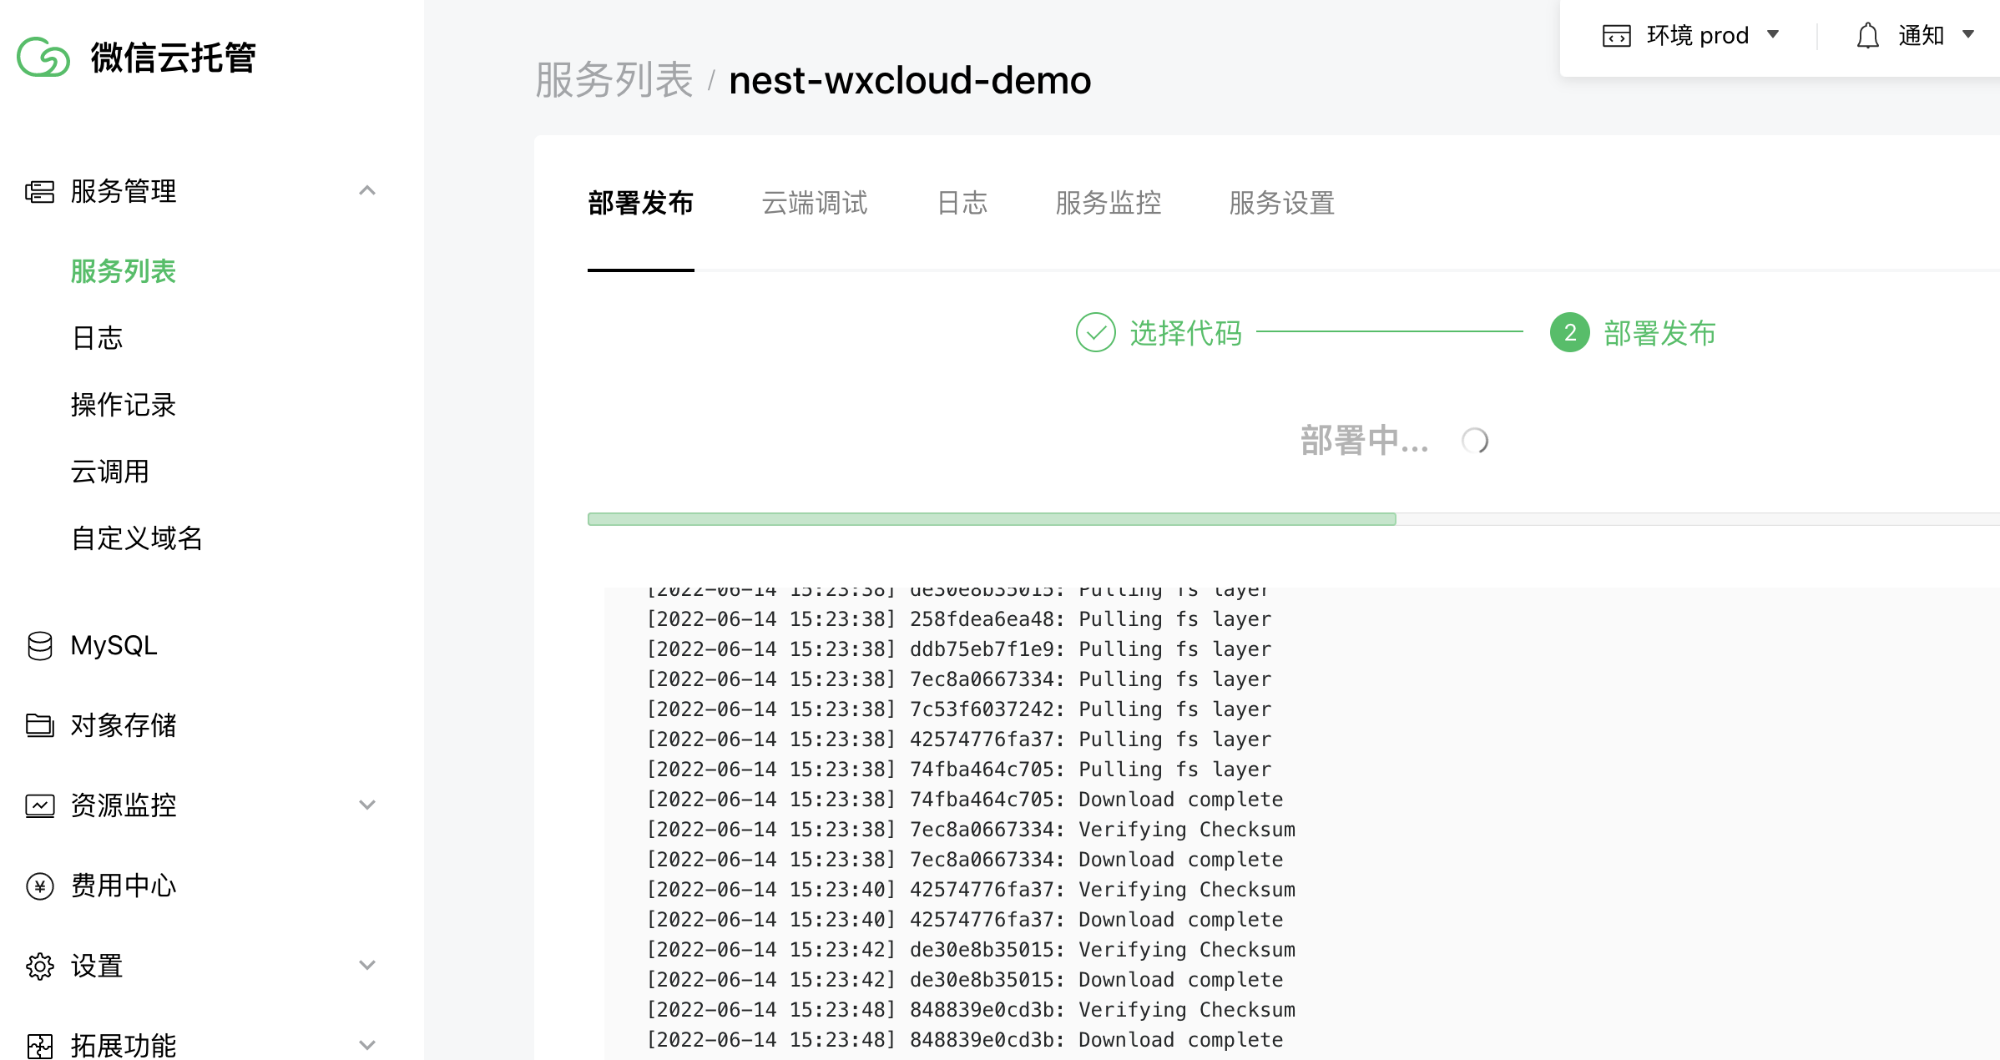
新建服务


点击发布后,Cloud hosting will doDockerfile构建流水线,Go to the log to view the build progress
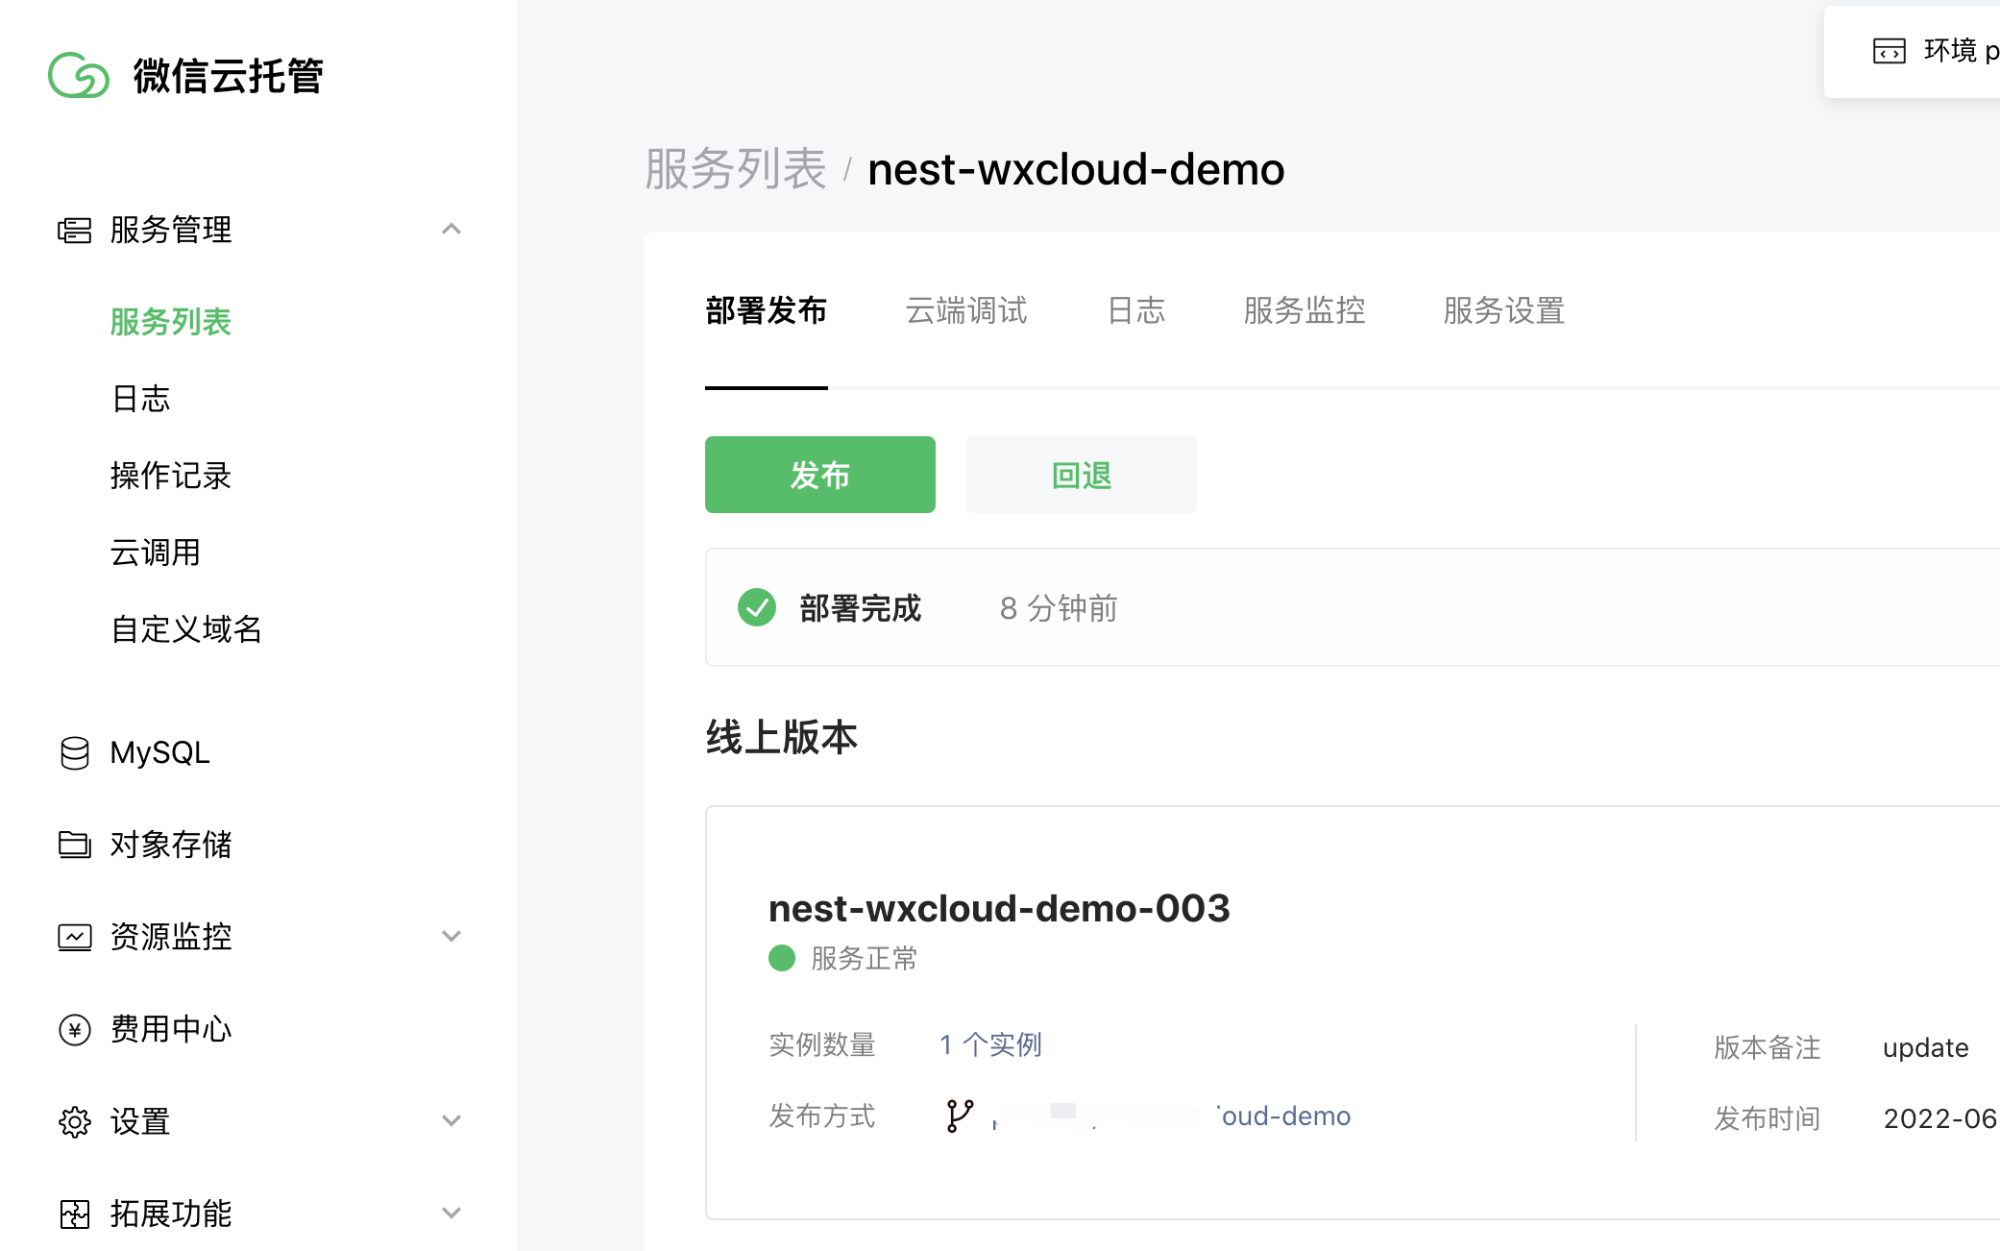
After the WeChat cloud hosting is successfully deployed,Available in the instance list,Click into the container to see the code,The content here cannot be modified,Will be overwritten after the container starts


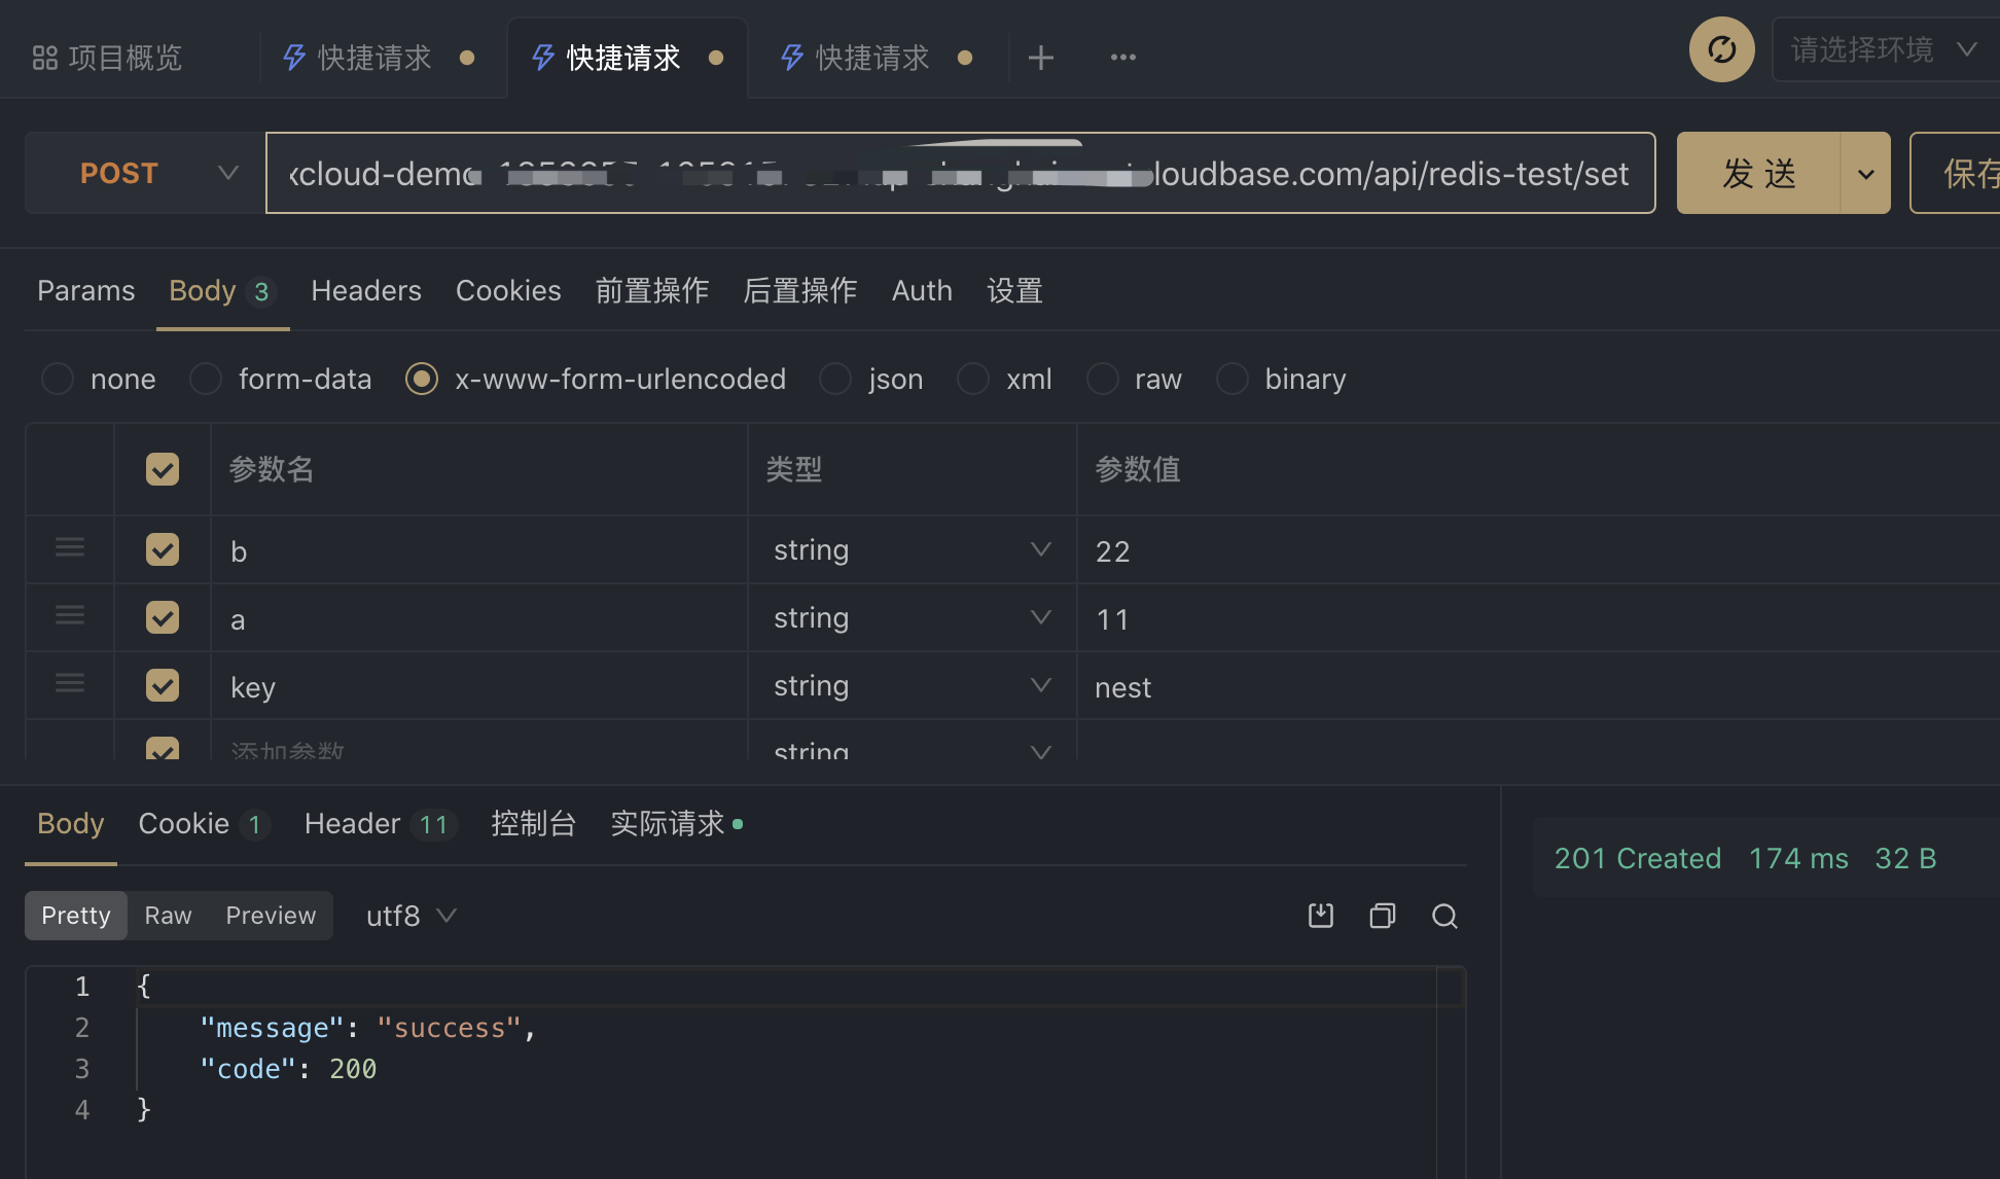
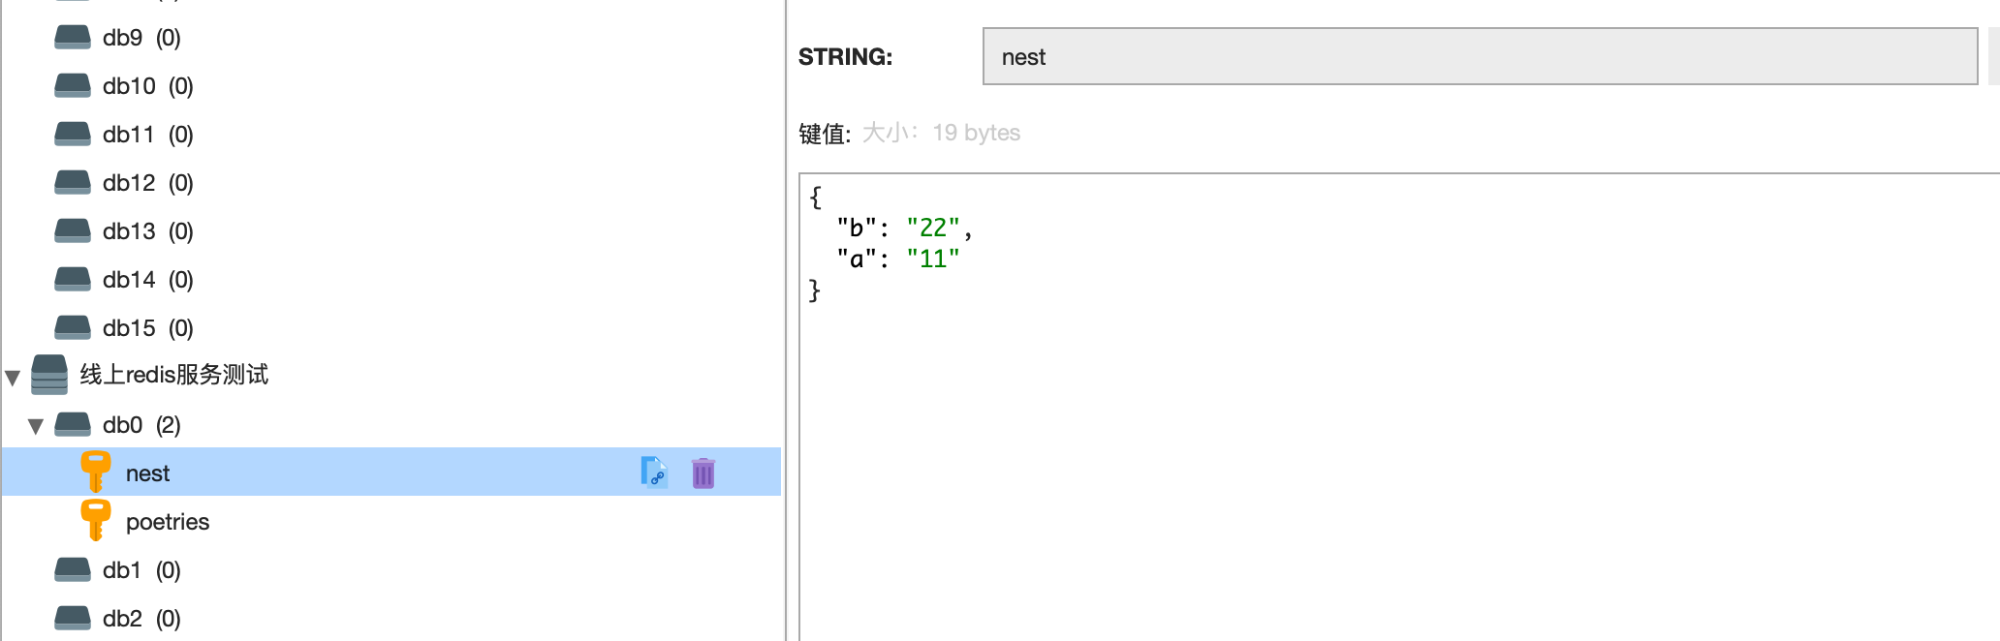
调试接口
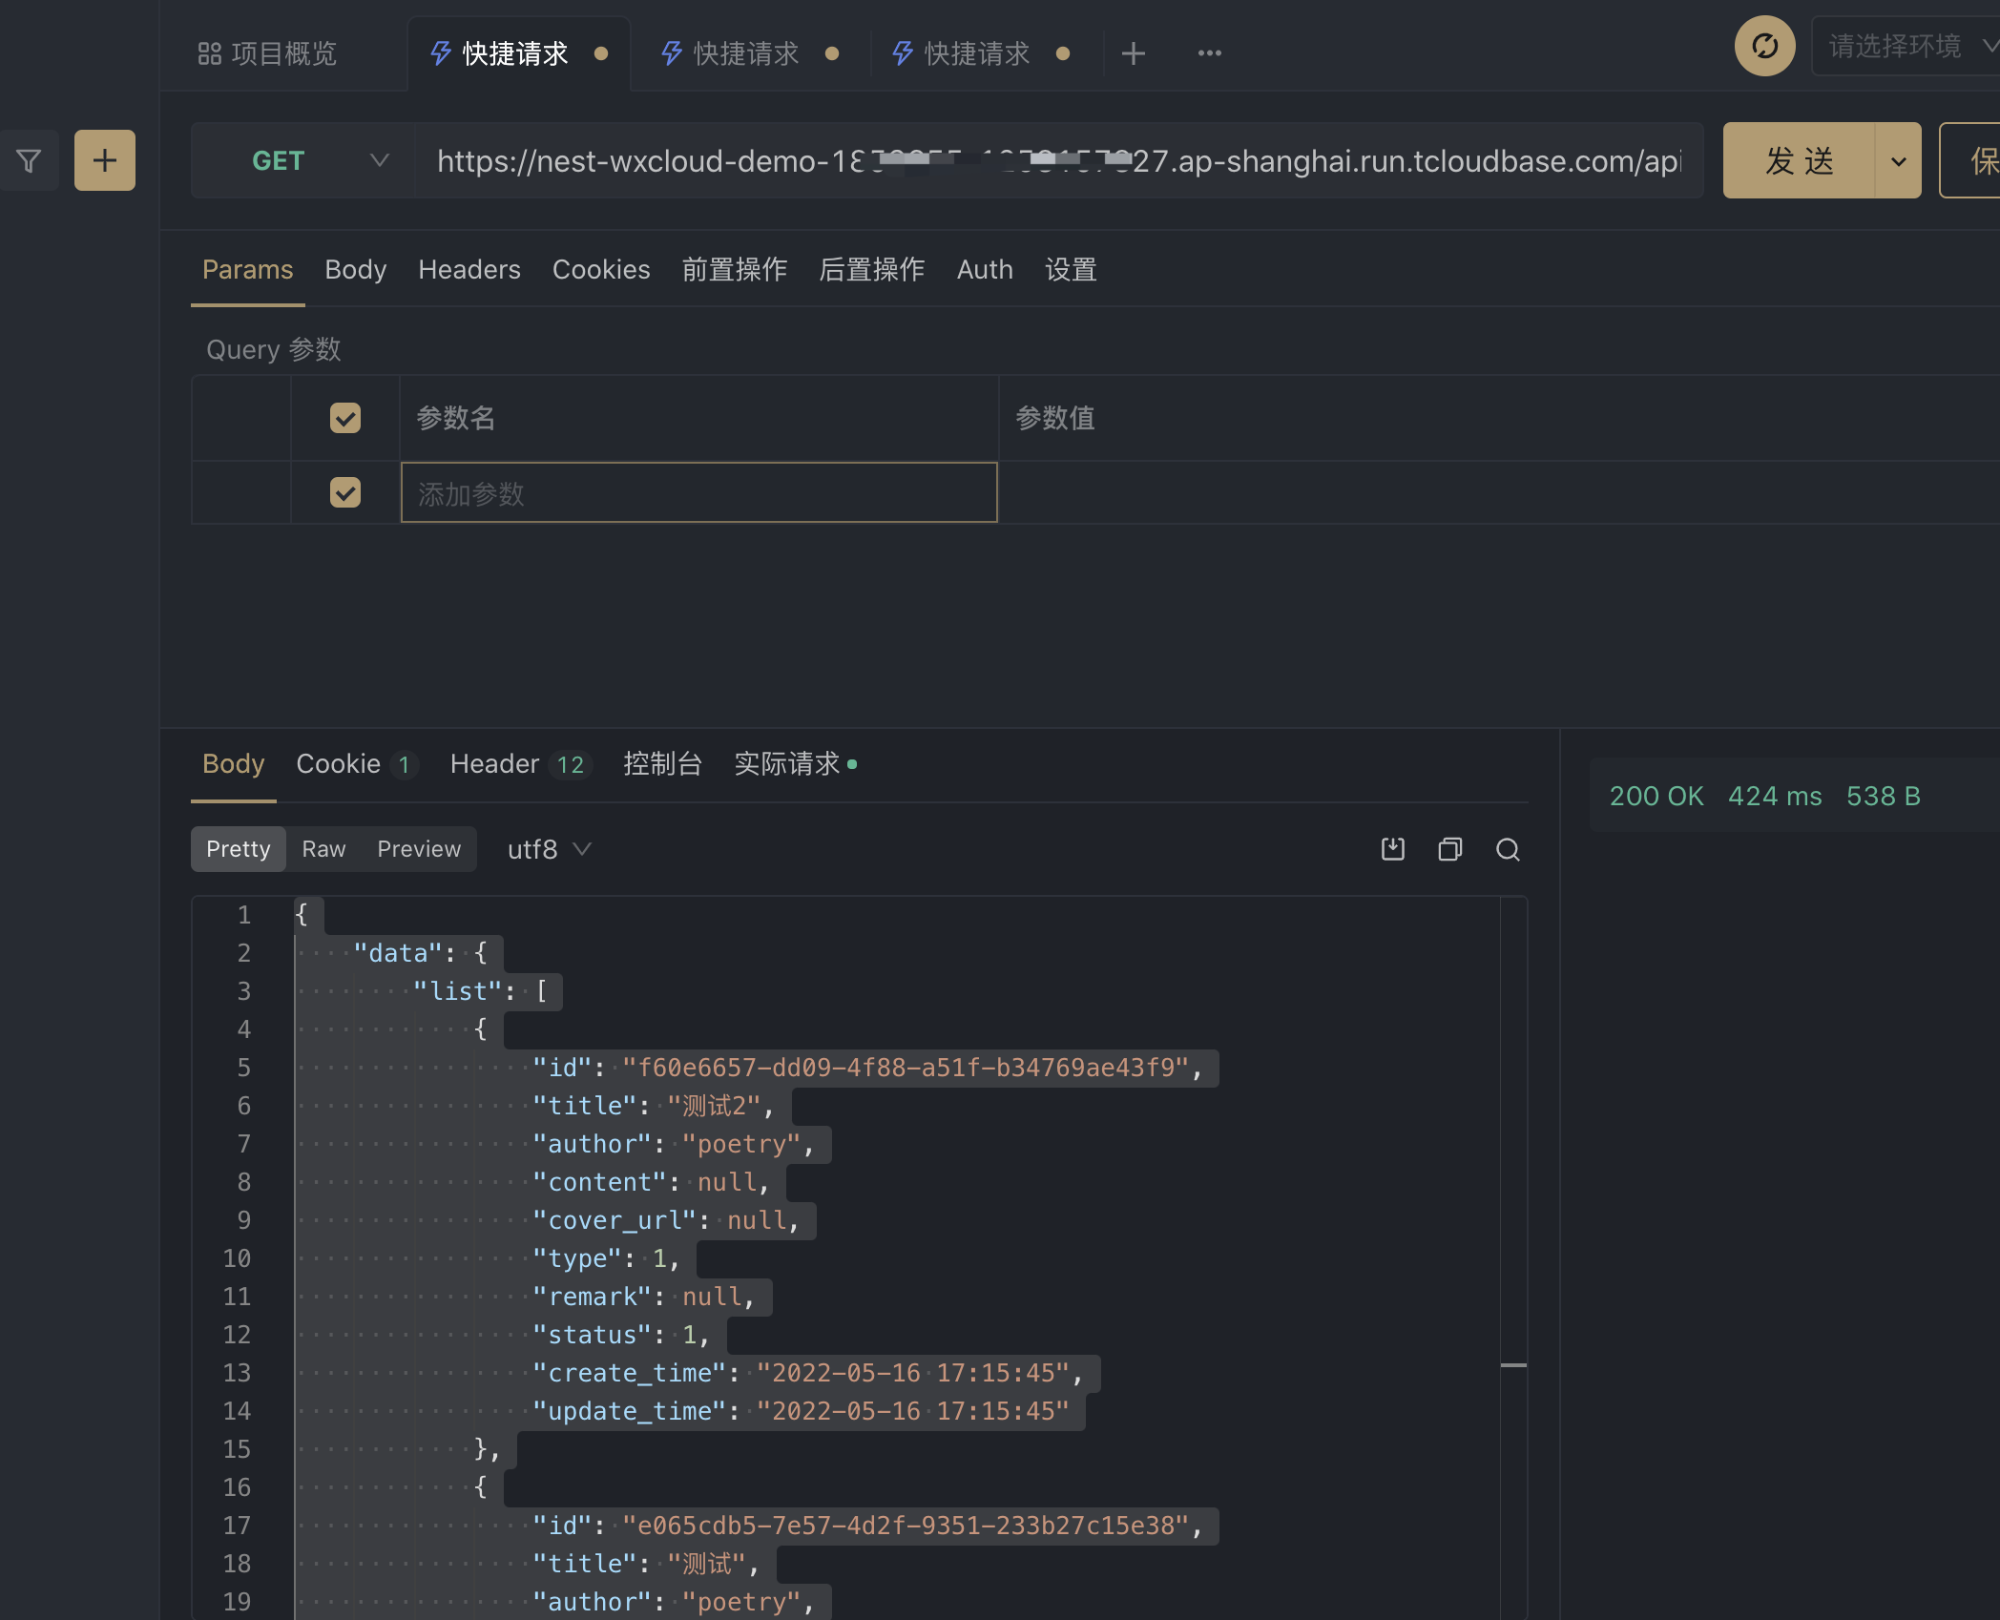

测试redis
三、腾讯云serverless部署
需要注意,The code package of the cloud function cannot exceed500M

模板部署 -- 部署 Nest.js 示例代码
登录 Serverless 应用控制台. Click New App,选择Web 应用>Nest.js 框架,如下图所示:

单击“下一步”,Complete the basic configuration selection
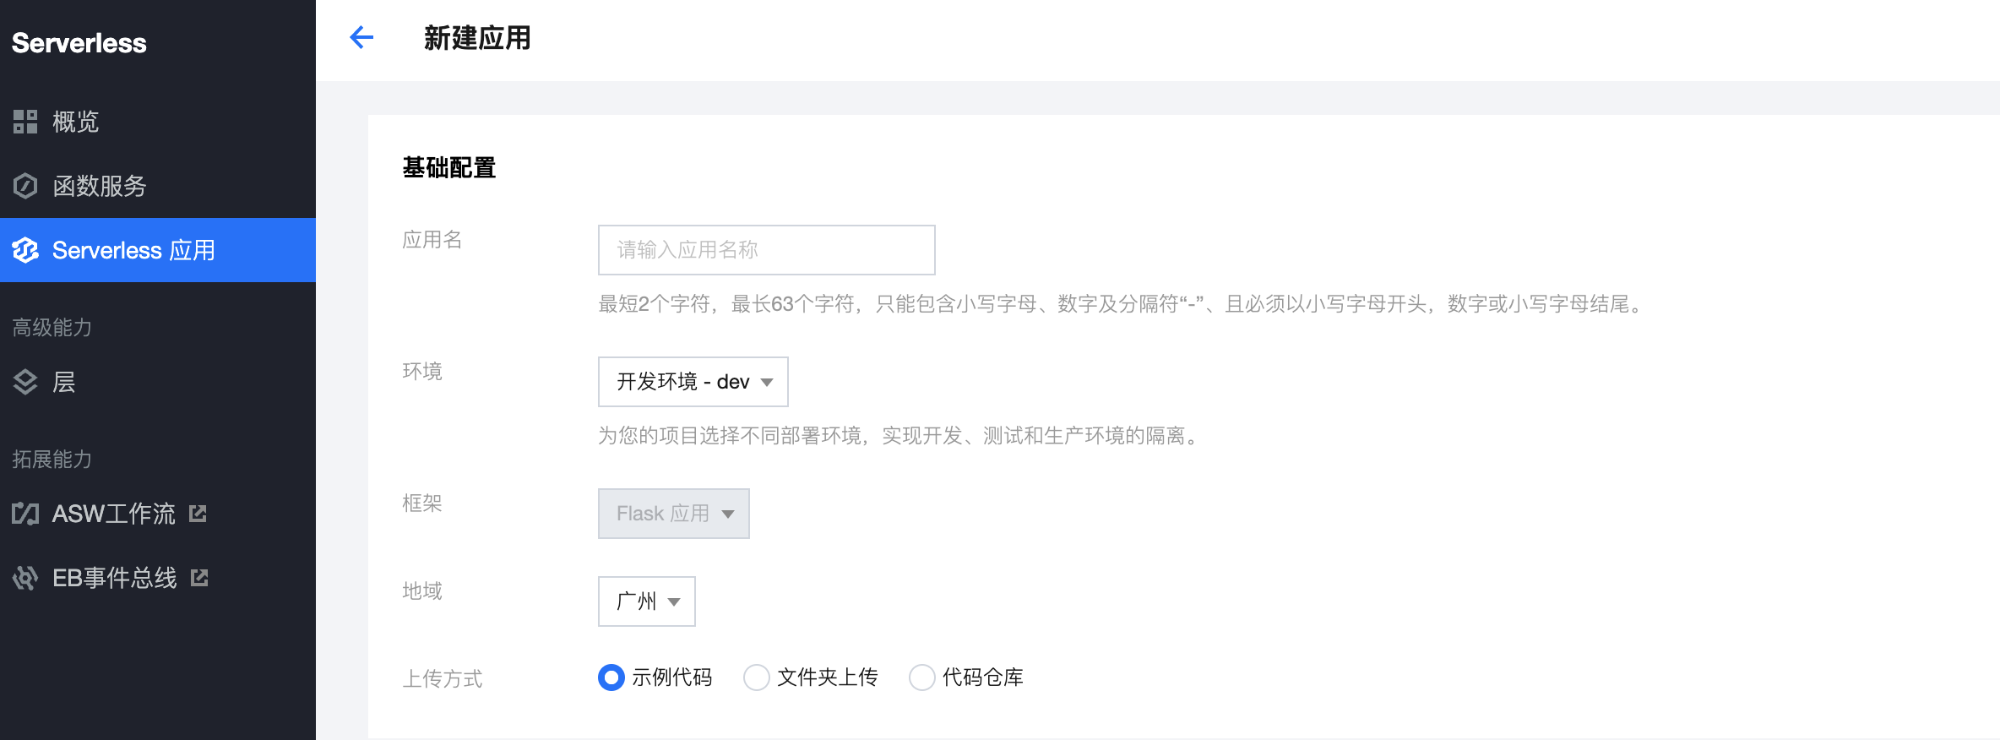
上传方式,Select the sample code to deploy directly,单击完成,The deployment of the application can begin. 部署完成后,You can find it on the application details page,View basic information about the sample app,并通过 API 网关生成的访问路径 URL 进行访问,查看您部署的 Nest.js 项目

自定义部署nest
初始化您的 Nest.js 项目
npm i -g @nestjs/cli
nest new nest-app
在根目录下,Execute the following command to directly start the service locally.
cd nest-app && npm run start
打开浏览器访问 http://localhost:3000,即可在本地完成 Nest.js 示例项目的访问.
部署上云
Follow the steps below,Simple modifications to an already initialized project,使其可以通过 Web Function 快速部署,The project transformation here is usually divided into the following two steps:
新增 scf_bootstrap启动文件.Modify the listening address and port to 0.0.0.0:9000.
修改启动文件 main.ts,监听端口改为9000:

在项目根目录下新建 scf_bootstrap启动文件,Add the following to this file(用于启动服务):
You can also complete this module configuration in the console.
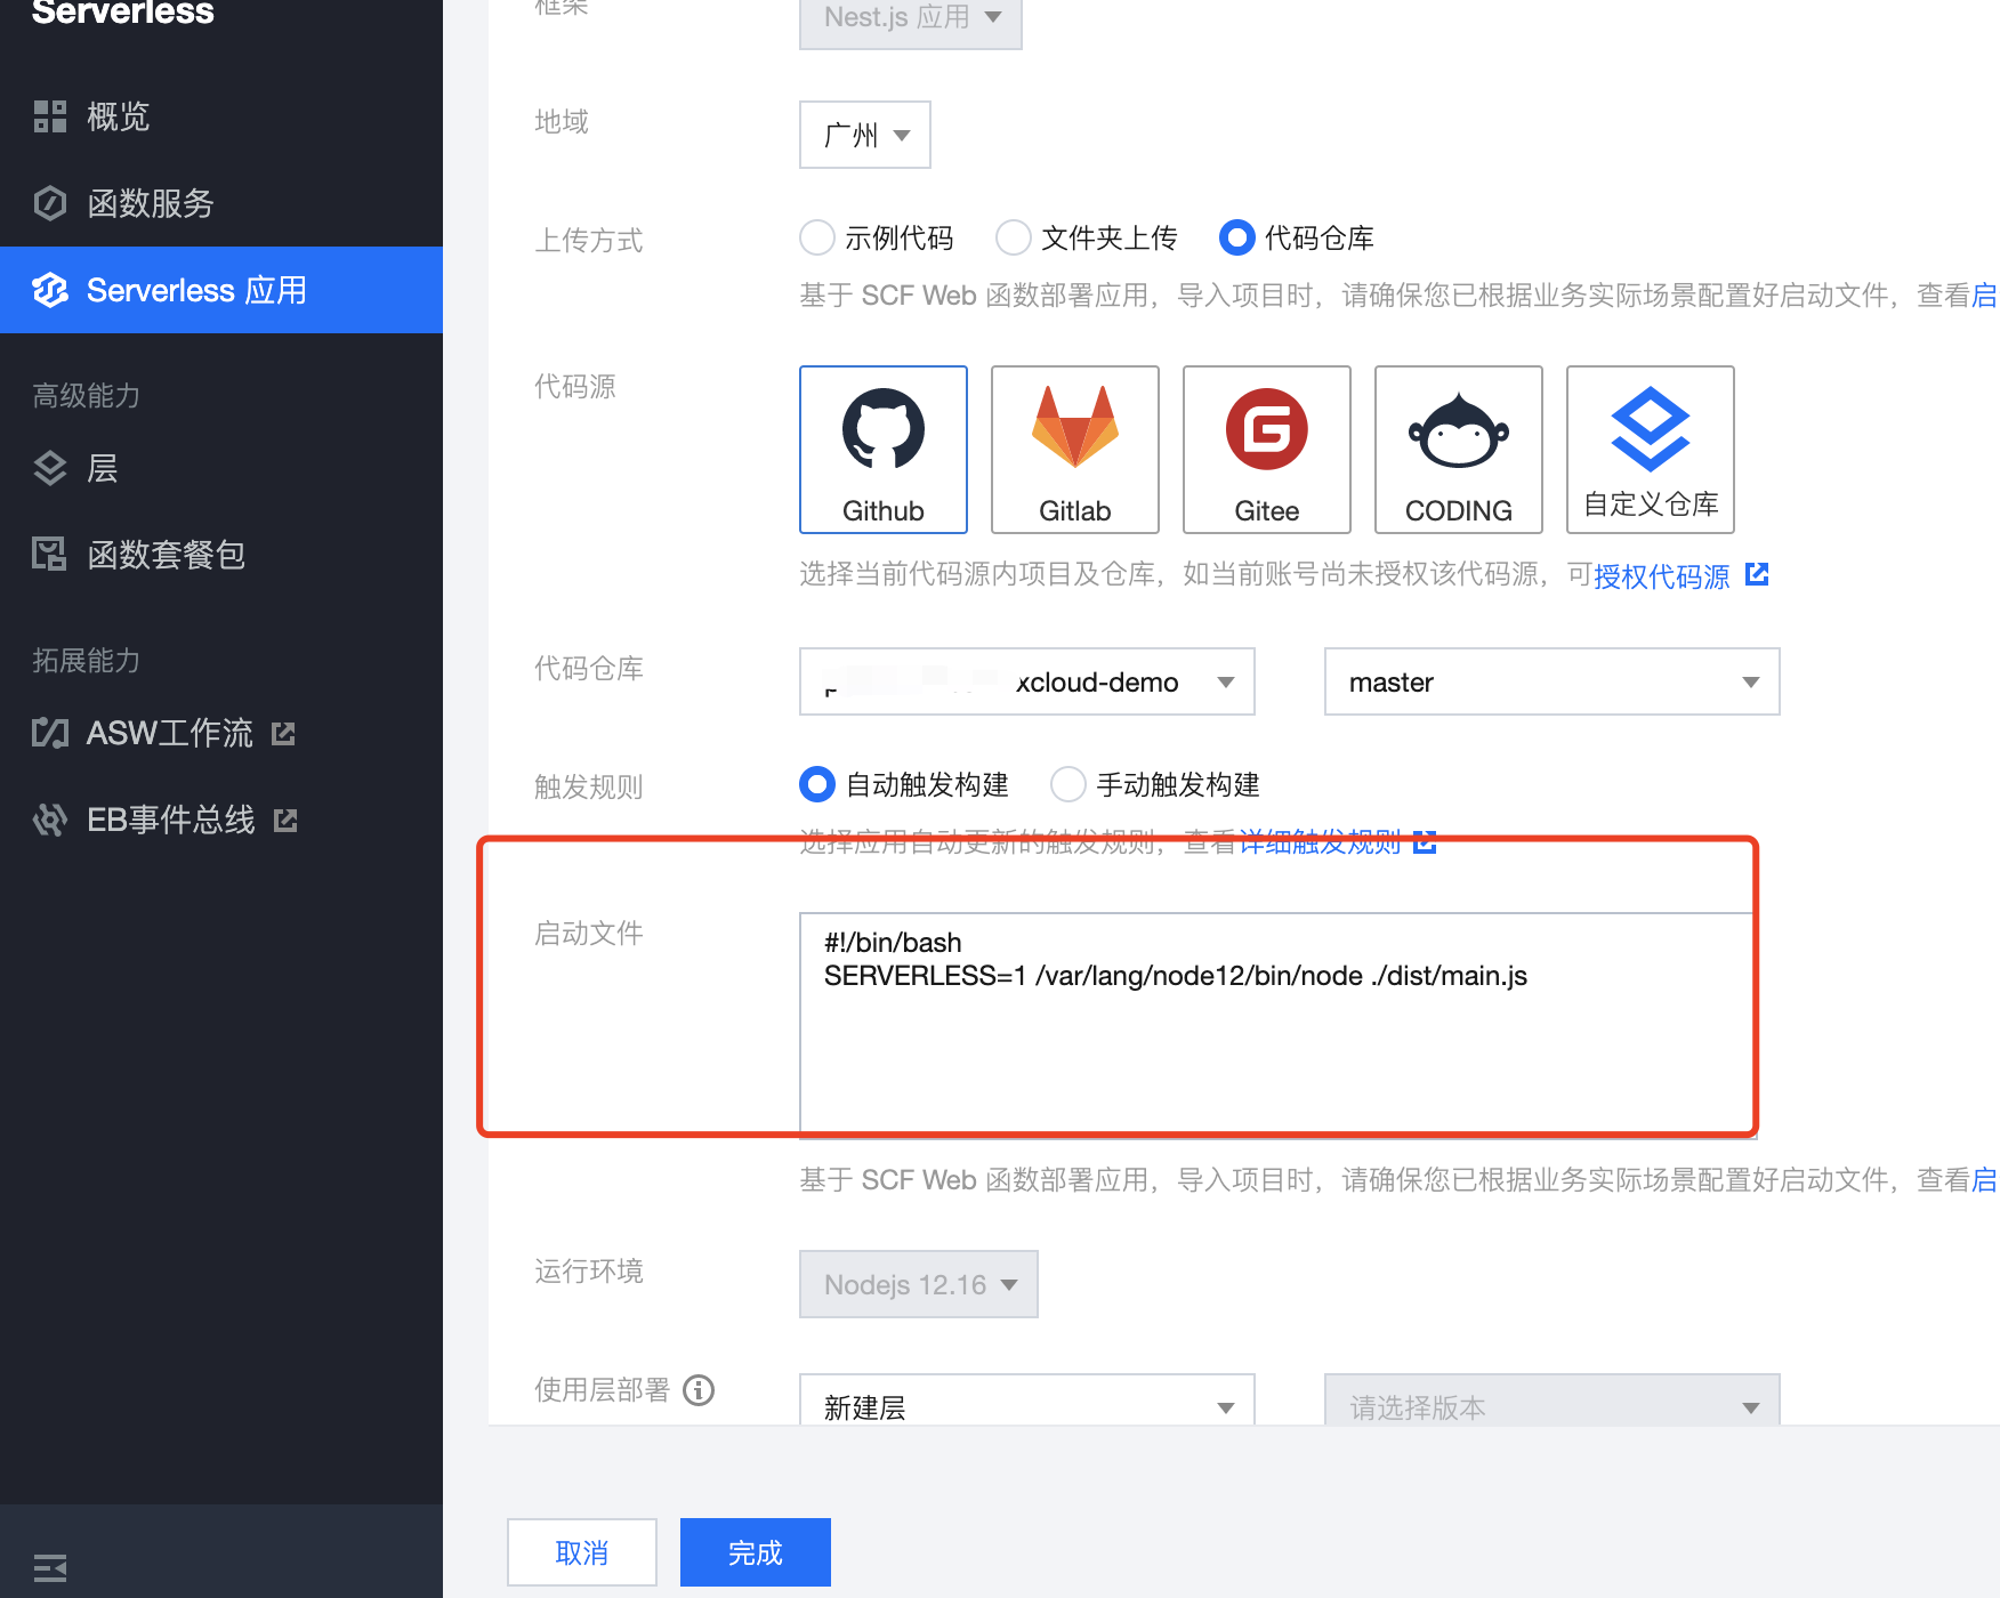
# scf_bootstrap
#!/bin/bash

SERVERLESS=1 /var/lang/node12/bin/node ./dist/main.js
新建完成后,You also need to execute the following command to modify the file executable permission,默认需要 777 或 755 permission to start normally.示例如下:
chmod 777 scf_bootstrap
本地配置完成后,执行启动文件,确保您的服务可以本地正常启动,接下来,登录 Serverless 应用控制台,选择Web 应用>Nest.js 框架,The upload method can choose local upload or code repository pull
注意:The startup file is subject to the files in the project,If already included in your project scf_bootstrap 文件,This content will not be overwritten.

A single function code size 500mb 的上限.在实际操作中,云函数虽然提供了 500mb

关于绕过配额问题:
如果超的不多,那么使用 npm install --production 就能解决问题
边栏推荐
- MySQL---operator
- MySQL---多表查询
- Routing interception of WeChat applet
- Golang——从入门到放弃
- 【luogu P8326】Fliper (Graph Theory) (Construction) (Eulerian Circuit)
- 【愚公系列】2022年07月 Go教学课程 022-Go容器之字典
- 多主复制下处理写冲突(1)-同步与异步冲突检测及避免冲突
- 如何识别假爬虫?
- AcWing 1282. Search Keyword Problem Solution ((AC Automata) Trie+KMP)+bfs)
- Golang go-redis cluster模式下不断创建新连接,效率下降问题解决
猜你喜欢
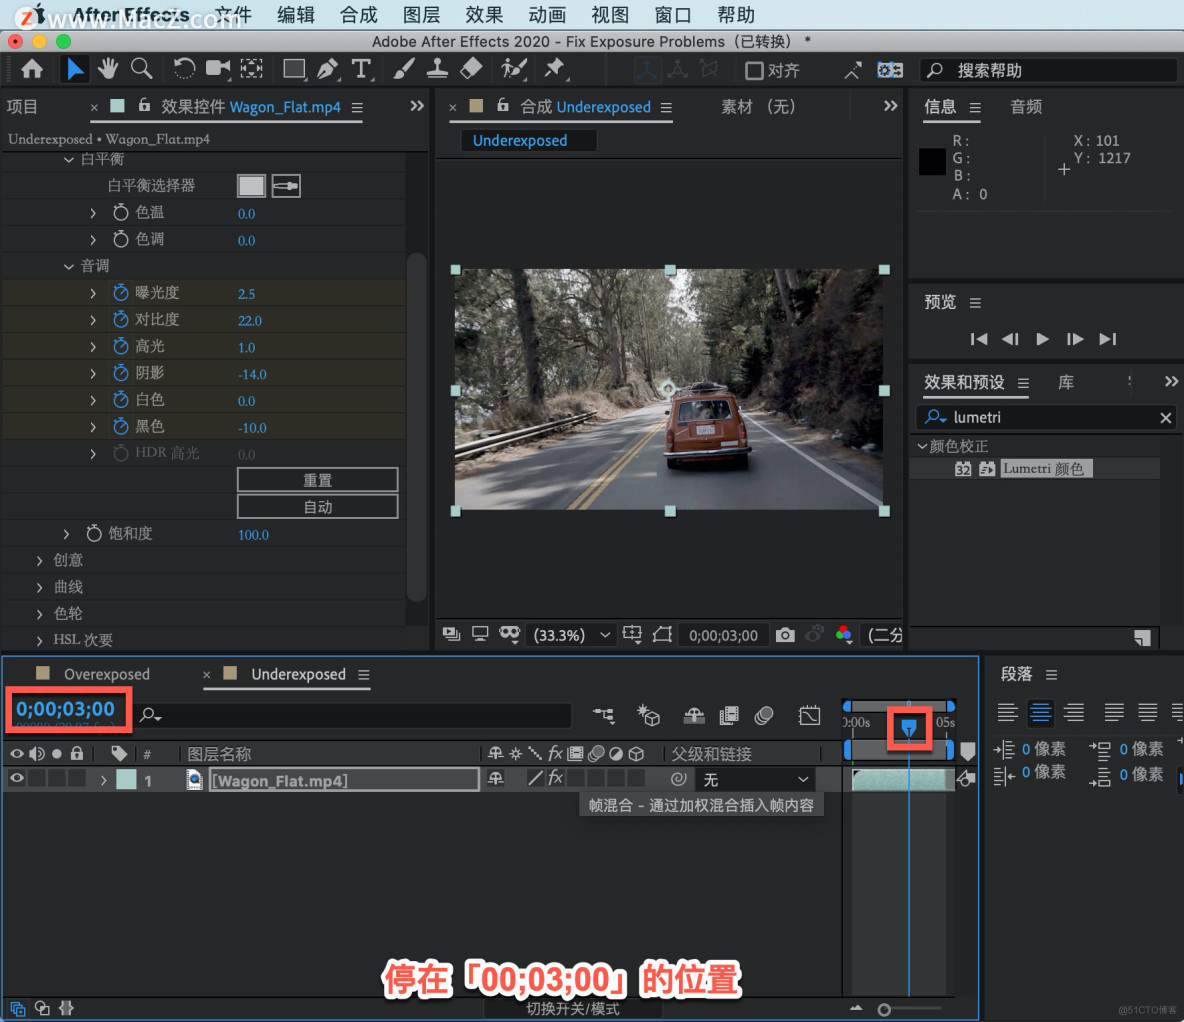
After Effects tutorial, How to adjust overexposed snapshots in After Effects?
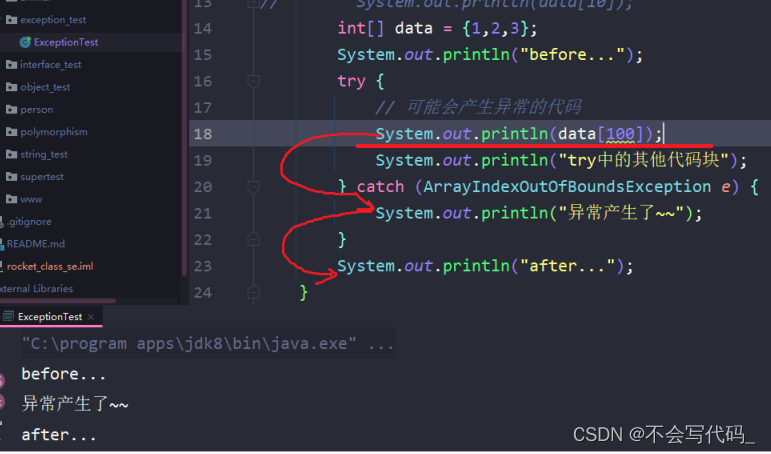
认识异常 (看完这篇你就懂了)
This 985 professor is on fire!After 10 years of Ph.D. supervisor, no one has graduated with a Ph.D.!

Flex布局详解

35道MySQL面试必问题图解,这样也太好理解了吧
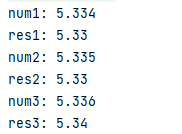
Golang 小数操作之判断几位小数点与四舍五入
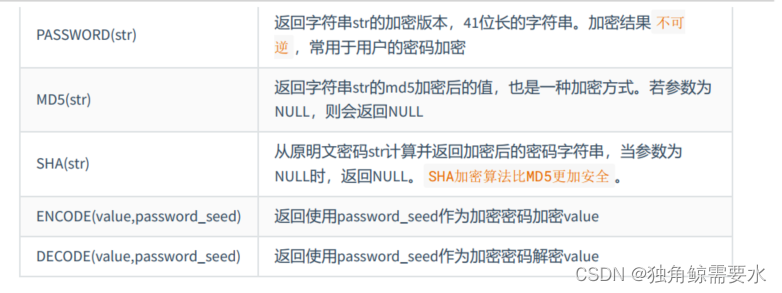
MySQL - single function
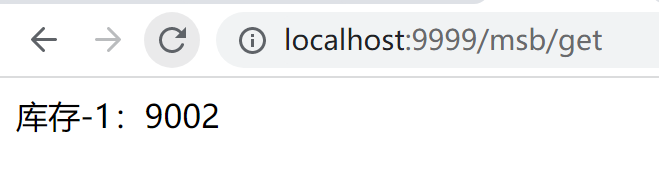
GateWay实现负载均衡
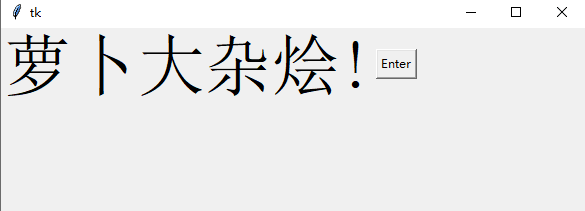
Tkinter 入门之旅

Automated testing - web automation - first acquaintance with selenium
随机推荐
MySQL - single function
Thymeleaf是什么?该如何使用。
cas与自旋锁(轻量级锁就是自旋锁吗)
1161. 最大层内元素和 : 层序遍历运用题
Masterless replication system (2) - read and write quorum
【Yugong Series】July 2022 Go Teaching Course 021-Slicing Operation of Go Containers
Basics of ResNet: Principles of Residual Blocks
无主复制系统(3)-Quorum一致性的局限性
新型电信“套路”,我爸中招了!
Get Douyin Video Details API
C# 之 扑克游戏 -- 21点规则介绍和代码实现
flyway的快速入门教程
如何识别假爬虫?
Flex布局详解
深度学习中的batch(batch size,full batch,mini batch, online learning)、iterations与epoch
【Yugong Series】July 2022 Go Teaching Course 020-Array of Go Containers
useragent怎么获取
Tkinter 入门之旅
LevelSequence源码分析
【愚公系列】2022年07月 Go教学课程 021-Go容器之切片操作