当前位置:网站首页>Use tencent cloud builds a personal blog
Use tencent cloud builds a personal blog
2022-08-02 15:23:00 【dedicated to java】
1.部署准备
腾讯云:CPU: 2核 内存: 4GB系统盘60GB (带宽:6Mbps)
LNMP:1.5
WORDPRESS:5.92
一个专属的域名
买了服务器后,你就会拥有一个公网ip,如果网站搭建起来了,你完全可以使用这个 ip 去访问,但仅供开发、测试使用.
如果要真正运营起来,想要有流量,还得搞一个域名,方便你推广.
域名的购买建议和上面服务器使用同一个厂商,可以省去一些麻烦.比如阿里云购买的域名要备案是需要你在阿里云下有一台服务器的.
一个远程登陆软件
由于后面我使用的是手工部署的方式,所以要登陆服务器进行操作.
登陆的方法有两种:
1.厂商提供的控制台界面登陆:Workbench 和 VNC
2.自己下载专业的远程登陆软件:Xshell 或者 CRTSecure
在这里我们选择使用xshell进行连接,Although the connection provided by the manufacturer is convenient, the use is not as goodxshell便捷
在使用这些远程登陆软件时,你需要在服务器厂商控制台上面先获取到三个信息
- 服务器公网IP
- 服务器SSH端口
- 服务器远程连接密码
关于 Xshell 如何使用的,可以自行百度搜索,教程非常多.
2.部署方式选择
部署方式,可分为两种
- 使用服务器管理软件,实现自动化部署,最著名的就是 宝塔面板 .
- 手动登陆远程服务器,实现脚本化部署.
Here we choose to log in to the cloud server manually,Because it is a website built by myself,难免以后会碰到各种各样的服务器问题,尽早的接触 Linux,熟悉各项配置,对以后的运维工作会有很有帮助
3. 部署 LNMP
3.1 什么是 LNMP
LNMP 是 Linux + Nginx + MySQL + PHP 组合的简写.
类似的组合还有:
LAMP 的全称是 Linux + Apache + MySQL + PHP
LNAMP 的全称是 Linux + Nginx + Apache + MySQL + PHP
其中:
Linux 是类 Unix 计算机操作系统的统称,是目前最流行的免费操作系统.代表版本有:debian、centos、ubuntu、fedora、gentoo 等.
Nginx 是一个高性能的 HTTP 和反向代理服务器,也是一个 IMAP/POP3/SMTP 代理服务器.
Apache 是世界使用排名第一的Web服务器软件. 它可以运行在几乎所有广泛使用的计算机平台上,由于其跨平台和安全性被广泛使用,是最流行的Web服务器端软件之一.
PHP 是一种在服务器端执行的嵌入 HTML 文档的脚本语言.
MySQL 是一个关系型数据库管理系统.
这些软件一个一个安装比较费力,特别是数据库.
Here we choose the integrated onelnmp的shell脚本,因此有人把这些软件的安装部署过程集成为一个 Shell 脚本,而你只要下载并执行它就可以了.简直不要太方便
3.2 安装 LNMP
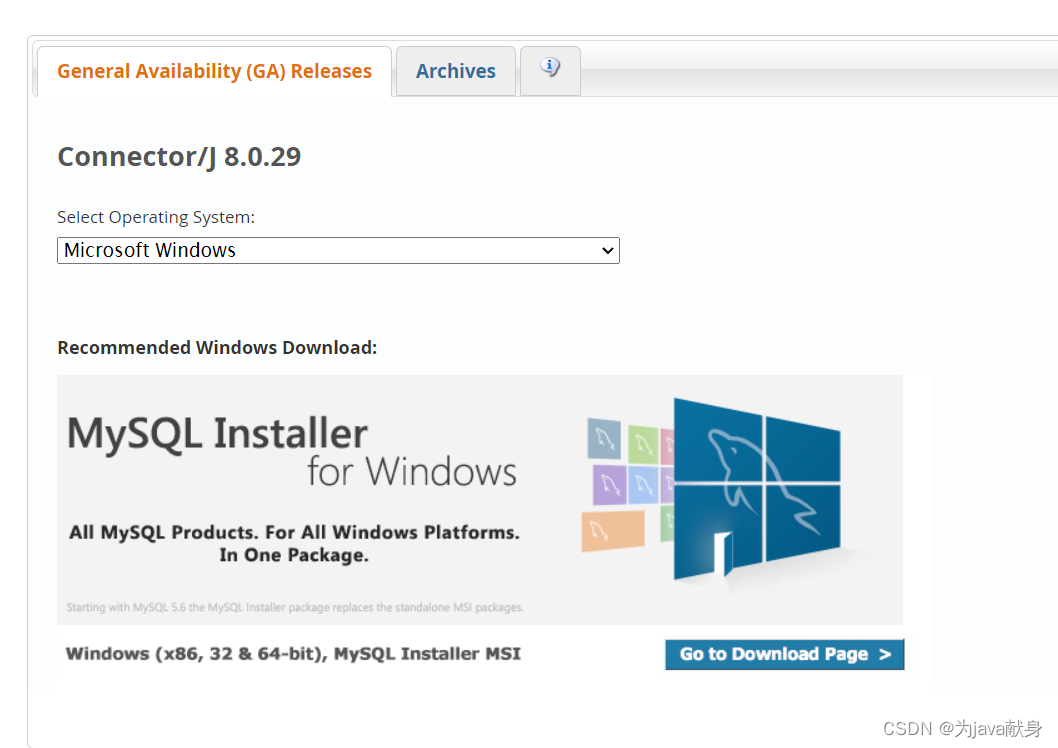
下载 LNMP 安装脚本(目前最新版本是 1.7 ,我安装的是 1.5,更多版本可查看: https://lnmp.org/download.html)
$ wget http://soft.vpser.net/lnmp/lnmp1.5.tar.gz -cO lnmp1.5.tar.gz
解压并执行它
$ tar zxf lnmp1.5.tar.gz && cd lnmp1.5 && ./install.sh lnmp
接下来会出现大量的选项,如果你不是很懂各个选项间的区别,按默认就行啦
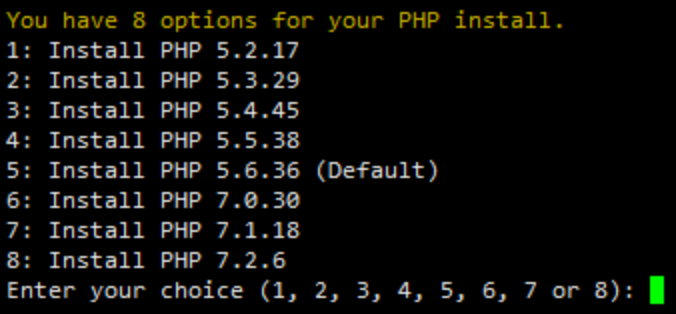
运行脚本后,首先会让你选择数据库的版本:

没有特殊需要,建议使用默认配置,直接回车或输入序号再回车.
选好数据库,会让你设置数据库 root 用户的密码,此时如果你直接回车,会默认设置为 lnmp.org#随机数字,

在输入密码的时候,对于新手有一点注意:如果输入有错误需要删除,需要按住Ctrl再按Backspace键进行删除.
密码输好后,回车进入下一步
询问是否需要启用 MySQL InnoDB,InnoDB引擎默认为开启,一般建议开启,直接回车或输入 y .
如果确定确实不需要该引擎可以输入 n,(MySQL 5.7+版本无法关闭InnoDB),输入完成,回车进入下一步:选择 PHP 版本,建议安装 PHP 7+的版本
回车进入下一步,选择是否安装内存优化:

可以选择不安装、Jemalloc或TCmalloc,输入对应序号回车,直接回车为默认为不安装.
如果是LNMPA或LAMP的话还会提示设置邮箱和选择Apache:

Please enter Administrator Email Address:”,需要设置管理员邮箱,该邮箱会在报错时显示在错误页面上.再选择Apache版本:

按提示输入对应版本前面的数字序号,回车.
提示"Press any key to install…or Press Ctrl+c to cancel"后,按回车键确认开始安装. LNMP脚本就会自动安装编译Nginx、MySQL、PHP、phpMyAdmin等软件及相关的组件.
安装时间可能会几十分钟到几个小时不等,主要是机器的配置网速等原因会造成影响.
如果显示Nginx: OK,MySQL: OK,PHP: OK
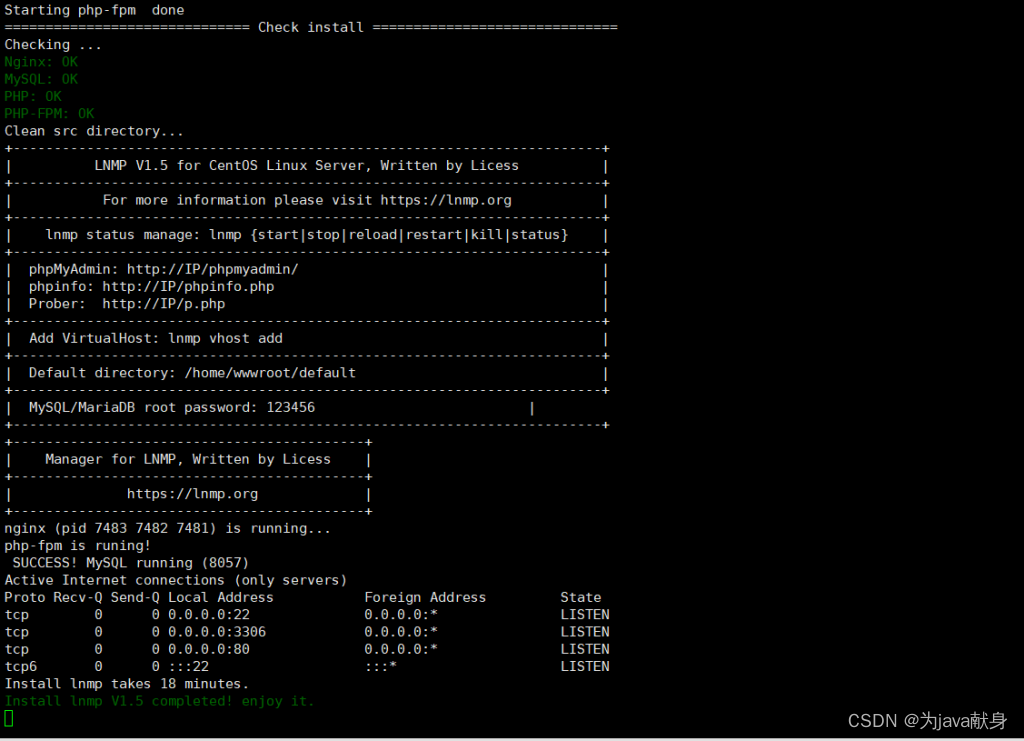

表明安装成功.
最后几行的输出
- 3306 端口是 MySQL 监听的
- 80 是 HTTP 端口
- 22 是 SSH 端口
3.3 配置 Nginx
安装好后,使用如下指令查看nginx配置文件(如果你的服务器上找不到该文件,那请使用 find / -name nginx.conf 搜索一下)
$ cat /usr/local/nginx/conf/nginx.conf
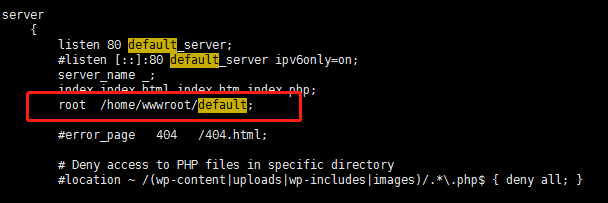
你会看到如下内容:

上图表明,安装好的nginx将网站的根目录设置为/home/wwwroot/default,这个可以根据自己的喜好进行修改.
用浏览器打开http://ip,可以看到如下内容(如果访问不了,It is possible that your server's security group is not open 80 端口,Go to the console and open it up
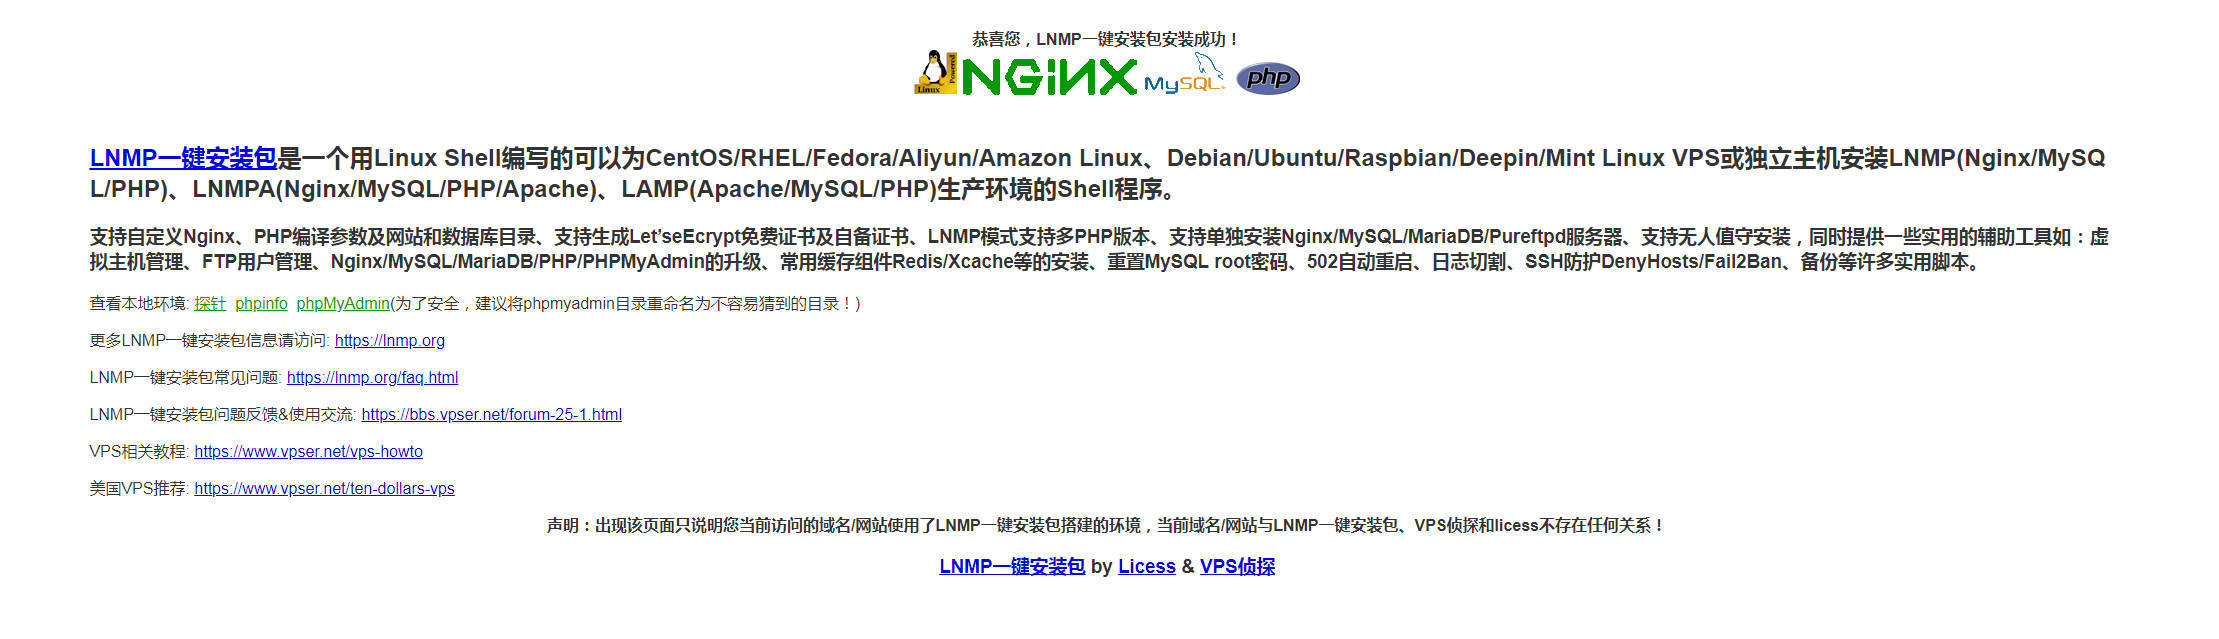
其实这就是一个简单的网页demo了,自己随便修改index.html,就会有不同的内容.
- 安装 WordPress
WordPress是使用PHP语言(这也是我们上面为什么要安装 PHP 的原因)开发的博客平台,也就是一个博客框架.
上一步安装的 LNMP,只是保证了 WordPress 的基本运行环境.
想要把你的个人网站跑起来,咱还需要安装 WordPress .
方法也很简单,下面跟着操作就行.
第一步:安装 wordpress 安装包并解压到 /home/wwwroot
$ wget https://cn.wordpress.org/latest-zh_CN.zip && unzip latest-zh_CN.zip -d /home/wwwroot
第二步:登录MySQL(密码在前面 部署LNMP 时你设置过),创建wordpress表,创建完后输入exit退出
$ mysql -u root -p
Enter password:
MySQL > create database wordpress;
第三步:使用 vim 修改 nginx 配置文件(不会vim的自行百度)
$ vim /usr/local/nginx/conf/nginx.conf
修改成如下内容:
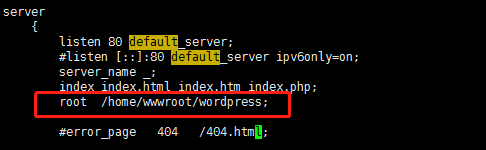
随后,使用wq保存配置退出即可.
验证nginx是否有配置错误:
$ nginx -t
如果出现ok,successful字样,说明没有错误.没有错误,重新加载nginx:
$ nginx -s reload修改wordpress目录权限:
$ cd /home/wwwroot && chown -R www wordpress/ && chgrp -R www wordpress/
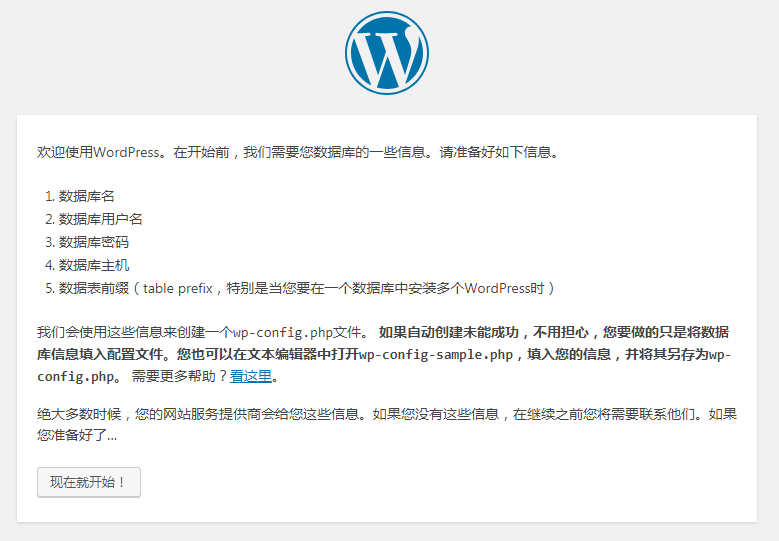
用浏览器打开http://ip/wp-admin/setup-config.php,你可以看到如下内容:
现在就开始,进行安装.填写信息如下:
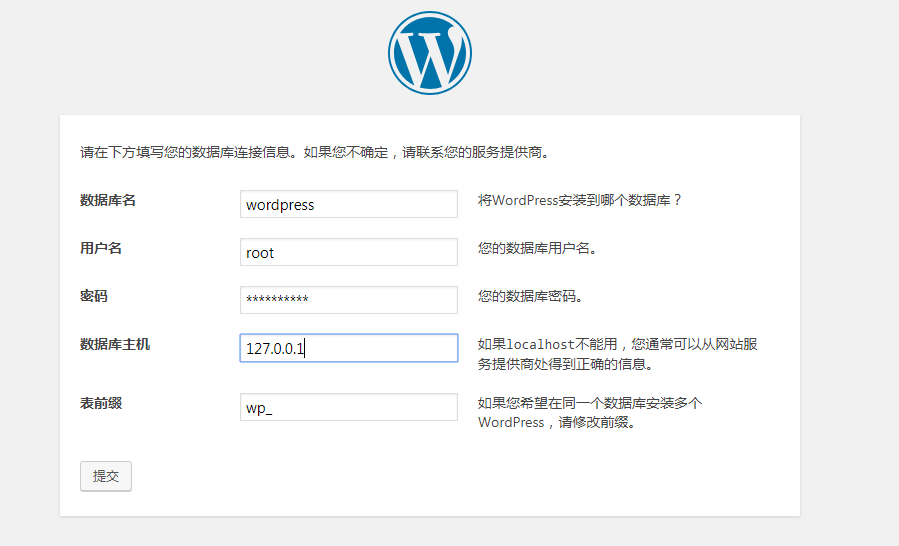
其中,*** 改为你设置的MySQL数据库密码.点击提交,出现如下内容:
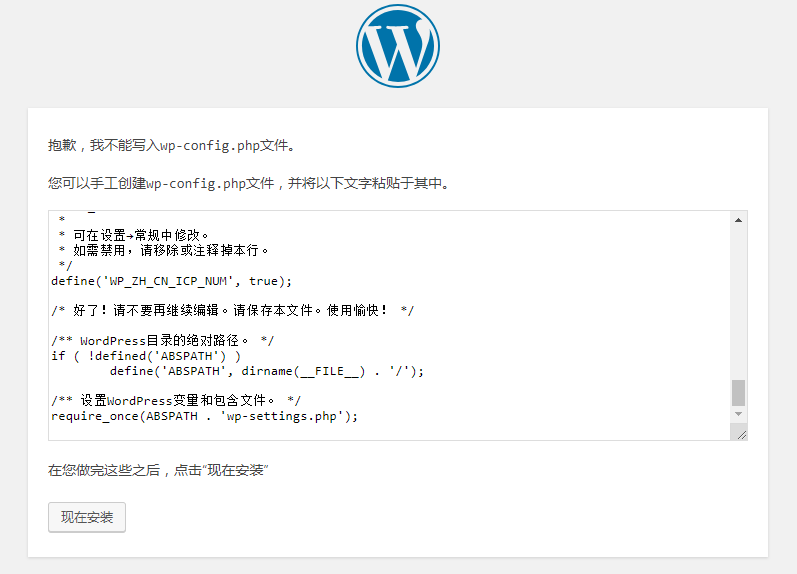
在/home/wwwroot/wordpress下,创建并编写wp-config.php文件:
$ vim wp-config.php
将上图内容复制进去并wq保存退出,然后点击现在安装.最后就是配置用户信息了,这个是你登录wordpress用户后台的,要记住:
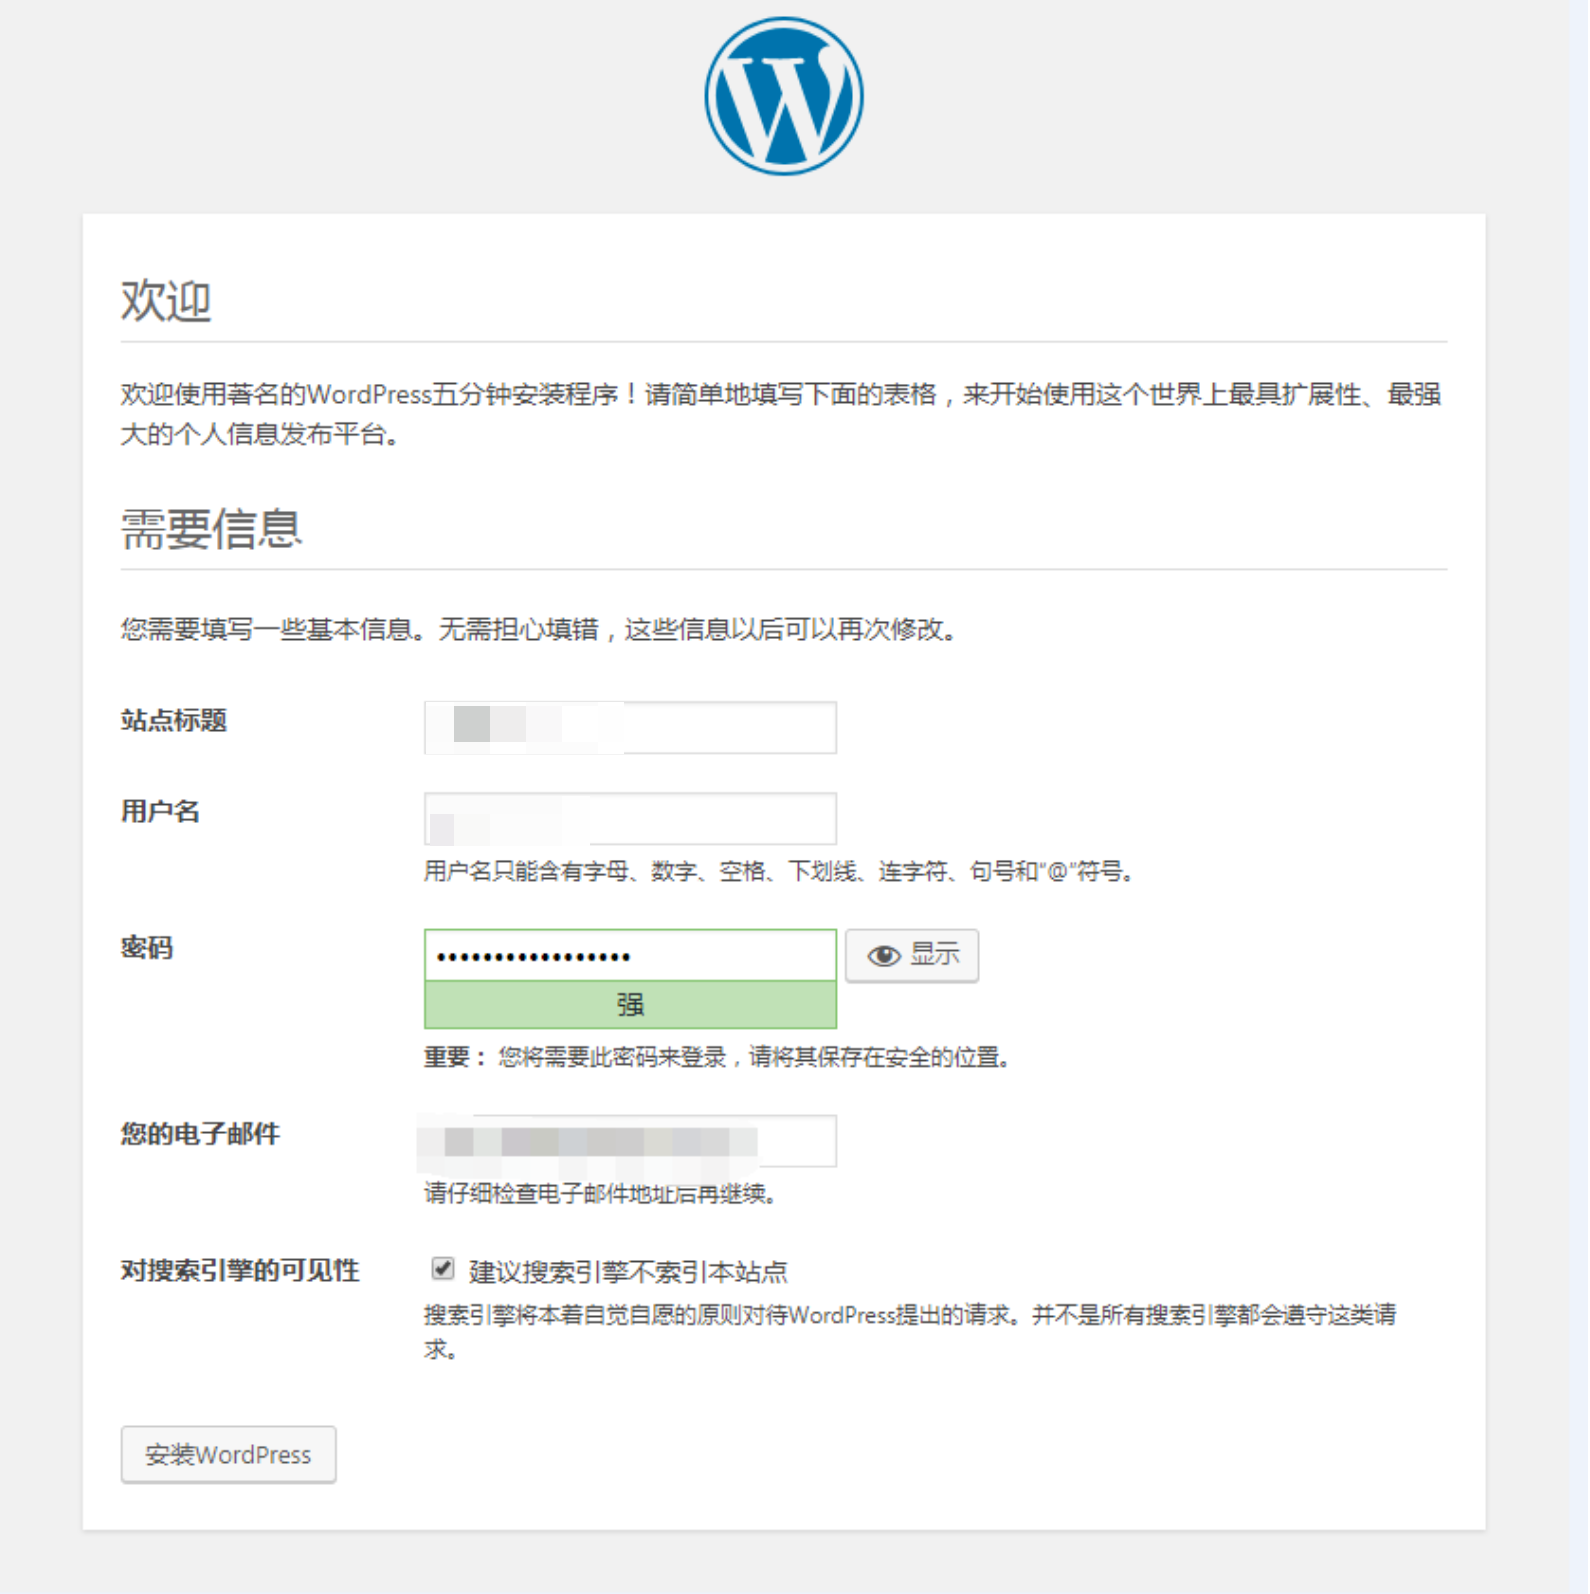
一定要记住自己的密码,The site title and user name can be arbitrarily taken and can be changed later
最后点击安装WordPress,安装成功会出现如下界面:
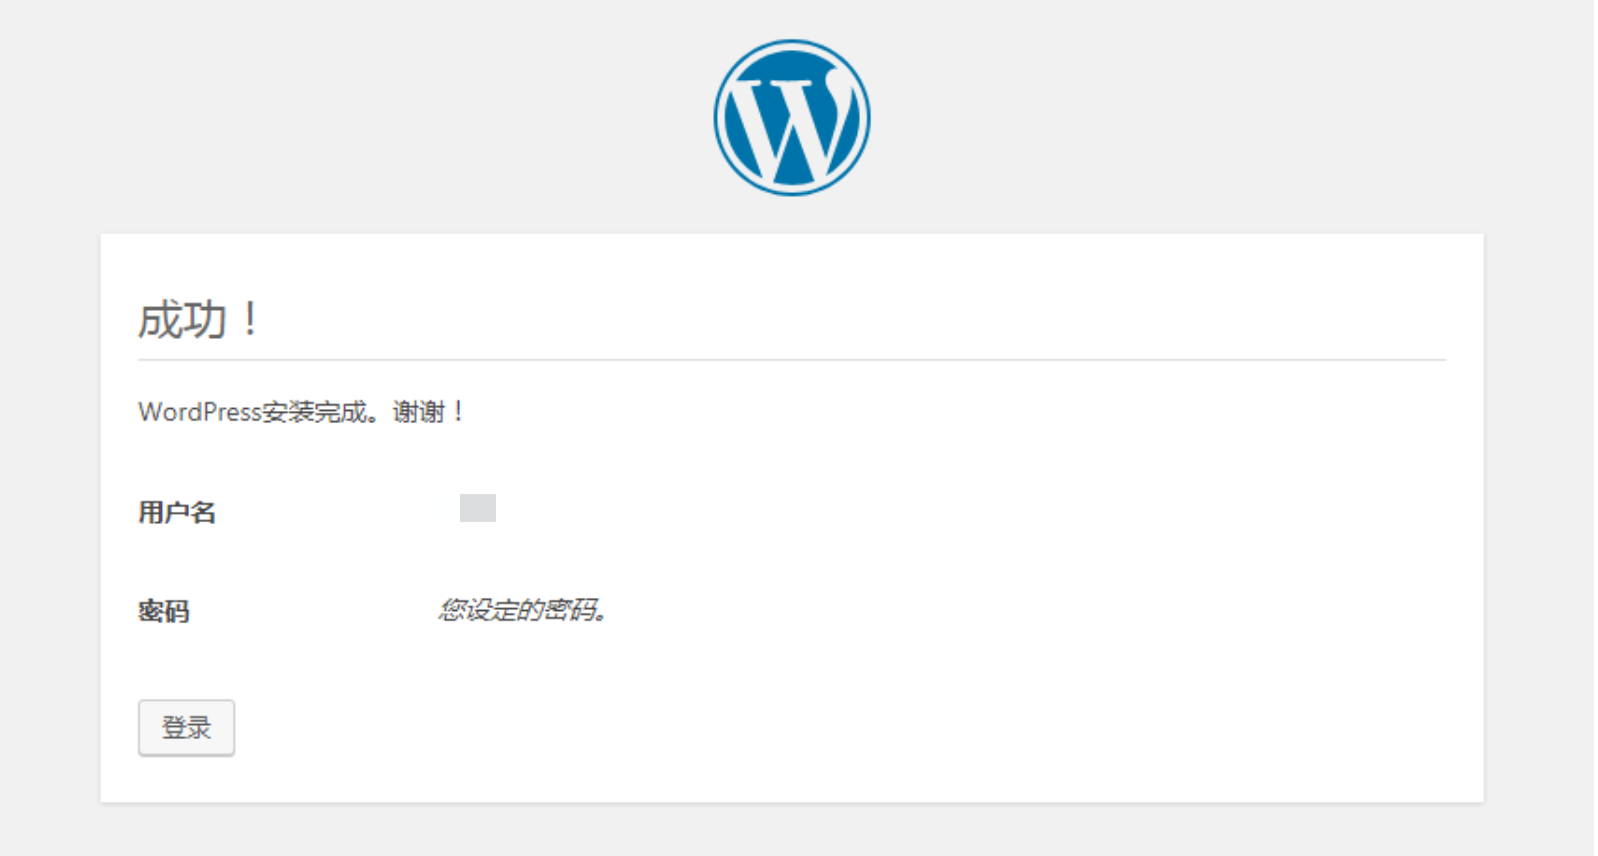
点击登录,输入账户密码,就可以登录自己的 wordpress 后台了.
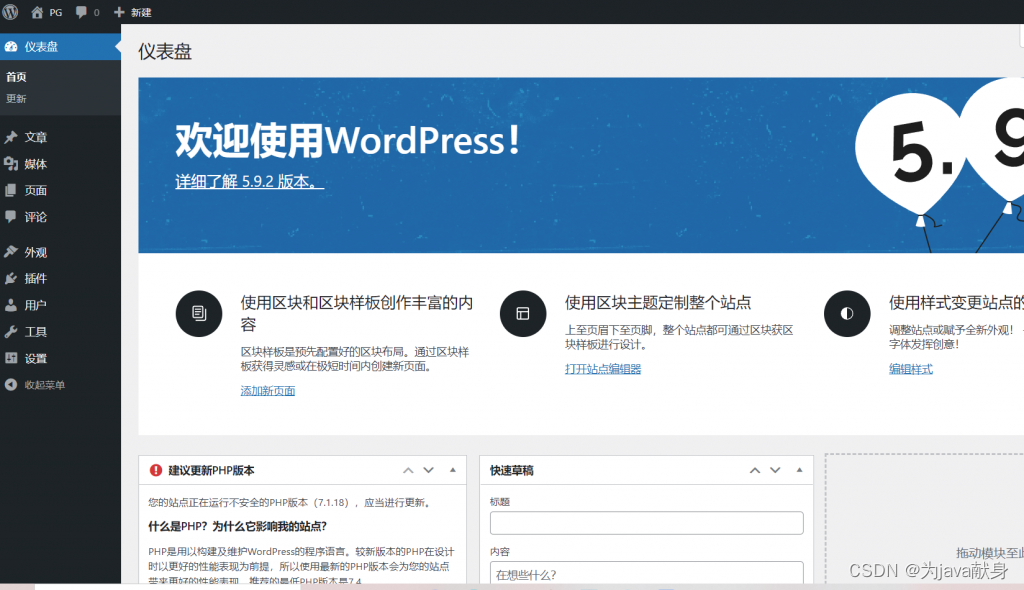

这时候你使用浏览器去访问 http://ip ,就可以看到你搭建的第一个网站了.
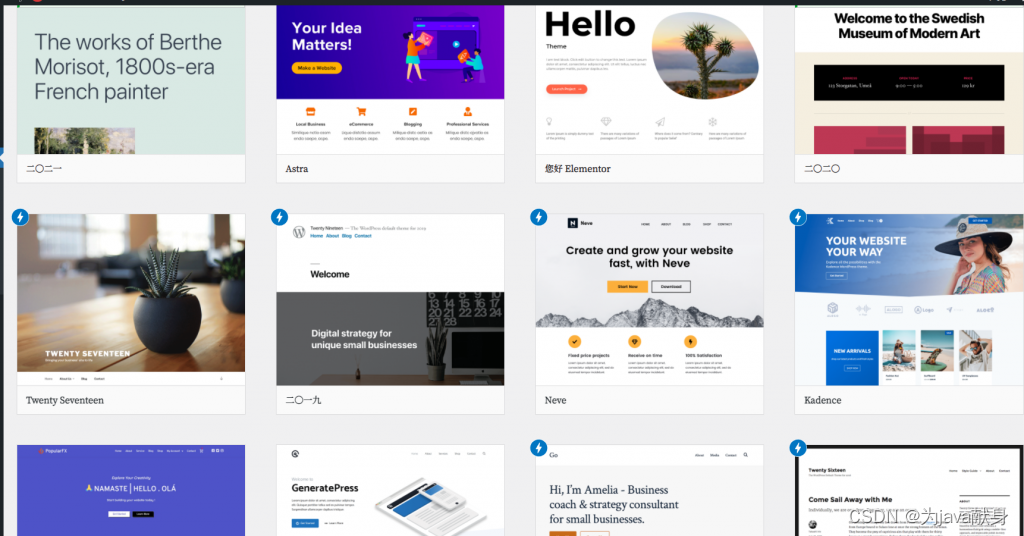
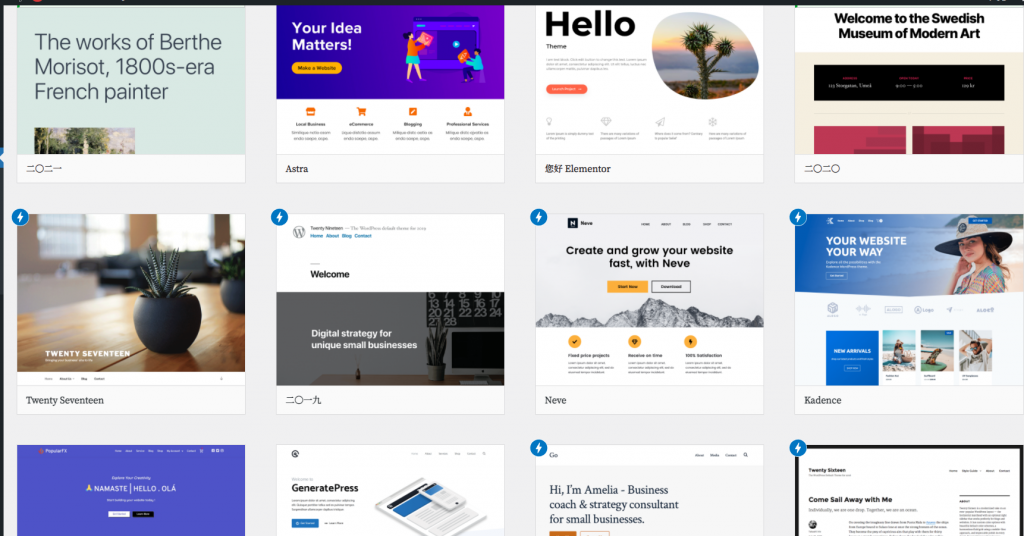
此时你看到的这个网站,是 wordpress 默认为你安装的免费主题(应该有三个),You can choose your favorite theme to dress up your website
在 WordPress 的自带了主题商店,里面有大量的免费主题,各式各样的都有,可能有你喜欢的.
网站美化
这里我们没有选择wordpress自带的主题,我选择了
Sakura: Sakurasou's white cat blog theme 这个是网址https://gitee.com/mashirozx/Sakura
There is an option to directly download the upload theme
But we choose to clone the domestic mirror,使用xshell连接自己的云服务器


This will make it visible in the current directorySakura的目录
我们进到wordpress的主题目录下


然后把sakuraThe directory is moved to the theme directory
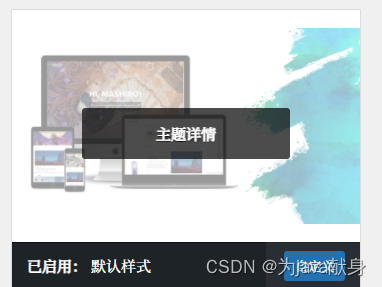
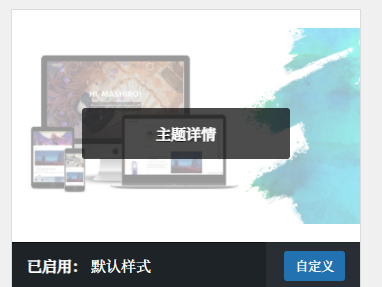
在wordpress后台 外观 In the theme, you can see the theme we just added, click to enable it
Then browse our page Our random external images can be modifiedapi
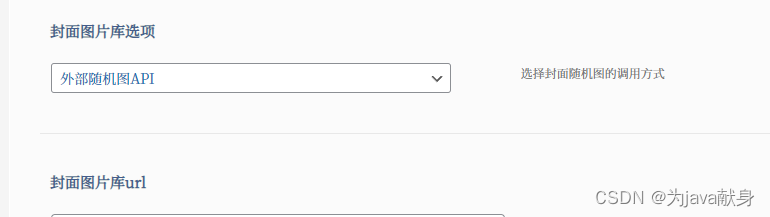
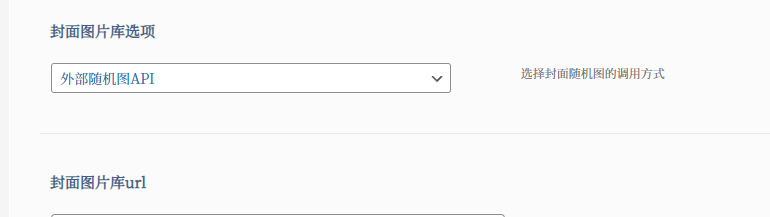
然后在urlwrite what you likeapi You can write it yourself or find someone else to write itapi,But instability can expire
如图:


Other function modules can also be customized according to their own needs
边栏推荐
猜你喜欢


随机推荐
The overlapping effect of the two surfaceviews is similar to the video and handout practice in the live effect
Seq2Seq模型PyTorch版本
win10无法直接用照片查看器打开图片怎么办
2021-10-14
基于深度学习的配准框架
语言模型(NNLM)
STM32F1和F4的区别
没学好统计学的下场
Impressions of Embrace Jetpack
PyTorch(13)---优化器_随机梯度下降法
针对多轮推理分类问题的软标签构造方法
ASR6601牛羊定位器芯片GPS国内首颗支持LoRa的LPWAN SoC
【我的电赛日记(二)】ADF4351锁相环模块
Makefile容易犯错的语法
实战美团Nuxt +Vue全家桶,服务端渲染,邮箱验证,passport鉴权服务,地图API引用,mongodb,redis等技术点
【使用Pytorch实现ResNet网络模型:ResNet50、ResNet101和ResNet152】
SQL的通用语法和使用说明(图文)
GICv3/v4-软件概述
让深度学习歇一会吧
PyTorch②---transforms结构及用法