当前位置:网站首页>Littlest jupyterhub| 02 using nbgitpuller to distribute shared files
Littlest jupyterhub| 02 using nbgitpuller to distribute shared files
2020-11-08 00:43:00 【Steamed pork with soy sauce-】
In the use of JupyterHub when , A common requirement is to give users / Students distribute data and sample code , Generally speaking, we want to make students / Users can :
- Easy access to the latest version of experimental data and code
- Don't worry about losing your homework , Even if the teacher changes the content , It doesn't cover the students' changes
- There is no need to manually handle merge conflicts or other complex operations
Corresponding , managers / Teachers should :
- Use modern collaborative version control tools to write and store instructional materials , at present Git It's the best tool
nbgitpuller It's a Jupyter Notebook Expand , Can help achieve the above functions
This tutorial will guide you in creating a magic nbgitpuller link , bring JupyterHub Of users can click on the link , Directly from the designated git repository For the latest version of the material
-
00 Pre configuration requirements
- Use Littlest JupyterHub Installed JupyterHub
-
It needs to be distributed git Warehouse
-
01 Generate a nbgitpuller link
Use a based on Binder The application of the link is generated online , The operation steps are: :
1、 Open the link mybinder.org based application, Wait for the application to compile
2、 Enter the relevant information in the blank box
branch: What to pull git The branch of the project
hub_url: Own server Jupyter Hub Of url
repo_url: What to pull git Project url
urlpath: Need from git In the project Pull the file route

When you're done typing , You can see a link generated below , By clicking on the link, users can distribute the project to their respective environments
3、 Manually edit sharing links , The link is organized as :
http://<my-jhub-address>/hub/user-redirect/git-pull?repo=<your-repo-url>&branch=<your-branch-name>&subPath=<subPath>&app=<notebook | lab>
repo:git Links to projects
branch: The branch of the project , The default is master
subPath: The directory within the project to be launched after cloning / The path of the notebook . The default is to open the link Git The root directory of the warehouse
app: Choose which application view to open (Jupyter Notebook/ Jupyter Lab) This parameter is optional , The default is environment variable NBGITPULLER_APP Value , If there is no definition , The default is Notebook
urlPath: If you specify urlPath,app and subPath Will be covered , And redirect to the specified path .
thus , Distribution links are made , This link can be shared with users in various ways / Students !
-
02 The user clicks on the link
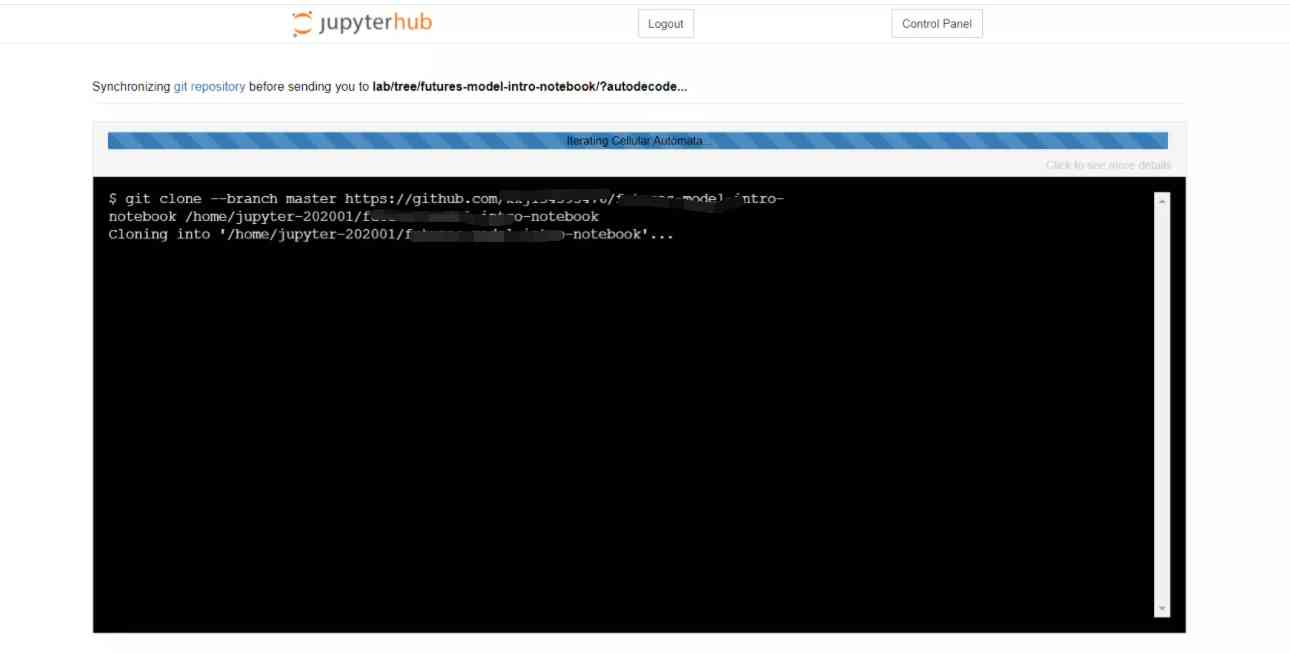
1、 When the user clicks on the link and logs in Jupyter Hub after , You can see the progress bar as shown in the figure below , At this time, remote pull and merge operations are being performed automatically
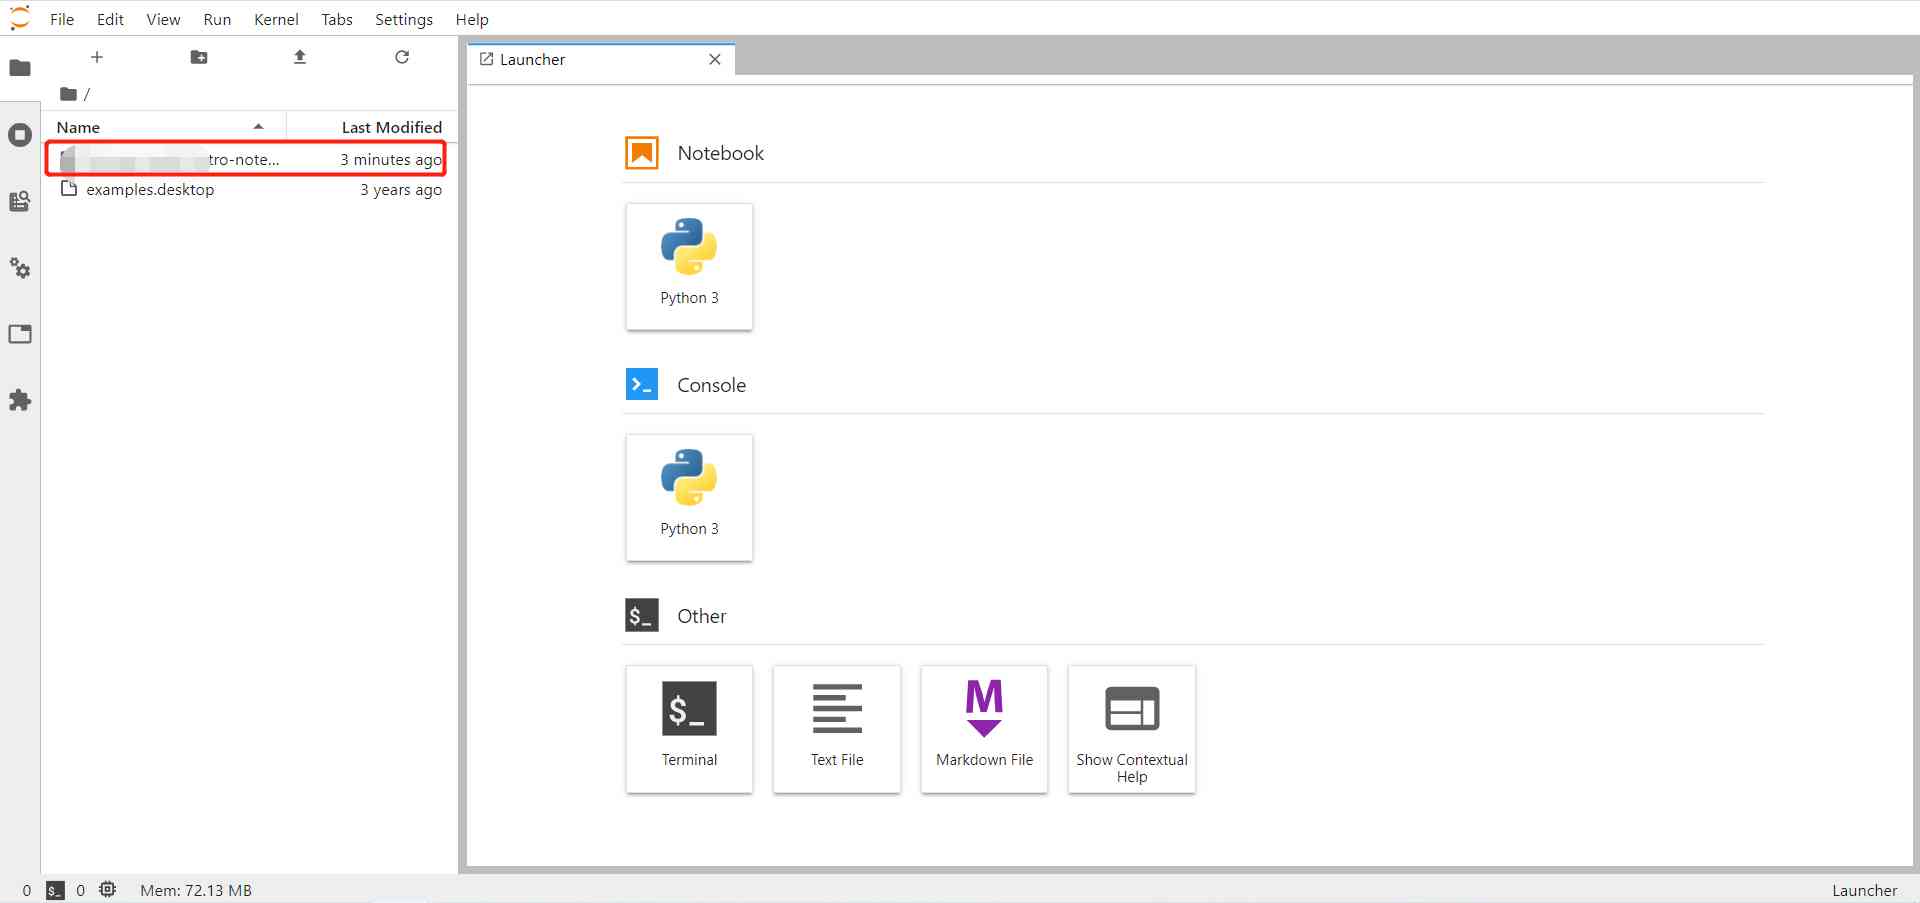
2、 Final , Users enter their own environment , You can see that the project has been placed in the file directory !
The next section is about nbgitpuller Specific characteristics of :)
Reference link :
https://tljh.jupyter.org/en/latest/howto/content/nbgitpuller.html
https://github.com/jupyterhub/nbgitpuller#constructing-the-nbgitpuller-url
版权声明
本文为[Steamed pork with soy sauce-]所创,转载请带上原文链接,感谢
边栏推荐
- 异常+abstract
- Python image recognition OCR
- 高并发,你真的理解透彻了吗?
- Interface
- use Xunit.DependencyInjection Transformation test project
- Summary of knowledge points of Jingtao project
- Thinkphp6中where条件中字段与字段比较条件的写法
- WPF personal summary on drawing
- Golang anonymous structure member, named structure member, inheritance, composition
- ubuntu实时显示cpu、内存占用率
猜你喜欢
随机推荐
Getting started with go wire dependency injection
The emergence and significance of micro service
Speed up your website with jsdelivr
On the stock trading of leetcode
Brief history of computer
Go之发送钉钉和邮箱
Delphi10's rest.json And system.json Step on the pit
Android Basics - RadioButton (radio button)
Privacy violation and null dereference of fortify vulnerability
GoLand writes a program with template
Data structure and sorting algorithm
Cpp(三) 什么是CMake
尾-递
Windows下子系统Ubuntu安装
使用 Xunit.DependencyInjection 改造测试项目
wanxin金融
Qt混合Python开发技术:Python介绍、混合过程和Demo
QT hybrid Python development technology: Python introduction, hybrid process and demo
Interface
A compilation bug brought by vs2015 Update1 update [existing solutions]

