当前位置:网站首页>torchvision.datasets.ImageFolder使用详解
torchvision.datasets.ImageFolder使用详解
2022-08-03 00:34:00 【*源仔】
一、数据集组织方式
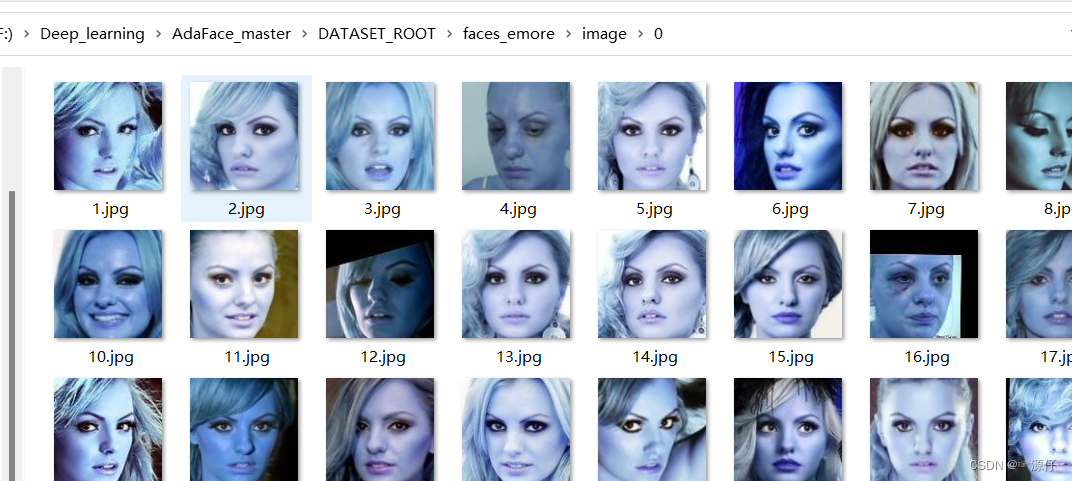
ImageFolder是一个通用的数据加载器,它要求我们以下面这种格式来组织数据集的训练、验证或者测试图片。
root/1/xxx.png
root/1/xxy.png
root/1/xxz.png
. . .
root/2/12.png
. . .
root/3/123.png
. . .
root/4/356.png
. . .
对于上面的root,假设data文件夹在.py文件的同级目录中,那么root一般都是如下这种形式:./data/train 和 ./data/valid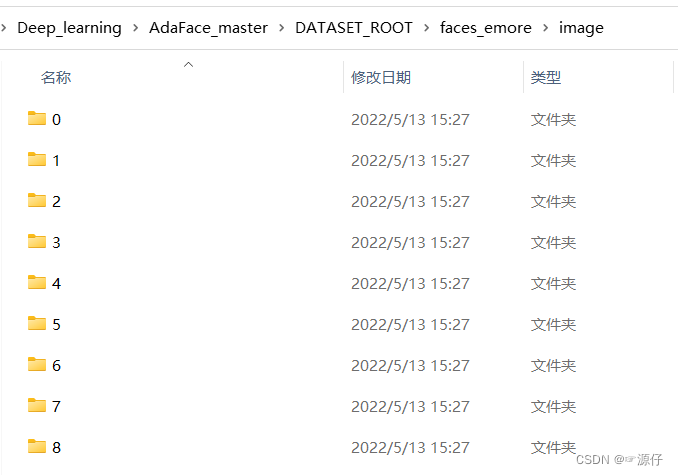
二、ImageFolder参数详解
dataset=torchvision.datasets.ImageFolder(
root, transform=None,
target_transform=None,
loader=datasets.folder.default_loader,
is_valid_file=None)
参数详解:
- root:图片存储的根目录,即各类别文件夹所在目录的上一级目录。
- transform:对图片进行预处理的操作(函数),原始图片作为输入,返回一个转换后的图片。
- target_transform:对图片类别进行预处理的操作,输入为 target,输出对其的转换。 如果不传该参数,即对 target 不做任何转换,返回的顺序索引 0,1, 2…
- loader:表示数据集加载方式,通常默认加载方式即可。
- is_valid_file:获取图像文件的路径并检查该文件是否为有效文件的函数(用于检查损坏文件)
返回的dataset都有以下三种属性:
- self.classes:用一个 list 保存类别名称
- self.class_to_idx:类别对应的索引,与不做任何转换返回的 target 对应
- self.imgs:保存(img-path, class) tuple的 list
三、程序案例
from torchvision.datasets import ImageFolder
from torchvision import transforms

#加上transforms
normalize=transforms.Normalize(mean=[.5,.5,.5],std=[.5,.5,.5])
transform=transforms.Compose([
    transforms.RandomCrop(180),
    transforms.RandomHorizontalFlip(),
    transforms.ToTensor(), #将图片转换为Tensor,归一化至[0,1]
    normalize
])

dataset=ImageFolder('./data/train',transform=transform)
我们得到的dataset,它的结构就是[(img_data, class_id),(img_data, class_id),… ],下面我们打印第一个元素:
print(dataset[0])
输出:
(tensor([[[-0.5137, -0.4667, -0.4902,  ..., -0.0980, -0.0980, -0.0902],
         [-0.5922, -0.5529, -0.5059,  ..., -0.0902, -0.0980, -0.0667],
         [-0.5373, -0.5294, -0.4824,  ..., -0.0588, -0.0824, -0.0196],
         ...,
         [-0.3098, -0.3882, -0.3725,  ..., -0.4353, -0.4510, -0.4196],
         [-0.2863, -0.3647, -0.3725,  ..., -0.4431, -0.4118, -0.4196],
         [-0.3412, -0.3569, -0.3882,  ..., -0.4667, -0.4588, -0.4196]],
        [[-0.6157, -0.5686, -0.5922,  ..., -0.2863, -0.2784, -0.2706],
         [-0.6941, -0.6549, -0.6078,  ..., -0.2784, -0.2784, -0.2471],
         [-0.6392, -0.6314, -0.5843,  ..., -0.2471, -0.2706, -0.2078],
         ...,
         [-0.4431, -0.5059, -0.5059,  ..., -0.5608, -0.5765, -0.5451],
         [-0.4196, -0.4824, -0.5059,  ..., -0.5686, -0.5373, -0.5451],
         [-0.4745, -0.4902, -0.5294,  ..., -0.5922, -0.5843, -0.5451]],
        [[-0.6627, -0.6157, -0.6549,  ..., -0.5059, -0.5216, -0.5137],
         [-0.7412, -0.7020, -0.6706,  ..., -0.4980, -0.5216, -0.4902],
         [-0.6863, -0.6784, -0.6471,  ..., -0.4667, -0.4902, -0.4275],
         ...,
         [-0.6000, -0.6549, -0.6627,  ..., -0.6784, -0.6941, -0.6627],
         [-0.5765, -0.6314, -0.6471,  ..., -0.6863, -0.6549, -0.6627],
         [-0.6314, -0.6314, -0.6392,  ..., -0.7098, -0.7020, -0.6627]]]), 0)
下面我们再看一下dataset的三个属性:
print(dataset.classes)  #根据分的文件夹的名字来确定的类别
print(dataset.class_to_idx) #按顺序为这些类别定义索引为0,1...
print(dataset.imgs) #返回从所有文件夹中得到的图片的路径以及其类别
''' 输出: ['cat', 'dog'] {'cat': 0, 'dog': 1} [('./data/train\\cat\\1.jpg', 0), ('./data/train\\cat\\2.jpg', 0), ('./data/train\\dog\\1.jpg', 1), ('./data/train\\dog\\2.jpg', 1)] '''
自己编写datasets.ImageFolder
class CustomImageFolderDataset(datasets.ImageFolder):
    def __init__(self,
                 root,
                 transform=None,
                 target_transform=None,
                 loader=datasets.folder.default_loader,
                 is_valid_file=None,
                 low_res_augmentation_prob=0.0,
                 crop_augmentation_prob=0.0,
                 photometric_augmentation_prob=0.0,
                 ):
        super(CustomImageFolderDataset, self).__init__(root,
                                                       transform=transform,
                                                       target_transform=target_transform,
                                                       loader=loader,
                                                       is_valid_file=is_valid_file)
        self.root = root
        self.low_res_augmentation_prob = low_res_augmentation_prob
        self.crop_augmentation_prob = crop_augmentation_prob
        self.photometric_augmentation_prob = photometric_augmentation_prob
        self.random_resized_crop = transforms.RandomResizedCrop(size=(112, 112),
                                                                scale=(0.2, 1.0),
                                                                ratio=(0.75, 1.3333333333333333))
        self.photometric = transforms.ColorJitter(brightness=0.5, contrast=0.5, saturation=0.5, hue=0)

        self.tot_rot_try = 0
        self.rot_success = 0

    def __getitem__(self, index):
        """ Args: index (int): Index Returns: tuple: (sample, target) where target is class_index of the target class. """
        path, target = self.samples[index]
        sample = self.loader(path)

        if 'WebFace' in self.root:
            # swap rgb to bgr since image is in rgb for webface
            # 将 rgb 交换为 bgr,因为图像在 rgb 中用于 webface
            sample = Image.fromarray(np.asarray(sample)[:,:,::-1])

        sample, _ = self.augment(sample)
        if self.transform is not None:
            sample = self.transform(sample)
        if self.target_transform is not None:
            target = self.target_transform(target)

        return sample, target

    def augment(self, sample):

        # crop with zero padding augmentation
        if np.random.random() < self.crop_augmentation_prob:
            # RandomResizedCrop augmentation
            new = np.zeros_like(np.array(sample))
            orig_W, orig_H = F._get_image_size(sample)
            i, j, h, w = self.random_resized_crop.get_params(sample,
                                                            self.random_resized_crop.scale,
                                                            self.random_resized_crop.ratio)
            cropped = F.crop(sample, i, j, h, w)
            new[i:i+h,j:j+w, :] = np.array(cropped)
            sample = Image.fromarray(new.astype(np.uint8))
            crop_ratio = min(h, w) / max(orig_H, orig_W)
        else:
            crop_ratio = 1.0

        # low resolution augmentation
        if np.random.random() < self.low_res_augmentation_prob:
            # low res augmentation
            img_np, resize_ratio = low_res_augmentation(np.array(sample))
            sample = Image.fromarray(img_np.astype(np.uint8))
        else:
            resize_ratio = 1

        # photometric augmentation
        if np.random.random() < self.photometric_augmentation_prob:
            fn_idx, brightness_factor, contrast_factor, saturation_factor, hue_factor = \
            self.photometric.get_params(self.photometric.brightness, self.photometric.contrast,
                                                  self.photometric.saturation, self.photometric.hue)
            for fn_id in fn_idx:
                if fn_id == 0 and brightness_factor is not None:
                    sample = F.adjust_brightness(sample, brightness_factor)
                elif fn_id == 1 and contrast_factor is not None:
                    sample = F.adjust_contrast(sample, contrast_factor)
                elif fn_id == 2 and saturation_factor is not None:
                    sample = F.adjust_saturation(sample, saturation_factor)

        information_score = resize_ratio * crop_ratio
        return sample, information_score
边栏推荐
- 2022 China Eye Expo, Shandong Eye Health Exhibition, Vision Correction Instrument Exhibition, Eye Care Products Exhibition
- Rasa 3.x study series - Rasa - Issues 4792 socket debug logs clog up debug feed study notes
- 作业8.2 线程同步互斥机制——互斥锁
- 全栈----跨域
- 【Leetcode】305.岛屿数量II(困难)
- 向往的生活
- 风电场运营实践 | 麒麟信安助力国华投资山东公司集控中心实现安全智慧化运营
- 吴恩达深度学习deeplearning.ai——第一门课:神经网络与深度学习——第二节:神经网络基础(上)
- GoLang 使用 goroutine 停止的几种办法
- Day117. Shangyitong: Generate registered order module
猜你喜欢


![[NCTF2019]SQLi-1||SQL注入](/img/18/6483cd9d5d2722860652fea193c13a.png)


随机推荐
公司招个程序员,34岁以上两年一跳的不要,开出工资以为看错了
Greenplum数据库故障分析——can not listen port
js显示隐藏手机号
10. SAP ABAP OData 服务如何支持修改(Update)操作
Introduction to resubmit Progressive Anti-Duplicate Submission Framework
flutter空安全问题,平时用到的数据一定要注意
稳压电源: 电路图及类型
esp32和ros2基础篇草稿-micro-ros-
精心整理16条MySQL使用规范,减少80%问题,推荐分享给团队
软件测试从业多年,自认为技术不错,裸辞:一晃 ,失业3个月了~
1686. 石子游戏 VI
【深度学习】基于tensorflow的小型物体识别训练(数据集:CIFAR-10)
2022年8月2日——使用idea搭建servlet+jsp项目
Go高性能之方法接收器 - 指针vs值
吴恩达深度学习deeplearning.ai——第一门课:神经网络与深度学习——第二节:神经网络基础(上)
全栈---JSONP
JSP第一篇 -----JSP九大内置对象(隐式对象)和四大域对象
【多线程】Thread类的基本用法
PAT甲级 1051 Pop Sequence
nmap: Bad CPU type in executable