当前位置:网站首页>window10 lower semi-automatic labeling
window10 lower semi-automatic labeling
2022-08-02 14:19:00 【weixin_50862344】
前言
I took a look at our project's tags a lot not working,have to be relabeled.I want to save more than 10,000 or nearly 20,000 photos with the help of automatic or semi-automatic annotation
方法1:easyDL智能标注
(1)借助百度easyDL进行标注
- 选择EasyDL图像–>物体检测
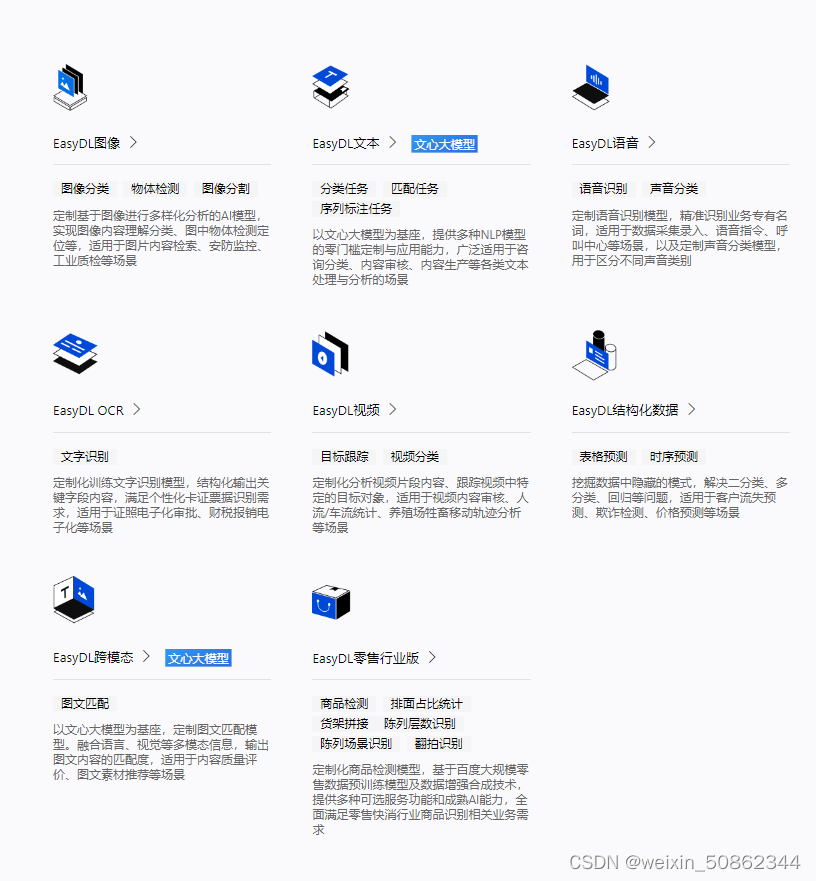
I am doing image recognition so chooseEasyDL图像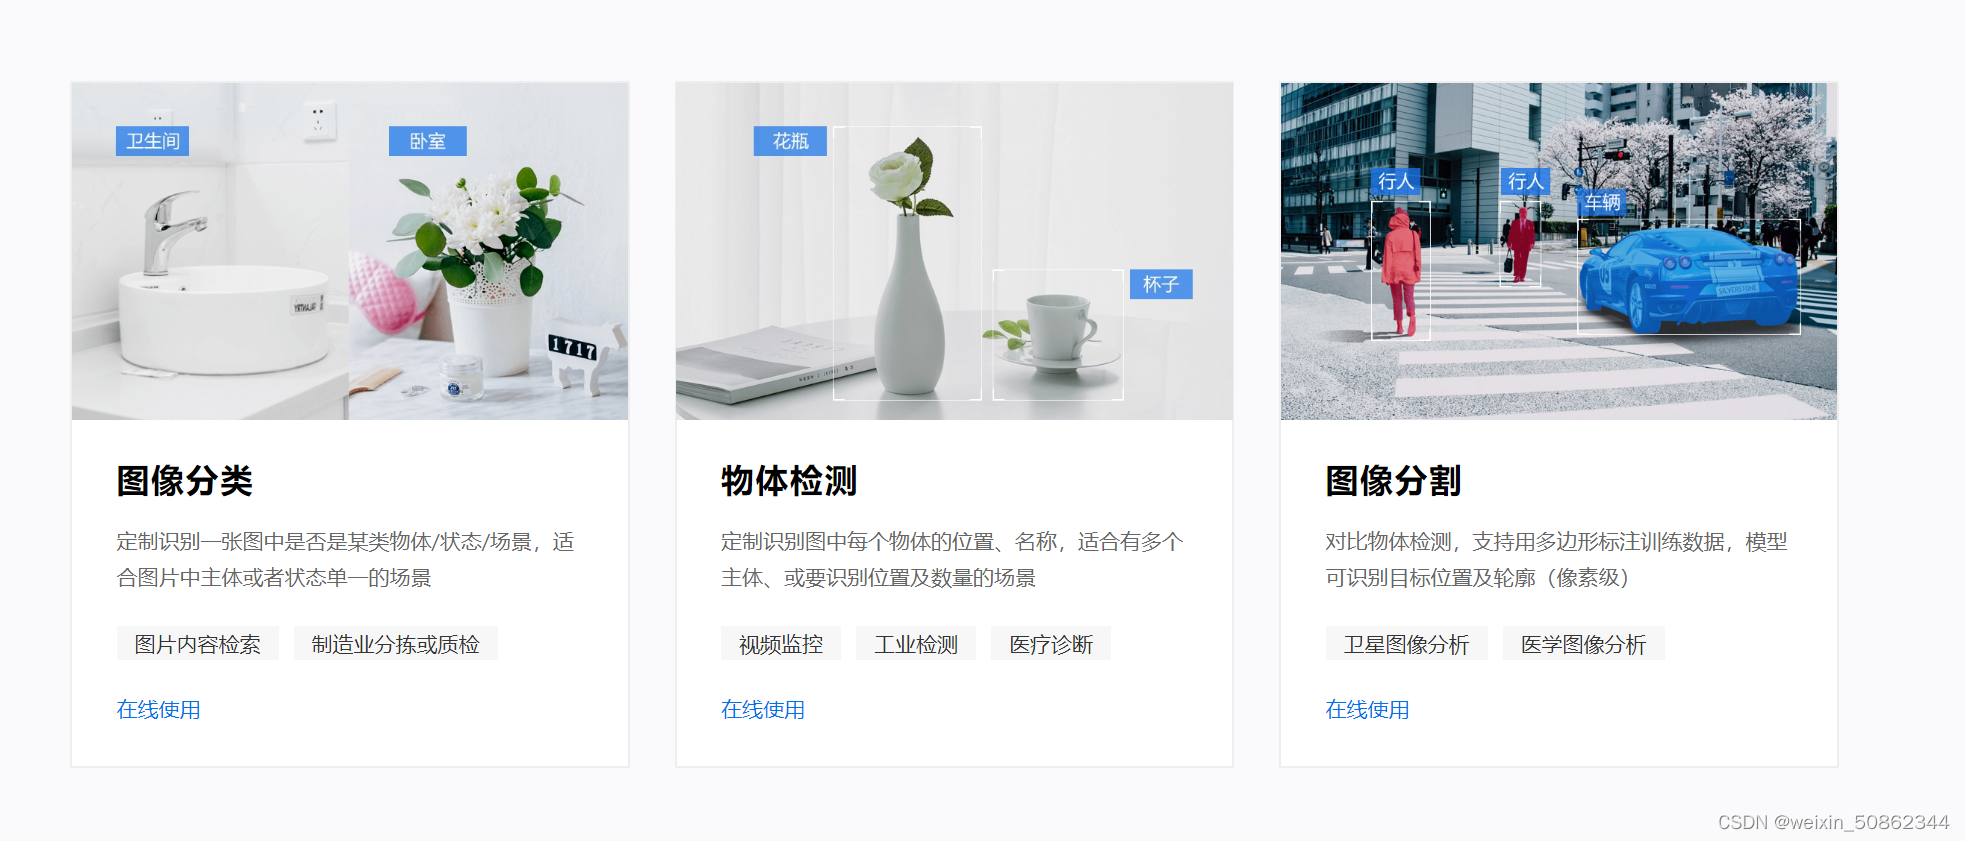
- After simple registration information, import pictures or compressed packages to mark them
- I marked a hundred or so sheets and wanted to try automatic marking
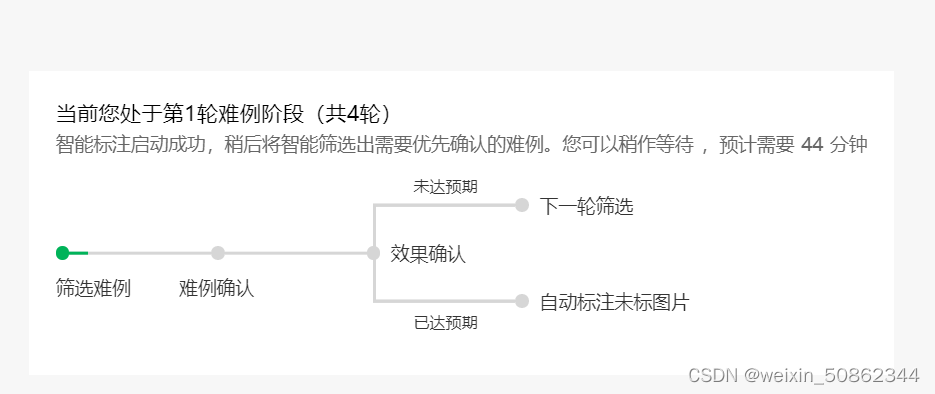
In fact, it will be corrected and corrected later
Finally, you can see the results in the following figure in the data overview - Click on the red circle“立即前往”,进入EasyDAata,点击 “立即使用”,再点击“导出”

- Just wait for a while下载了

Finally put a picture of the result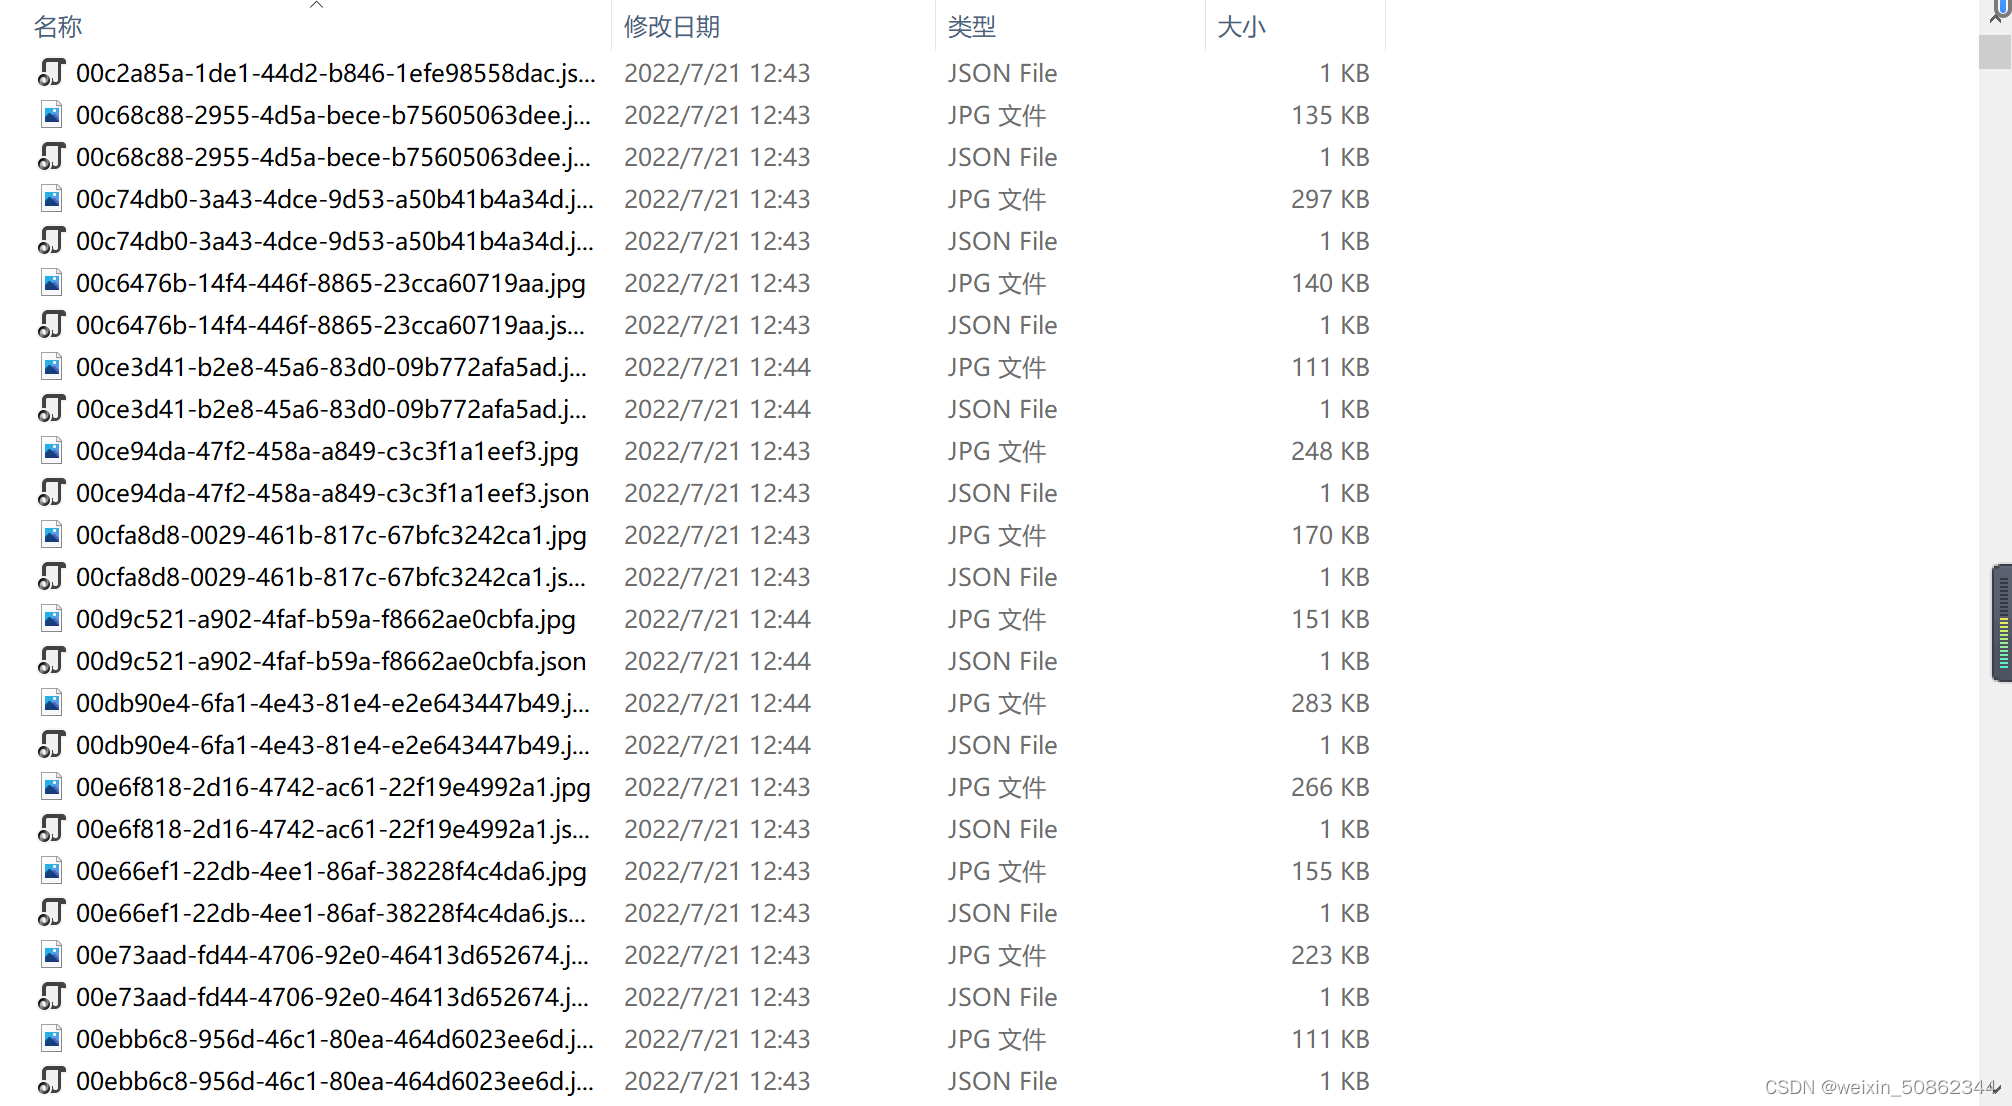
It is a one-to-one correspondence
I'll probably have to write a script later,Separate the two files
The scripts I write all fail due to copyright issues,I found out later that I was dumbfounded.Type directly into the search bar.jpg或者是.json,Then select all and copy to another folder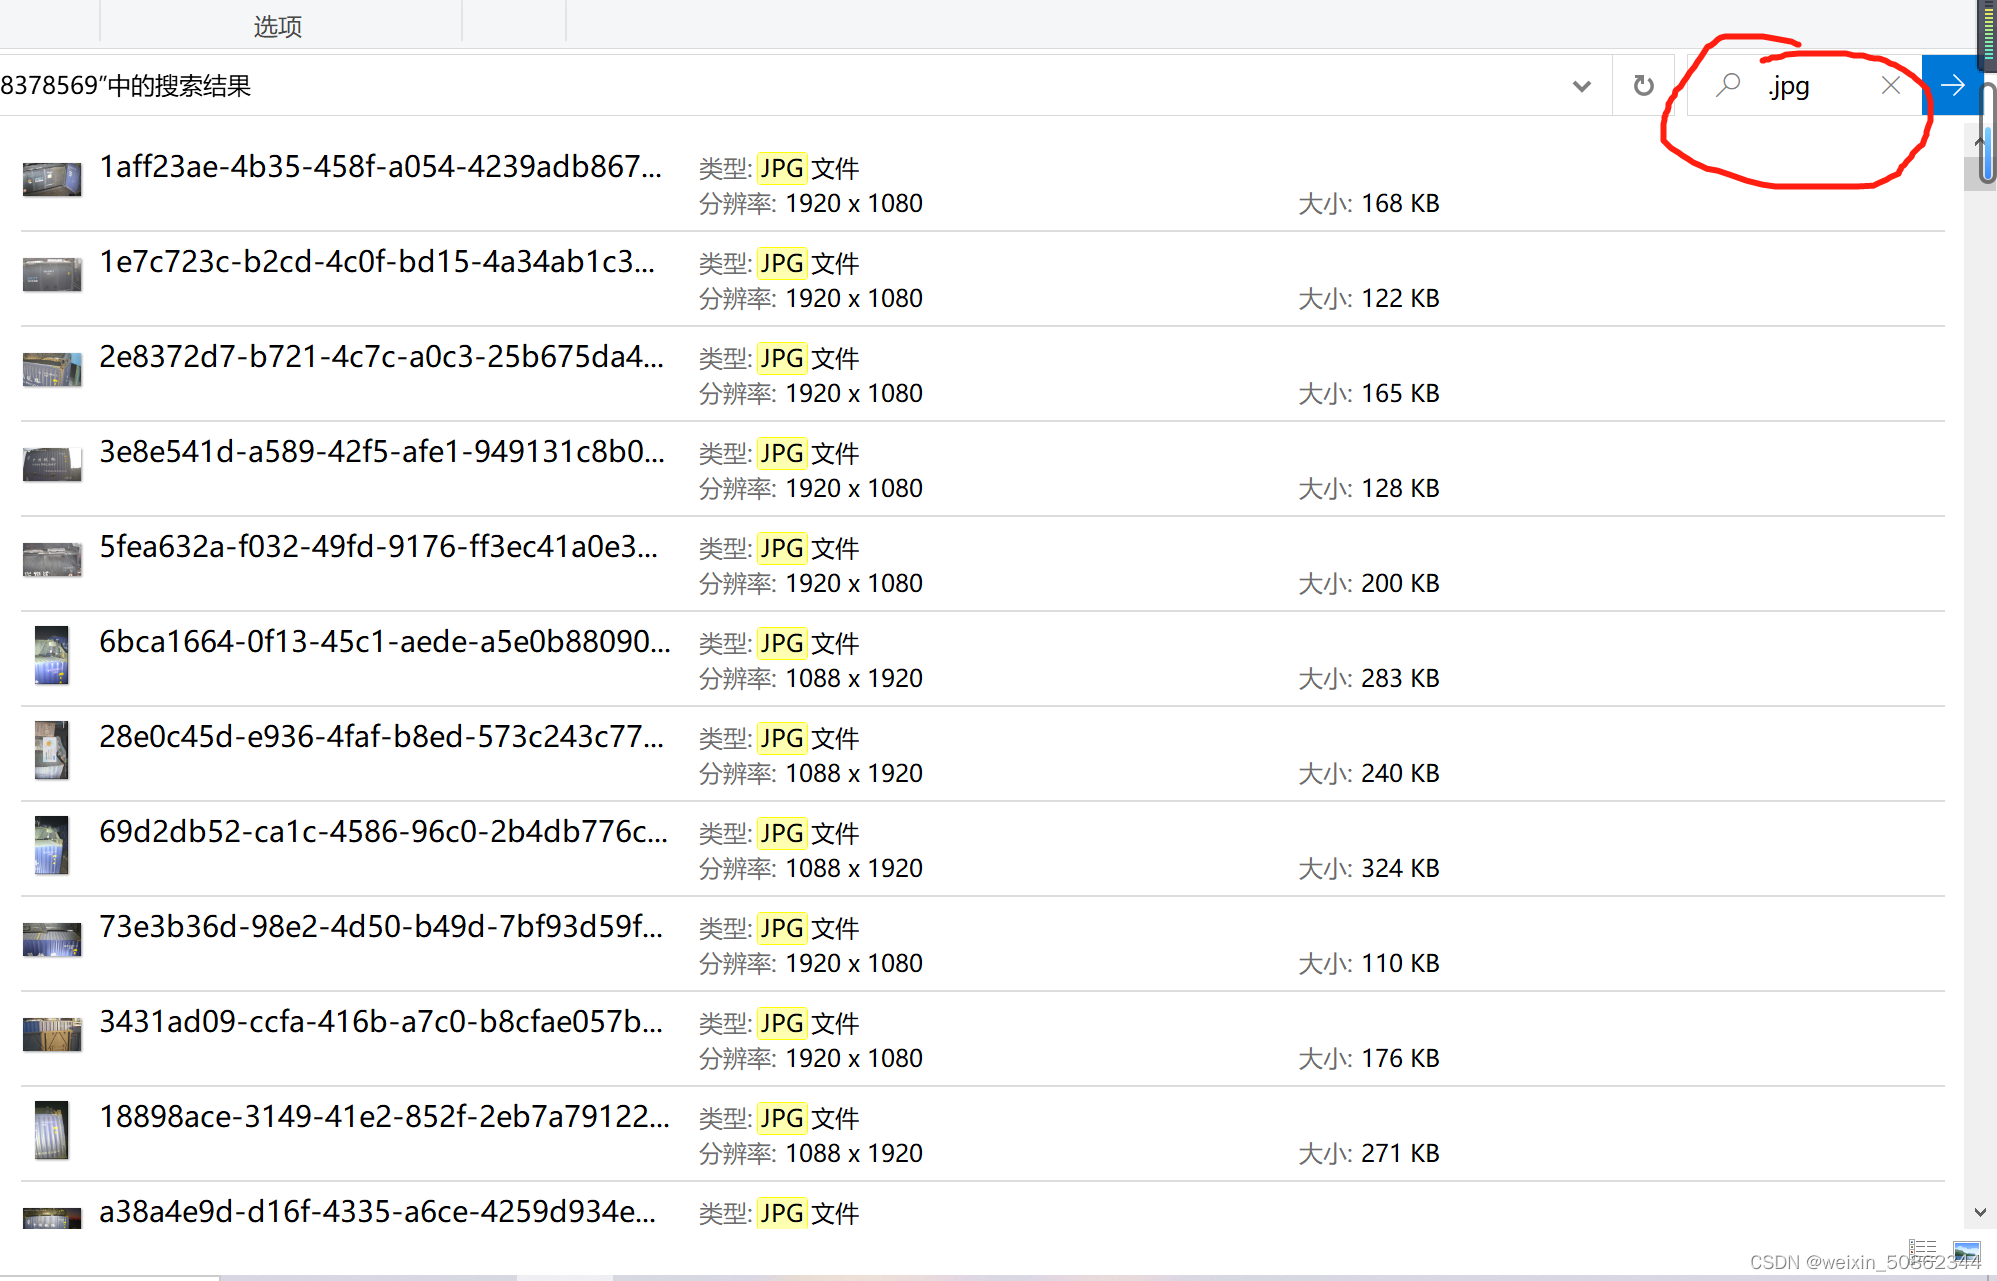
方法2:使用labelimg和pytorch框架下的yolov5Implement automatic labeling
(1)环境配置
Not to mention the environment configuration
The framework is also selectedpytorch
(2)思路
First train a model on a small batch of data,Then use this weight for identification and labeling
!!!Remind you of the number of training sets with small samples,It can't be really too small either(The suggestion is to have a thousand sheets,Recommendations are based on your own dataset)
出于两方面的考虑:①If the sample is too small, the training effect is not good,It may become semi-manual at the back(出力不讨好)
②Some special training samples can be appropriately added to increase the training effect
(3)步骤
1 )The first is to train a small weight first
- Make use of the previously marked filesyolov5训练
I don't know how to trainPytorch搭建YoloV5目标检测平台
But there is a problem that the code given by the blogger is different from the code given by the official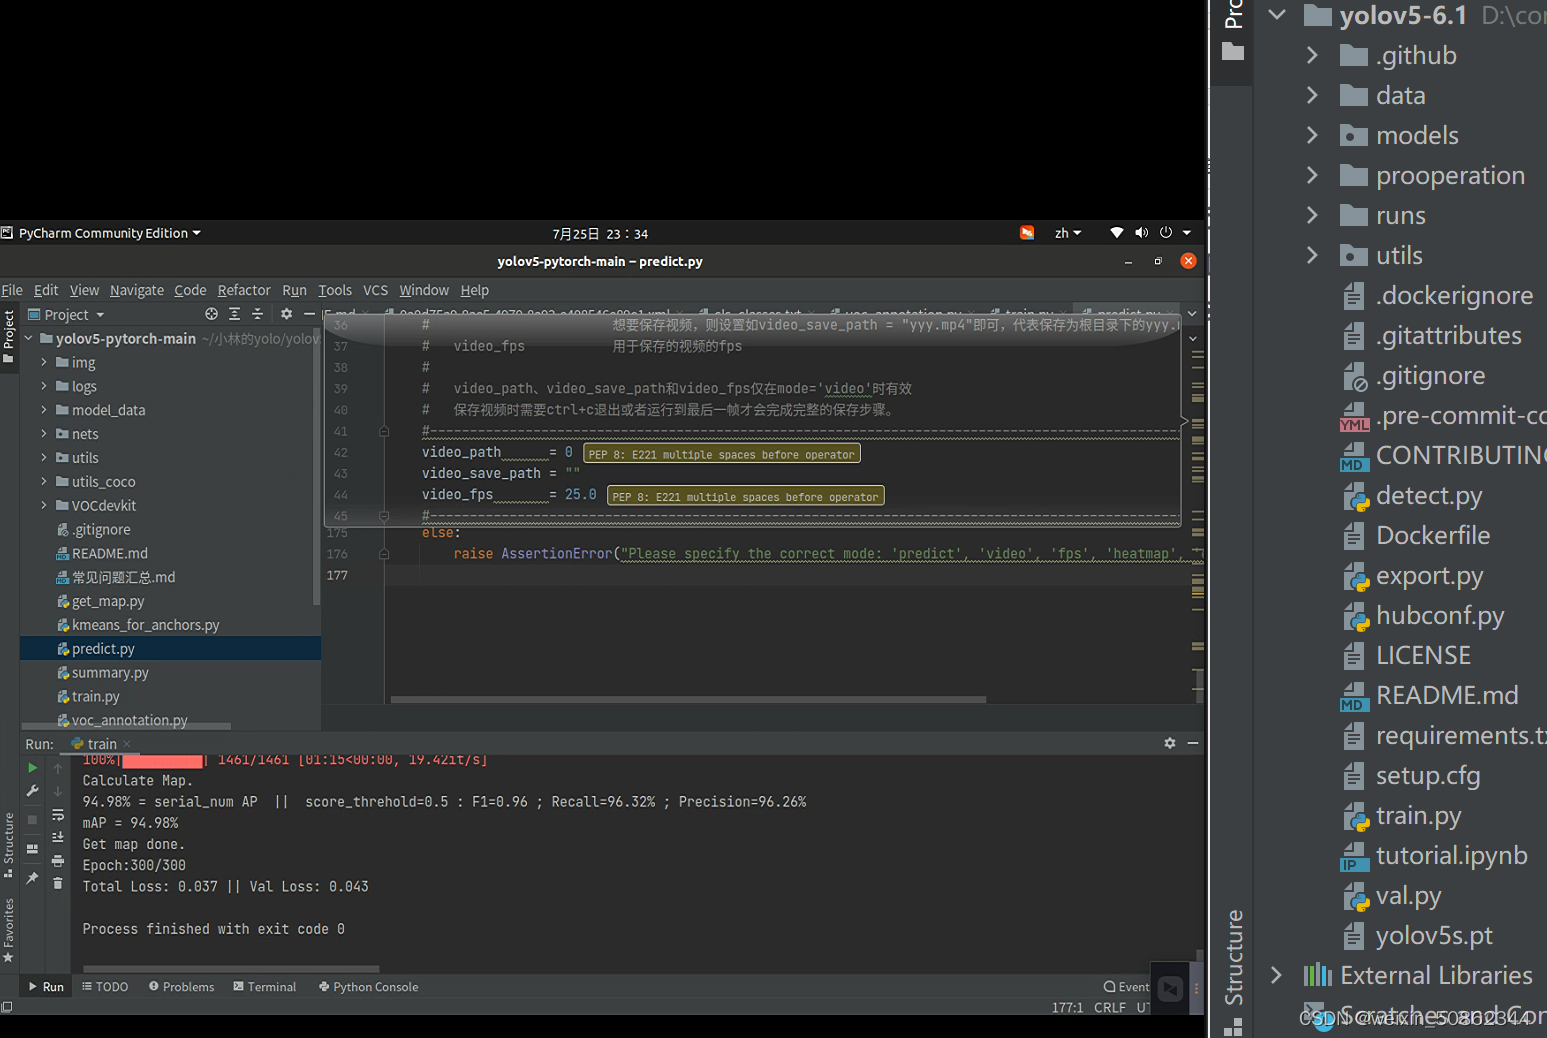
On the left is the blogger's code and on the right is downloaded from the official website,And the resulting weights file ispth类型,The official website download seems to be generatedpt文件
- If you only follow this blogger, you have to consider it nextpth转pt文件了
Be sure to write a script next time!!!
- Use the official code
Check out this article I wrote earlierMaybe some places are not clear,You can private message me or comment directly,看到了(我会的)一定解答
2)开始自动标注
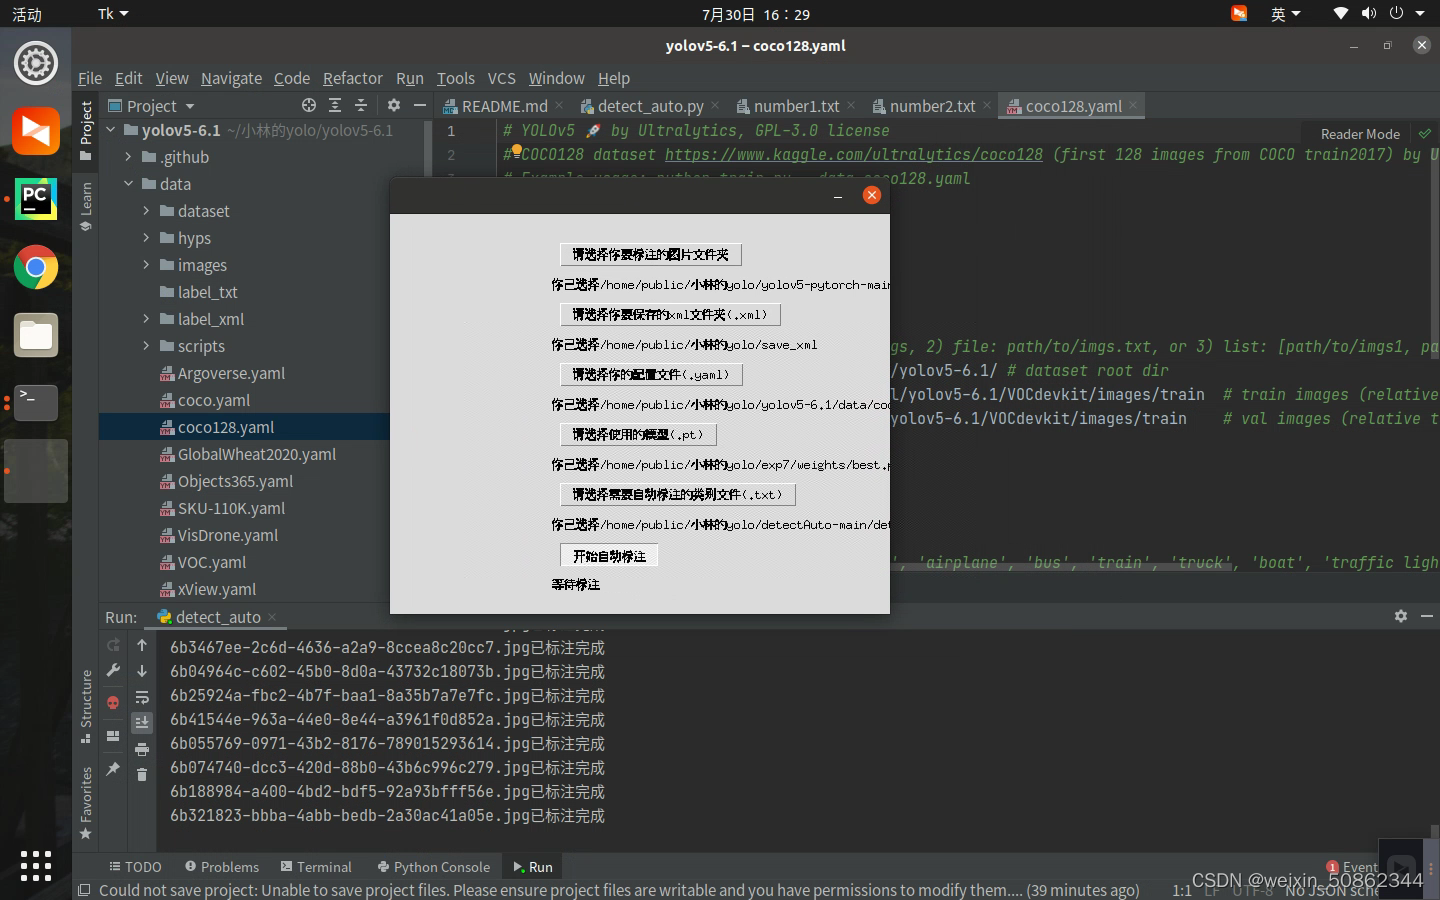
I tried a lot of code and the final result is the mysterycv男的自动标注整体操作比较简单,还有视频讲解.
操作下:
- 直接在github下载在这
- 然后放入yolov5的文件夹中
pip Install natsortBecause I haven't downloaded it before- Give me a diagram!
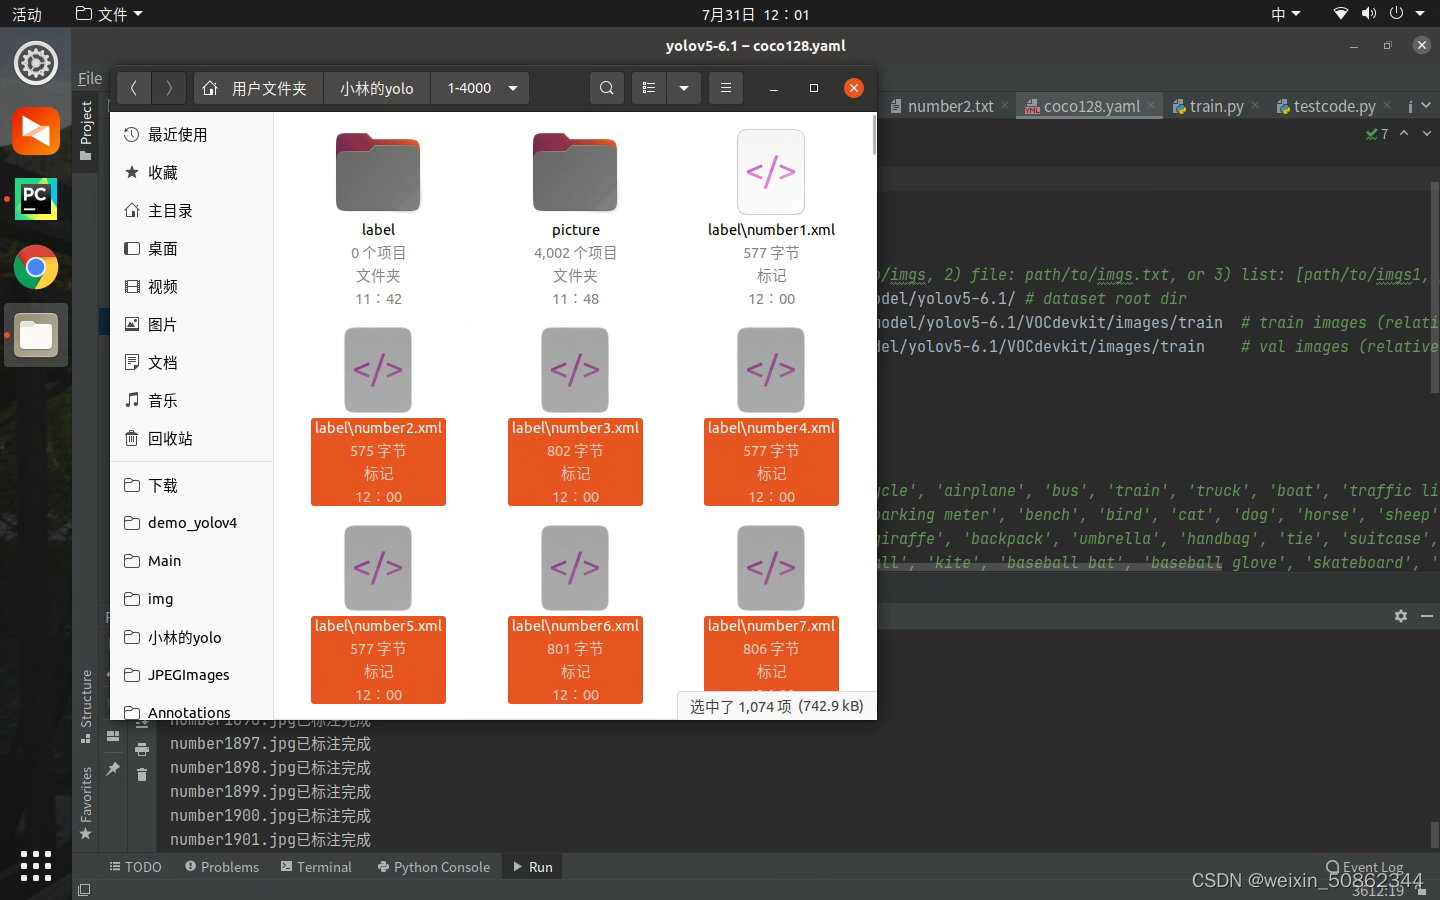
16,000 photos were done in a while!But I found that there is a more troublesome problem is that he can only be therewindow系统下运行,如果在linux(我用的是ubantu)就会出现xmlThe file cannot enter the folder subfolder!!!
Must change next time!下次一定下次一定!
3)xml转成yolo(即txt)格式
import xml.etree.ElementTree as ET

import pickle
import os
from os import listdir, getcwd
from os.path import join
import glob

###!!!!!!!!!###
###(1)改类名
classes = ['number']


def convert(size, box):
    dw = 1.0 / size[0]
    dh = 1.0 / size[1]
    x = (box[0] + box[1]) / 2.0
    y = (box[2] + box[3]) / 2.0
    w = box[1] - box[0]
    h = box[3] - box[2]
    x = x * dw
    w = w * dw
    y = y * dh
    h = h * dh
    return (x, y, w, h)


def convert_annotation(image_name):
    ###!!!!!!!!!###
    #(2)修改为自己的xml路径
    in_file = open('D:/computervision/ocr/data/xml_file/' + image_name[:-3] + 'xml')  # xml文件路径
    #(3)改txt路径
    out_file = open('D:/computervision/ocr/data/txt/' + image_name[:-3] + 'txt', 'w')  # 转换后的txt文件存放路径
    f = open('D:/computervision/ocr/data/xml_file/' + image_name[:-3] + 'xml')
    xml_text = f.read()
    root = ET.fromstring(xml_text)
    f.close()
    size = root.find('size')
    w = int(size.find('width').text)
    h = int(size.find('height').text)

    for obj in root.iter('object'):
        cls = obj.find('name').text
        if cls not in classes:
            print(cls)
            continue
        cls_id = classes.index(cls)
        xmlbox = obj.find('bndbox')
        b = (float(xmlbox.find('xmin').text), float(xmlbox.find('xmax').text), float(xmlbox.find('ymin').text),
             float(xmlbox.find('ymax').text))
        bb = convert((w, h), b)
        out_file.write(str(cls_id) + " " + " ".join([str(a) for a in bb]) + '\n')


wd = getcwd()

if __name__ == '__main__':
    ###!!!!!!!!!###
    ###(4)改jpg文件路径
    for image_path in glob.glob("D:/computervision/ocr/data/jpg_file/*.jpg"):  # 每一张图片都对应一个xml文件这里写xml对应的图片的路径
        image_name = image_path.split('\\')[-1]
        convert_annotation(image_name)
One problem with this code is that it doesn'txml文件(Because the training results may not necessarily guarantee that every image can be labeled),At this point, it needs to be corrected manually!
方法3:基于PaddleHub和Labelimg
emmm…The first two works well ,I didn't study it carefully.下次一定!下次一定!
边栏推荐
- 如何选择正规的期货交易平台开户?
- redis分布式锁和看门狗的实现
- 定了!就在7月30日!
- 如何解决1045无法登录mysql服务器
- Data Organization---Chapter 6 Diagram---Graph Traversal---Multiple Choice Questions
- Object detection scene SSD-Mobilenetv1-FPN
- 瑞吉外卖笔记——第10讲Swagger
- paddleocr window10 first experience
- replay视频播放器_怎么让手机音乐跟视频一起放
- 专访|带着问题去学习,Apache DolphinScheduler 王福政
猜你喜欢
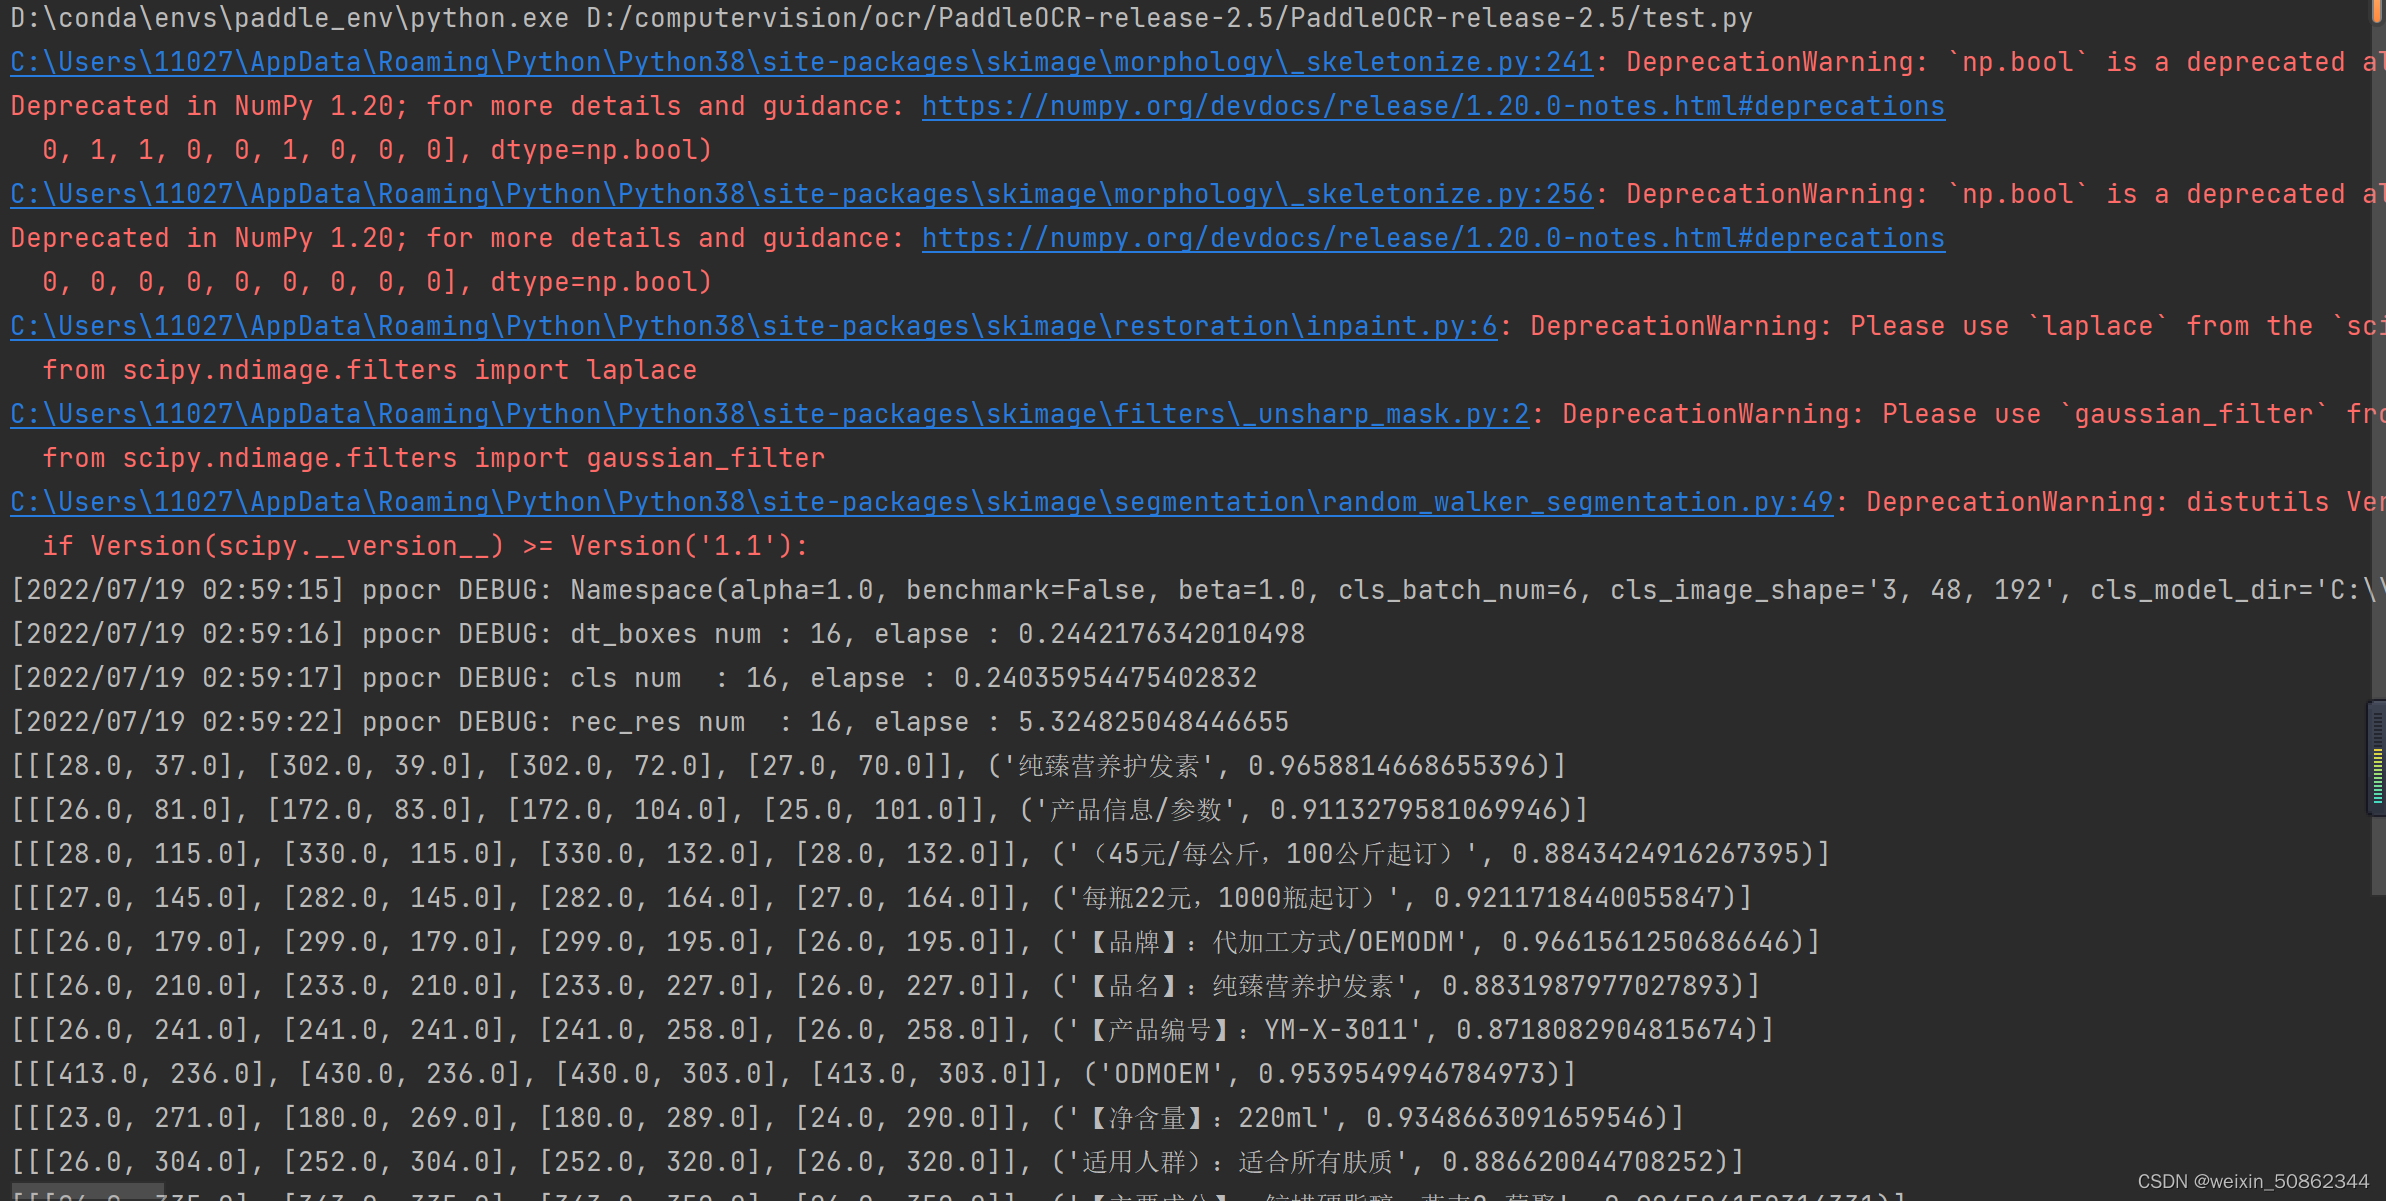
paddleocr window10 first experience
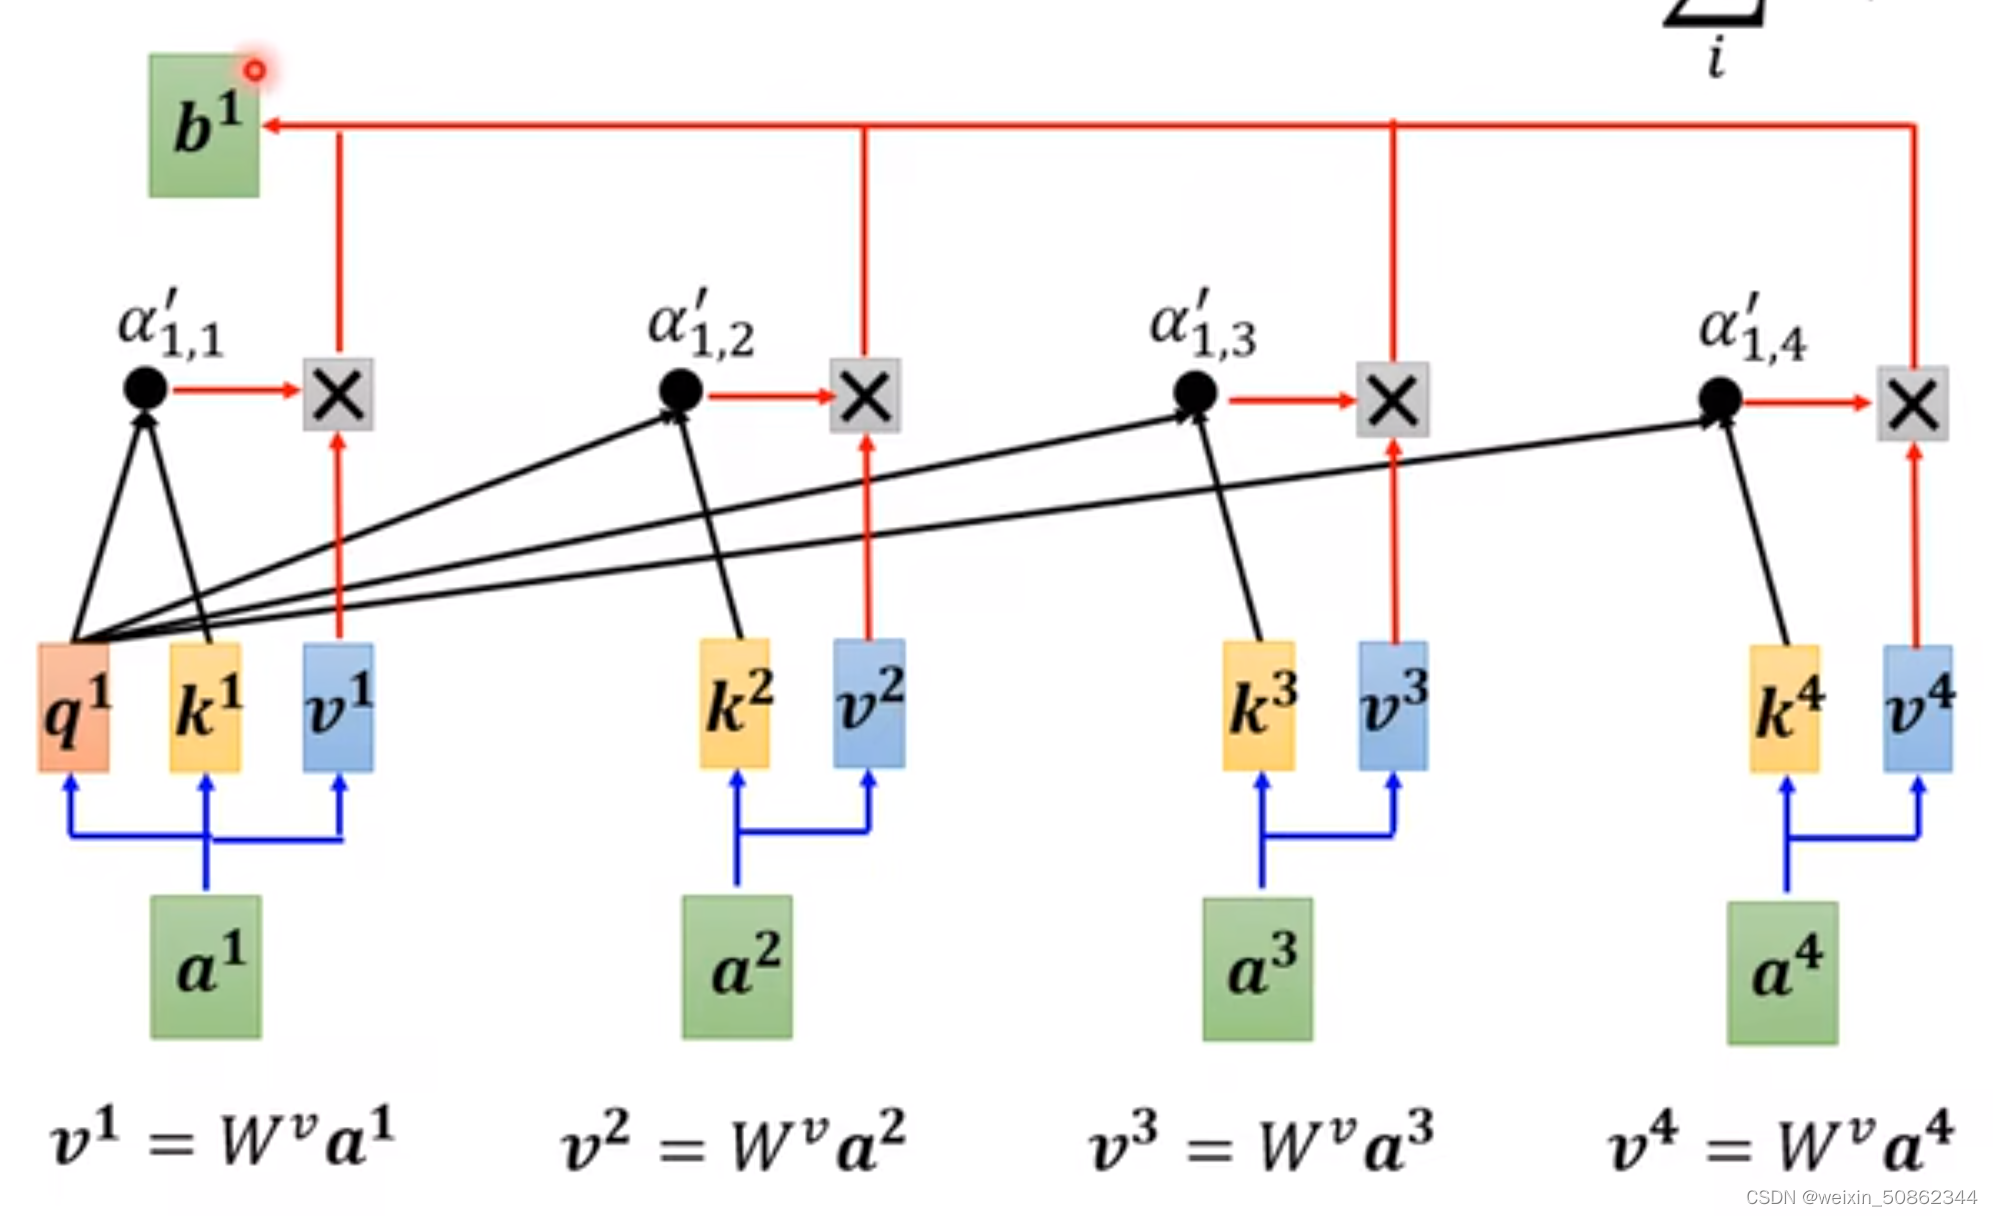
yolov5改进(一) 添加注意力集中机制

你接受不了60%的暴跌,就没有资格获得6000%的涨幅 2021-05-27

(ROS) (03) CMakeLists. TXT, rounding

paddleocr window10初体验
![[ROS]ROS常用工具介绍(待续)](/img/ea/e390106f750bf697e62a3a296014d2.png)
[ROS]ROS常用工具介绍(待续)

The world's largest Apache open source foundation is how it works?
chapter6可视化(不想看版)
ROS通信 —— 节点,Nodes & Master](/img/f5/c541259b69a0db3dc15a61e87f0415.png)
[ROS](05)ROS通信 —— 节点,Nodes & Master
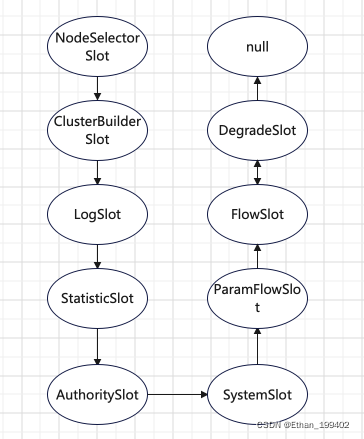
Sentinel源码(六)ParamFlowSlot热点参数限流
随机推荐
chapter6可视化(不想看版)
第五单元 保持状态
如何解决mysql服务无法启动1069
定了!就在7月30日!
如何解决1045无法登录mysql服务器
VMM是什么?_兮是什么意思
第二届中国Rust开发者大会(RustChinaConf 2021~2022)线上大会正式开启报名
Object detection scene SSD-Mobilenetv1-FPN
mysql的case when如何用
LayoutParams的详解
动态刷新日志级别
监管再次重拳出击,后市如何?2021-05-22
此次519暴跌的几点感触 2021-05-21
ping命令的使用及代码_通过命令查看ping路径
Flask项目的完整创建 七牛云与容联云
8581 线性链表逆置
Unit 10 Continuous Tuning
ftp常用命令详解_iftop命令详解
Unit 15 Paging, Filtering
瑞吉外卖笔记——第05讲Redis入门
