当前位置:网站首页>Pytoch deep learning environment construction
Pytoch deep learning environment construction
2022-07-04 17:45:00 【Wu_ Candy】
Windows In the environment Anaconda3 The installation steps are as follows :
pytorch Official website :
https://pytorch.org/ https://pytorch.org/get-started/locally/
1、 First download the following screenshot on the Internet by yourself Anaconda3*.exe file , Double click to proceed to the next installation .
2、 After successful installation, find in all the programs shown in the figure below Anaconda Prompt Open the command line window
3、 open Anaconda Prompt after , Execute the following commands in turn
(1)、conda install pytorch torchvision -c pytorch
(2)、 explain : Slow speed , Tsinghua can be modified Mirror
conda config --add channels https://mirrors.tuna.tsinghua.edu.cn/anaconda/cloud/pytorch/ modify Conda Source conda config --add channels https://mirrors.tuna.tsinghua.edu.cn/anaconda/pkgs/free/ conda config --add channels https://mirrors.tuna.tsinghua.edu.cn/anaconda/pkgs/main/ conda config --set show_channel_urls yes
modify Conda The source of channels command
conda config --remove channels website
(3)、conda install pytorch torchvision # Don't bring -c
(4)、 install jupty development tool :
conda install jupyter
If no error is reported , Congratulations, your environment has been set up successfully , Next, find in all programs Jupyter Notebook
4、 open Jupyter Notebook Enter the local environment code editing and running interface , During the startup process, the window shown in the following figure will be opened first :
The browser will open automatically again , The website is :http://localhost:8888/tree, As shown in the screenshot below :
5、 stay jupyter Create a new project code note in , Start writing code script
step1: Click on New, choice Python3
step2: Enter the code script editing page
step3、 Run code , Use Control + Enter Key execution
边栏推荐
- 网页游戏引擎
- Oppo Xiaobu launched Obert, a large pre training model, and promoted to the top of kgclue
- shell脚本的替换功能实现
- CocosCreator事件派發使用
- MVC mode and three-tier architecture
- Solution of dealer collaboration system in building materials industry: empowering enterprises to build core competitiveness
- Win32 API access route encrypted web pages
- Difference between redis' memory obsolescence strategy and expiration deletion strategy
- 缓存穿透、缓存击穿、缓存雪崩分别是什么
- 【HCIA持续更新】WLAN概述与基本概念
猜你喜欢
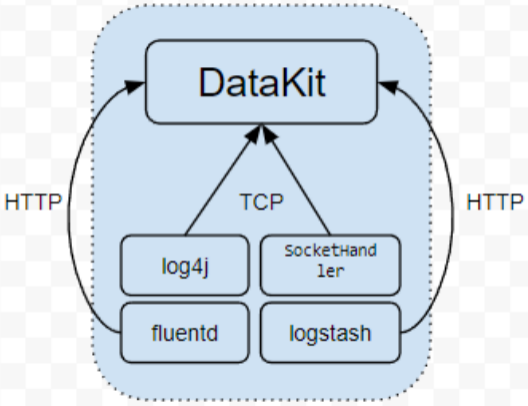
Datakit -- the real unified observability agent
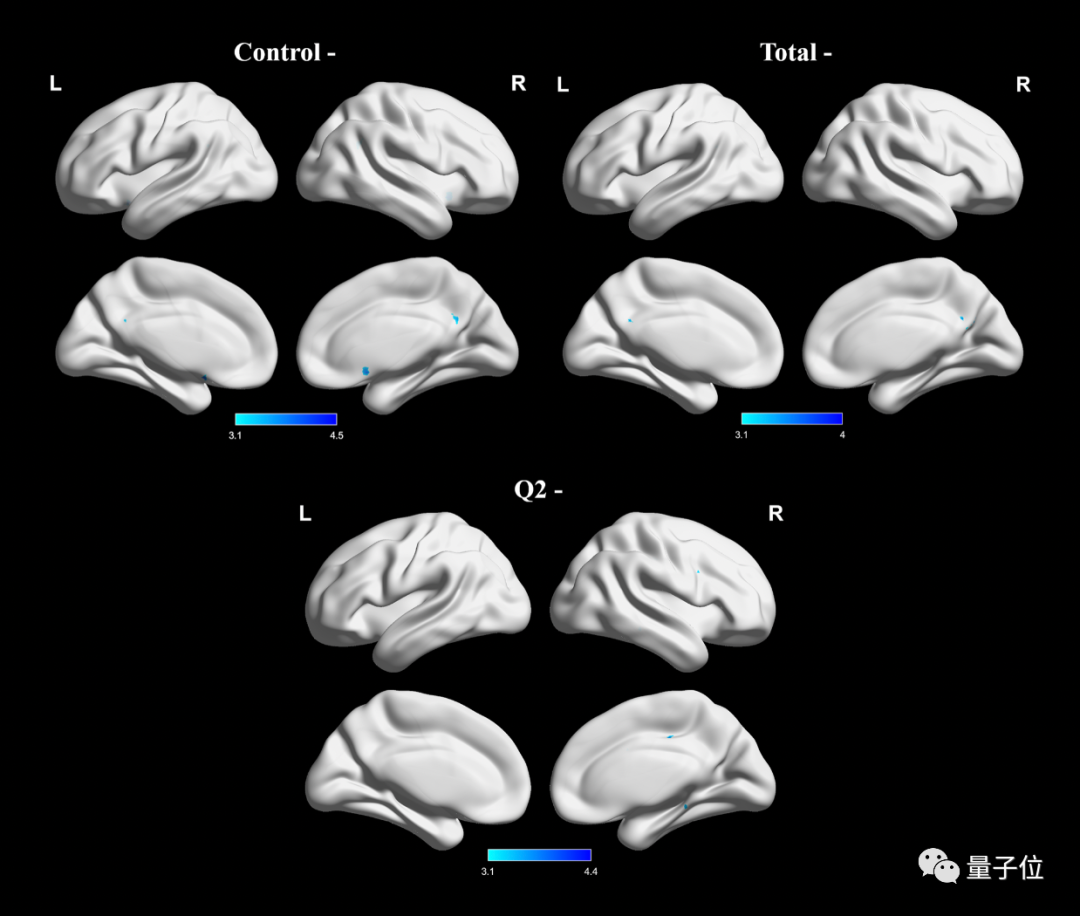
Internet addiction changes brain structure: language function is affected, making people unable to speak neatly

The Block:USDD增长势头强劲

居家打工年入800多万,一共五份全职工作,他还有时间打游戏

What is low code development?

OPPO小布推出预训练大模型OBERT,晋升KgCLUE榜首
《吐血整理》保姆级系列教程-玩转Fiddler抓包教程(2)-初识Fiddler让你理性认识一下
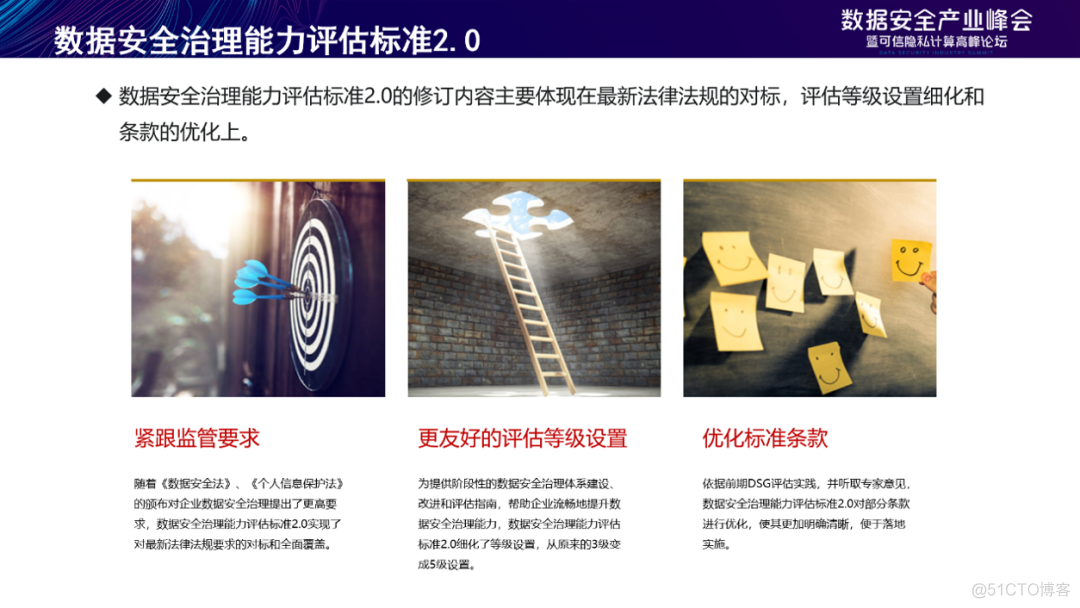
Interpretation of data security governance capability evaluation framework 2.0, the fourth batch of DSG evaluation collection
使用3DMAX制作一枚手雷
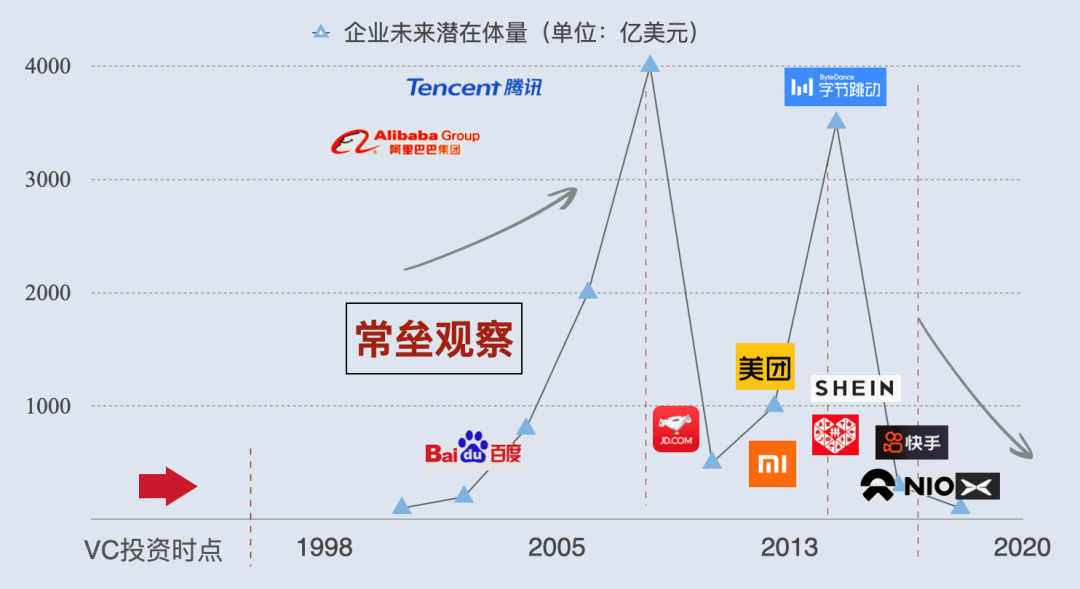
创业两年,一家小VC的自我反思
随机推荐
R语言plotly可视化:plotly可视化互相重叠的直方图(historgram)、并在直方图的顶部边缘使用geom_rug函数添加边缘轴须图Marginal rug plots
R语言plotly可视化:plotly可视化多分类变量小提琴图(multiple variable violin plot in R with plotly)
超标量处理器设计 姚永斌 第6章 指令解码 摘录
完美融入 Win11 风格,微软全新 OneDrive 客户端抢先看
斑马识别成狗,AI犯错的原因被斯坦福找到了丨开源
整理混乱的头文件,我用include what you use
Developers, MySQL column finish, help you easily from installation to entry
就在今天丨汇丰4位专家齐聚,共讨银行核心系统改造、迁移、重构难题
Perfectly integrated into win11 style, Microsoft's new onedrive client is the first to see
gatling 之性能测试
Implementation of super large-scale warehouse clusters in large commercial banks
Superscalar processor design yaoyongbin Chapter 7 register rename excerpt
Hidden corners of coder Edition: five things that developers hate most
【Hot100】32. 最长有效括号
To sort out messy header files, I use include what you use
CocosCreator事件派發使用
What are cache penetration, cache breakdown, and cache avalanche
整理混乱的头文件,我用include what you use
Rainfall warning broadcast automatic data platform bwii broadcast warning monitor
码农版隐秘的角落:作为开发者最讨厌的5件
