当前位置:网站首页>Latest CUDA environment configuration (win10 + CUDA 11.6 + vs2019)
Latest CUDA environment configuration (win10 + CUDA 11.6 + vs2019)
2022-07-02 06:29:00 【Little Heshang sweeping the floor】
newest CUDA Environment configuration (Win10 + CUDA 11.6 + VS2019)
This blog is based on NVIDIA According to the official documents , And according to their own practice . For your friends in need .
1. Preface
The software environment of this article is :
- Windows 10
- CUDA 11.6
- VS2019
CUDA Is currently doing artificial intelligence , Necessary tool library for deep learning and other directions . from CUDA There are many derived acceleration tools , Such as : cuDNN, TensorRT, cuBLAS etc. HPC Acceleration Library , Or involving the latest concept of the meta universe Omniverse etc. .
In many cases , A lot of NVIDIA The underlying acceleration schemes of the acceleration library are CUDA. Most of the time, we may not directly use CUDA Write code , But understand CUDA How to operate or the basic concept will definitely make you stronger .
If you are interested, you can also check my official translation CUDA Programming manual , I hope that helps .
https://blog.csdn.net/kunhe0512/category_11774233.html
2.VS 2019
about VS, I actually use very little . I was brought in by my boss from the beginning Vim + Makefile Environment . Let's just mention it here .
At present, I use VS2019, You can download the required version according to your needs , Here is the link address .
https://visualstudio.microsoft.com/zh-hans/vs/

What needs to be mentioned here is , Try to use C++ Desktop development options . Subsequent in use CMake It will be more convenient when .
3.CUDA download
CUDA Official installation tutorial :https://docs.nvidia.com/cuda/cuda-installation-guide-microsoft-windows/index.html
CUDA Toolkit The download :https://developer.nvidia.com/cuda-downloads
Click the above download page , You'll see :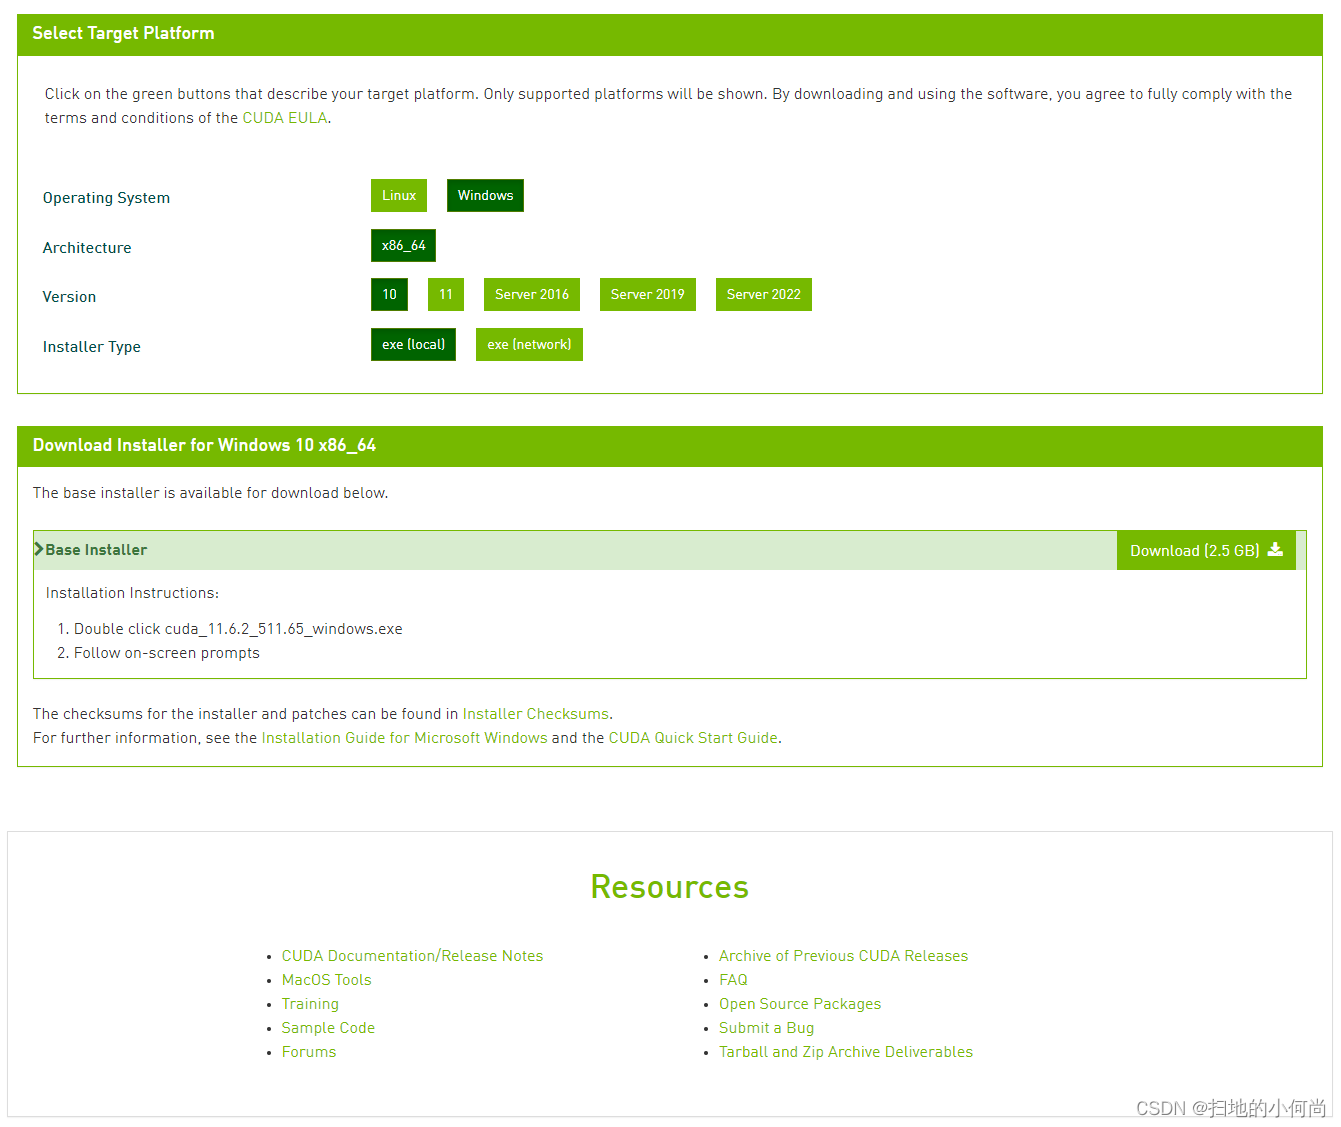
You need to choose your own operating system , System architecture , System version and Installation mode .
When the selection is complete , Click on Download(2.5 GB) The button , You can download .
Of course , If you want to install the historical version ( Earlier versions ), Then you can also click the following Archive of Previous CUDA Releases To download , The operation method is the same as above .
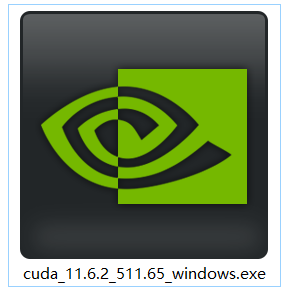
Once you download it , You can see the following icons :
4. Installation configuration
Double click the... You downloaded CUDA Toolkit, You will see the unpacking path of the toolkit ( Recommended default ).

After decompression , It's time to install , Next click agree and continue :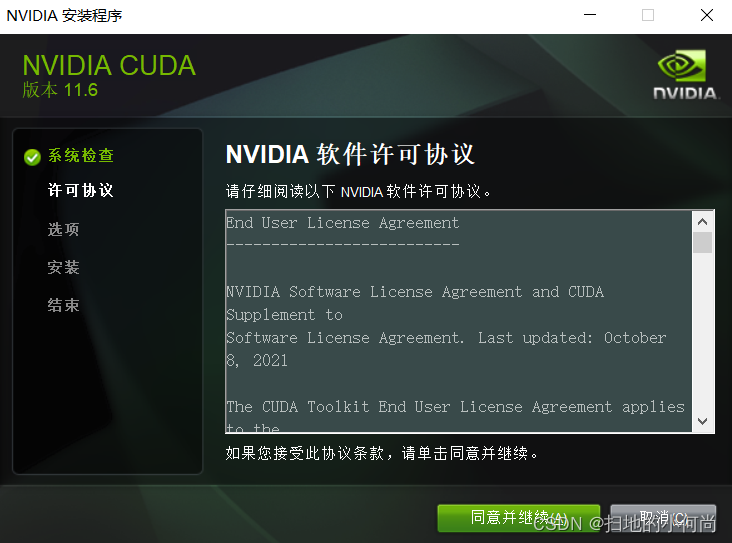
Next, set the installation options , It is recommended to click Customize ( Especially the first installation ):
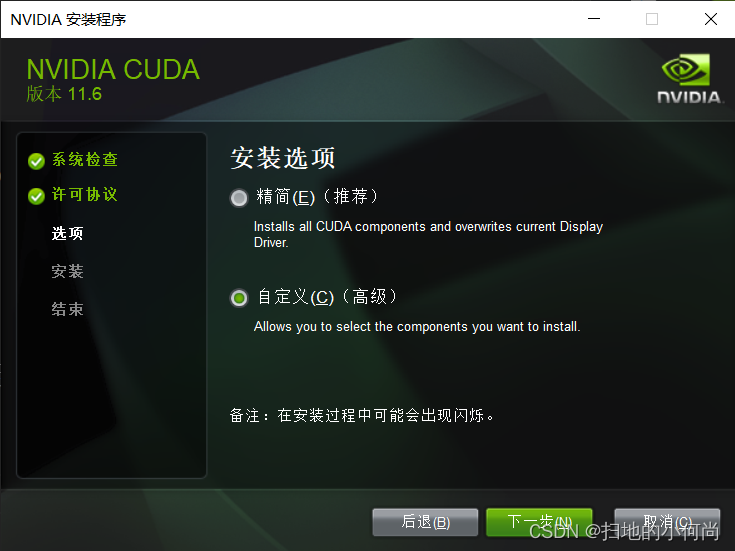
Then choose whatever you can , Many things may not be available to you at first ( such as nsight System ), But when you do more and more , It may be used when it is more and more involved .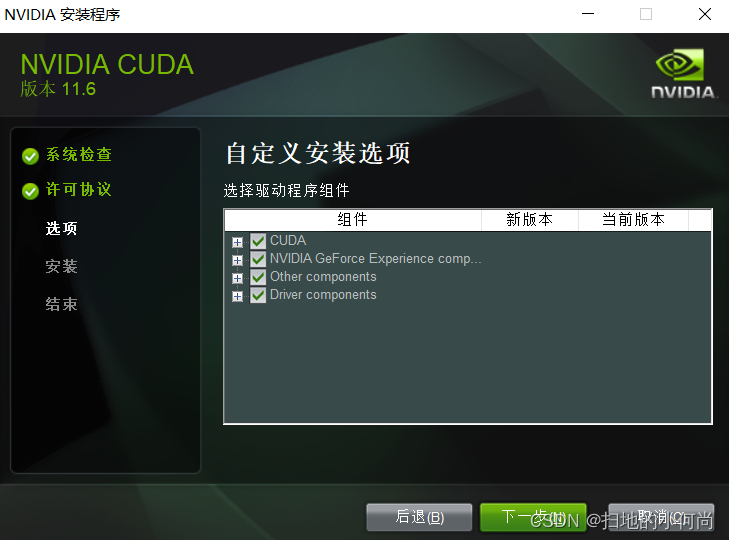
Then choose the installation path , Default is also recommended here , After all, it is the underlying call library

Next, you don't need to operate , until CUDA Toolkit Installation completed .
5. environment variable
Right click on my computer ( This computer ) --> attribute --> Advanced system setup --> environment variable , see CUDA Whether the path is already in the system , If you don't remember to add .

6. test CUDA Is the installation successful
utilize (Win + R)–>cmd, Open the system terminal command line , Input
nvcc -V
If you see the following results , Prove your CUDA Installed .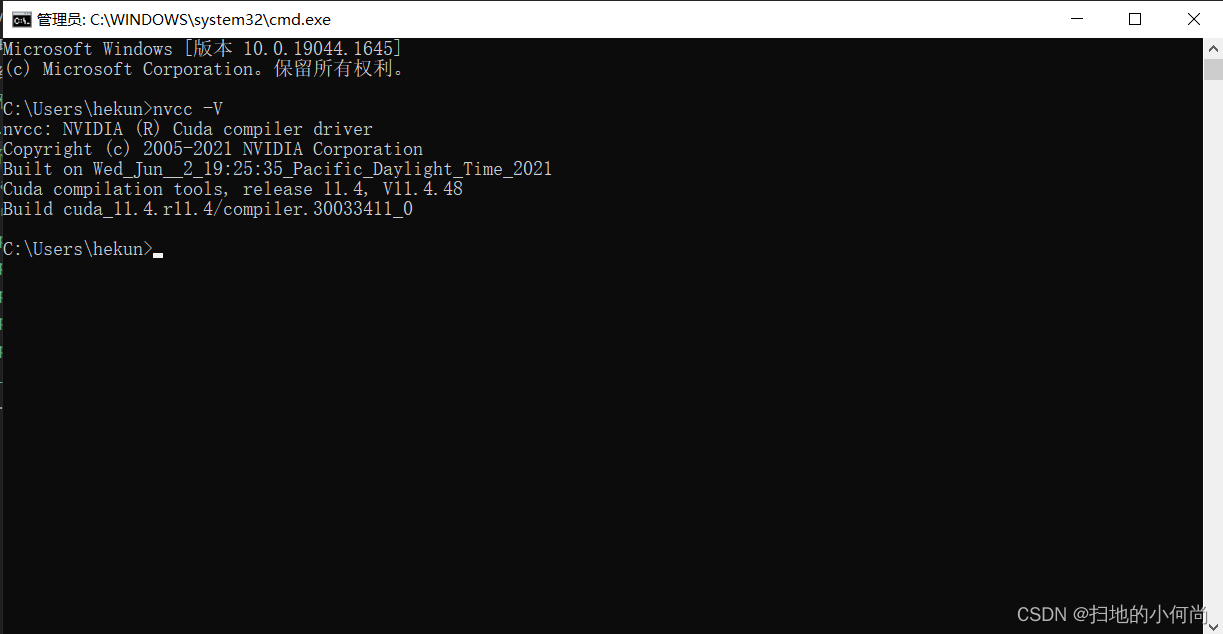
7. utilize Visual Studio 2019 Conduct CUDA Application development
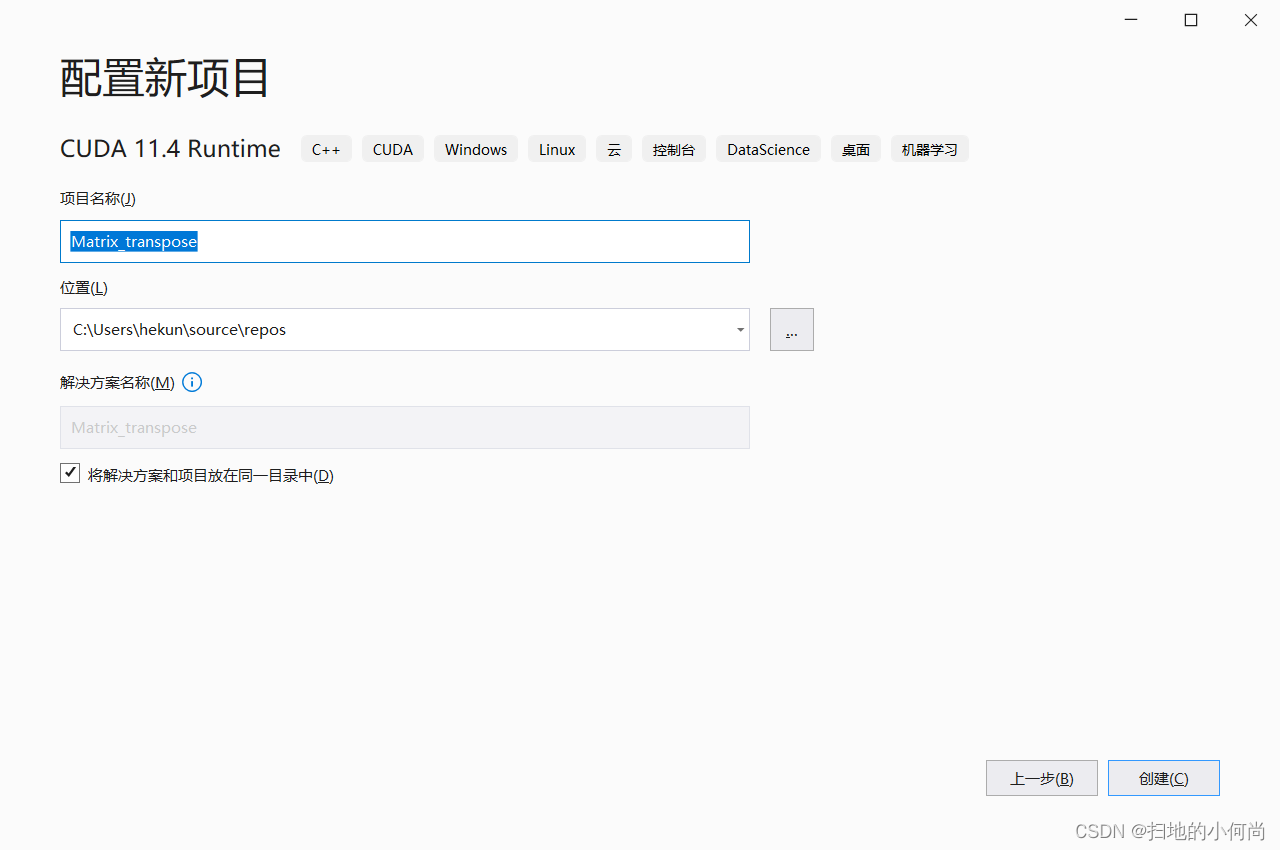
Open the installed VS 2019, Choose to create a new project :
choice CUDA 11.xx Runtime, there xx Represents your version .

Give you the CUDA Name the program : Matrix_transpose
The name here is casually named , Because I will write an example of matrix transpose later , That's why Matrix_transpose The name
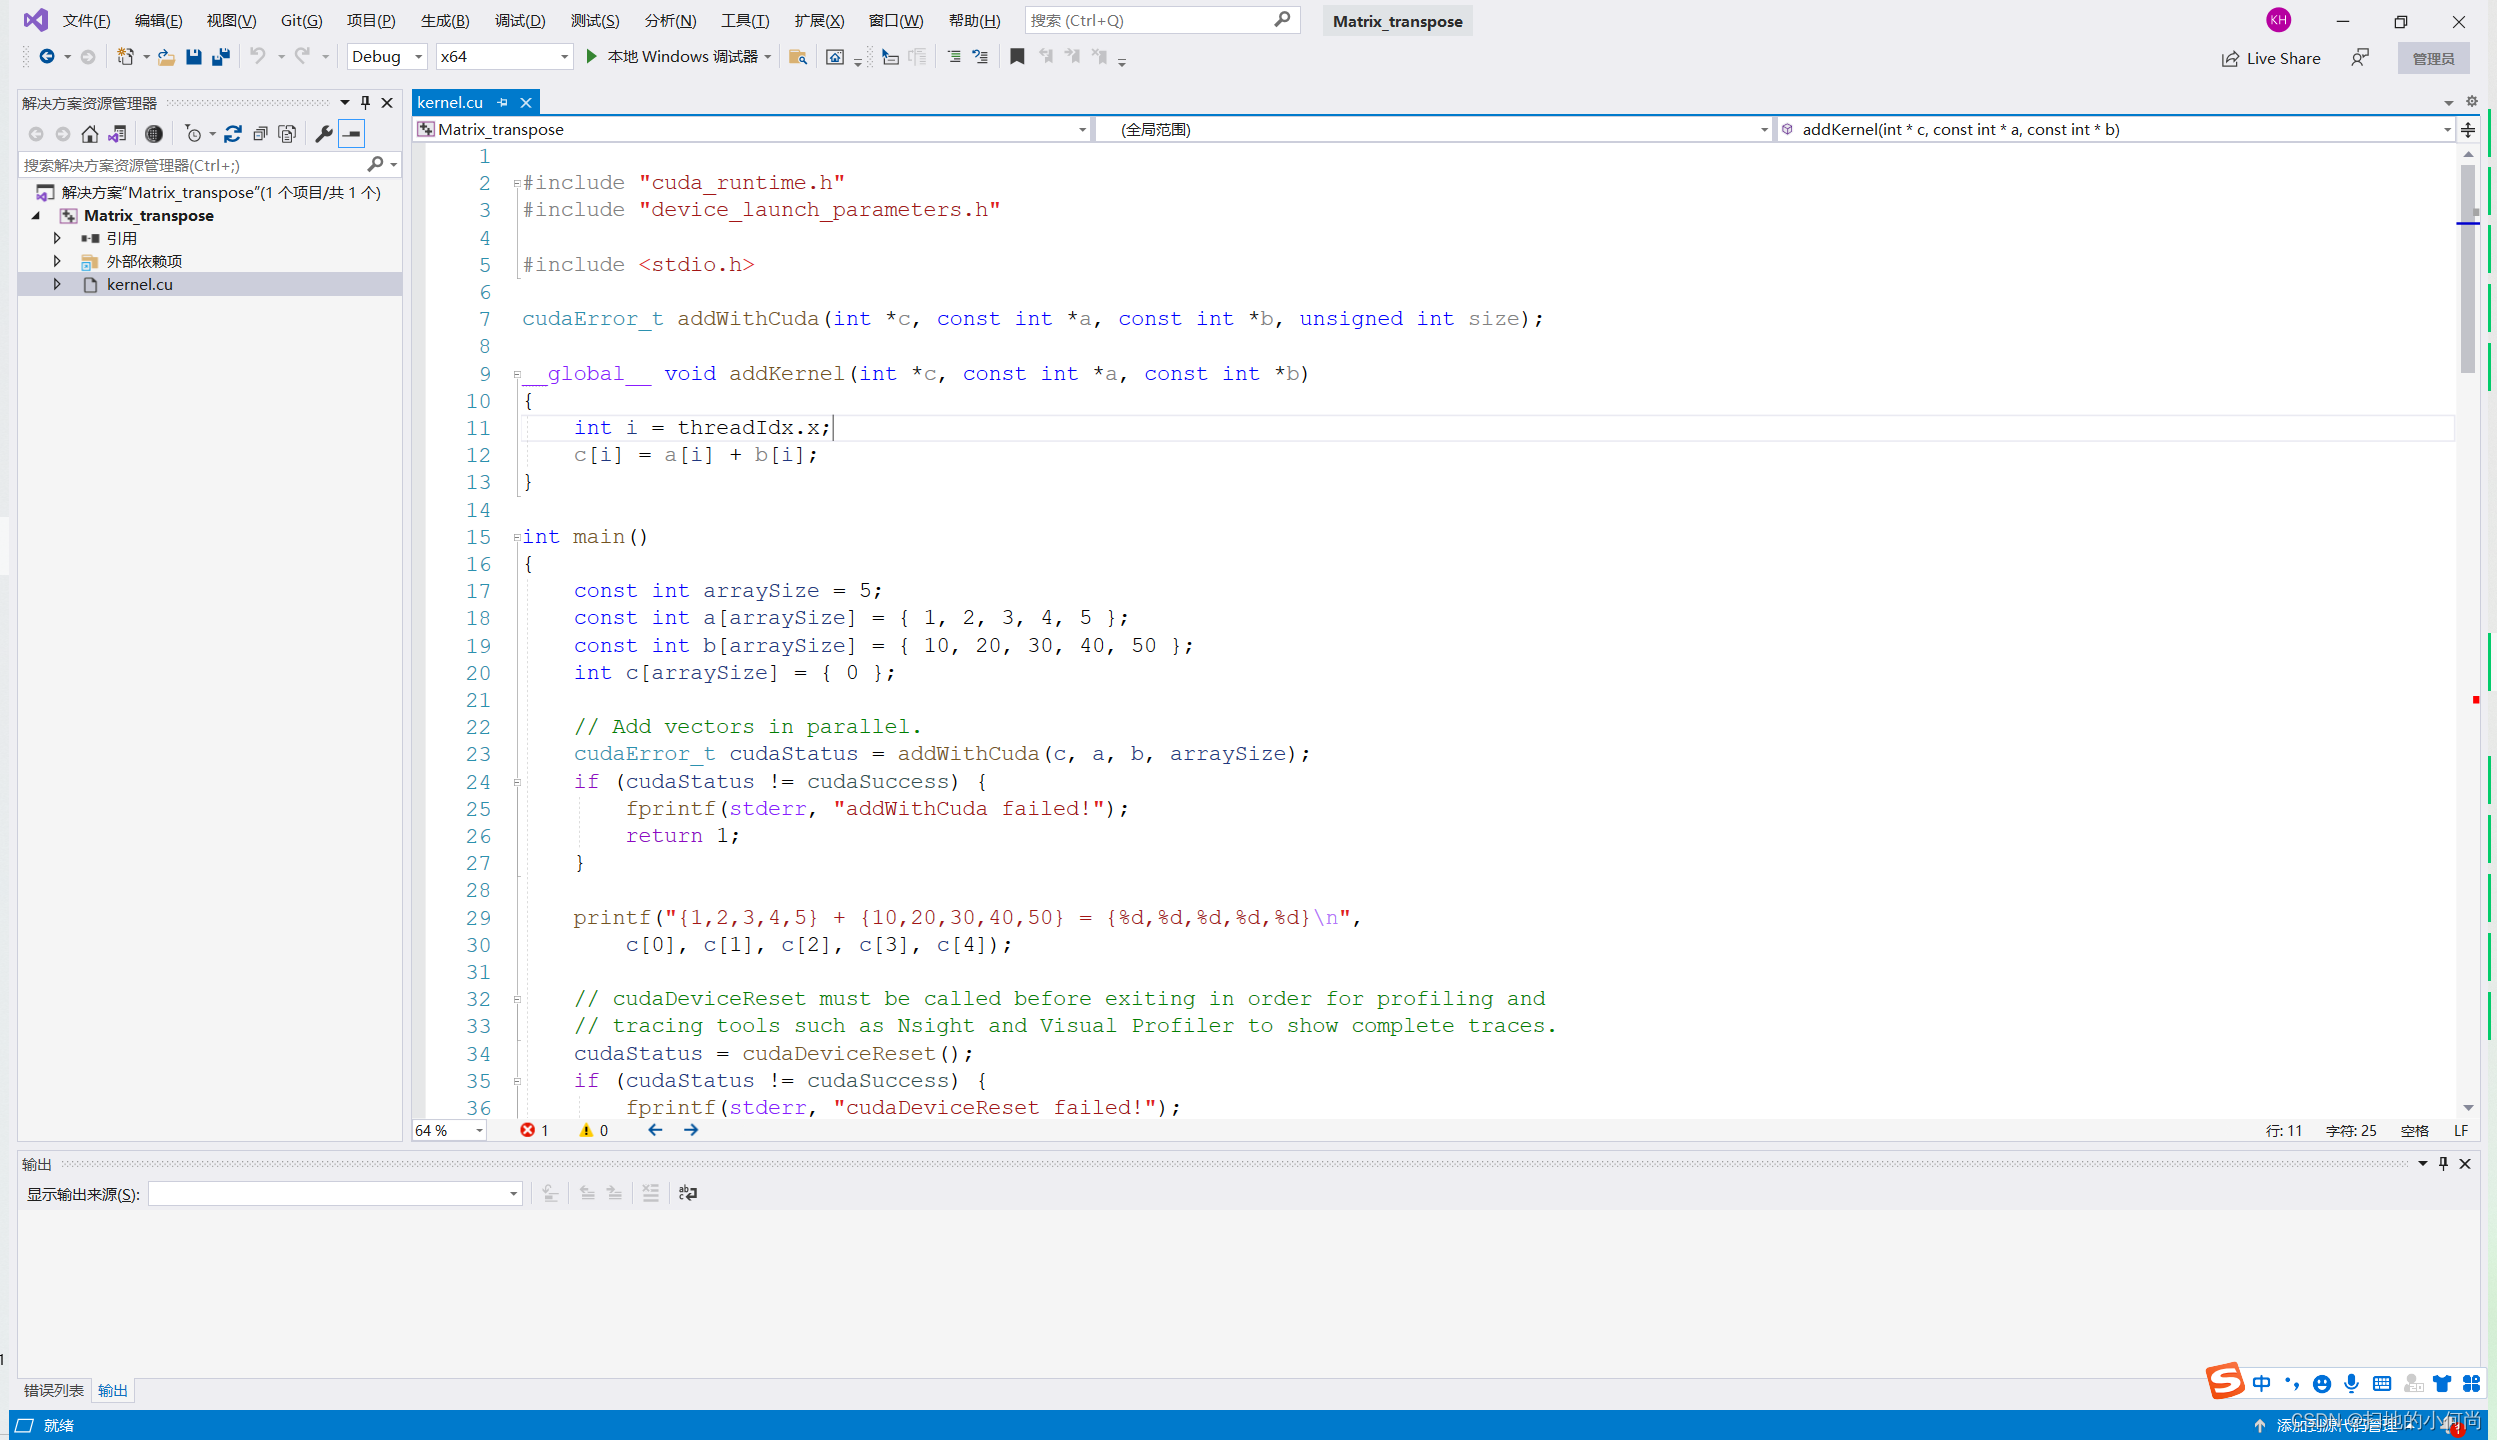
After creating , You will find that there is already some code in it , That's an example of vector addition . You don't have to worry about him , hold kernel.cu Delete the code in , You can start your own development .
You can try entering the code , Complete an example of matrix transpose :
#include <stdio.h>
#include <stdlib.h>
#include "error.cuh"

#define TILE_DIM 32   //Don't ask me why I don't set these two values to one
#define BLOCK_SIZE 32
#define N 3001 // for huanhuan, you know that!

__managed__ int input_M[N * N];      //input matrix & GPU result
int cpu_result[N * N];   //CPU result


//in-place matrix transpose
__global__ void ip_transpose(int* data)
{
    __shared__ int tile_s[TILE_DIM ][TILE_DIM + 1];
    __shared__ int tile_d[TILE_DIM ][TILE_DIM + 1];

    int x = blockIdx.x * TILE_DIM + threadIdx.x;
    int y = blockIdx.y * TILE_DIM + threadIdx.y;

    //Threads in the triangle below
    if (blockIdx.y > blockIdx.x) {
        int dx = blockIdx.y * TILE_DIM + threadIdx.x;
        int dy = blockIdx.x * TILE_DIM + threadIdx.y;
        if (x < N && y < N)
        {
            tile_s[threadIdx.y][threadIdx.x] = data[(y)*N + x];
        }
        if (dx < N && dy < N)
        {
            tile_d[threadIdx.y][threadIdx.x] = data[(dy)*N + dx];
        }

        __syncthreads();
        if (dx < N && dy < N)
        {
            data[(dy)*N + dx] = tile_s[threadIdx.x][threadIdx.y];
        }
        if (x < N && y < N)
        {
            data[(y)*N + x] = tile_d[threadIdx.x][threadIdx.y];
        }
    }
    else if (blockIdx.y == blockIdx.x)//Threads on the diagonal
    {
        if (x < N && y < N)
        {
            tile_s[threadIdx.y][threadIdx.x] = data[(y)*N + x];
        }
        __syncthreads();
        if (x < N && y < N)
        {
            data[(y)*N + x] = tile_s[threadIdx.x][threadIdx.y];
        }
    }
}

void cpu_transpose(int* A, int* B)
{
    for (int j = 0; j < N; j++)
    {
        for (int i = 0; i < N; i++)
        {
            B[i * N + j] = A[j * N + i];
        }
    }
}

int main(int argc, char const* argv[])
{

    cudaEvent_t start, stop_gpu;
    CHECK(cudaEventCreate(&start));
    CHECK(cudaEventCreate(&stop_gpu));


    for (int i = 0; i < N; ++i) {
        for (int j = 0; j < N; ++j) {
            input_M[i * N + j] = rand() % 1000;
        }
    }
    cpu_transpose(input_M, cpu_result);

    CHECK(cudaEventRecord(start));
    unsigned int grid_rows = (N + BLOCK_SIZE - 1) / BLOCK_SIZE;
    unsigned int grid_cols = (N + BLOCK_SIZE - 1) / BLOCK_SIZE;
    dim3 dimGrid(grid_cols, grid_rows);
    dim3 dimBlock(BLOCK_SIZE, BLOCK_SIZE);
    ip_transpose << <dimGrid, dimBlock >> > (input_M);
    CHECK(cudaDeviceSynchronize());
    CHECK(cudaEventRecord(stop_gpu));
    CHECK(cudaEventSynchronize(stop_gpu));

    float elapsed_time_gpu;
    CHECK(cudaEventElapsedTime(&elapsed_time_gpu, start, stop_gpu));
    printf("Time_GPU = %g ms.\n", elapsed_time_gpu);

    CHECK(cudaEventDestroy(start));
    CHECK(cudaEventDestroy(stop_gpu));

    int ok = 1;
    for (int i = 0; i < N; ++i)
    {
        for (int j = 0; j < N; ++j)
        {
            if (fabs(input_M[i * N + j] - cpu_result[i * N + j]) > (1.0e-10))
            {
                ok = 0;
            }
        }
    }


    if (ok)
    {
        printf("Pass!!!\n");
    }
    else
    {
        printf("Error!!!\n");
    }

    return 0;
}
After clicking run , You can see the following results :
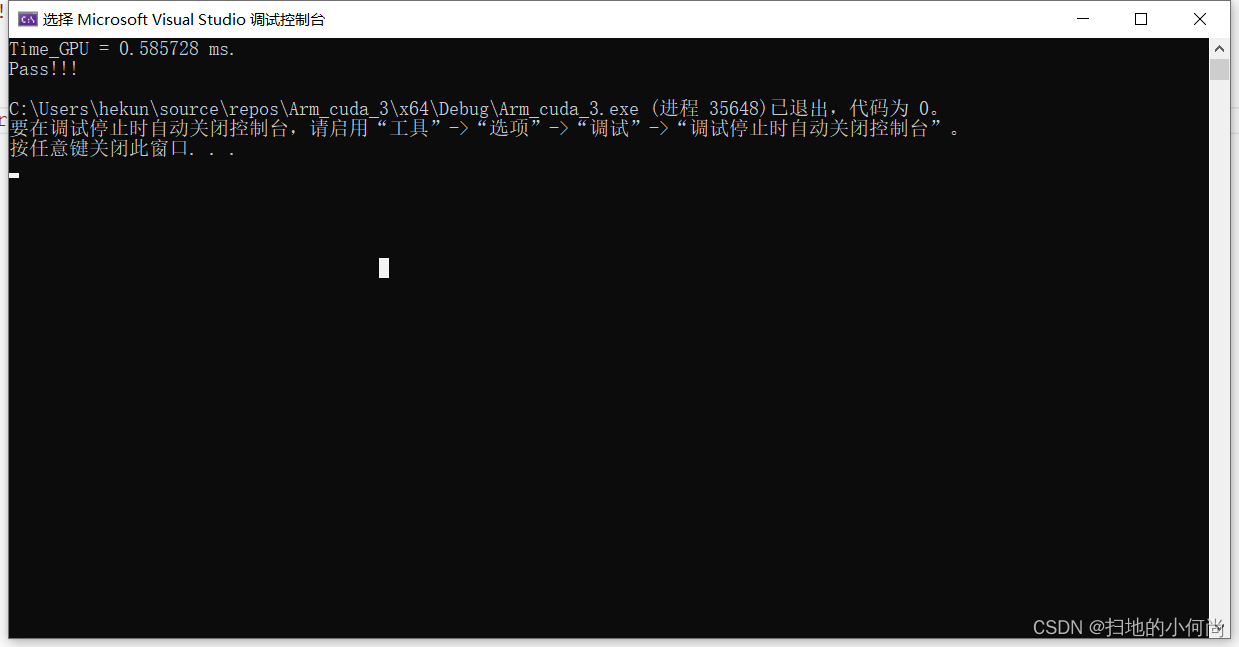
OK, Here you are... Done CUDA Construction of environment , And wrote the first CUDA Program
边栏推荐
- Redis - cluster data distribution algorithm & hash slot
- ctf-web之练习赛
- 一起学习SQL中各种join以及它们的区别
- 分布式事务 :可靠消息最终一致性方案
- CUDA中的函数执行空间说明符
- Learn about various joins in SQL and their differences
- Sublime Text 配置php编译环境
- LeetCode 40. Combined sum II
- Idea announced a new default UI, which is too refreshing (including the application link)
- Summary of advertisement business bug replay
猜你喜欢


随机推荐
计算属性普通函数写法 和 set get 写法
Sublime Text 配置php编译环境
程序员的自我修养—找工作反思篇
CUDA中的函数执行空间说明符
10 erreurs classiques de MySQL
It is said that Kwai will pay for the Tiktok super fast version of the video? How can you miss this opportunity to collect wool?
kali最新更新指南
LeetCode 83. Delete duplicate elements in the sorting linked list
Golang--map扩容机制(含源码)
qq邮箱接收不到jenkins构建后使用email extension 发送的邮件(timestamp 或 auth.......)
Browser principle mind map
Vector types and variables built in CUDA
Use of Arduino wire Library
日志 - 7 - 记录一次丢失文件(A4纸)的重大失误
数据科学【九】:SVD(二)
队列(线性结构)
【张三学C语言之】—深入理解数据存储
CUDA中的异步数据拷贝
TensorRT的数据格式定义详解
Common means of modeling: combination