当前位置:网站首页>python开发qt程序读取图片的简单流程
python开发qt程序读取图片的简单流程
2020-11-08 16:17:00 【spiritboy】
python开发qt程序的简单流程
一. python 安装pyqt5
pip install pyqt5 -i https://mirrors.aliyun.com/pypi/simple二. 安装qt designer(设计生成程序界面ui)
下载地址
(官方)https://build-system.fman.io/qt-designer-download
(csdn)https://download.csdn.net/download/qq_26696715/13094628
(加群下载)686070107
三. 使用qt designer设计生成ui文件
<?xml version="1.0" encoding="UTF-8"?>
<ui version="4.0">
 <class>Dialog</class>
 <widget class="QDialog" name="Dialog">
  <property name="geometry">
   <rect>
    <x>0</x>
    <y>0</y>
    <width>635</width>
    <height>511</height>
   </rect>
  </property>
  <property name="windowTitle">
   <string>Dialog</string>
  </property>
  <widget class="QPushButton" name="pushButton">
   <property name="geometry">
    <rect>
     <x>20</x>
     <y>10</y>
     <width>81</width>
     <height>31</height>
    </rect>
   </property>
   <property name="font">
    <font>
     <pointsize>12</pointsize>
     <weight>75</weight>
     <bold>true</bold>
    </font>
   </property>
   <property name="text">
    <string>选择图片</string>
   </property>
  </widget>
  <widget class="QLabel" name="label">
   <property name="geometry">
    <rect>
     <x>20</x>
     <y>70</y>
     <width>581</width>
     <height>401</height>
    </rect>
   </property>
   <property name="text">
    <string/>
   </property>
   <property name="pixmap">
    <pixmap>img/1.tif</pixmap>
   </property>
   <property name="scaledContents">
    <bool>true</bool>
   </property>
  </widget>
 </widget>
 <resources/>
 <connections/>
</ui>
四. 将ui文件转换成py文件
pyuic5 -o ui.py ui.ui五. 编写main.py文件调用ui.py文件
# -*- coding: utf-8 -*-

import sys
import time
from PyQt5.QtCore import *
from PyQt5.QtGui import *
from PyQt5.QtWidgets import *
import numpy as np
import cv2
import qimage2ndarray
from ui import Ui_Dialog

class mwindow(QWidget, Ui_Dialog):
    def __init__(self):
        super(mwindow, self).__init__()
        self.setupUi(self)

    #选择图片
    def openimage(self):
        #选择图片
        imgName, imgType = QFileDialog.getOpenFileName(self, "打开图片", "img", "*.jpg;*.tif;*.png;;All Files(*)")
        if imgName=="":
            return 0
        #qt5读取图片
        jpg = QPixmap(imgName).scaled(self.label.width(), self.label.height())
        #显示原图
        self.label.setPixmap(jpg)
if __name__ == '__main__':
    app=QApplication(sys.argv)
    #初始化窗口
    m=mwindow()
    #绑定按钮事件
    m.pushButton.clicked.connect(m.openimage)#选择图片
    m.show()
    sys.exit(app.exec_())
六. 运行main.py文件
python main.py有问题添加QQ群:686070107
版权声明
本文为[spiritboy]所创,转载请带上原文链接,感谢
https://my.oschina.net/u/3337401/blog/4708233
边栏推荐
- On DSA of OpenGL
- awk实现类sql的join操作
- 2035我们将建成这样的国家
- I used Python to find out all the people who deleted my wechat and deleted them automatically
- Rabbitmq (1) - basic introduction
- 非常规聚合问题举例
- Workers, workers soul, draw lifelong members, become a person!
- How to cooperate with people in software development? |Daily anecdotes
- LeanCloud 十月变化
- Alibaba cloud accelerates its growth and further consolidates its leading edge
猜你喜欢

(O)ServiceManager分析(一)之BinderInternal.getContextObject
Google's AI model, which can translate 101 languages, is only one more than Facebook
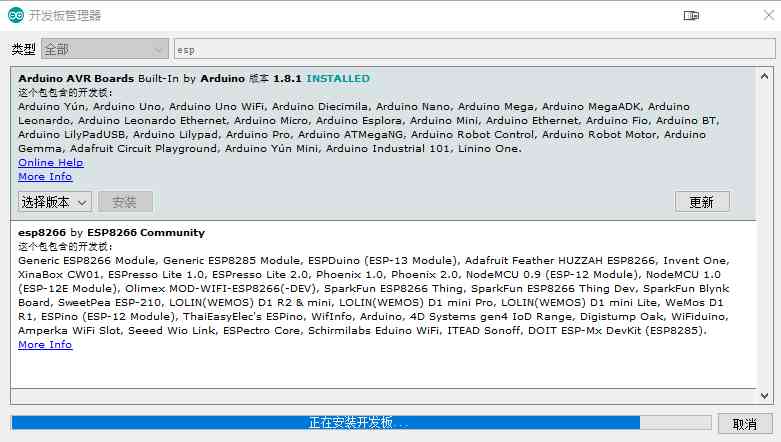
Arduino ide build esp8266 development environment, slow file download solution | esp-01 make WiFi switch tutorial, transform dormitory lights
Android Basics - check box
What is the database paradigm
![[开源] .Net 使用 ORM 访问 华为GaussDB数据库](/img/f8/50715c25a9d49b010cba2ff442c04e.jpg)
[开源] .Net 使用 ORM 访问 华为GaussDB数据库
.NET 大数据量并发解决方案
[Python 1-6] Python tutorial 1 -- number

Summary of template engine
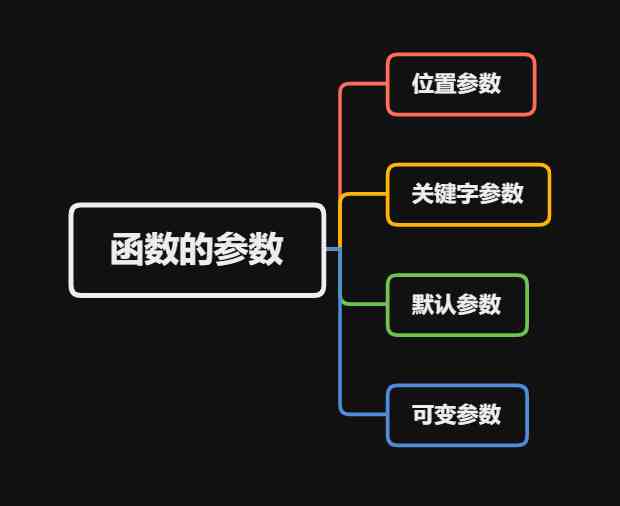
三、函数的参数
随机推荐
Do these mistakes in your resume affect your annual salary of one million?
华为在5G手机市场占据绝对优势,市调机构对小米的市占出现分歧
Eight ways to optimize if else code
新型存算一体芯片诞生,利好人工智能应用~
2020-11-05
聊聊Go代码覆盖率技术与最佳实践
On DSA of OpenGL
WebGL 水波及焦散(刻蚀)的渲染总结
Talk about go code coverage technology and best practices
Blockchain weekly: the development of digital currency is written into the 14th five year plan; Biden invited senior adviser of MIT digital currency program to join the presidential transition team; V
Liteos message queuing actual combat
构建者模式(Builder pattern)
Arduino IDE搭建ESP8266开发环境,文件下载过慢解决方法 | ESP-01制作WiFi开关教程,改造宿舍灯
laravel8更新之维护模式改进
Learn to record and analyze
On the software of express delivery cabinet and deposit cabinet under Windows
谷歌开源能翻译101种语言的AI模型,只比Facebook多一种
金融领域首个开源中文BERT预训练模型,熵简科技推出FinBERT 1.0
2035 we will build such a country
Travel notes of Suzhou