My working environment is :
windows7 vs2015 cuda10.2
To configure TensorRT The process is as follows :
1. First download TensorRT7.0
2. Unzip in D Packing list , take D:\TensorRT-7.0.0.11\lib Add to system environment variable Path in .
3. take D:\TensorRT-7.0.0.11\lib Under the dll File copy to :
C:\Program Files\NVIDIA GPU Computing Toolkit\CUDA\v10.2\bin
4.vs2015 open D:\TensorRT-7.0.0.11\samples\sampleMNIST
Attributes inside : Platform toolset selection vs2015

a) take D:\TensorRT-7.0.0.11\lib Join in  VC++ Catalog –> Executable Directory
b) take D:\TensorRT-7.0.0.11\include
   and C:\Program Files\NVIDIA GPU Computing Toolkit\CUDA\v10.2\include Join in VC++ Catalog --> Contains the directory
c) take D:\TensorRT-7.0.0.11\lib
   and C:\Program Files\NVIDIA GPU Computing Toolkit\CUDA\v10.2\lib\x64 Join in  VC++ Catalog –> The library catalog
d) take C:\Program Files\NVIDIA GPU Computing Toolkit\CUDA\v10.2\lib\x64\*.lib
    myelin64_1.lib
    nvinfer.lib
    nvinfer_plugin.lib
    nvonnxparser.lib
    nvparsers.lib
     Join linker –> Input –> Additional dependency
5. compile
6.cmd Get into D:\TensorRT-7.0.0.11\data\mnist, function
python download_pgms.py Will download some files
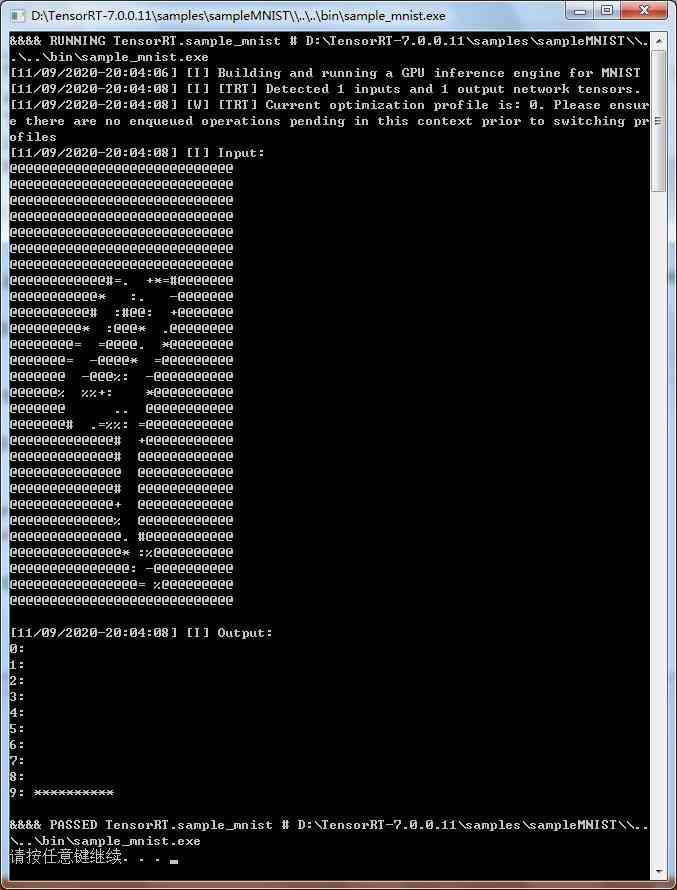
7. Execute after download , obtain :


