当前位置:网站首页>C4D quick start tutorial - creating models
C4D quick start tutorial - creating models
2022-07-06 15:15:00 【Salted fish shell】
C4D Quick start tutorial —— Creating models
C4D edition R24
This time we are familiar with C4D Basic object operations , Including the following knowledge points .
- Create objects
- Simple manipulation of objects
- Layer application
- symmetry
- Boolean operation
- Add texture
In this article, we build the basic model of the development board . By building a basic model, you can know about C4D in , How to create objects and how to manipulate objects .
Create the base model
We need to measure the size of the real object , Open the whole after measurement 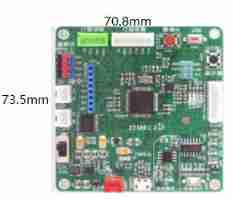
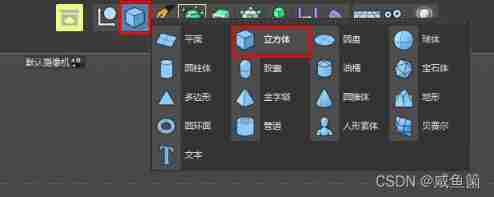
- Select... In the toolbar 【 Cube 】 establish 【 Cube 】
Note that if you click 【 Cube 】 It will directly create a cube without the following options .
Correct operation is 【 Long press 】 choice 【 Cube 】 The following interface will appear .
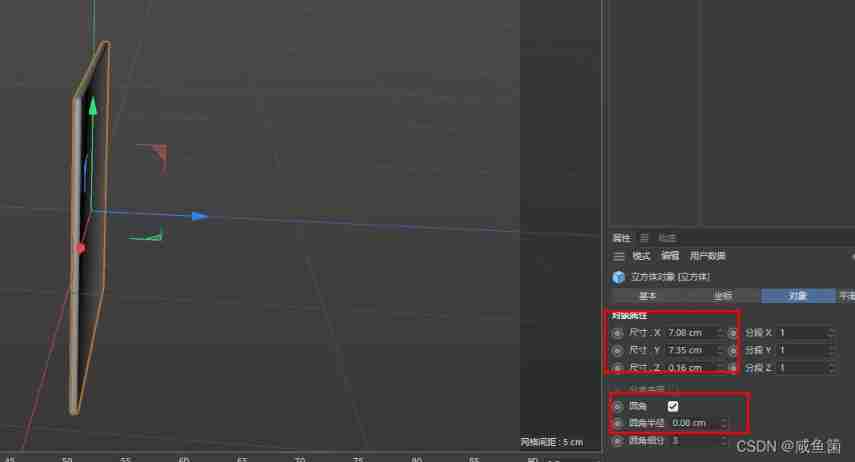
- Set... In the property panel X The length of the shaft is 7.08cm ,Y Axis 7.35cm,Z Axis 0.16cm. take 【 Round corners 】 Check it, too .
3. Operations on views .
| Basic operation | explain |
|---|---|
| 【ALT】【 Left mouse button 】 | rotate |
| 【ALT】+【 Middle mouse button ( Roller )】 | translation |
| 【ALT】+【 Mouse mail 】 | The zoom |
Now let's confirm X Axis and Y Axis You can start to do it .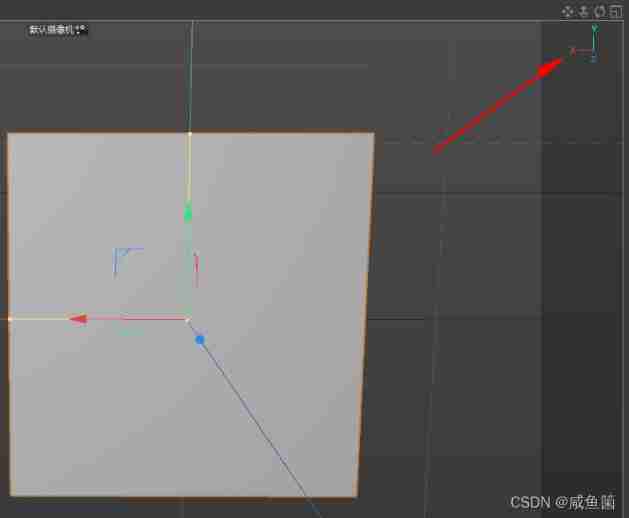
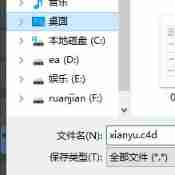
Save it first , So as not to crash and lose . Shortcut key 【ctrl+s】, The first save will create a file . Just give yourself the name you want .
Build a cylinder radius 0.15cm, high 0.2cm . We do Boolean subtraction with the board , Take out the locating hole .
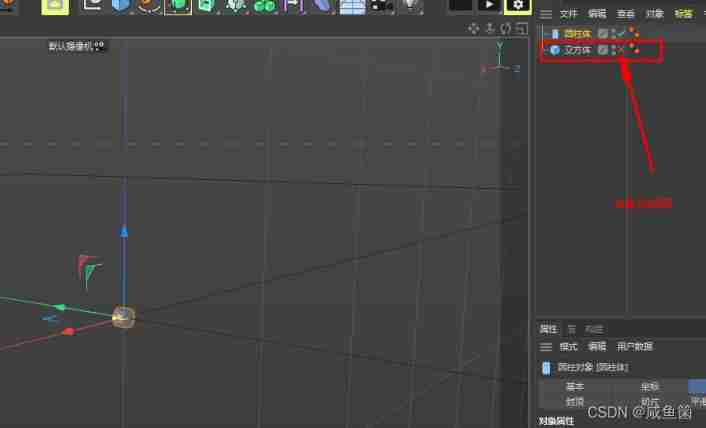
Now our object panel has 2 Layers , Sometimes a certain object will get in the way , I want to turn it off first , I can click 【 object 】 in 【 The point above the object 】 Represents the display in the window / hide
Grey dots indicate automatic
The green dot indicates that
The red dot indicates hiding
The following points are the display of objects in the renderer / hide .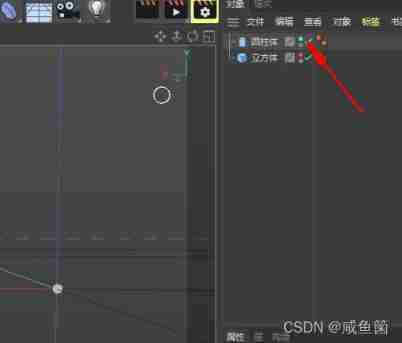
- Moving objects , Now we have two objects , Press shortcut key 【e】 and 【 Keypad numbers 9】 You can move the selected object .
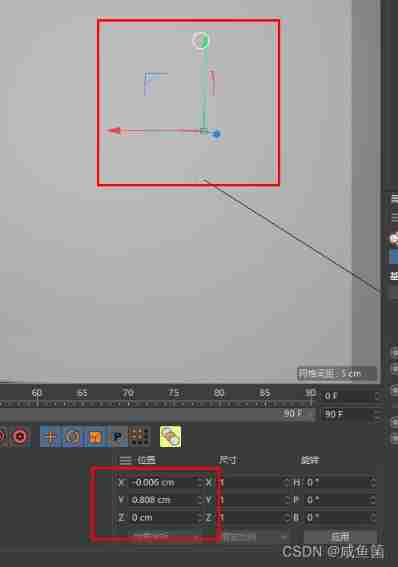
What we should pay attention to is , Some friends can only move the coordinate axis of the table , and Unable to move objects . First check the left column 【 Whether axis modification is optional 】 If it is gray and cannot be selected, press the numeric key on the keypad 0123456789 Then it will recover .( It's said that and QQ Conflict ? I don't know the specific situation , But this is really good .)

7. Calculate the coordinate , take 4 Put the positioning holes in the corresponding positions
The coordinates of the first locating hole are X Axis :3.175cm Y Shaft for :3.355cm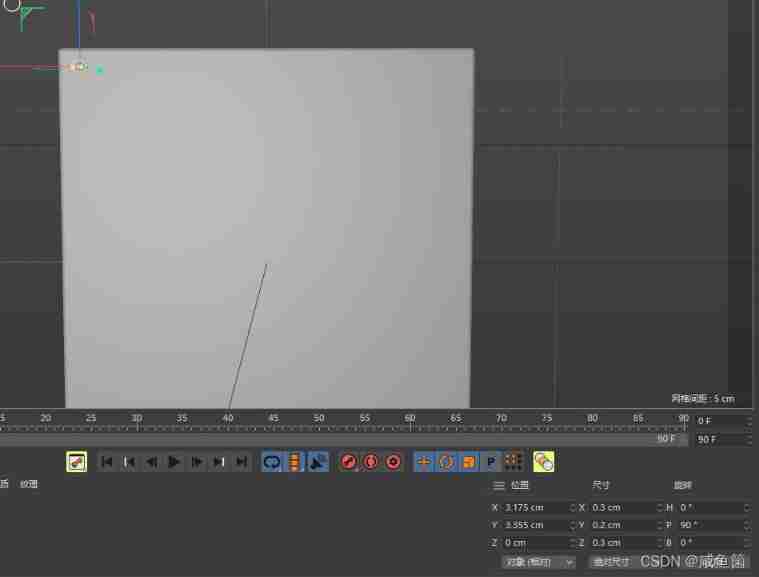
Use symmetry to make X Shaft cylinder . Long press 【 Subdivision surfaces , Choose symmetry 】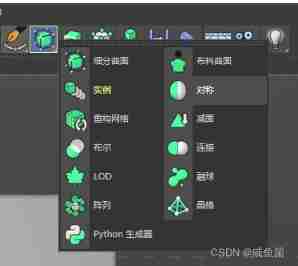
here 【 object 】 A symmetrical layer appears on the panel . Press the left button to drag the cylinder layer into it .

Copy the previous cylinder 【CTRL+C】【CTRL+V】. Then in the property panel , Put the coordinates Y Change the shaft to -3.355cm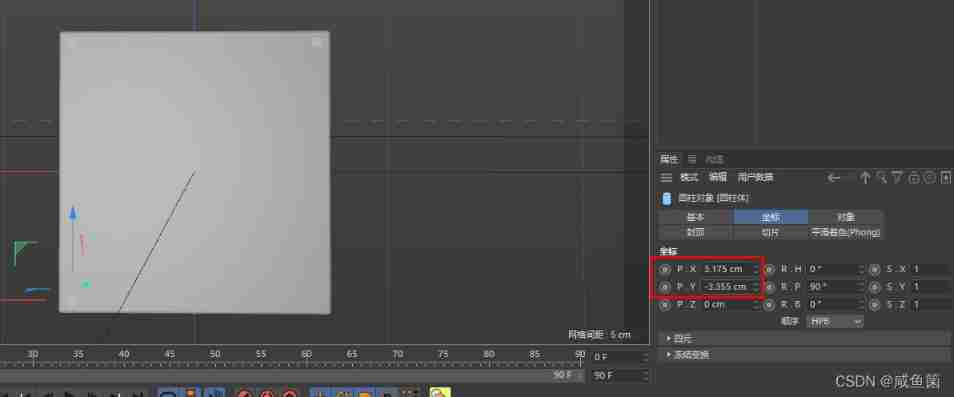
Come on, continue symmetry .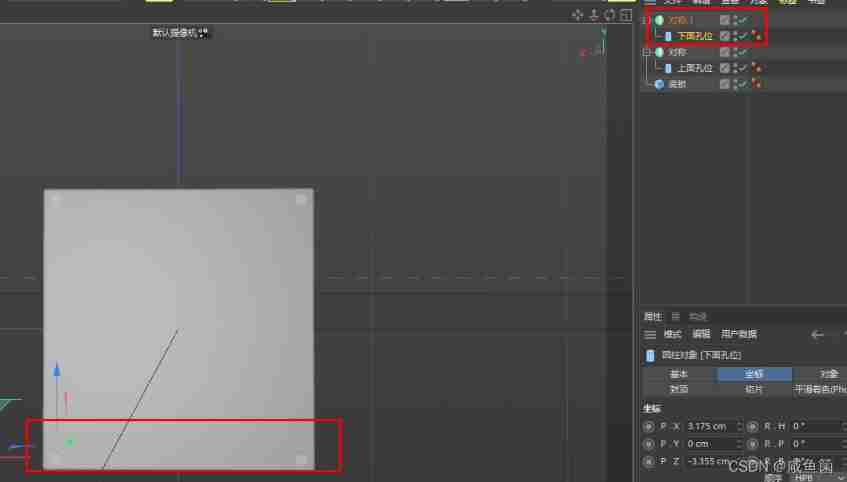
stay 【 The toolbar 】 choice 【 blank 】, Drag the symmetrical layer in 《 pack 》 So we can operate together .

- Boolean operation 【 The toolbar 】【 Subdivision surfaces 】【 Boolean 】 There will be another Boolean layer
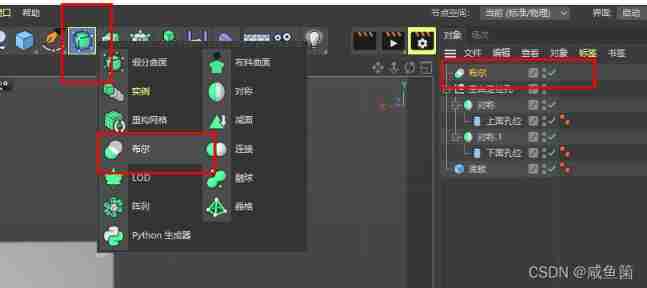
Select 【A reduce B】 Pay attention to the layer position , Up for A for B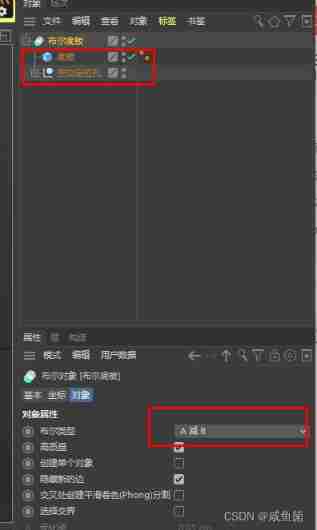
Bottom plate forming .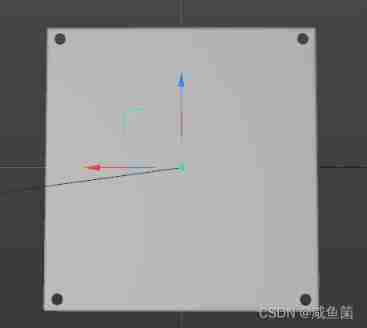
- Add texture
【 Material panel 】 Double click the left button to create a shader . Then double click the shader to enter 【 Material editor 】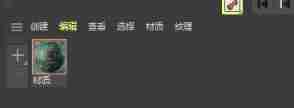
【 texture 】 Select the picture and put it in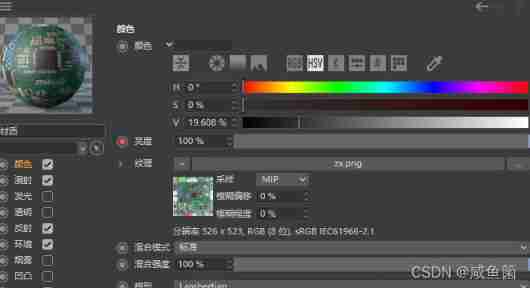
Click on 【 Face pattern 】 Select base plate to add . Move the shader to it and add materials automatically . To delete, select the shader behind the base plate and press DEL Press the key .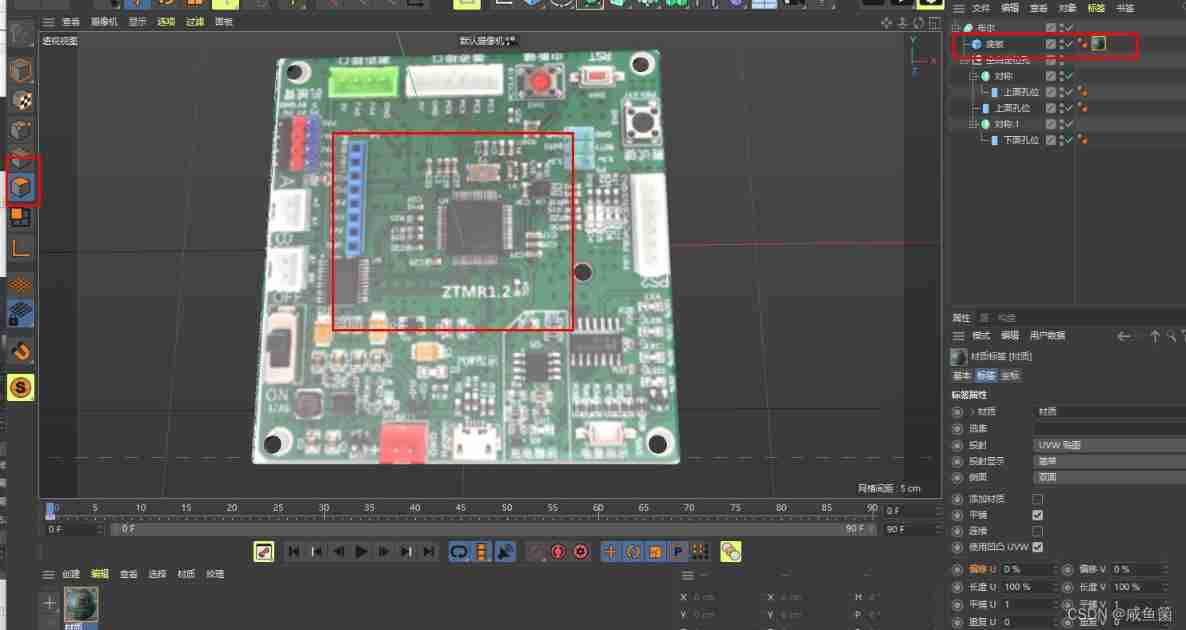
I feel a little low But there's no way , We will use this later to confirm the position of each component . So ugly can only watch first QAQ.
PS: Save a minute to sleep . Continue tomorrow
边栏推荐
- Global and Chinese markets for complex programmable logic devices 2022-2028: Research Report on technology, participants, trends, market size and share
- Install and run tensorflow object detection API video object recognition system of Google open source
- Sleep quality today 81 points
- The number of reversing twice in leetcode simple question
- Global and Chinese markets of cobalt 2022-2028: Research Report on technology, participants, trends, market size and share
- How to solve the poor sound quality of Vos?
- Common Oracle commands
- Oracle foundation and system table
- 软件测试需求分析之什么是“试纸测试”
- ucore lab5用户进程管理 实验报告
猜你喜欢
Mysql database (IV) transactions and functions

MySQL数据库(四)事务和函数
几款开源自动化测试框架优缺点对比你知道吗?
Pedestrian re identification (Reid) - Overview
Portapack application development tutorial (XVII) nRF24L01 launch B
安全测试入门介绍

About the garbled code problem of superstar script
MySQL数据库(一)
Login the system in the background, connect the database with JDBC, and do small case exercises
UCORE lab7 synchronous mutual exclusion experiment report
随机推荐
自动化测试你必须要弄懂的问题,精品总结
Zhejiang University Edition "C language programming experiment and exercise guide (3rd Edition)" topic set
Interface test interview questions and reference answers, easy to grasp the interviewer
Currently, mysql5.6 is used. Which version would you like to upgrade to?
MySQL数据库(四)事务和函数
MySQL transactions
CSAPP homework answers chapter 789
MySQL数据库(一)
The maximum number of words in the sentence of leetcode simple question
Programmers, how to avoid invalid meetings?
UCORE lab2 physical memory management experiment report
基于485总线的评分系统双机实验报告
MySQL数据库(五)视 图 、 存 储 过 程 和 触 发 器
ucore lab1 系统软件启动过程 实验报告
Global and Chinese market of portable and handheld TVs 2022-2028: Research Report on technology, participants, trends, market size and share
Cadence physical library lef file syntax learning [continuous update]
Video scrolling subtitle addition, easy to make with this technique
想跳槽?面试软件测试需要掌握的7个技能你知道吗
The number of reversing twice in leetcode simple question
Detailed introduction to dynamic programming (with examples)