当前位置:网站首页>You deserve this high-value open-source third-party Netease cloud music player
You deserve this high-value open-source third-party Netease cloud music player
2022-07-06 07:05:00 【Xiaolin on the corner】
brief introduction
My main song listening software is Netease cloud music , But it has many fancy functions , For example, radio 、 live broadcast 、 friend 、 Podcast 、 Yuncun, etc , To be honest, I don't need any of these , Basically can't use , Most of the time, I only use it as a local player , Because it is a commercial software after all , You need to make money , So I can understand , relatively speaking , The client on the computer will be simpler , The web version is the purest , But the appearance is average ( Everyone's aesthetics may be different , This is just a personal point of view ~).
So is there a simple and pure , What about Netease cloud music player with high appearance , The answer is yes , It is :YesPlayMusic, An open source third-party implementation .
Project address :https://github.com/qier222/YesPlayMusic.
This project currently has 18.1k individual star, Quite a lot , Project based on Vue.js Family bucket development , It's a Web project , But by Electron Support packaging into macOS、Windows、Linux The clients of the three platforms are used .
Of course, the foundation of this project is another open source project :https://github.com/Binaryify/NeteaseCloudMusicApi, seeing the name of a thing one thinks of its function , It's Netease cloud music api, This is also a third-party project , Support all official interfaces , Use nodejs Development , be based on express frame , The request library uses axios, The principle is Cross Site Request Forgery (CSRF), By forging request headers , Call the official API, Simply speaking , It is because the domain name of our website is different from that of Netease cloud music , If you directly request the official interface of Netease cloud music , Netease cloud music server and browser do not allow us to do this for security , So we need a middleman who will not be restricted , That is, back-end services , Then our website requests the interface of this service , Bring certified cookie, This service uses cookie, And forge some request headers , The purpose is to make Netease cloud music official server think it is a browser , In this way, it can help us tune the official interface of Netease cloud music , Then the service is set to allow cross domain requests , Then our website can obtain the official data of Netease cloud music by requesting this intermediary .
function & Interface
First, let's take a look at its basic functions and interface .
Sign in
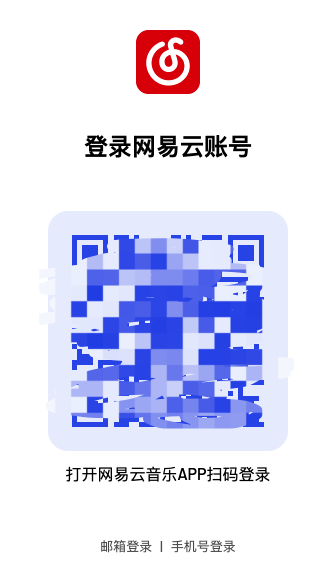
Support code scanning 、 Email login and mobile number login , Authentication code login and third-party login are not supported , But it's enough .
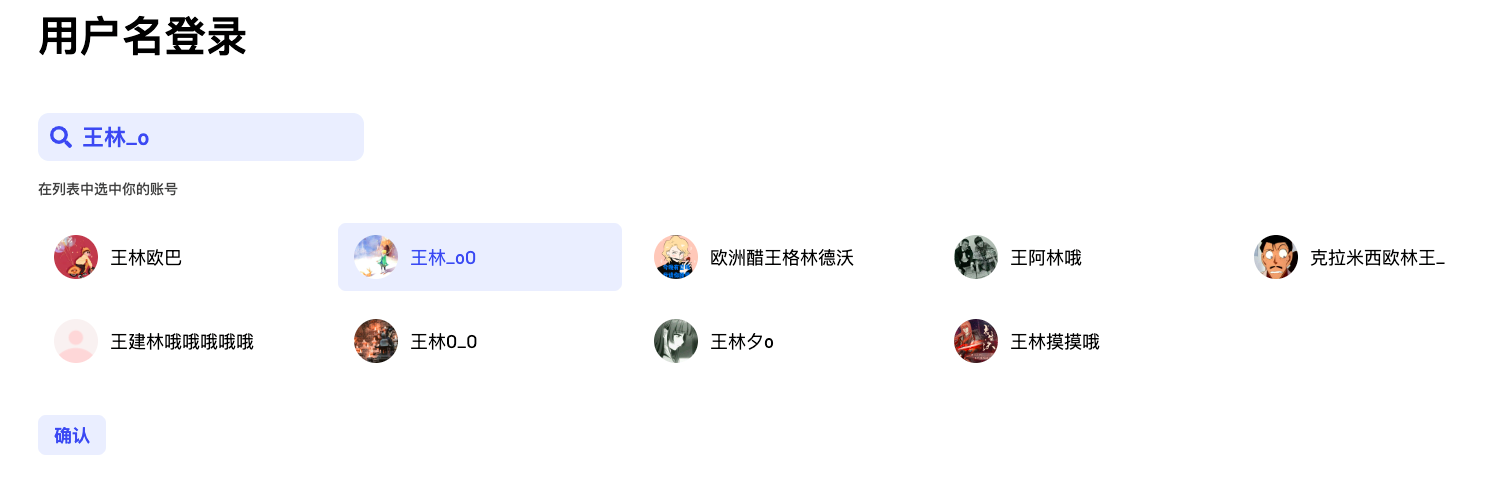
If you don't want to log in , Search your user name directly , You can also listen to your song list , It's just that some private data can't be seen :
home page
The columns on the home page are :by Apple Music、 Recommended song list 、For You( Daily recommendation )、 Recommend artists 、 Xinzhuan Express 、 Ranking List .
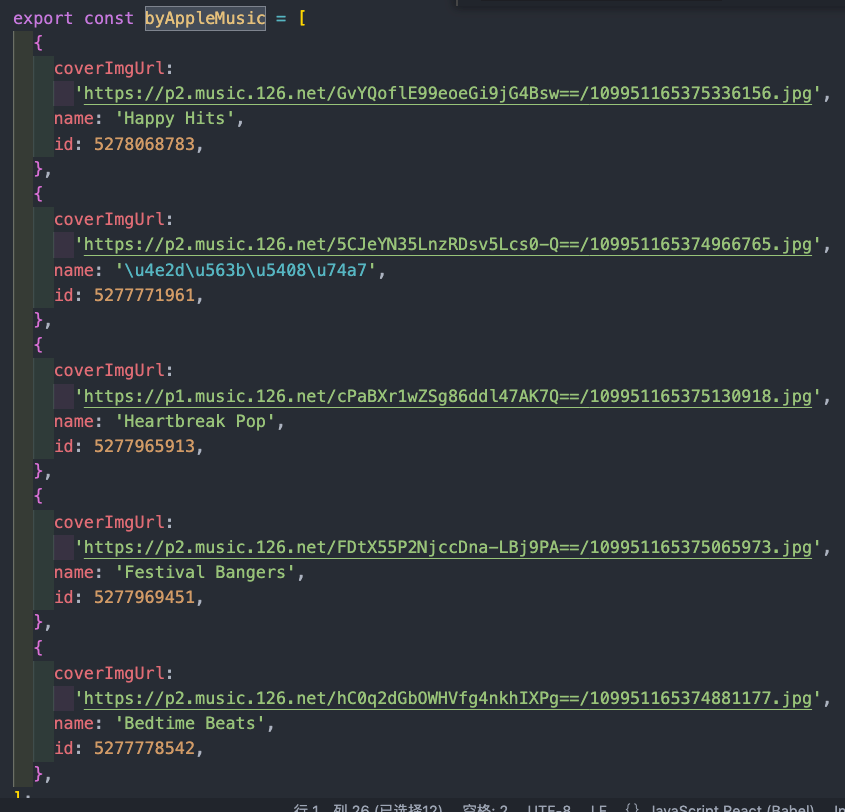
by Apple Music It is a column with dead data :
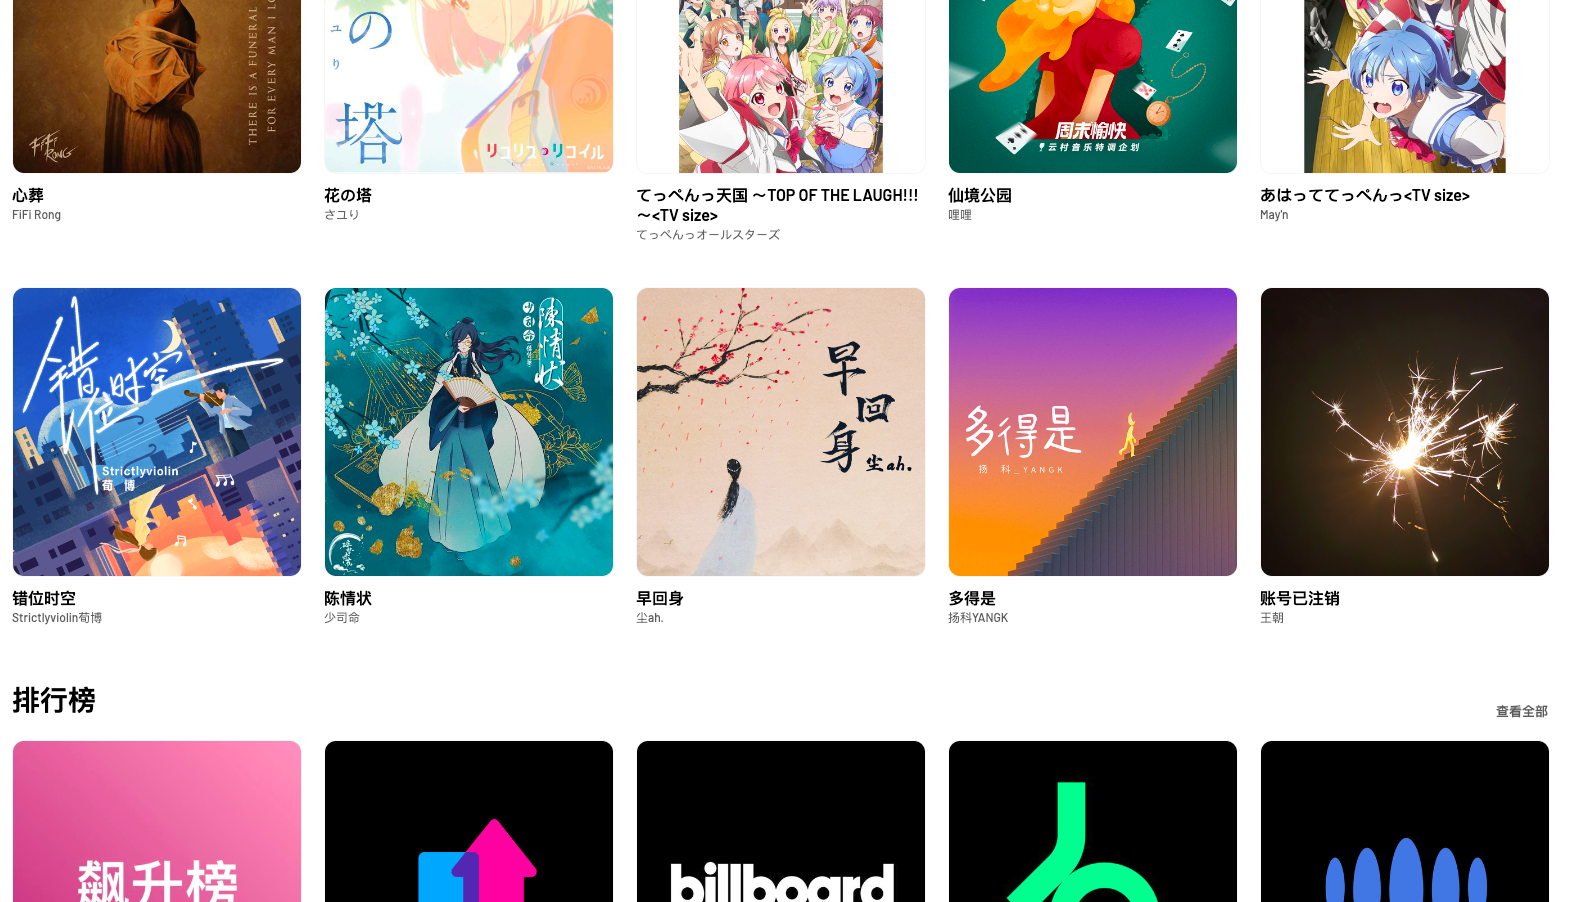
For You Daily recommendation , Login is required to use .


Discovery page
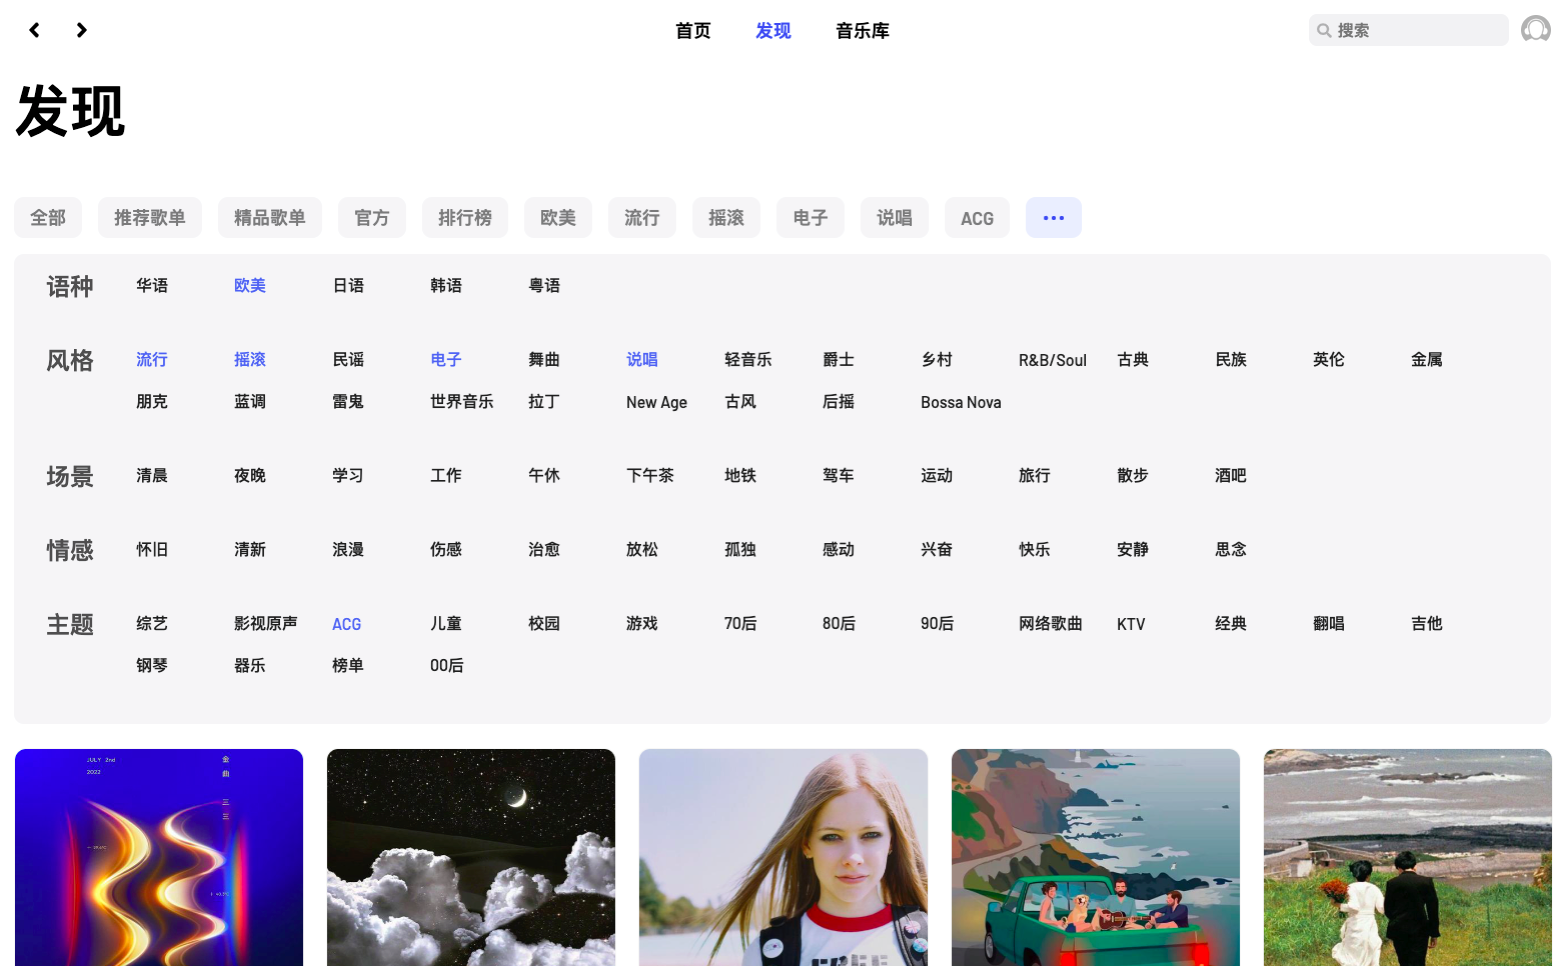
Click to view some columns on the home page and jump to the discovery page , Of course, you can also directly click on the top tab Switch to the discovery page , The discovery page is mainly to view the recommended song list 、 Ranking List 、 Search song list by category :
Music library
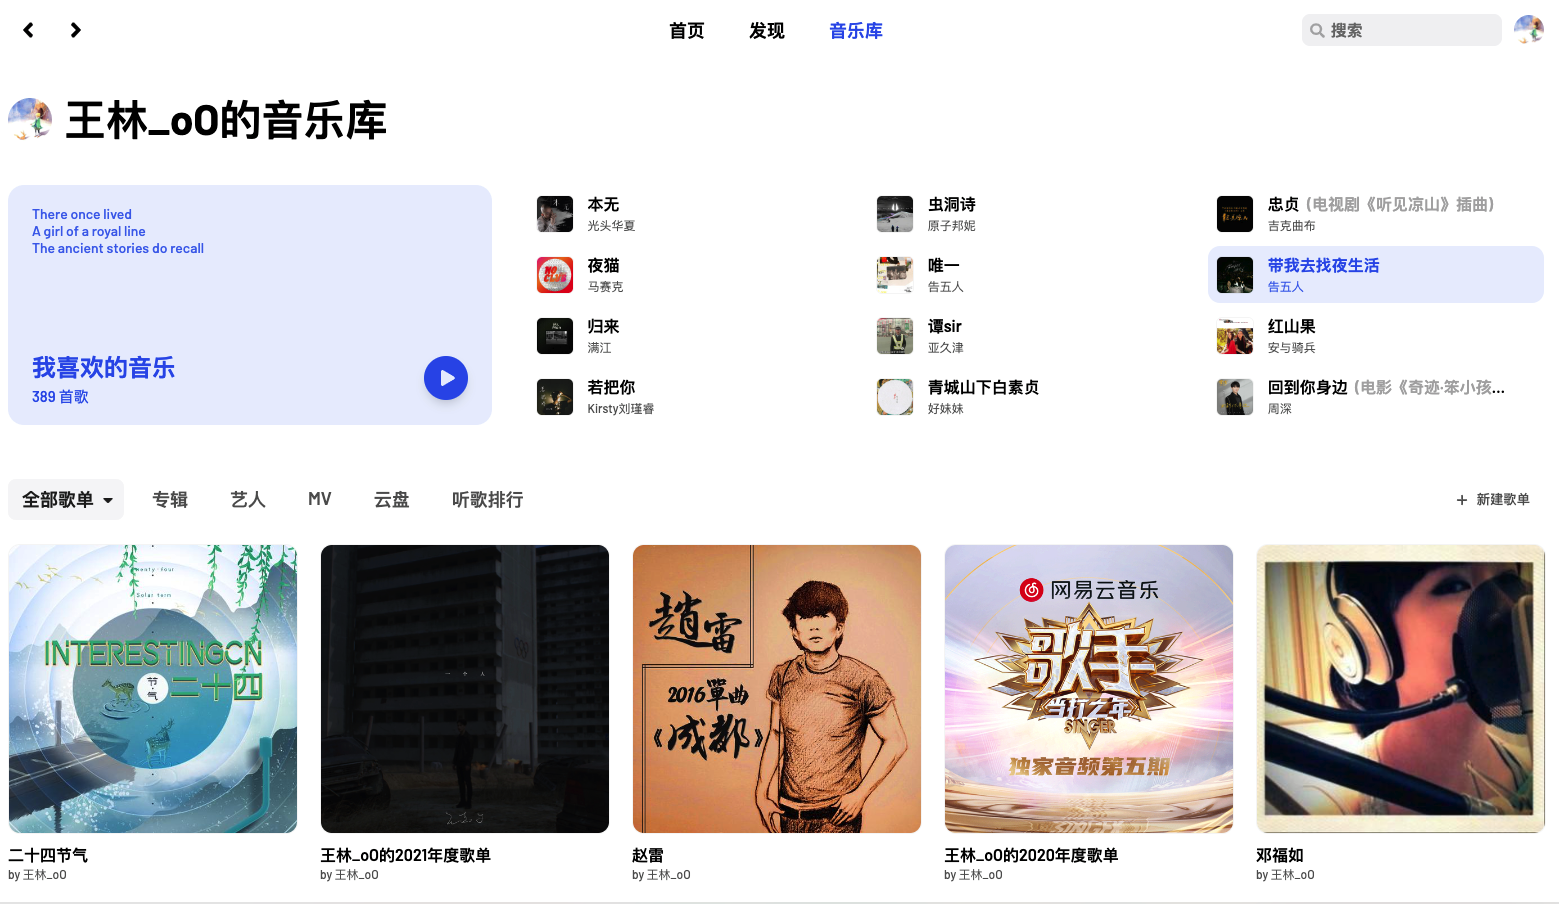
The music library needs to be used after logging in , That is, your personal space , You can check your favorite songs 、 A collection of songs 、 Album 、 artist 、MV、 Cloud disk and song ranking :
Search for
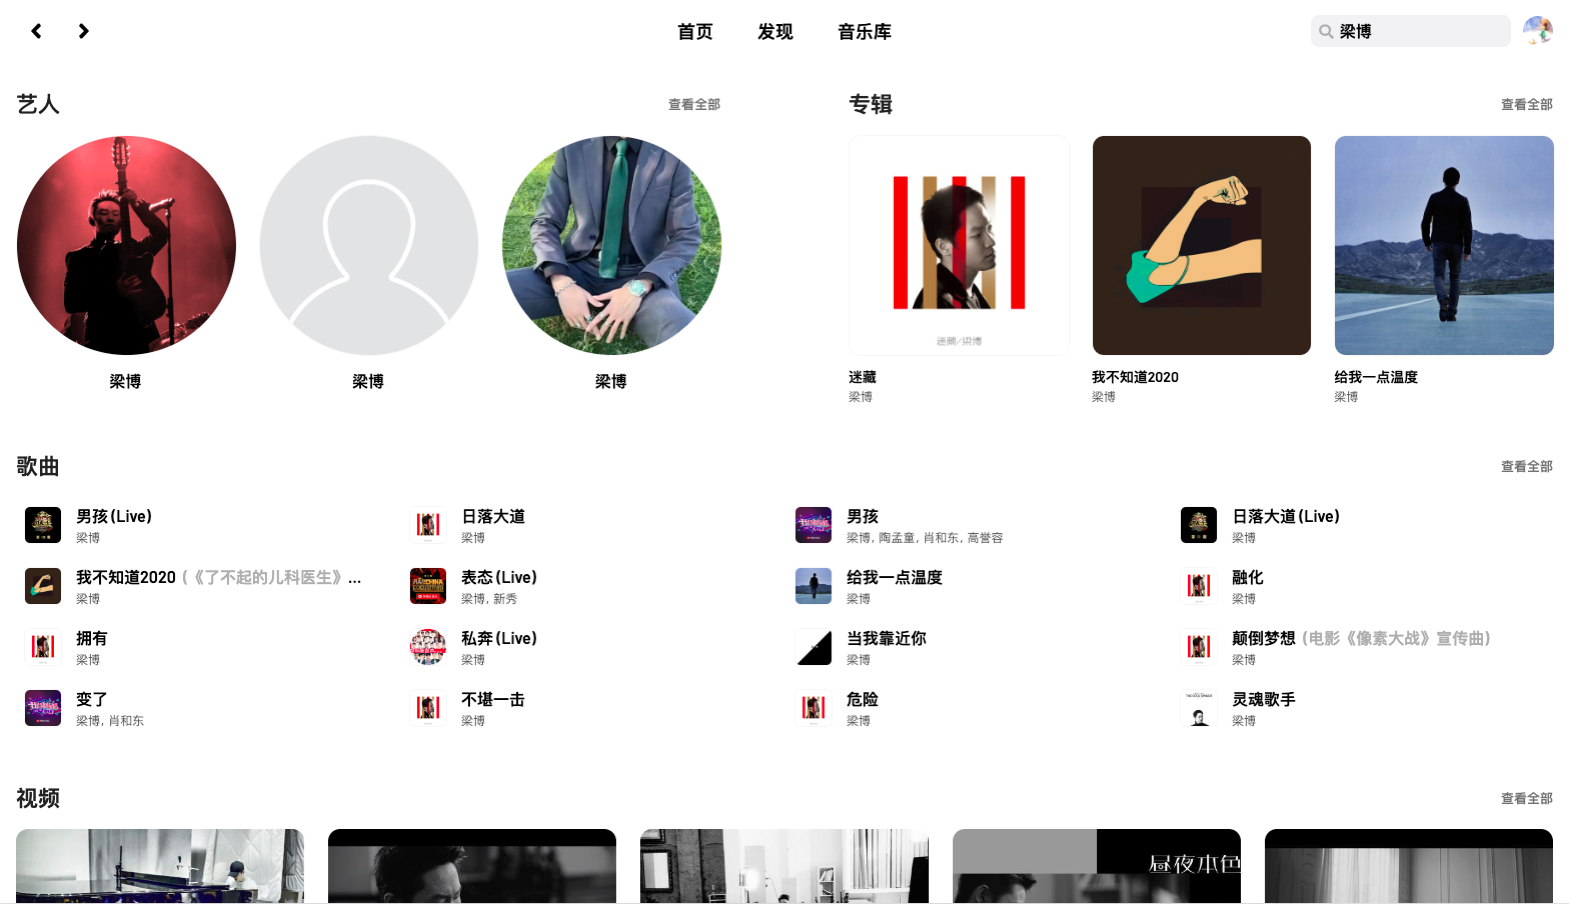
Search results include : artist 、 Album 、 song 、 Videos and song lists :
Details of the song list
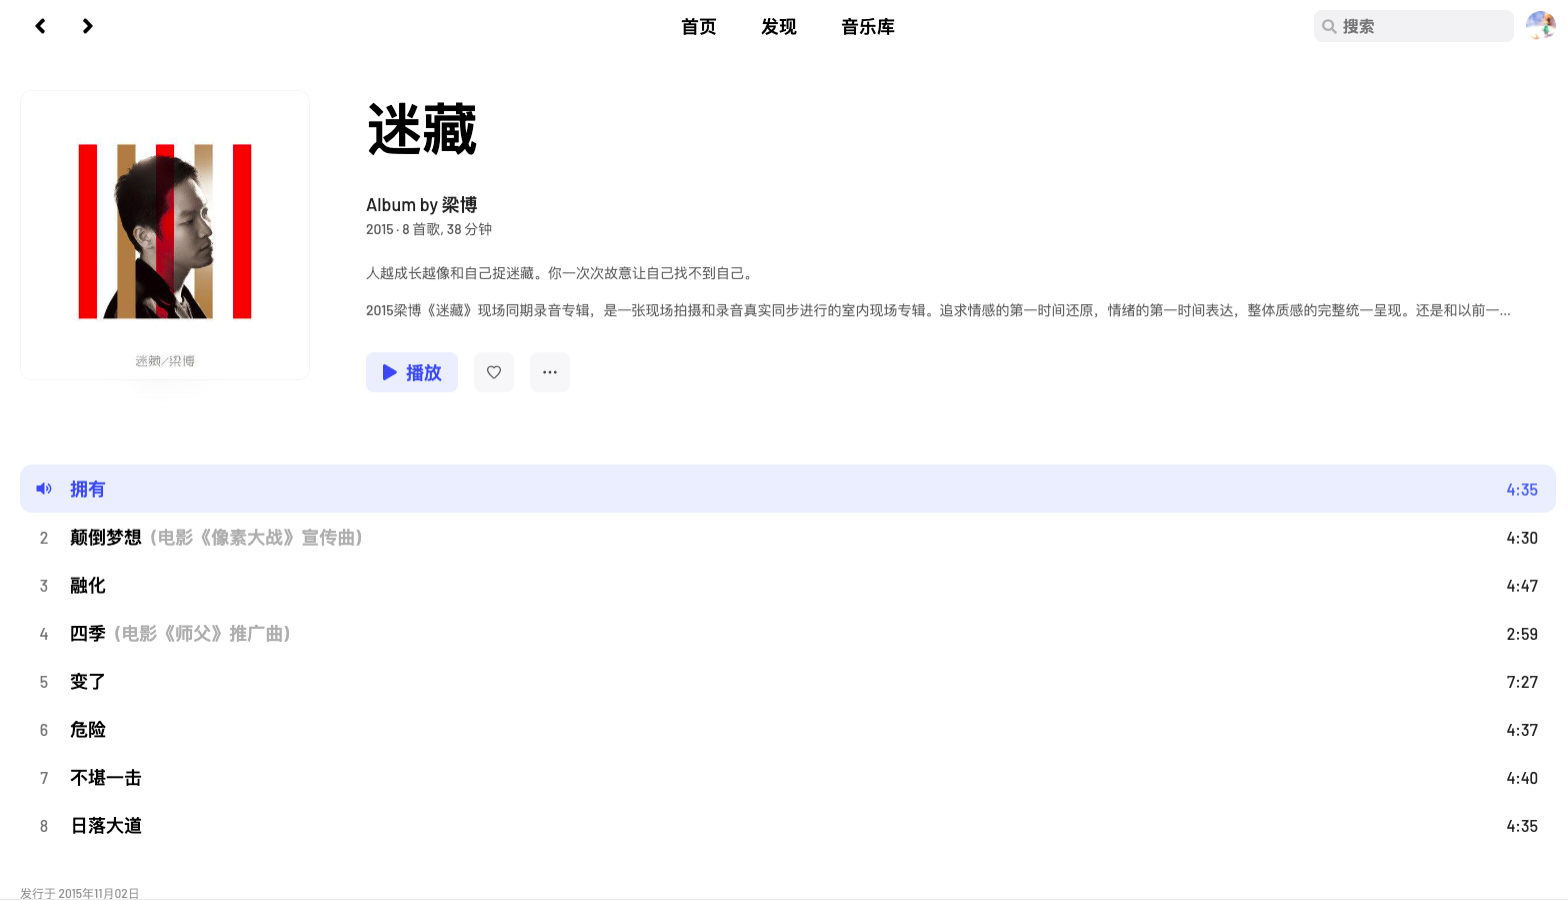
Click a song list or album to jump to the song list details page , You can view the introduction on the details page 、 Song list all songs , Of course, it can also be played :
Play
Finally, the playback function , A playback bar will be permanently displayed at the bottom , Show the currently playing song , You can also control playback 、 Cut song :

Click on the bottom bar to open a full screen playback interface , You can see the lyrics :

Comment function
Listening to songs and reading comments has become a habit , Comments were also a feature of Netease cloud music at first , Unfortunately, this project does not support the function of viewing comments , The author also made it clear that he would not support :
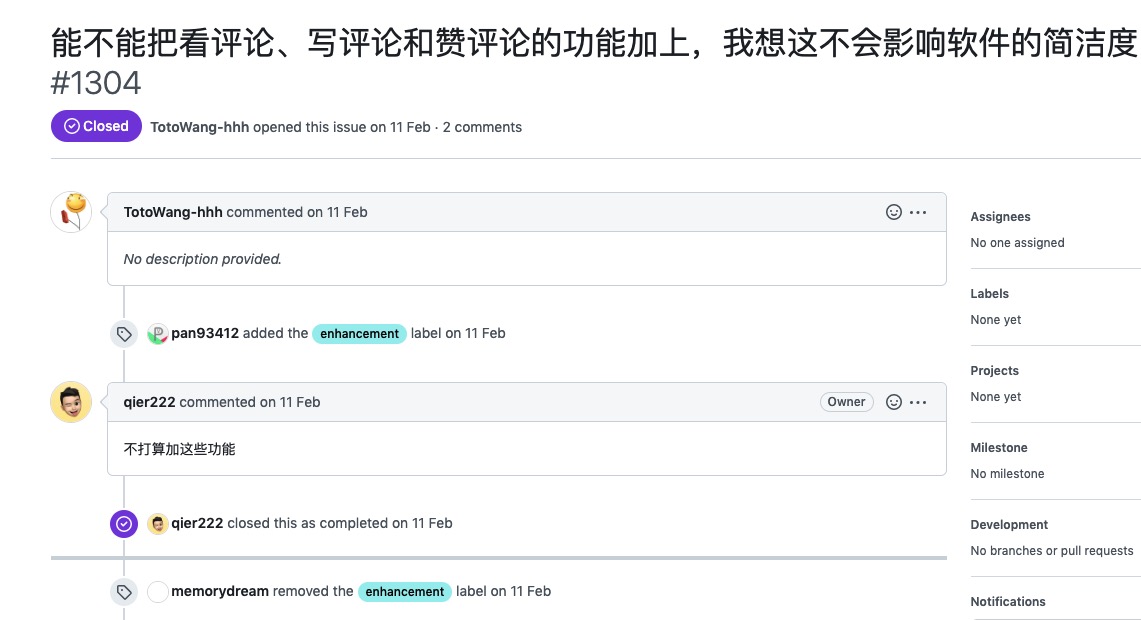
Because it's open source , So the author does not support , You can support yourself , So I fork Its warehouse , It took a day to add a review 、 publish 、 Reply and like function .
The entry is in the bottom playback bar :

After clicking, the comment list will be displayed in full screen :
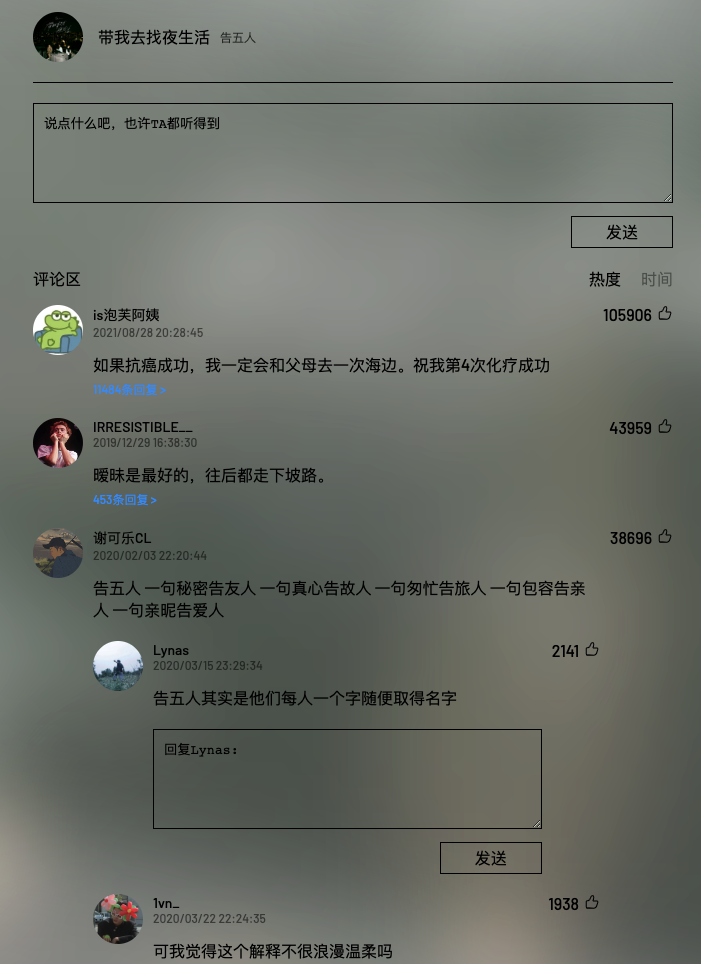
Support sorting in two dimensions of heat and time , It also supports viewing floor replies , You can comment on the song , You can also click on a floor to reply , But now there is a small problem , Comments or likes will not appear immediately , Need to wait for a while ( Two minutes ) Refresh the list to display , The reason is because api The service adds cache processing :

In order not to be blocked by the official server , I haven't removed or modified the cache time .
Use
If you see here, you've already moved , Then you can start using , First of all, if you don't want to toss , Then you can use it directly online , You can directly access the default online address provided by this project without the comment function :https://music.qier222.com/. If you need the comment function, you can use the address I modified and deployed :https://music.lxqnsys.com/.
Of course , At the same time, I also packed the client installation package , If you like to use it through the client, you can download it here https://github.com/wanglin2/YesPlayMusic.
The project itself supports multiple deployment methods , Deployed to Vercel(Vercel It is a zero configuration static resource and serverless Cloud Computing (serverless) Deployment platform )、 Deploy to your own server 、Docker Deployment, etc. , Here's the first one , Because it's not only free 、 Simple 、 And you can generate your own address , Don't worry about the invalidation of using other people's addresses , The stupid tutorial is as follows :
1. If you don't GitHub account number , Then register first .
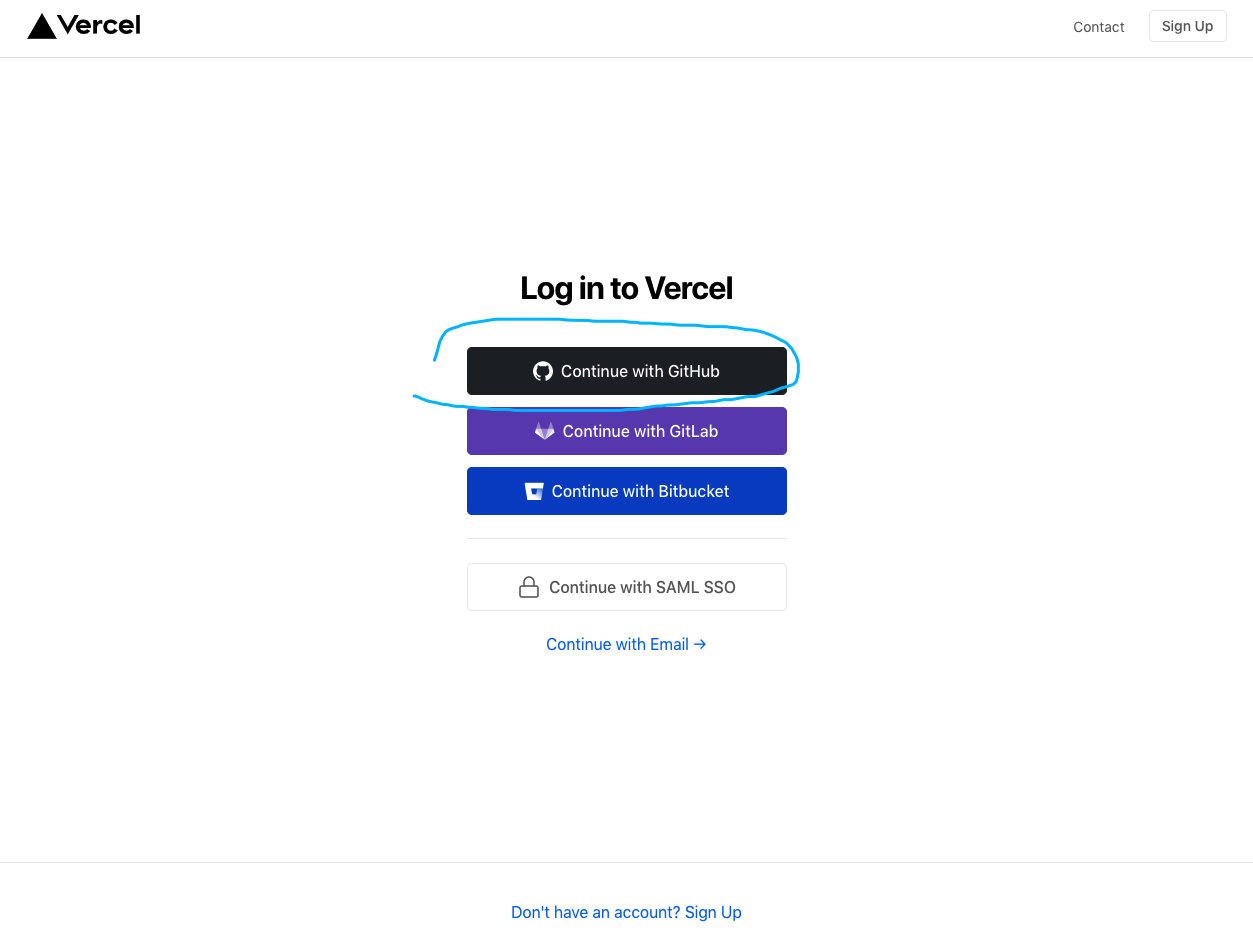
2. open Vercel Website , Use github To login :
3. Deploy Netease cloud API
open NeteaseCloudMusicApi Project warehouse , Click on the 【Fork】 Button :

This will copy the project to your name :

Then open the Vercel Website , Click on the 【New Project】 Button to create a new project :

Then find you in the list of items on the left fork Of NeteaseCloudMusicApi project , If there are too many items to find, you can also search directly :
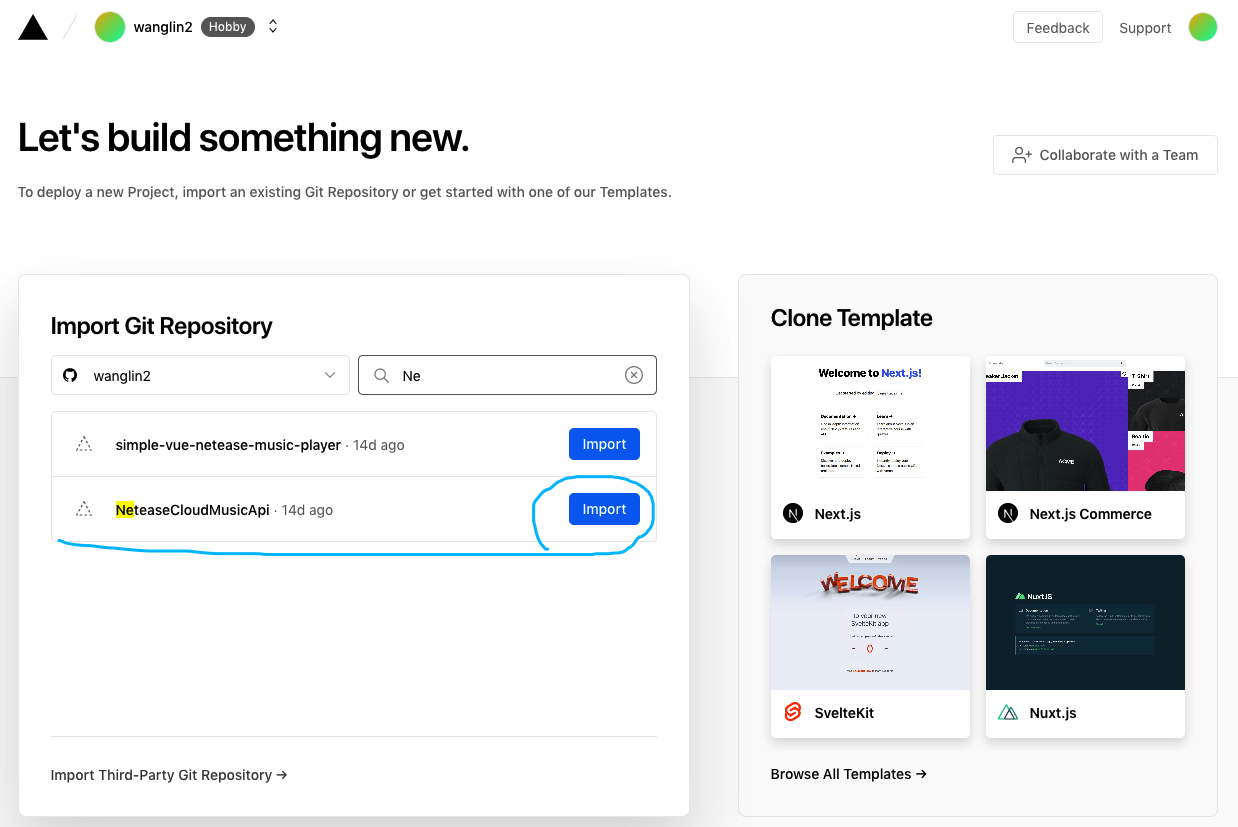
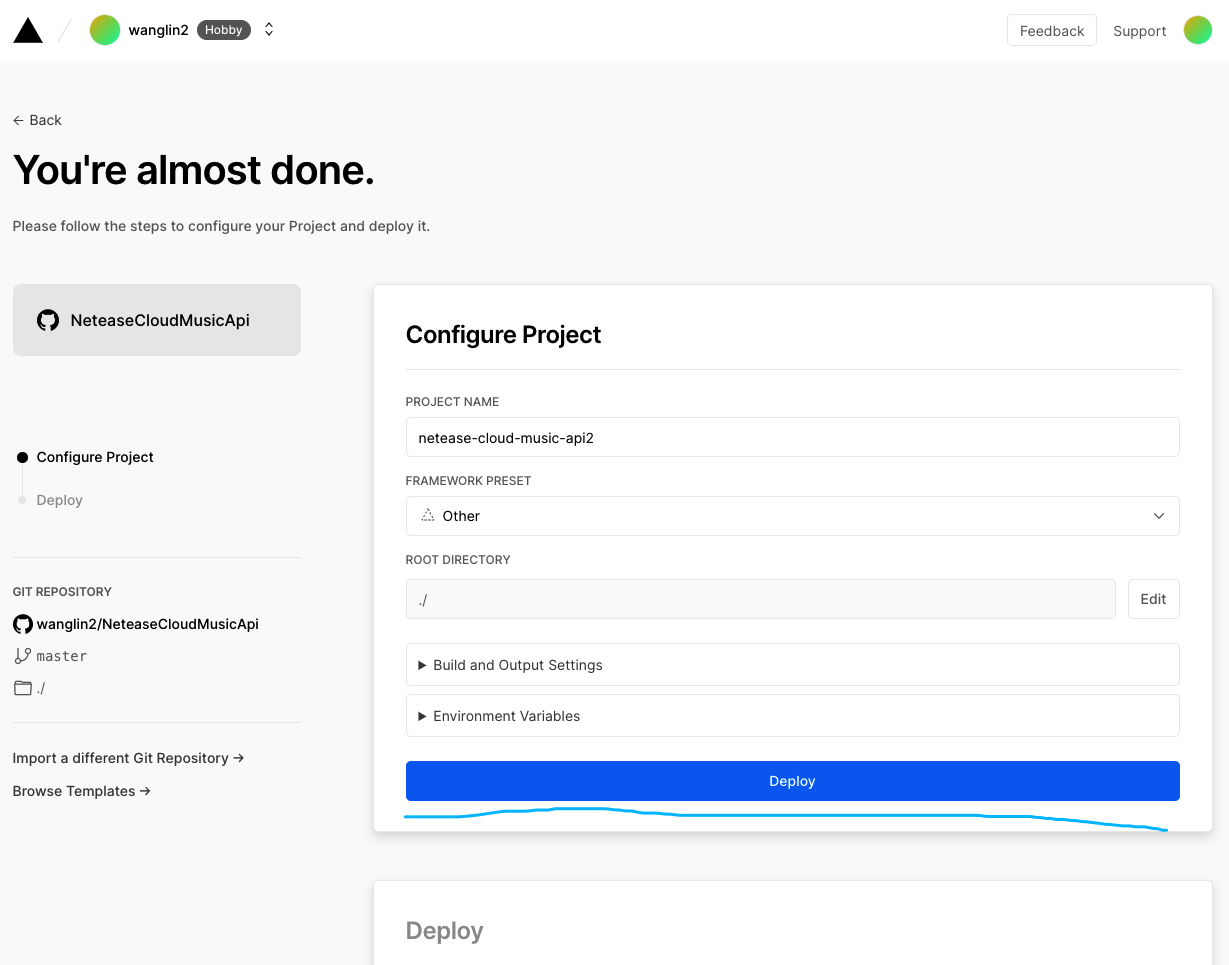
Click on 【Import】 Button import , Then the configuration can also be changed , Just click 【Deply】 Button to deploy :
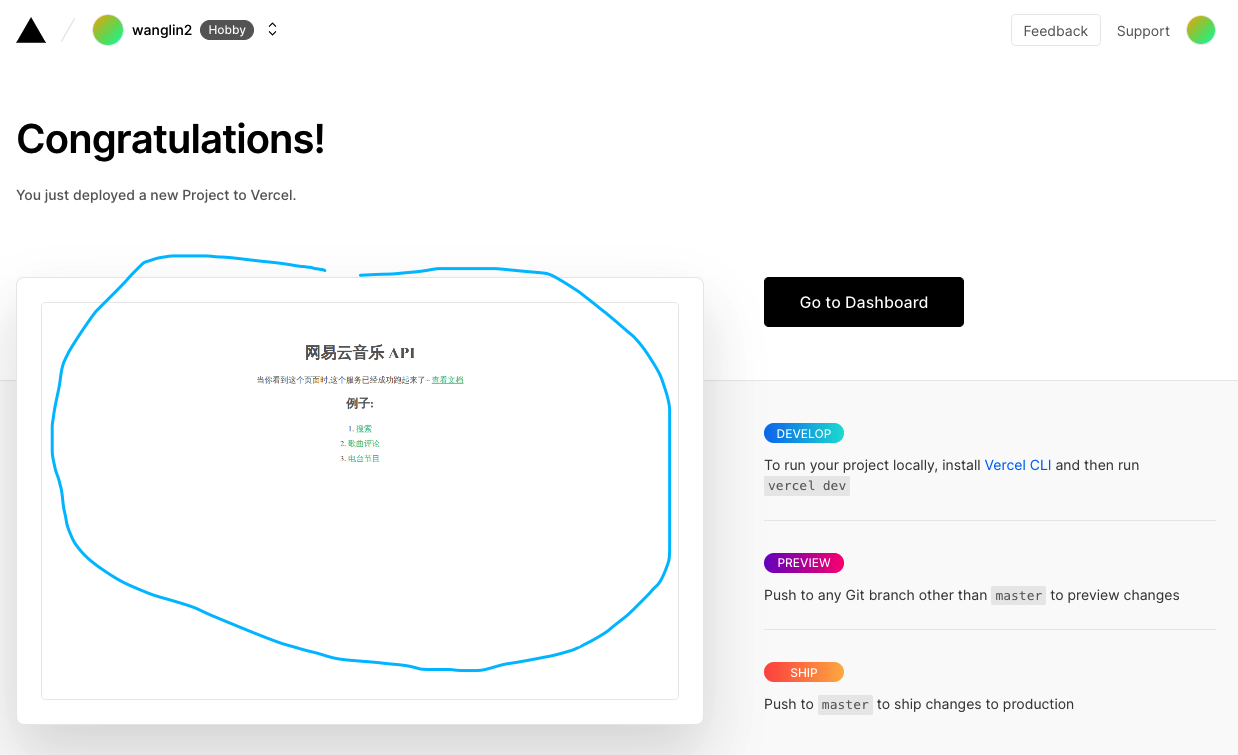
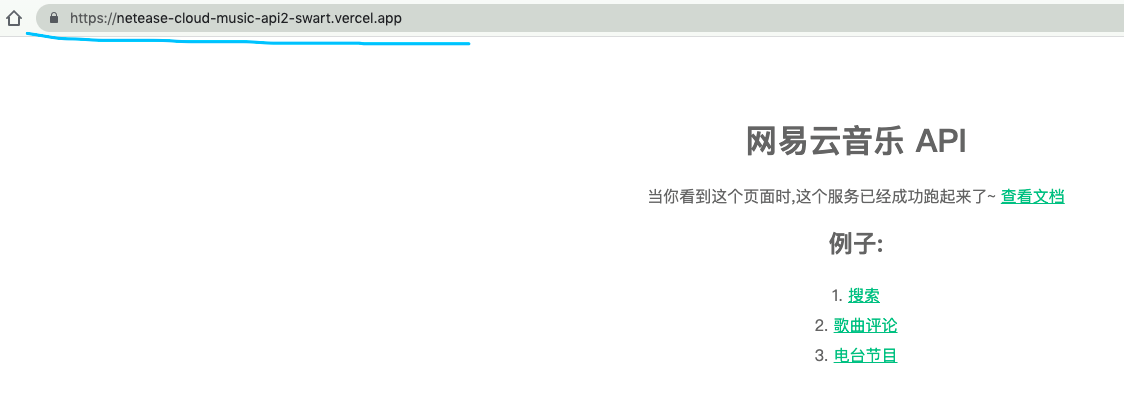
Wait for deployment to complete , Click the preview area on the left , Will open the project , Copy the address of the newly opened page :
4. Deploy YesPlayMusic project
The interface service is deployed , Then you can deploy YesPlayMusic Project , The steps and deployment interfaces are the same , however Fork After that, you need :
Click the 【Add File】, choice 【Create new file】, Input 【vercel.json】, Copy and paste the following contents into the file , And will https://your-netease-api.example.com Replace with the Netease cloud you just deployed API The address of :
{

  "rewrites": [
    {

      "source": "/api/:match*",
      "destination": "https://your-netease-api.example.com/:match*"
    }
  ]
}
Next open Vercel, The steps are the same as before , The difference is that the last step is to modify the configuration :
Click on 【Environment Variables】, Fill in Name by VUE_APP_NETEASE_API_URL,Value by /api, Click on 【Add】. Finally, click 【Deploy】 You can deploy to Vercel 了 .
The default generated domain name is Vercel Subdomain https://xxx.vercel.app, If you have your own domain name , Then it can also be bound to your own , On the project details page, click 【Setting】 Button :

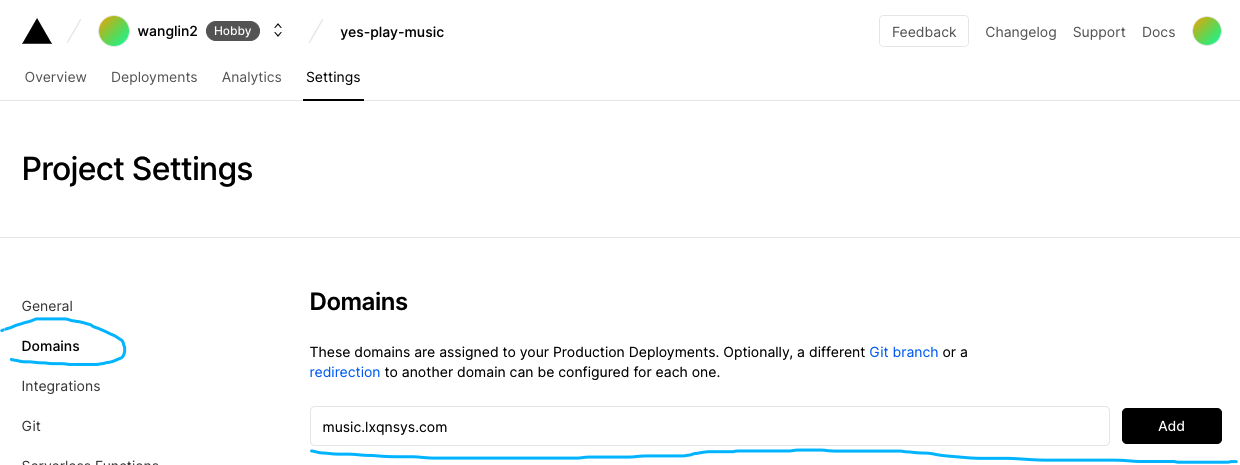
Then click on the left 【Domains】 Button , Enter the domain name you want to bind on the right , Click on 【Add】:
Next, just go to the service provider where you buy the domain name and configure it CNAME Just map :
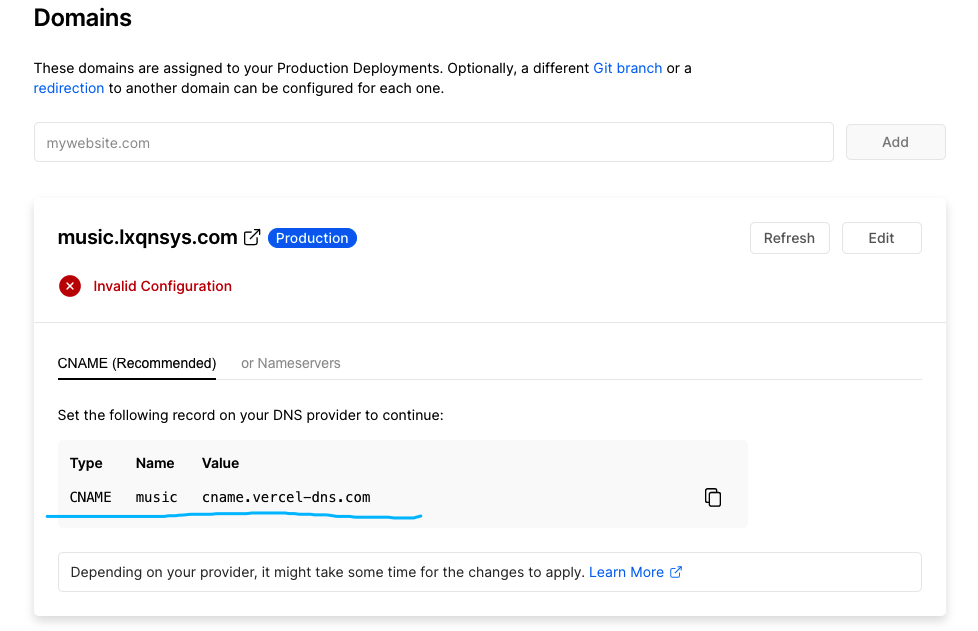

go back to Vercel page , It will automatically detect whether the mapping is successful , Finally, wait for the certificate generation to complete , You can access it through our own domain name :

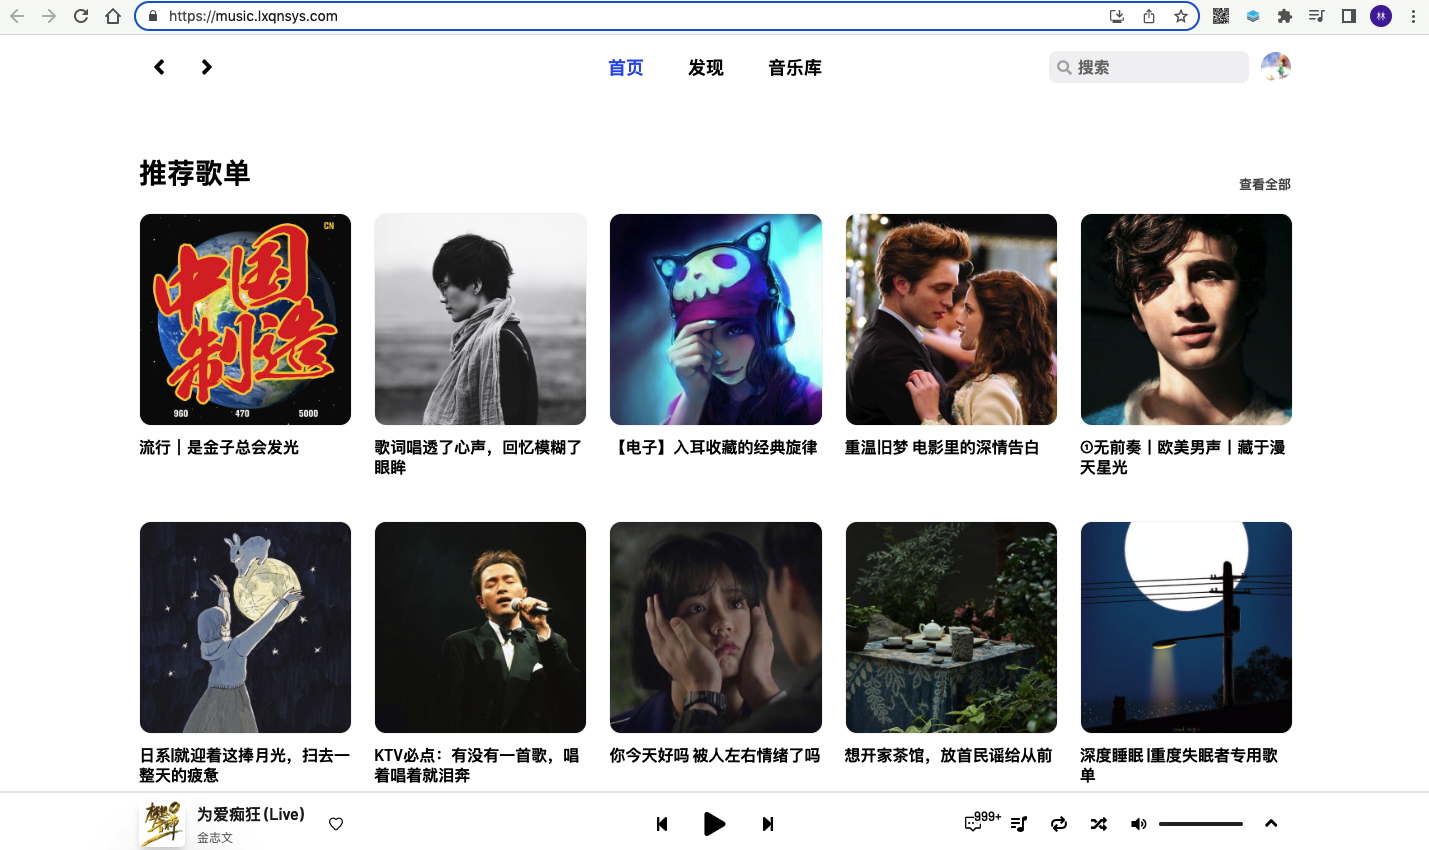
This concludes the article ~
边栏推荐
- TS基础篇
- GET 和 POST 请求类型的区别
- CDN acceleration and cracking anti-theft chain function
- 编译,连接 -- 笔记 -2
- 从autojs到冰狐智能辅助的心里历程
- Blue Bridge Cup zero Foundation National Championship - day 20
- 【Hot100】739. Daily temperature
- The ECU of 21 Audi q5l 45tfsi brushes is upgraded to master special adjustment, and the horsepower is safely and stably increased to 305 horsepower
- AI on the cloud makes earth science research easier
- RichView TRVStyle 模板样式的设置与使用
猜你喜欢

“无聊猿” BAYC 的内忧与外患

How to reconstruct the class explosion caused by m*n strategies?

树莓派3B更新vim

AttributeError: Can‘t get attribute ‘SPPF‘ on <module ‘models.common‘ from ‘/home/yolov5/models/comm
leetcode704. 二分查找(查找某个元素,简单,不同写法)

Leetcode35. search the insertion position (simple, find the insertion position, different writing methods)
作者已死?AI正用藝術征服人類

AttributeError: Can‘t get attribute ‘SPPF‘ on <module ‘models.common‘ from ‘/home/yolov5/models/comm

26岁从财务转行软件测试,4年沉淀我已经是25k的测开工程师...
hydra常用命令
随机推荐
ROS学习_基础
18. Multi level page table and fast table
CDN acceleration and cracking anti-theft chain function
Idea console color log
因高额网络费用,Arbitrum 奥德赛活动暂停,Nitro 发行迫在眉睫
idea控制台彩色日志
Oracle数据库11gr2使用tde透明数据加密报错ora28353,如果运行关闭wallet会报错ora28365,运行打开wallet就报错ora28353无法打开wallet
After sharing the clone remote project, NPM install reports an error - CB () never called! This is an error with npm itself.
Compile, connect -- notes-2
Embed UE4 program into QT interface display
AttributeError: Can‘t get attribute ‘SPPF‘ on <module ‘models.common‘ from ‘/home/yolov5/models/comm
Apache dolphin scheduler source code analysis (super detailed)
Uncaught typeerror: cannot red properties of undefined (reading 'beforeeach') solution
Basic commands of MySQL
雲上有AI,讓地球科學研究更省力
Entity Developer数据库应用程序的开发
1189. Maximum number of "balloons"
19. Actual memory management of segment page combination
编译,连接 -- 笔记 -2
中青看点阅读新闻