当前位置:网站首页> Django数据库(SQlite)基本入门使用教程
Django数据库(SQlite)基本入门使用教程
2022-07-06 19:08:00 【1024问】
1:创建工程
2:创建blog应用
3:数据库操作
4.在blog_demo表中添加数据:
总结
1:创建工程django-admin startproject mysite创建完成后,工程目录结构如下:

manage.py ----- Django项目里面的工具,通过它可以调用django shell和数据库等。
settings.py ---- 包含了项目的默认设置,包括数据库信息,调试标志以及其他一些工作的变量。
urls.py ----- 负责把URL模式映射到应用程序。
2:创建blog应用python manage.py startapp blog完成后,会在项目中生成一个blog的文件夹

初始化数据库:
python 自带SQLite数据库,Django支持各种主流的数据库,这里我们首先使用SQLite。
如果使用其它数据库请在settings.py文件中设置。数据库默认的配置为:
DATABASES = { 'default': { 'ENGINE': 'django.db.backends.sqlite3', 'NAME': os.path.join(BASE_DIR, 'db.sqlite3'), }}使用默认的数据配置来初始化数据库:
命令执行完成后,会生成一些数据表:

Django自带有一个WEB 后台,下面创建WEB后台的用户名与密码:
python manage.py createsuperuser注意️:密码不能与用户名相似,密码不能纯数字 。

接下来我们使用上面创建的账号密码登录后台试试。要登录后台,必须在settings.py文件中将上面创建的APP也就是blog添加进来:
INSTALLED_APPS = [ 'django.contrib.admin', 'django.contrib.auth', 'django.contrib.contenttypes', 'django.contrib.sessions', 'django.contrib.messages', 'django.contrib.staticfiles', 'blog',]注意后面必须要有个逗号!
启动django容器:
python manage.py runserver默认使用的WEB地址为http://127.0.0.1,端口为8000,使用该地址与端口访问首页:

下面访问django的后台:http://127.0.0.1/admin

创建一张UseInfo表,并创建字段:
现在我们打开blog目录下的models.py文件,这是我们定义blog数据结构的地方。打开mysite/blog/models.py 文件进行修改:
from django.db import models# Create your models here.class Demo(models.Model): car_num = models.CharField(max_length=32) park_name = models.CharField(max_length=32) jinru_Date = models.CharField(max_length=32) chuqu_Date = models.CharField(max_length=32) time = models.CharField(max_length=32)命令行执行:
python manage.py makemigrationspython manage.py migrate
从上图中可以看出,Django默认会以APP名为数据表前缀,以类名为数据表名!
创建的字段如下图:

Django是在views.py文件中,通过导入models.py文件来创建数据的:
from django.shortcuts import render# Create your views here.from blog import models # 导入blog模块from django.shortcuts import HttpResponsedef db_handle(request): # 添加数据 models.Demo.objects.create(car_num='陕E-BV886', park_name='中医院', jinru_Date='2022-02-05', chuqu_Date='2022-02-06', time='1') return HttpResponse('OK')下面我们配置路由,以便让浏览器能够访问到views.py文件:
from blog import viewsurlpatterns = [ path('admin/', admin.site.urls), path(r'db_handle', views.db_handle),]下面我们来访问http://127.0.0.1/db_handle

查看数据库是否创建成功:

上面就是创建表数据,也可以通过字典的格式来创建表数据:
def db_handle(request): dic = {car_num='陕E-BV886', park_name='中医院', jinru_Date='2022-02-05',chuqu_Date='2022-02-06', time='1'} models.Demo.objects.create(**dic) return HttpResponse('OK')删除表数据:
views.py文件如下:
def db_handle(request): #删除表数据 models.Demo.objects.filter(id=1).delete() return HttpResponse('OK')操作方法同上,在浏览器中执行一遍,数据中的id=1的数据即被删除:

修改表数据:
def db_handle(request): # 修改表数据 models.Demo.objects.filter(id=2).update(time=18) return HttpResponse('OK')数据的查询:
为了让查询出来的数据更加直观地显示出来,这里我们将使用Django的模板功能,让查询出来的数据在WEB浏览器中展示出来
在templates目录下新建一个t1.html的文件,内容如下:
<!DOCTYPE html><html lang="en"><head> <meta charset="UTF-8"> <title>Django操作数据库</title> <link type="text/css" href="/static/base.css" rel="external nofollow" rel="external nofollow" rel="stylesheet" /></head><body> <table border="1"> <tr> <th>车牌号</th> <th>停车场名</th> <th>入场时间</th> <th>出场时间</th> <th>停车时间</th> </tr> {% for item in li %} <tr> <td>{{ item.car_num }}</td> <td>{{ item.park_name }}</td> <td>{{ item.jinru_Date }}</td> <td>{{ item.chuqu_Date }}</td> <td>{{ item.time }}</td> </tr> {% endfor %}</body></html>views.py文件查询数据,并指定调用的模板文件,内容如下:
def db_handle(request): user_list_obj = models.Demo.objects.all() return render(request, 't1.html', {'li': user_list_obj})注意:由于这里是在工程下面的templates目录下建立的模板,而不是在blog应用中创建的模板,上面views.py文件中调用的t1.html模板,运行时会出现找不到t1.html模板的错误,为了能找到mysite/templates下的模板文件,我们还需要在settings.py文件配置模板的路径:
TEMPLATES = [ { 'BACKEND': 'django.template.backends.django.DjangoTemplates', 'DIRS': [os.path.join(BASE_DIR, 'templates')], # 配置模板路径 'APP_DIRS': True, 'OPTIONS': { 'context_processors': [ 'django.template.context_processors.debug', 'django.template.context_processors.request', 'django.contrib.auth.context_processors.auth', 'django.contrib.messages.context_processors.messages', ], }, },]下面就可以在浏览器中查看:

引入JS,CSS等静态文件:
在mysite目录下新建一个static目录,将JS,CSS文件都放在此目录下!并在settings.py文件中指定static目录:

STATIC_URL = '/static/'STATICFILES_DIRS = ( os.path.join(BASE_DIR, 'static'),)表单提交数据:
在Django中要使用post方式提交表单,需要在settings.py配置文件中将下面一行的内容给注释掉:
# 'django.middleware.csrf.CsrfViewMiddleware',提交表单(这里仍然使用了t1.html):
<!DOCTYPE html><html lang="en"><head> <meta charset="UTF-8"> <title>Django操作数据库</title> <link type="text/css" href="/static/base.css" rel="external nofollow" rel="external nofollow" rel="stylesheet" /></head><body> <table border="1"> <tr> <th>车牌号</th> <th>停车场名</th> <th>入场时间</th> <th>出场时间</th> <th>停车时间</th> </tr> {% for item in li %} <tr> <td>{{ item.car_num }}</td> <td>{{ item.park_name }}</td> <td>{{ item.jinru_Date }}</td> <td>{{ item.chuqu_Date }}</td> <td>{{ item.time }}</td> </tr> {% endfor %} </table> <form action="/db_handle" method="post"> <p><input name="car_num" /></p> <p><input name="park_name" /></p> <p><input name="jinru_Date" /></p> <p><input name="chuqu_Date" /></p> <p><input name="time" /></p> <p><input type="submit" value="submit" /></p> </form></body></html>写入数据库(views.py):
def db_handle(request): if request.method == "POST": models.Demo.objects.create(car_num=request.POST['car_num'],park_name=request.POST['park_name'],jinru_Date=request.POST['jinru_Date'],chuqu_Date=request.POST['chuqu_Date'],time=request.POST['time']) user_list_obj = models.Demo.objects.all() return render(request, 't1.html', {'li': user_list_obj})提交数据后,如下图:


到此这篇关于Django数据库(SQlite)基本入门使用教程的文章就介绍到这了,更多相关Django数据库SQlite使用内容请搜索软件开发网以前的文章或继续浏览下面的相关文章希望大家以后多多支持软件开发网!
边栏推荐
- Detailed explanation of line segment tree (including tested code implementation)
- 4 -- Xintang nuc980 mount initramfs NFS file system
- Leetcode:minimum_ depth_ of_ binary_ Tree solutions
- Rethinking of investment
- Real project, realized by wechat applet opening code (end)
- QPushButton-》函数精解
- The boss is quarantined
- The panel floating with the mouse in unity can adapt to the size of text content
- Electrical engineering and automation
- 4--新唐nuc980 挂载initramfs nfs文件系统
猜你喜欢
The boss is quarantined
![[unity notes] screen coordinates to ugui coordinates](/img/e4/fc18dd9b4b0e36ec3e278e5fb3fd23.jpg)
[unity notes] screen coordinates to ugui coordinates
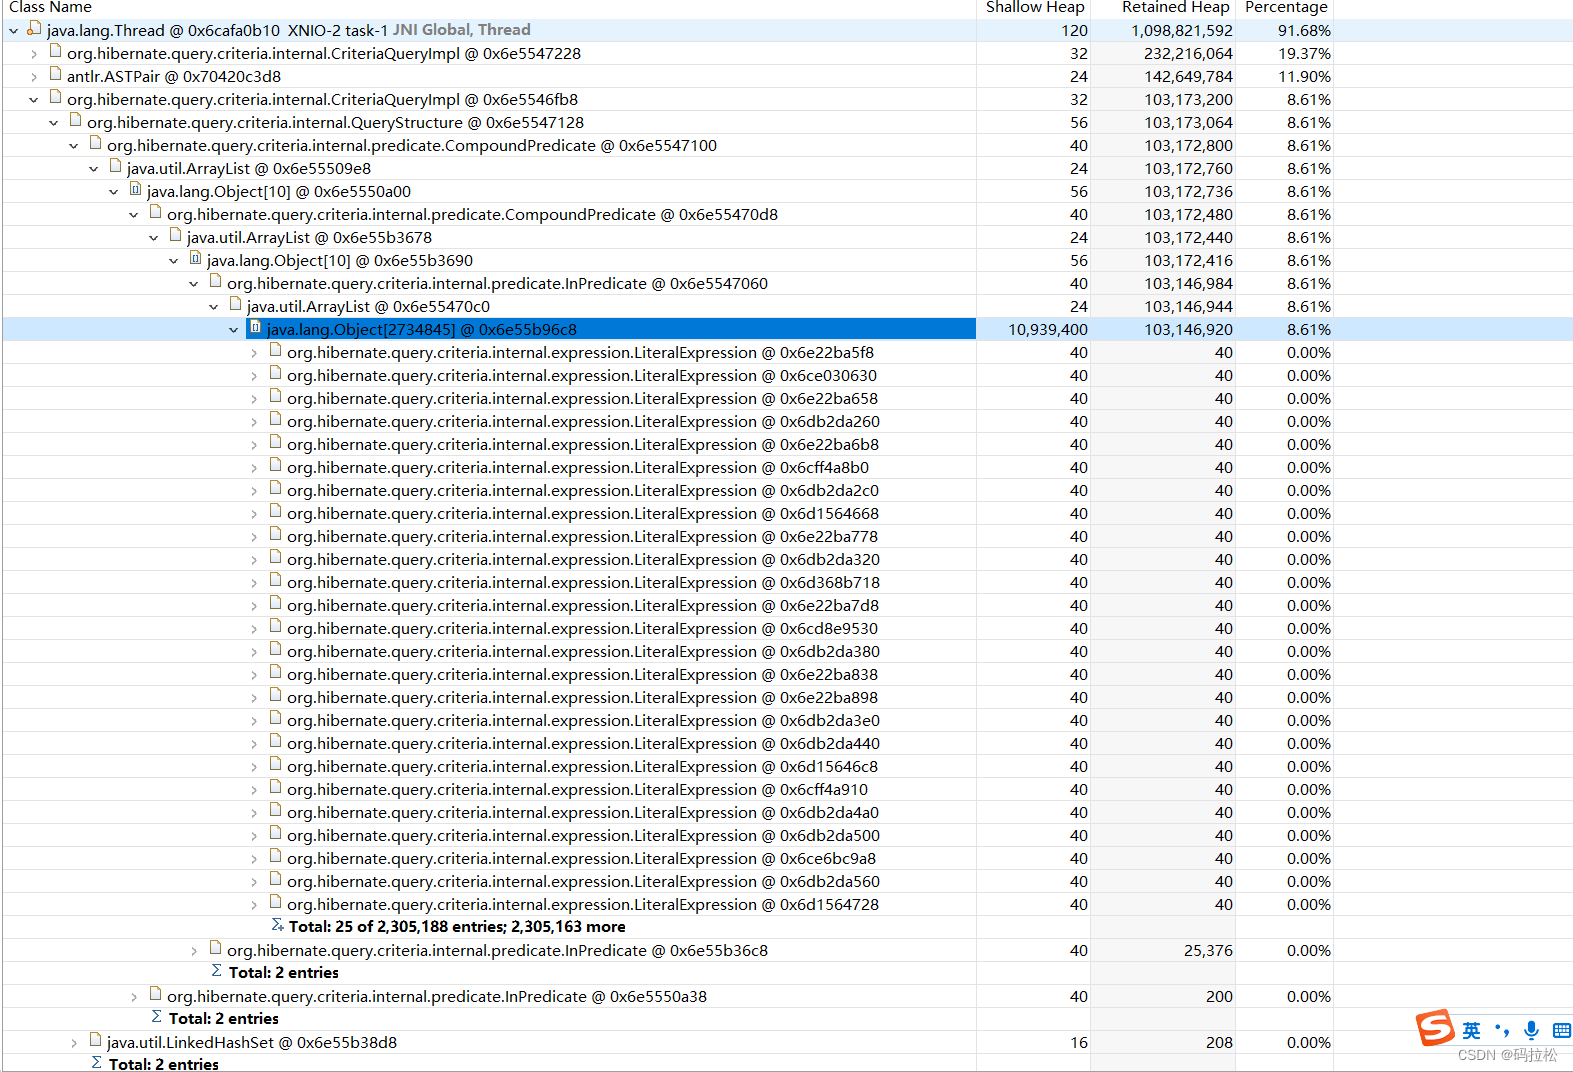
记一次JAP查询导致OOM的问题分析
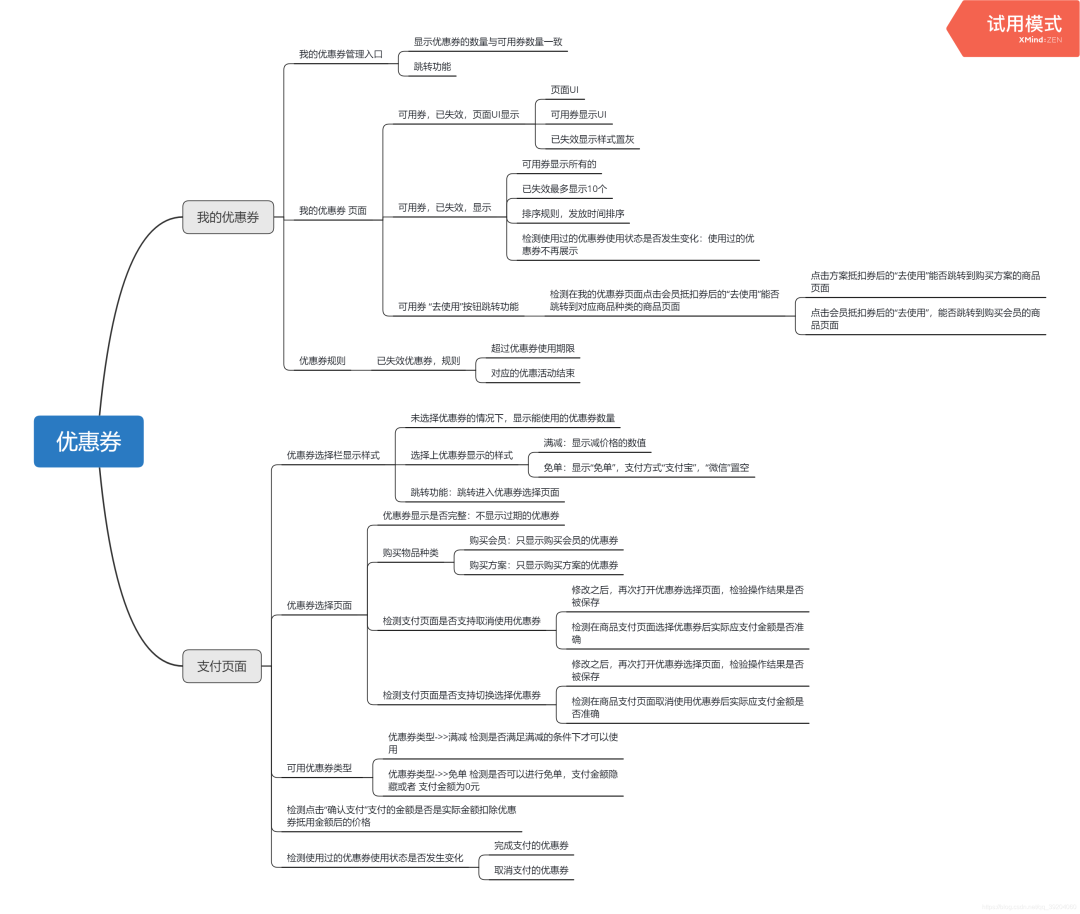
测试优惠券要怎么写测试用例?
![leetcode:736. LISP syntax parsing [flowery + stack + status enumaotu + slots]](/img/0d/e07fe970167368040eb09b05c3682e.png)
leetcode:736. LISP syntax parsing [flowery + stack + status enumaotu + slots]
如何设计好接口测试用例?教你几个小技巧,轻松稿定
Planning and design of double click hot standby layer 2 network based on ENSP firewall
MES管理系统的应用和好处有哪些
AWS学习笔记(一)

Application analysis of face recognition
随机推荐
[C # notes] use file stream to copy files
[paper reading | deep reading] anrl: attributed network representation learning via deep neural networks
Untiy文本框的代码换行问题
pgpool-II和pgpoolAdmin的使用
postgresql 之 数据目录内部结构 简介
[paper reading | deep reading] dngr:deep neural networks for learning graph representations
真实项目,用微信小程序开门编码实现(完结)
C # / vb. Net supprime le filigrane d'un document word
B站6月榜单丨飞瓜数据UP主成长排行榜(哔哩哔哩平台)发布!
leetcode:5. Longest palindrome substring [DP + holding the tail of timeout]
1个月增长900w+播放!总结B站顶流恰饭的2个新趋势
This week's hot open source project!
Processus général de requête pour PostgreSQL
unity webgl自适应网页尺寸
基于ensp防火墙双击热备二层网络规划与设计
CDB PDB 用户权限管理
QT常见概念-1
How to build a 32core raspberry pie cluster from 0 to 1
Error in fasterxml tostringserializerbase
The panel floating with the mouse in unity can adapt to the size of text content