当前位置:网站首页>使用源码编译来安装PostgreSQL13.3数据库
使用源码编译来安装PostgreSQL13.3数据库
2022-07-06 16:23:00 【华为云】
1、安装概述
PG安装方法很多,和MySQL类似,给用户提供很大的选择空间。如:RPM包安装(在线、离线)、源码编译安装、系统自带、二进制、NDB安装等。
https://yum.postgresql.org/rpmchart.php
https://yum.postgresql.org/11/redhat/rhel-6-x86_64/repoview/postgresqldbserver11.group.html
https://www.postgresql.org/ftp/source/
打开 PostgreSQL 官网 https://www.postgresql.org/,点击菜单栏上的Download ,可以看到这里包含了很多平台的安装包,包括 Linux、Windows、Mac OS等 。
各个安装包:https://www.postgresql.org/ftp/source/
Linux 我们可以看到支持 Ubuntu 和 Red Hat 等各个平台,点击具体的平台链接,即可查看安装方法:
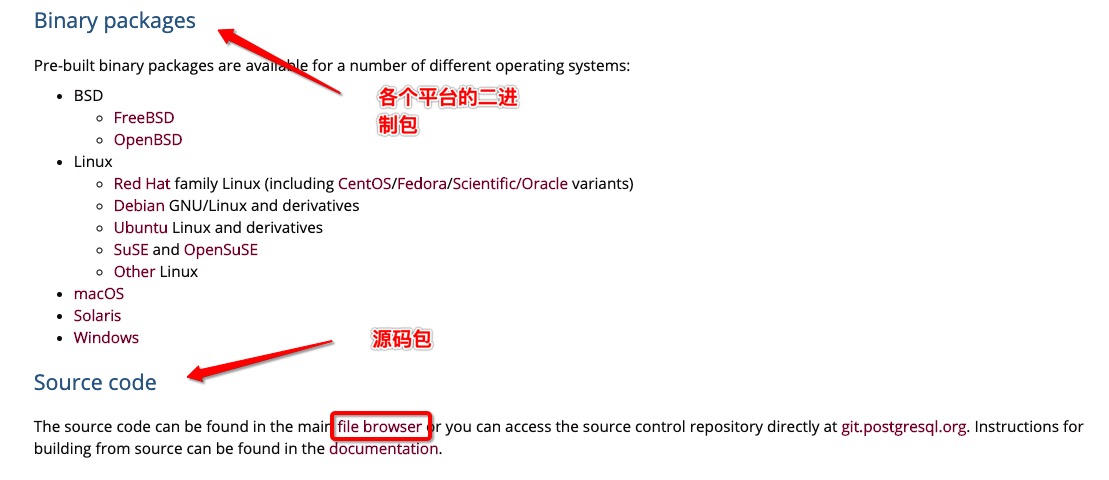
点击上图中的 file browser,我们还能下载 PostgreSQL 最新的源码。
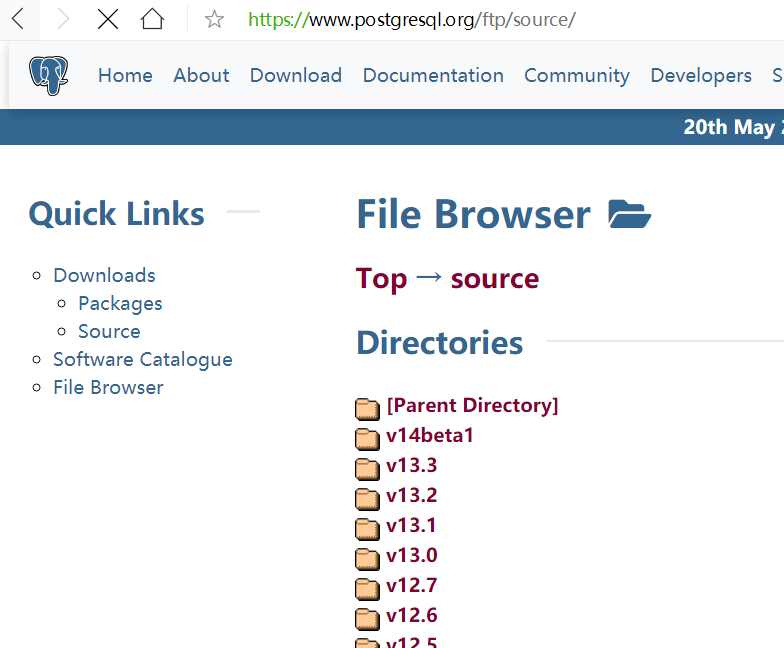
下载地址:
https://www.postgresql.org/download
https://yum.postgresql.org/repopackages.php
文档:https://www.postgresql.org/download/linux/redhat/
rpm下载:https://yum.postgresql.org/rpmchart/
生产库建议源码安装,以下方法已在9.6到13版本测试过。
2、下载源码包
源码下载地址:https://www.postgresql.org/ftp/source/
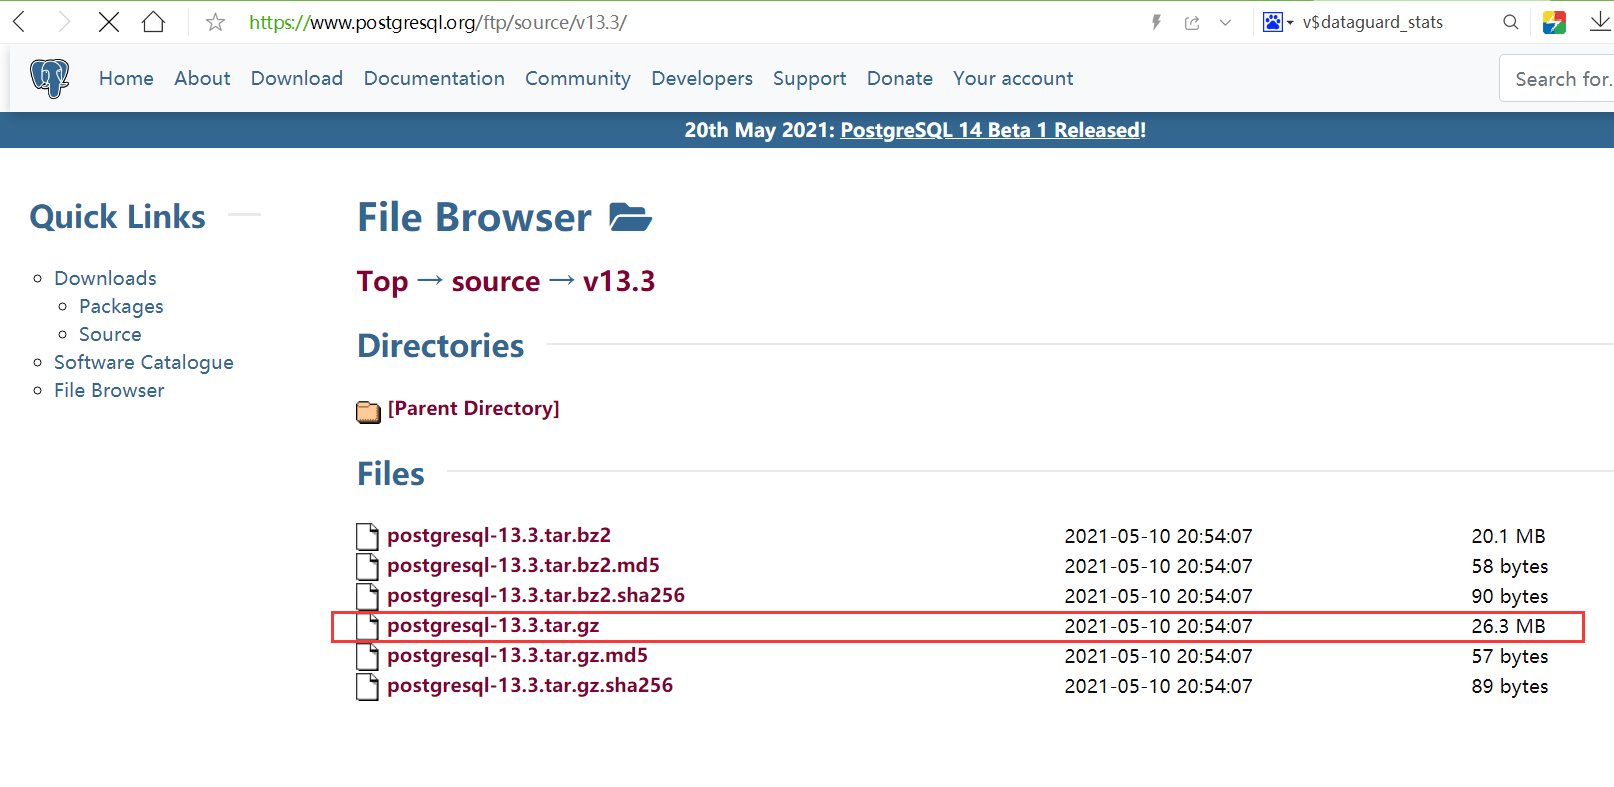
-- 下载源码包wget https://ftp.postgresql.org/pub/source/v13.3/postgresql-13.3.tar.gzwget https://ftp.postgresql.org/pub/source/v13.2/postgresql-13.2.tar.gzwget https://ftp.postgresql.org/pub/source/v12.6/postgresql-12.6.tar.gzwget https://ftp.postgresql.org/pub/source/v11.11/postgresql-11.11.tar.gzwget https://ftp.postgresql.org/pub/source/v10.16/postgresql-10.16.tar.gzwget https://ftp.postgresql.org/pub/source/v9.6.21/postgresql-9.6.21.tar.gzwget https://ftp.postgresql.org/pub/source/v9.4.26/postgresql-9.4.26.tar.gz3、创建用户和安装目录
-- 创建用户groupadd -g 60000 pgsqluseradd -u 60000 -g pgsql pgsqlecho "lhr" | passwd --stdin pgsql-- 创建目录mkdir -p /postgresql/{pgdata,archive,scripts,backup,pg13,soft}chown -R pgsql:pgsql /postgresqlchmod -R 775 /postgresql4、编译PG
-- 安装一些依赖包yum install -y cmake make gcc zlib gcc-c++ perl readline readline-devel zlib zlib-devel \perl python36 tcl openssl ncurses-devel openldap pam-- 编译su - pgsqlcd /postgresql/softtar zxvf postgresql-13.3.tar.gzcd postgresql-13.3./configure --prefix=/postgresql/pg13 --without-readlinemake -j 8 && make install5、配置环境变量
-- 配置环境变量cat >> ~/.bash_profile <<"EOF"export LANG=en_US.UTF-8export PS1="[\[email protected]\h \W]\$ "export PGPORT=5432export PGDATA=/postgresql/pgdataexport PGHOME=/postgresql/pg13export LD_LIBRARY_PATH=$PGHOME/lib:/lib64:/usr/lib64:/usr/local/lib64:/lib:/usr/lib:/usr/local/lib:$LD_LIBRARY_PATHexport PATH=$PGHOME/bin:$PATH:.export DATE=`date +"%Y%m%d%H%M"`export MANPATH=$PGHOME/share/man:$MANPATHexport PGHOST=$PGDATAexport PGUSER=postgresexport PGDATABASE=postgresalias psql='rlwrap psql' EOFsource ~/.bash_profile6、初始化数据库
-- 初始化su - pgsql/postgresql/pg13/bin/initdb -D /postgresql/pgdata -E UTF8 --locale=en_US.utf8 -U postgres7、配置远程登陆
-- 修改参数cat >> /postgresql/pgdata/postgresql.conf <<"EOF"listen_addresses = '*'port=5432unix_socket_directories='/postgresql/pgdata'logging_collector = onlog_directory = 'pg_log'log_filename = 'postgresql-%a.log'log_truncate_on_rotation = onEOFcat > /postgresql/pgdata/pg_hba.conf << EOF# TYPE DATABASE USER ADDRESS METHODlocal all all trusthost all all 127.0.0.1/32 trusthost all all 0.0.0.0/0 md5host replication all 0.0.0.0/0 md5EOF-- 启动su - pgsqlpg_ctl startpg_ctl statuspg_ctl stop-- 或:nohup /postgresql/pg13/bin/postgres -D /postgresql/pgdata > /postgresql/pg13/pglog.out 2>&1 &8、配置系统服务
-- 配置系统服务cat > /etc/systemd/system/PG13.service <<"EOF"[Unit]Description=PostgreSQL database serverDocumentation=man:postgres(1)After=network.target[Service]Type=forkingUser=pgsqlGroup=pgsqlEnvironment=PGPORT=5432Environment=PGDATA=/postgresql/pgdataOOMScoreAdjust=-1000ExecStart=/postgresql/pg13/bin/pg_ctl start -D ${PGDATA} -s -o "-p ${PGPORT}" -w -t 300ExecStop=/postgresql/pg13/bin/pg_ctl stop -D ${PGDATA} -s -m fastExecReload=/postgresql/pg13/bin/pg_ctl reload -D ${PGDATA} -sKillMode=mixedKillSignal=SIGINTTimeoutSec=0[Install]WantedBy=multi-user.targetEOF使用systemctl启动PG:
systemctl daemon-reloadsystemctl enable PG13systemctl start PG13systemctl status PG13已启动:
[root@lhrpg postgresql]# systemctl status PG13● PG13.service - PostgreSQL database server Loaded: loaded (/etc/systemd/system/PG13.service; enabled; vendor preset: disabled) Active: active (running) since Wed 2021-05-26 21:32:26 CST; 1s ago Docs: man:postgres(1) Process: 12473 ExecStart=/postgresql/pg13/bin/pg_ctl start -D ${PGDATA} -s -o -p ${PGPORT} -w -t 300 (code=exited, status=0/SUCCESS) Main PID: 12475 (postgres) CGroup: /docker/ea25b97cfa732f1ec6f188098898e8f26b64cd1bf1e9b408898d722c8a5917fb/system.slice/PG13.service ├─12475 /postgresql/pg13/bin/postgres -D /postgresql/pgdata -p 5433 ├─12476 postgres: logger ├─12478 postgres: checkpointer ├─12479 postgres: background writer ├─12480 postgres: walwriter ├─12481 postgres: autovacuum launcher ├─12482 postgres: stats collector └─12483 postgres: logical replication launcher May 26 21:32:26 lhrpg systemd[1]: Starting PostgreSQL database server...May 26 21:32:26 lhrpg pg_ctl[12473]: 2021-05-26 21:32:26.617 CST [12475] LOG: redirecting log output to logging collector processMay 26 21:32:26 lhrpg pg_ctl[12473]: 2021-05-26 21:32:26.617 CST [12475] HINT: Future log output will appear in directory "pg_log".May 26 21:32:26 lhrpg systemd[1]: Started PostgreSQL database server.9、登陆测试
-- 远程登陆psql -U postgres -h 192.168.66.35 -d postgres -p5432-- 从Postgresql 9.2开始,还可以使用URI格式进行远程连接:psql postgresql://myuser:[email protected]:5432/mydbpsql postgresql://postgres:[email protected]:5432/postgres其中-h参数指定服务器地址,默认为127.0.0.1,默认不指定即可,-d指定连接之后选中的数据库,默认也是postgres,-U指定用户,默认是当前用户,-p 指定端口号,默认是"5432",其它更多的参数选项可以执行: ./bin/psql --help 查看。
C:\Users\lhrxxt>psql -U postgres -h 192.168.66.35 -d postgres -p5432Password for user postgres:psql (13.3)Type "help" for help.postgres=# \l List of databases Name | Owner | Encoding | Collate | Ctype | Access privileges-----------+----------+----------+-------------------+-------------------+----------------------- postgres | postgres | UTF8 | Chinese_China.936 | Chinese_China.936 | template0 | postgres | UTF8 | Chinese_China.936 | Chinese_China.936 | =c/postgres + | | | | | postgres=CTc/postgres template1 | postgres | UTF8 | Chinese_China.936 | Chinese_China.936 | =c/postgres + | | | | | postgres=CTc/postgres(3 rows)postgres=# CREATE DATABASE lhrdb WITH OWNER=postgres ENCODING='UTF-8';CREATE DATABASEpostgres=# \c lhrdbYou are now connected to database "lhrdb" as user "postgres".lhrdb=#lhrdb=# create table student (lhrdb(# id integer not null,lhrdb(# name character(32),lhrdb(# number char(5),lhrdb(# constraint student_pkey primary key (id)lhrdb(# );CREATE TABLElhrdb=#lhrdb=# \d student Table "public.student" Column | Type | Collation | Nullable | Default--------+---------------+-----------+----------+--------- id | integer | | not null | name | character(32) | | | number | character(5) | | |Indexes: "student_pkey" PRIMARY KEY, btree (id)lhrdb=#lhrdb=# INSERT INTO student (id, name, number) VALUES (1, '张三', '1023');INSERT 0 1lhrdb=# SELECT * FROM student WHERE id=1; id | name | number----+------------------------------------+-------- 1 | 张三 | 1023(1 row)安装配置完成,若有不懂,可以私聊麦老师。
边栏推荐
- Cloud native (32) | kubernetes introduction to platform storage system
- How does crmeb mall system help marketing?
- Please help xampp to do sqlilab is a black
- The programmer refused the offer because of low salary, HR became angry and netizens exploded
- 吴恩达2022机器学习课程评测来了!
- How can Oracle CDC deserialize with jsondebeziumdeserializationschema
- 零代码高回报,如何用40套模板,能满足工作中95%的报表需求
- 【212】php发送post请求有哪三种方法
- 士大夫哈哈哈
- 【通信】两层无线 Femtocell 网络上行链路中的最优功率分配附matlab代码
猜你喜欢
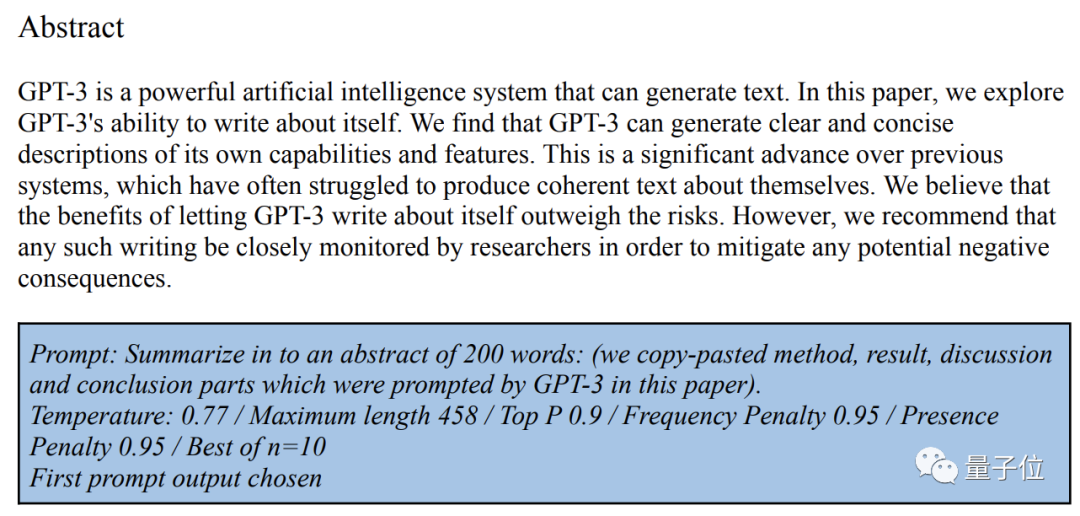
Gpt-3 is a peer review online when it has been submitted for its own research
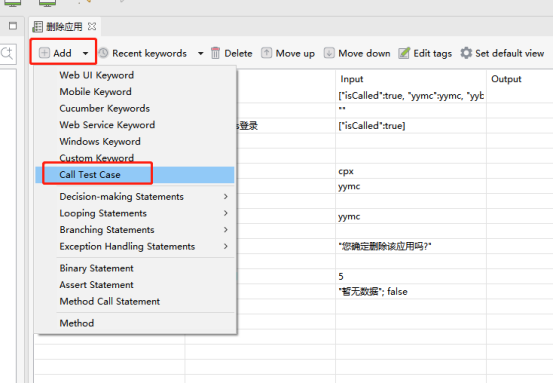
Automatic test tool katalon (WEB) test operation instructions

AI表现越差,获得奖金越高?纽约大学博士拿出百万重金,悬赏让大模型表现差劲的任务...
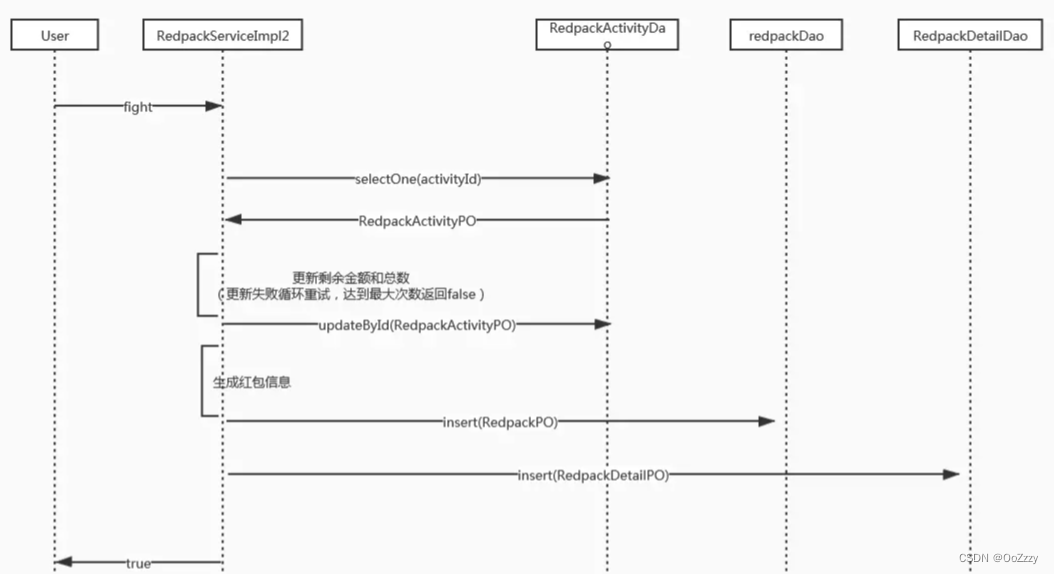
Design a red envelope grabbing system
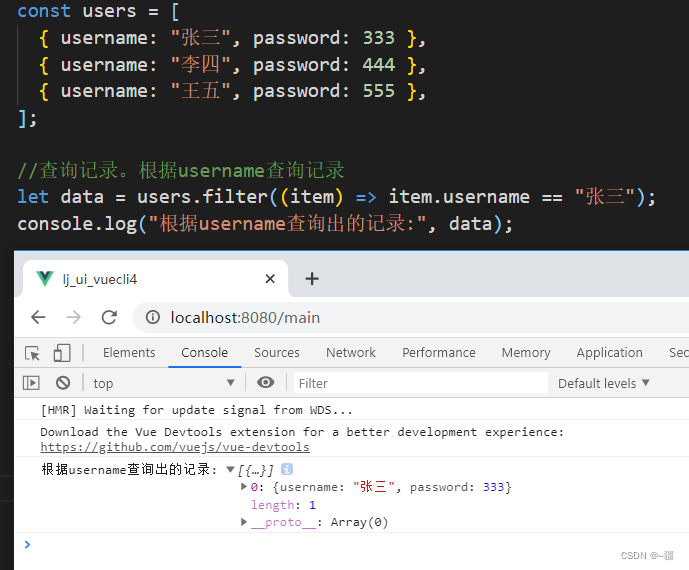
JS addition, deletion, modification and query of JSON array

leetcode:236. The nearest common ancestor of binary tree
![[unmanned aerial vehicle] multi unmanned cooperative task allocation program platform, including Matlab code](/img/4c/5d867437aac5faa299817e187602e1.png)
[unmanned aerial vehicle] multi unmanned cooperative task allocation program platform, including Matlab code
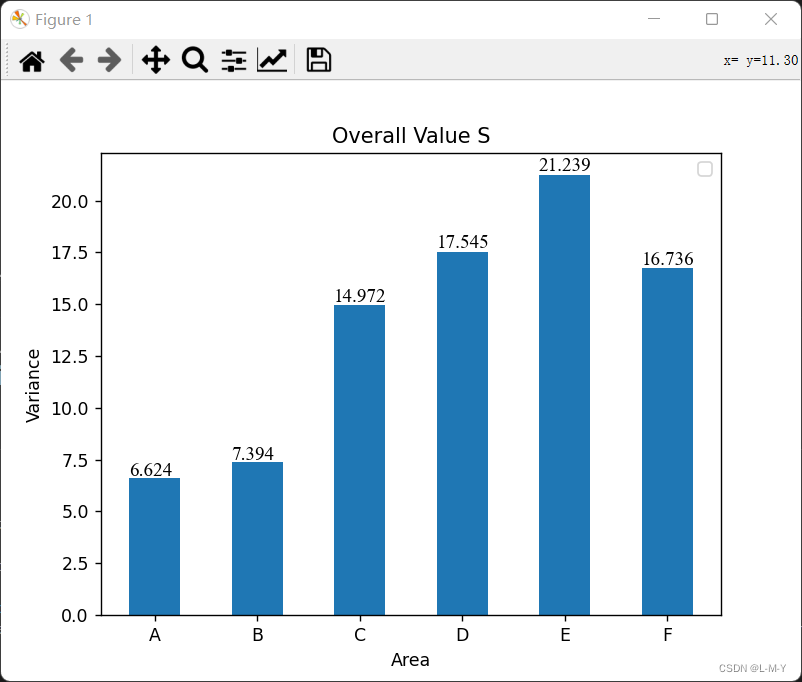
matplotlib画柱状图并添加数值到图中

The method of reinstalling win10 system is as simple as that

服务器SMP、NUMA、MPP体系学习笔记。
随机推荐
Wu Enda 2022 machine learning course evaluation is coming!
A novice asks a question. I am now deployed on a single machine. I submitted an SQL job and it runs normally. If I restart the service job, it will disappear and I will have to
Who said that new consumer brands collapsed? Someone behind me won
同一个作业有两个source,同一链接不同数据库账号,为何第二个链接查出来的数据库列表是第一个账号的
Station B boss used my world to create convolutional neural network, Lecun forwarding! Burst the liver for 6 months, playing more than one million
Laravel8 uses passport authentication to log in and generate a token
Cover fake big empty talk in robot material sorting
【212】php发送post请求有哪三种方法
2022 latest blind box mall complete open source operation source code / docking visa free payment interface / building tutorial
英国都在试行4天工作制了,为什么BAT还对996上瘾?
I've been laid off, and I'll lose money for everything. The days when I once made a monthly salary of 20000 are not coming back
Knowledge * review
每年 2000 亿投资进入芯片领域,「中国芯」创投正蓬勃
Microsoft win11 is still "unsatisfactory". Multi user feedback will cause frequent MSI crashes
MATLIB从excel表中读取数据并画出函数图像
How to answer the dualistic opposition of Zhihu
The largest single investment in the history of Dachen was IPO today
The problem of ASP reading Oracle Database
Asset security issues or constraints on the development of the encryption industry, risk control + compliance has become the key to breaking the platform
Pdf batch splitting, merging, bookmark extraction, bookmark writing gadget