当前位置:网站首页>docker+网桥+redis主从+哨兵模式
docker+网桥+redis主从+哨兵模式
2022-08-04 02:51:00 【就是叫这个名字】
docker+网桥+redis主从+哨兵模式
我是在两台服务器上实验的,一台服务器的ip是192.168.213.144,另一台服务器的ip是192.168.213.145
1. 搭建网桥
关于第一部分搭建网桥可以参考我这篇博客,会稍微详细一点,https://blog.csdn.net/weixin_45753881/article/details/125973566
1.1 新建网桥
给主机192.168.213.144 网桥分配的网段是 172.20.144.0/24
给主机192.168.213.145 网桥分配的网段是 172.20.145.0/24
#在主机144上执行
docker network create --subnet=172.20.144.0/24 --gateway 172.20.144.1 redisbridge
#在主机145上执行
docker network create --subnet=172.20.145.0/24 --gateway 172.20.145.1 redisbridge
1.2 添加路由
#在主机144上执行
route add -net 172.20.144.0/24 gw 172.20.144.1
#在主机145上执行
route add -net 172.20.145.0/24 gw 172.20.145.1
1.3 配置iptables规则
#在主机144上执行
iptables -t nat -I PREROUTING -s 172.20.144.0/24 -d 172.20.145.0/24 -j DNAT --to 172.20.144.1
#在主机145上执行
iptables -t nat -I PREROUTING -s 172.20.145.0/24 -d 172.20.144.0/24 -j DNAT --to 172.20.145.1
2. 配置redis.conf
2.1 下载redis.conf(主机144和主机145都执行)
# 如果没有安装yum,需要先安装yum
yum -y install wget
# 下载redis.conf,下载路径为/root/redis.conf,想下载到其它路径也可以,记得运行创建docker容器命令(步骤3.1和3.2)时也改成自己所下载的地址
wget http://download.redis.io/redis-stable/redis.conf
# 在服务器的/root目录下创建redis.log文件,到其它路径也可以,记得运行创建docker容器命令(步骤3.1和3.2)时也改成自己所设置的地址
touch redis.log
# 给redis.log赋予权限
chmod 777 redis.log
2.2 配置redis.conf
2.2.1 配置redis主的redis.conf(主机144)
(1)注释 # bind 127.0.0.1
(2)关闭保护模式 protected-mode no
(3)(可选)设定密码 requirepass yourpwd
(4)配置日志路径,为了便于排查问题 logfile “/var/log/redis/redis.log”
# bind 127.0.0.1
protected-mode no
requirepass  yourpwd
logfile "/var/log/redis/redis.log"
2.2.2 配置redis从的redis.conf(主机145)
(1)注释 # bind 127.0.0.1
(2)关闭保护模式 protected-mode no
(3)(可选)设定密码 requirepass yourpwd
(4)配置日志路径,为了便于排查问题 logfile “/var/log/redis/redis.log”
(5)配置主库的ip和端口 replicaof 192.xxx.xxx.xxx 6379
192.xxx.xxx.xxx 是主库所在服务器的ip,6379 是主库redis端口
(6)(视情况而定)如果主库配置了密码,那么这里就填写主库密码;如果主库没设定密码,就不用配 masterauth 主库密码
# bind 127.0.0.1
protected-mode no
requirepass  yourpwd
logfile "/var/log/redis/redis.log"
replicaof 192.xxx.xxx.xxx 6379  # 这里记得替换ip
masterauth  主库密码
3. 部署redis主从
3.1 部署redis主节点
# --network redisbridge 是所使用的网桥
# -e TZ=Asia/Shanghai 设置时区
docker run  --network redisbridge --name redis_master --restart=always -e TZ=Asia/Shanghai -v /root/redis.conf:/usr/local/etc/redis/redis.conf -v /root/redis.log:/var/log/redis/redis.log -d -p 6379:6379 redis:7.0.4 redis-server /usr/local/etc/redis/redis.conf
3.2 部署redis从节点
docker run --network redisbridge --name redis_slave --restart=always -e TZ=Asia/Shanghai -v /root/redis.conf:/usr/local/etc/redis/redis.conf -v /root/redis.log:/var/log/redis/redis.log -d -p 6379:6379 redis:7.0.4 redis-server /usr/local/etc/redis/redis.conf
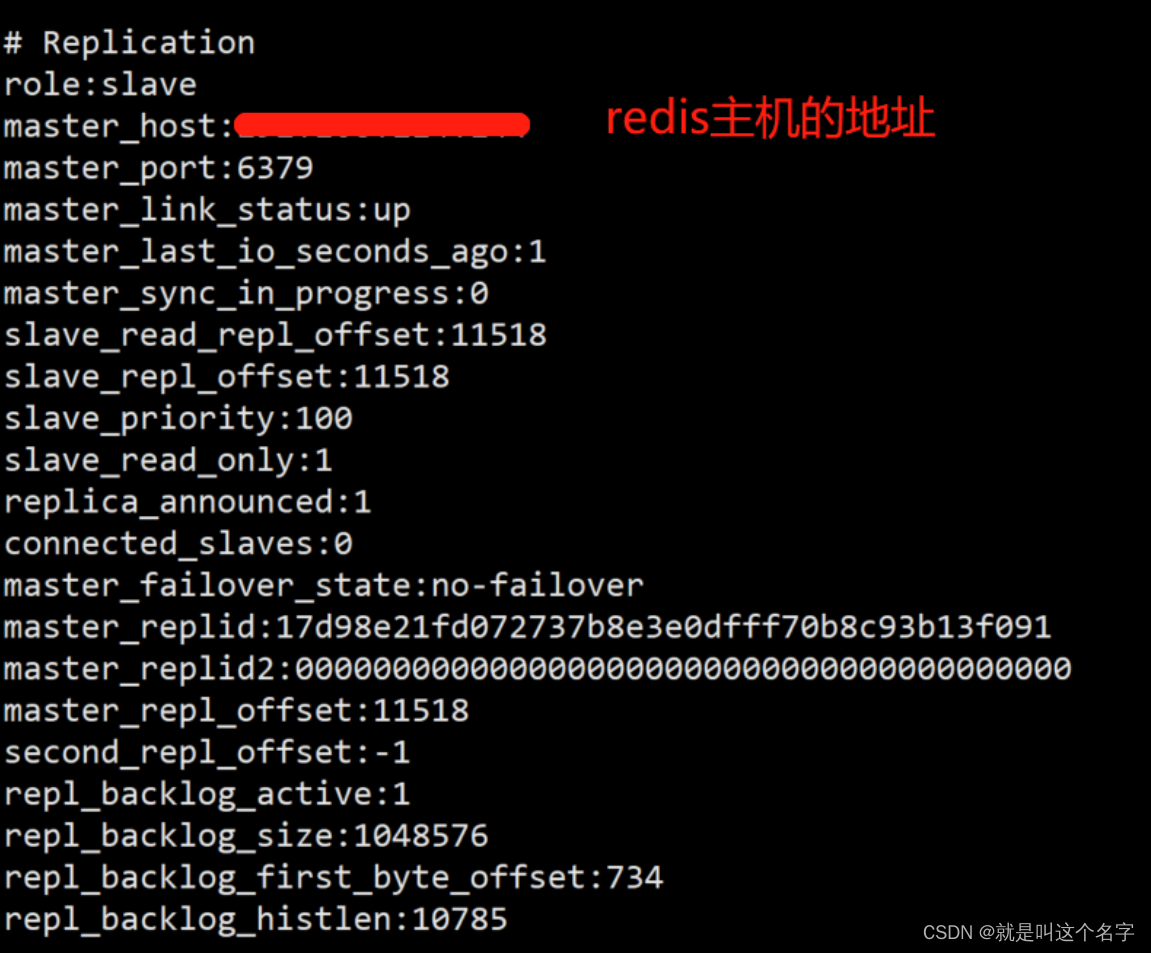
3.3 查看主从
# 进入redis从节点
docker exec -it redis_slave redis-cli
# 如果redis配置了密码,则进行密码验证,验证通过则会打印OK
auth 密码
# info进行查看
info
4. 配置哨兵
4.1 配置sentinel.conf(所有主机上都执行)
# 下载sentinel.conf到/root路径下,想下载到其它路径也可以,记得运行创建docker容器命令(步骤4.2.1和4.2.2)时也改成自己所下载的地址
wget http://download.redis.io/redis-stable/sentinel.conf
# 在服务器的/root目录下创建sentinel.log文件,到其它路径也可以,记得运行创建docker容器命令(步骤4.2.1和4.2.2)时也改成自己所设置的地址
touch sentinel.log
# sentinel.log赋予权限
chmod 777 sentinel.log
修改sentinel.conf以下几项
# 编辑sentinel.conf,进行以下配置,这里ip改成自己的服务器地址
sentinel monitor mymaster 192.168.213.144 6379 1
# 修改日志文件的路径
logfile "/var/log/redis/sentinel.log"
# 修改监控的主redis服务器,最后一个1表示,1台机器判定主被动下线后,就进行failover(故障转移)
sentinel monitor mymaster 192.168.213.144 6379 2
4.2 创建sentinel容器
4.2.1 在redis主节点所在的主机上执行
docker run --network redisbridge --name sentinel_master --ip 172.20.144.3 -p 26379:26379 --restart=always -e TZ=Asia/Shanghai -v /root/sentinel.conf:/usr/local/etc/redis/sentinel.conf -v /root/sentinel.log:/var/log/redis/sentinel.log -d redis:7.0.4 redis-sentinel /usr/local/etc/redis/sentinel.conf
4.2.2 在redis从节点所在的主机上执行
docker run --network redisbridge --name sentinel_slave --ip 172.20.145.3 -p 26379:26379 --restart=always -e TZ=Asia/Shanghai -v /root/sentinel.conf:/usr/local/etc/redis/sentinel.conf -v /root/sentinel.log:/var/log/redis/sentinel.log -d redis:7.0.4 redis-sentinel /usr/local/etc/redis/sentinel.conf
4.3 测试哨兵
(1)停掉redis主节点,等30秒后,进入redis从节点用info查看从节点是否切换成主节点
(2)也可以在服务器上在/root路径下使用cat sentinel.log查看日志(/root/sentinel.log是前面步骤配置的)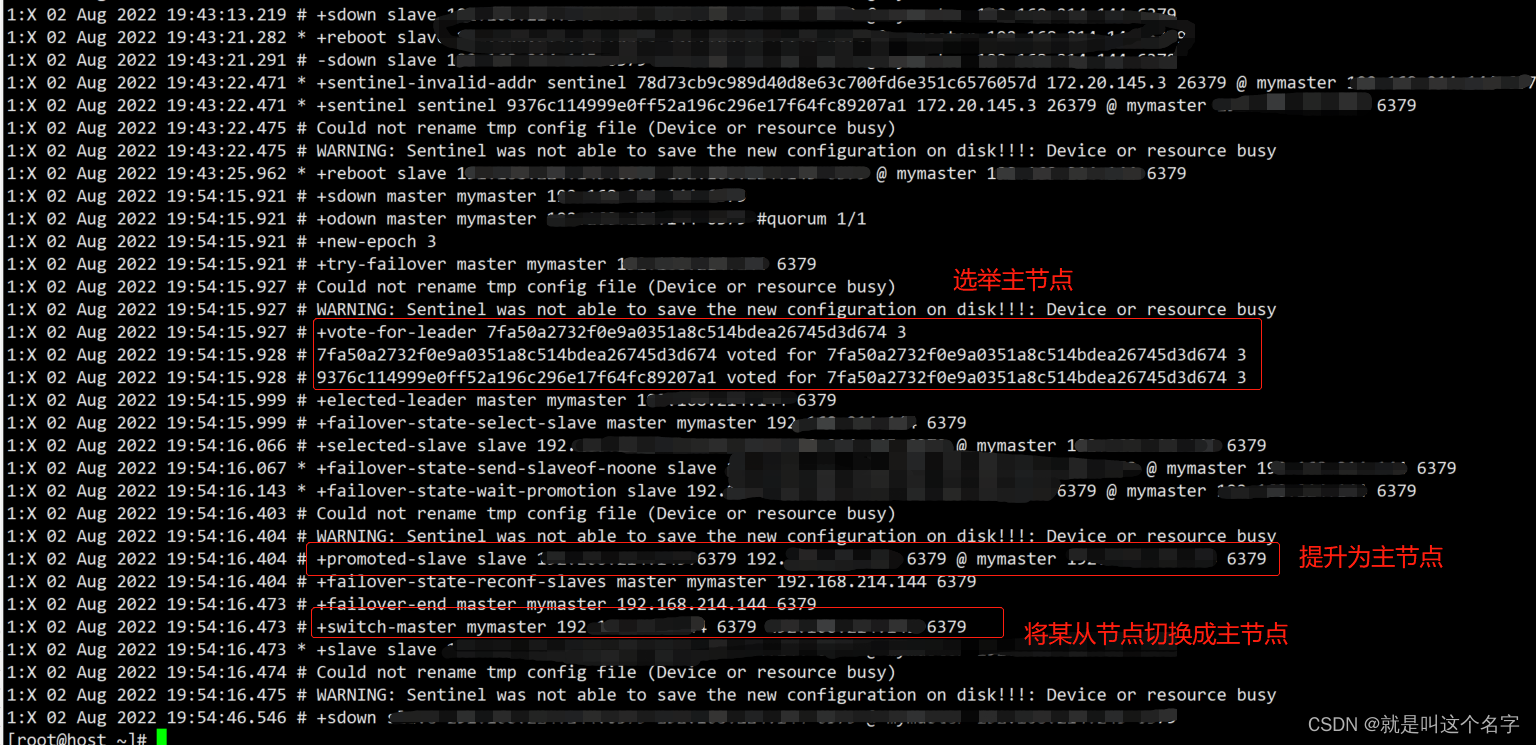
边栏推荐
猜你喜欢

SAP SD module foreground operation

第08章 索引的创建与设计原则【2.索引及调优篇】【MySQL高级】

阿里云国际版基于快照与镜像功能迁移云服务器数据
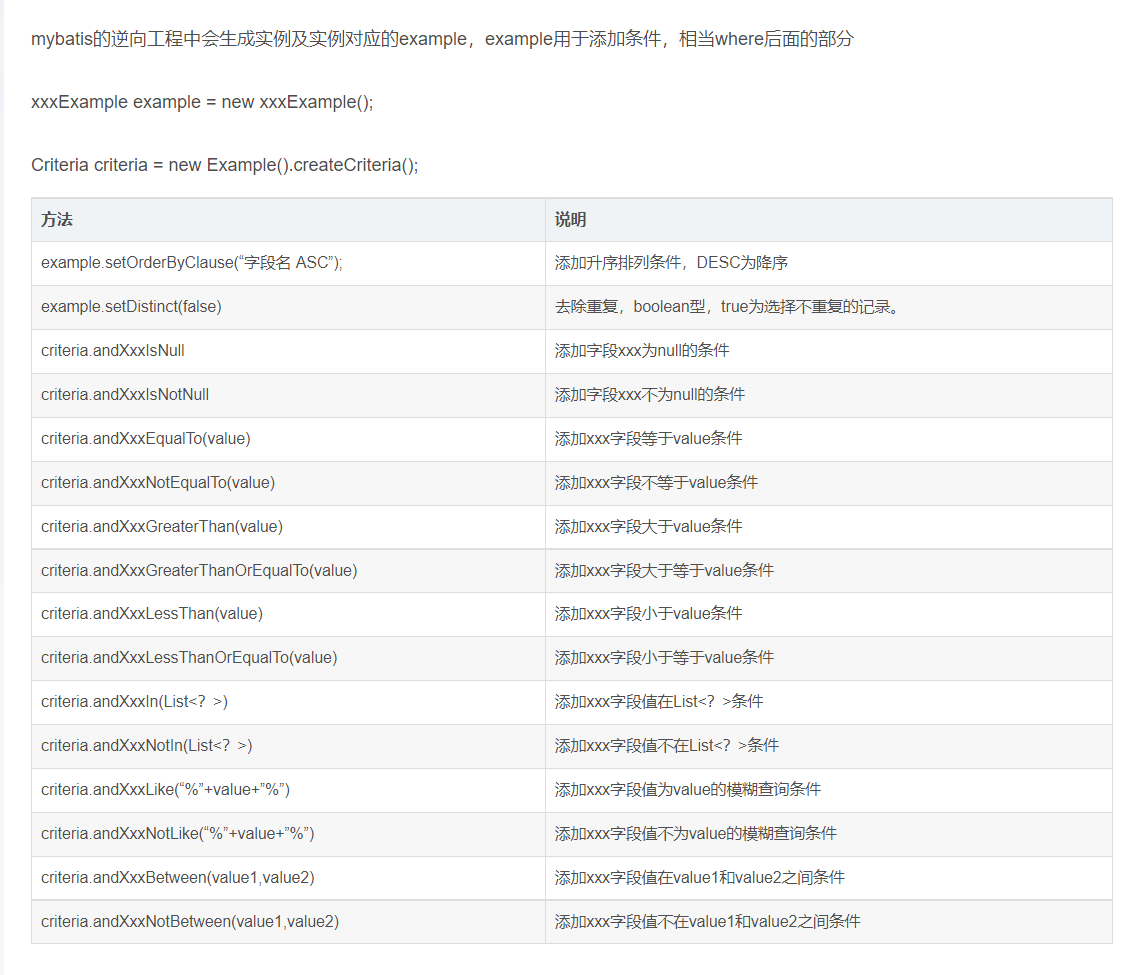
tkmapper的crud示例:
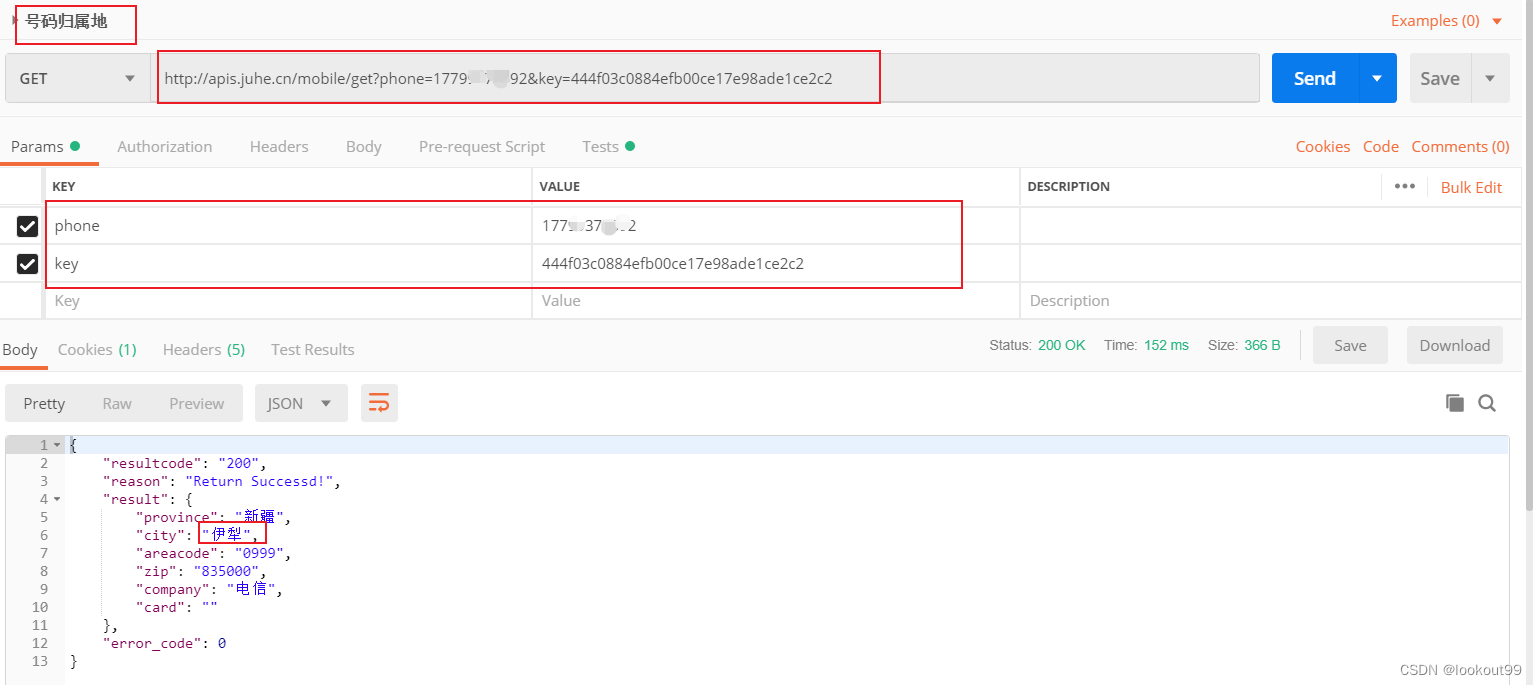
Day13 Postman的使用

pytorch applied to MNIST handwritten font recognition
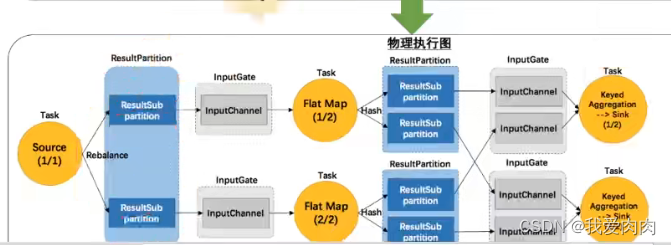
Simple record of Flink principle flow chart
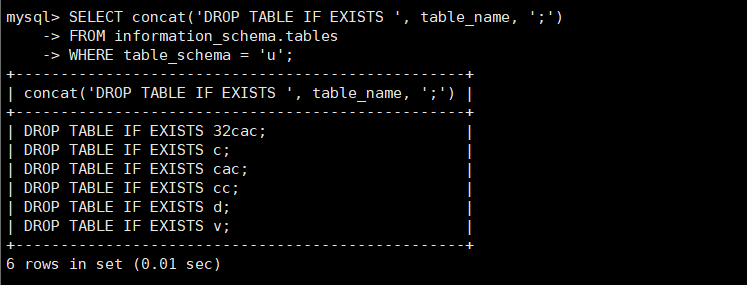
如何在MySQL中的数据库下删除所有的表
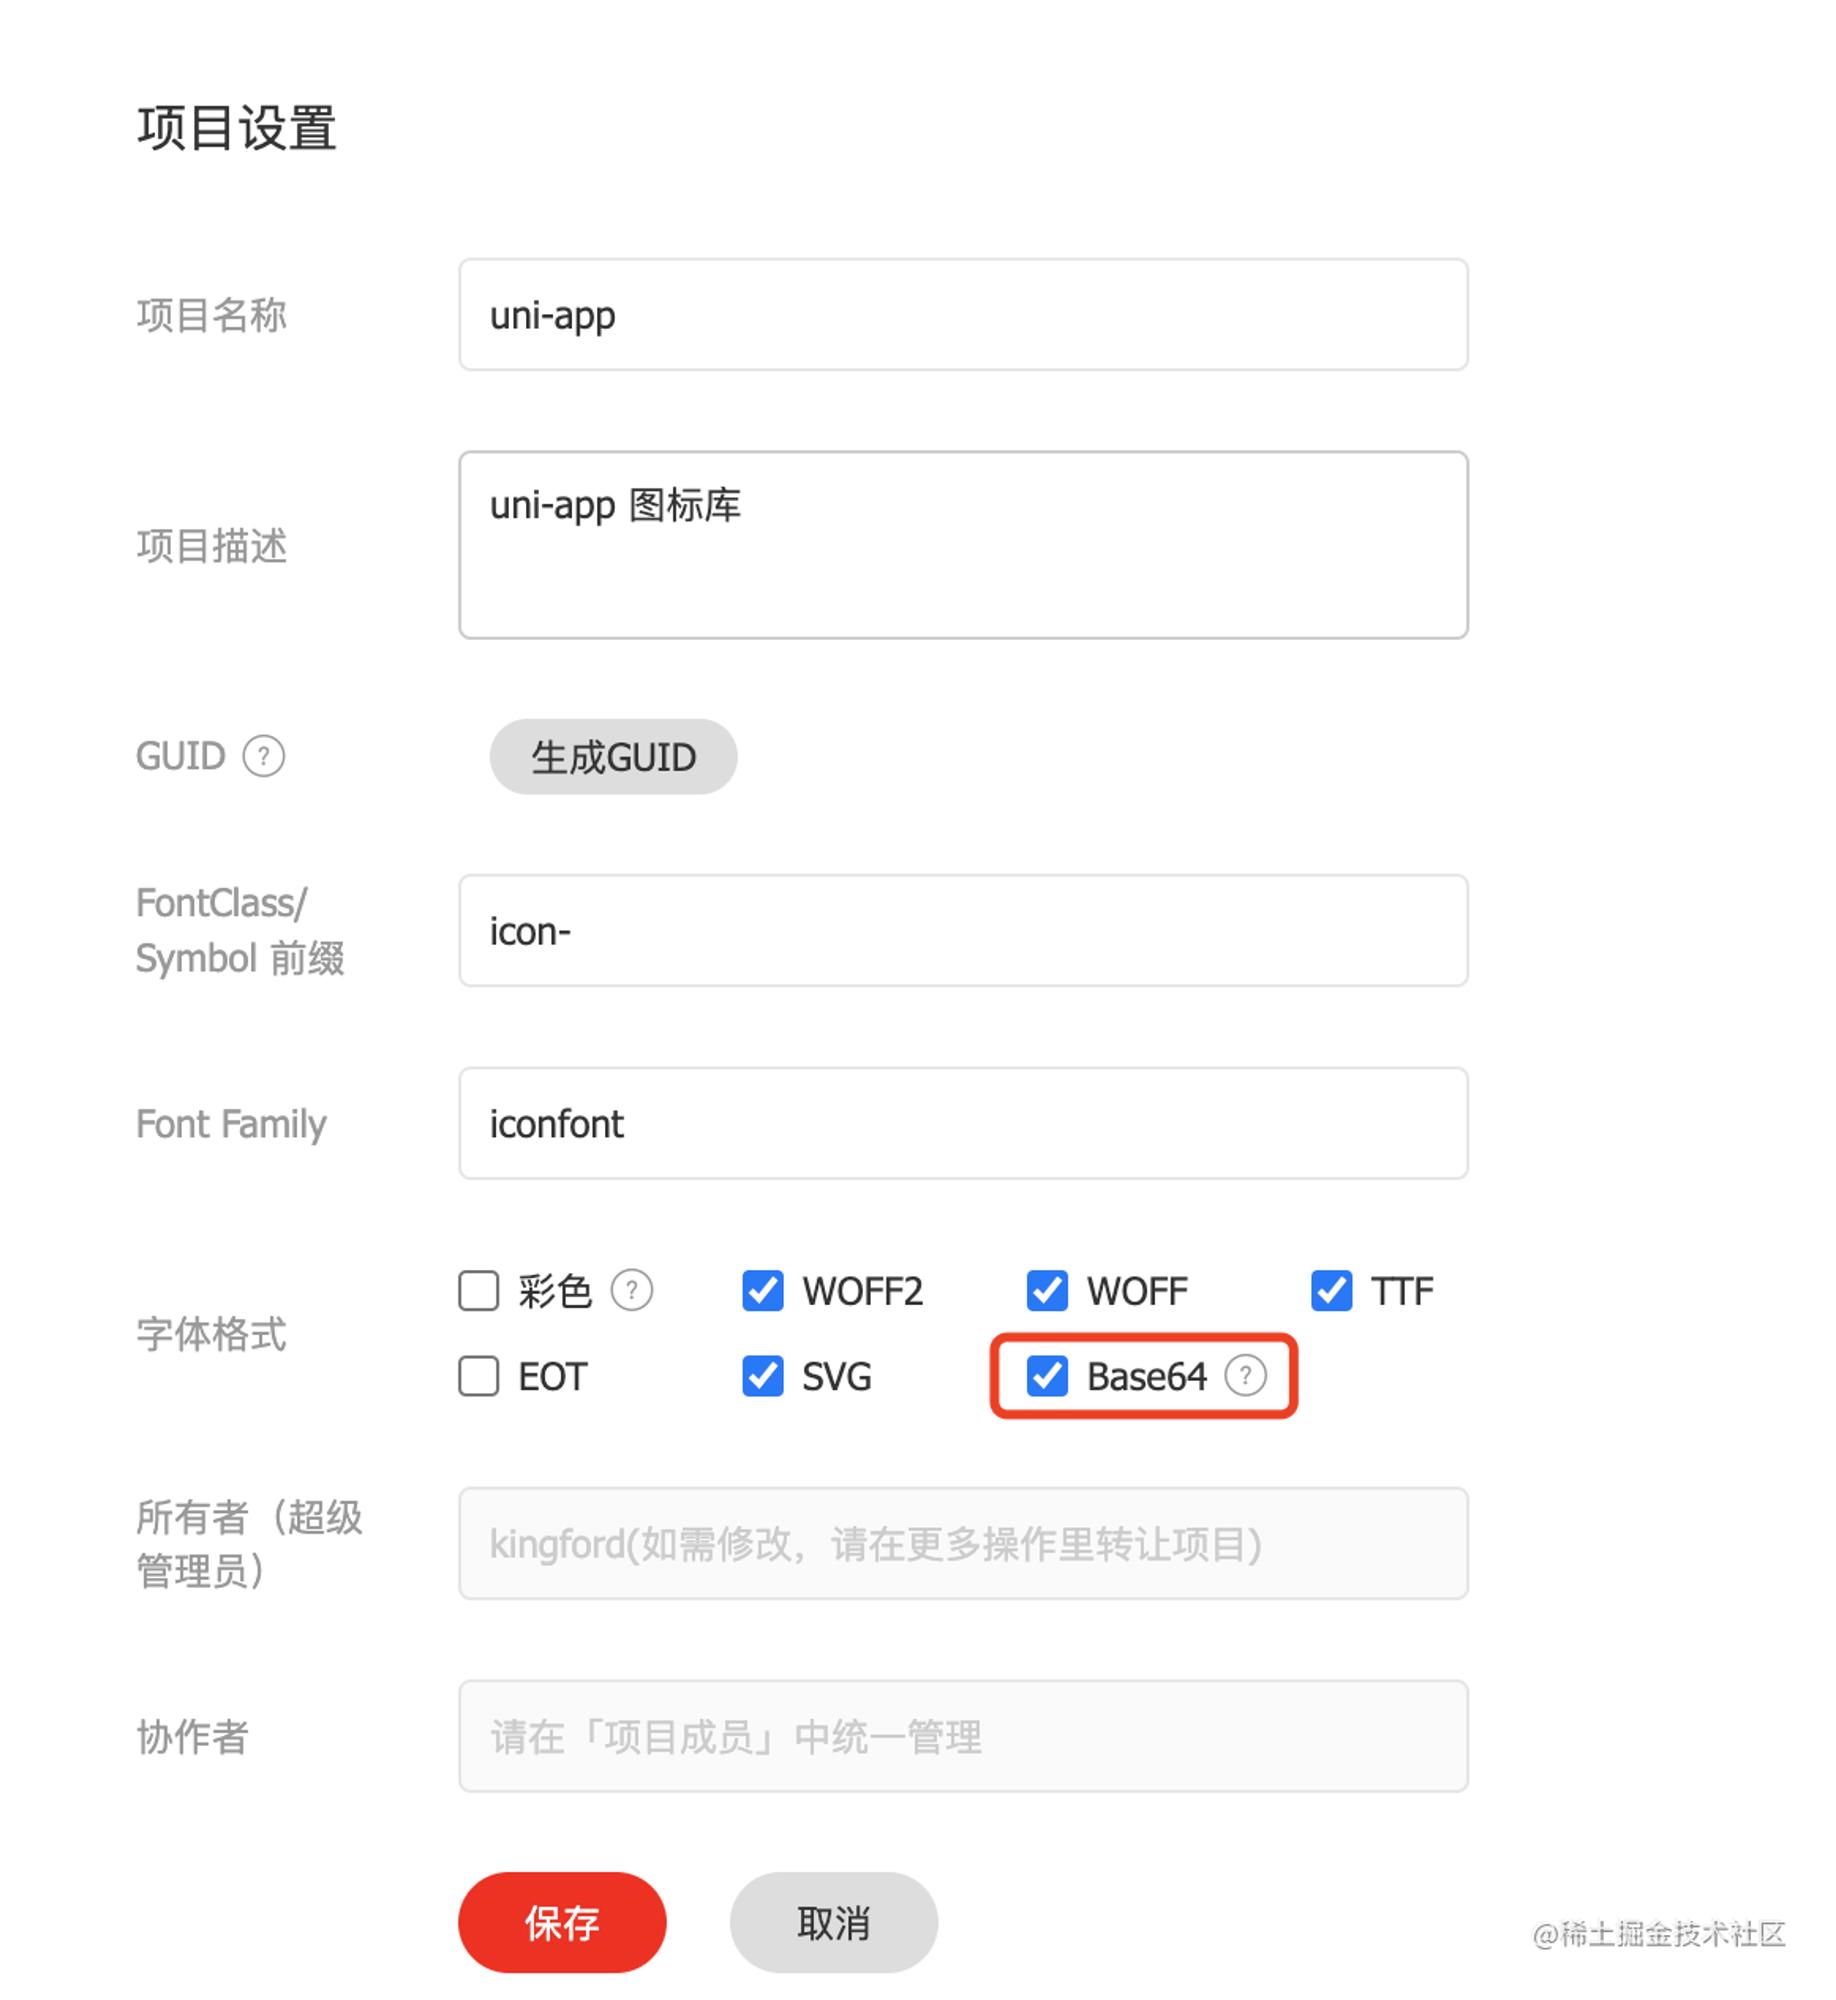
uni-app 从零开始-基础模版(一)
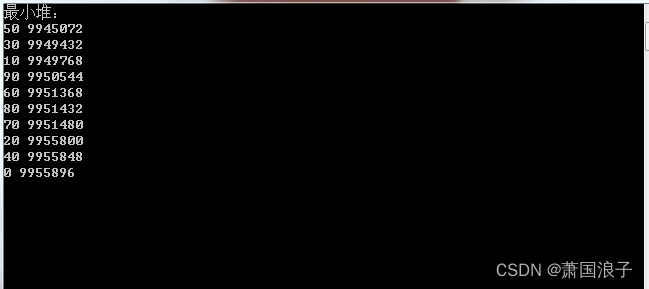
Priority_queue element as a pointer, the overloaded operators
随机推荐
(cf)Codeforces Round #811 (Div. 3)A--E详细题解
[Study Notes Dish Dog Learning C] Dynamic Memory Management
Rongyun "Audio and Video Architecture Practice" technical session [complete PPT included]
Kubernetes:(九)coredns(浪不动了)
yum 仅下载包
瑞能微计量芯片RN2026的实用程序
STM8S105K4T6------Serial port sending and receiving
tkmapper的crud示例:
云开发校园微社区微信小程序源码/二手交易/兼职交友微信小程序开源源码
Zabbix设置邮件告警+企业微信告警
三分建设,七分管理!产品、系统、组织三管齐下节能降耗
Development of Taurus. MVC WebAPI introductory tutorial 1: download environment configuration and operation framework (including series directory).
Ant - the design of the Select component using a custom icon (suffixIcon attribute) suffixes, click on the custom ICONS have no reaction, will not display the drop-down menu
全网没有之一的JMeter 接口测试流程详解
小程序+新零售,玩转行业新玩法!
2022.8.3-----leetcode.899
第13章 网络安全漏洞防护技术原理与应用
TOML配置文件格式,YAML最有力的竞争者
关联接口测试
脚手架内容详解分析