当前位置:网站首页>VSCode编写OpenCV
VSCode编写OpenCV
2022-08-05 05:25:00 【ProfSnail】
首先,需要安装MinGW编译器,支持编译C++代码。
安装MinGW编译器
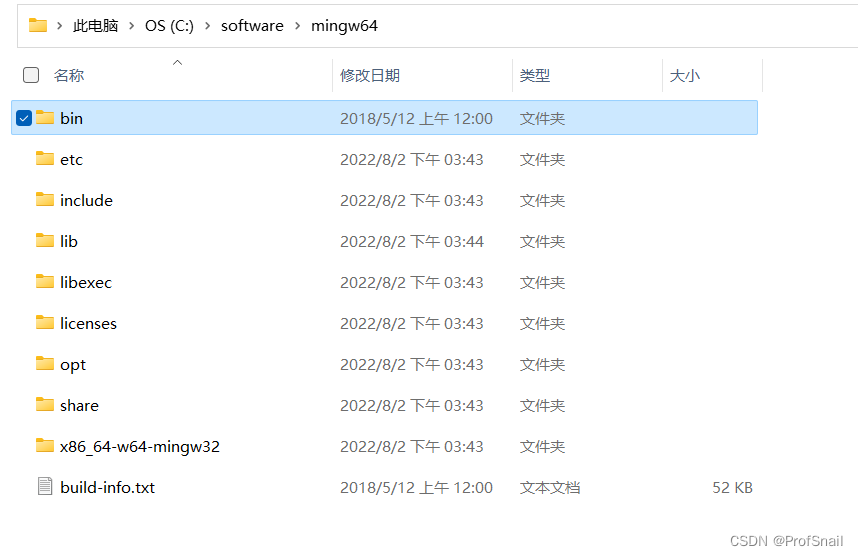
将MinGW解压缩在某个文件夹中。例如:C:\software\mingw64
配置环境变量。
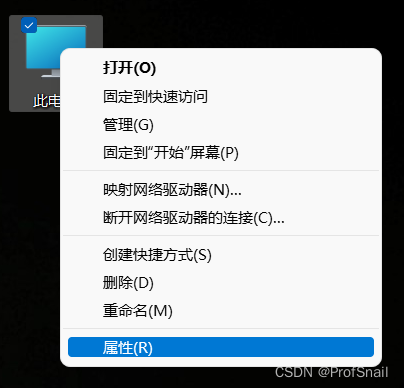
3.1 右键桌面此电脑,选择属性。
3.2 选择高级系统设置。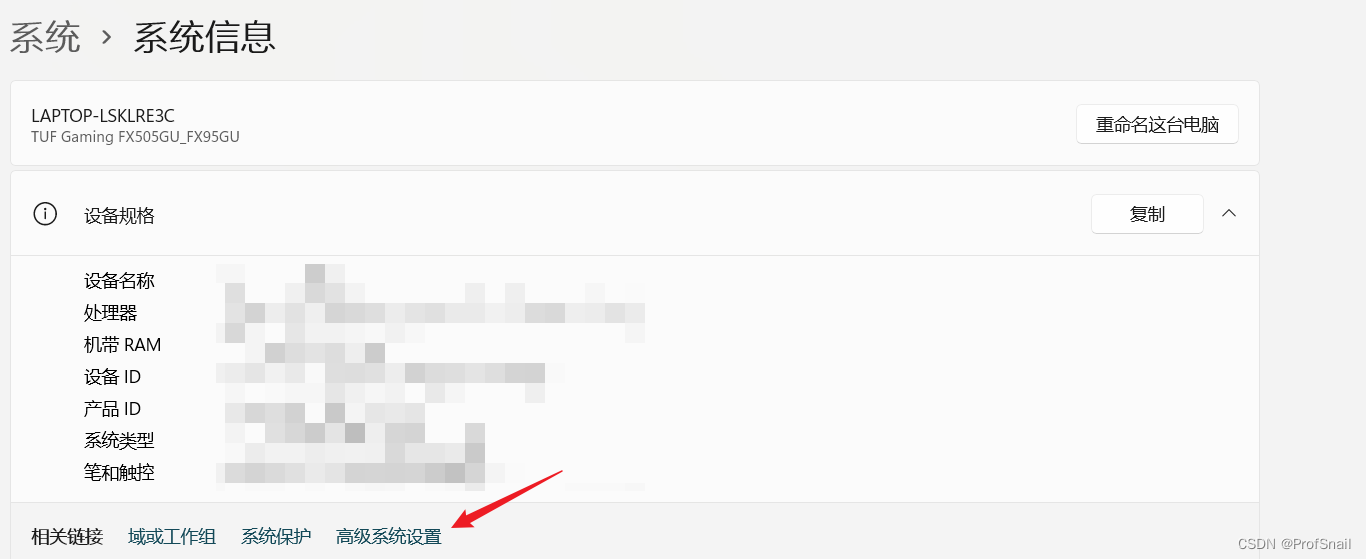
3.3 打开环境变量。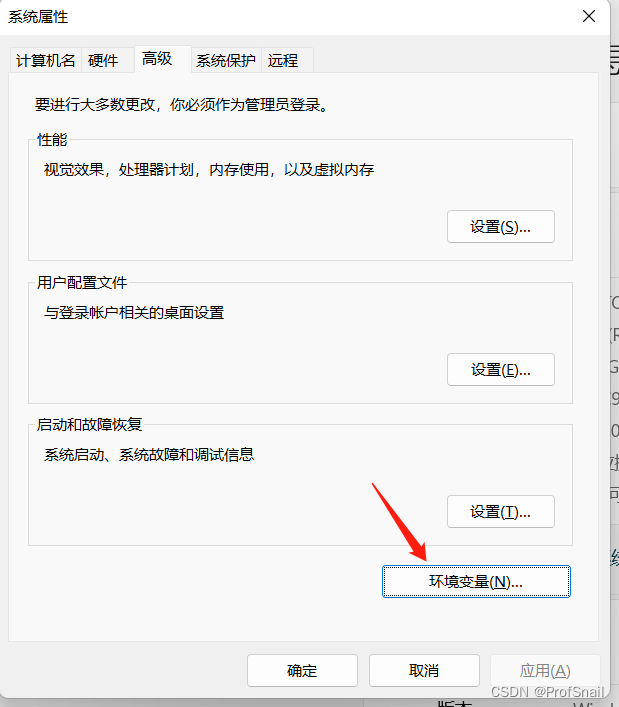
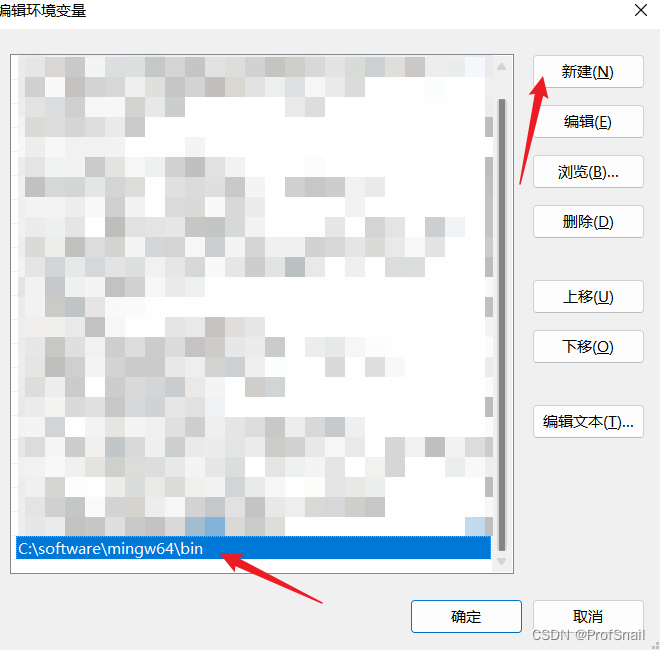
3.4 设置path,添加一条路径,为刚刚mingw的下bin文件夹的路径。C:\software\mingw64\bin。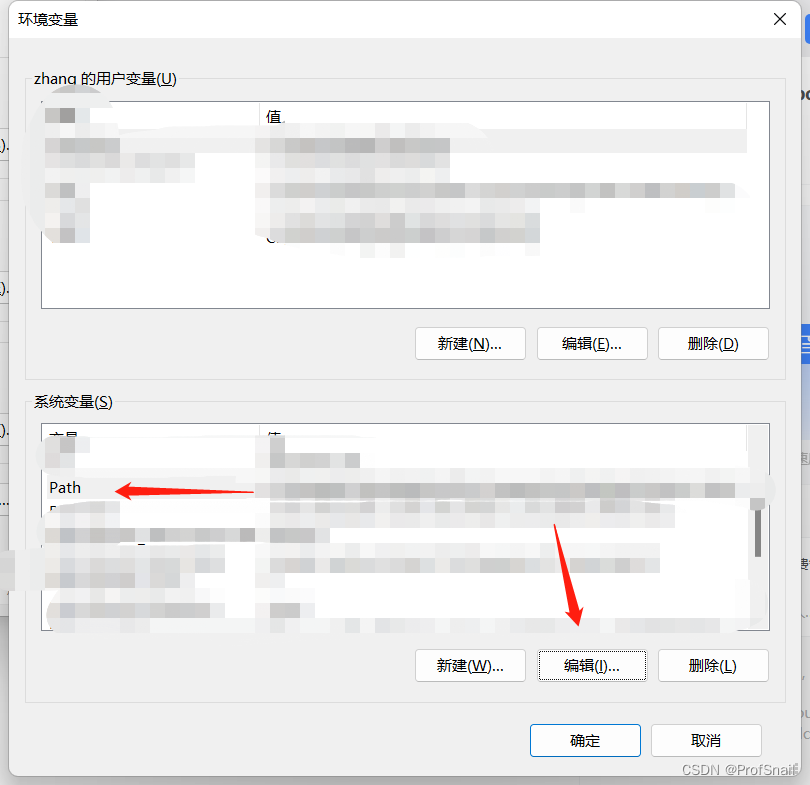
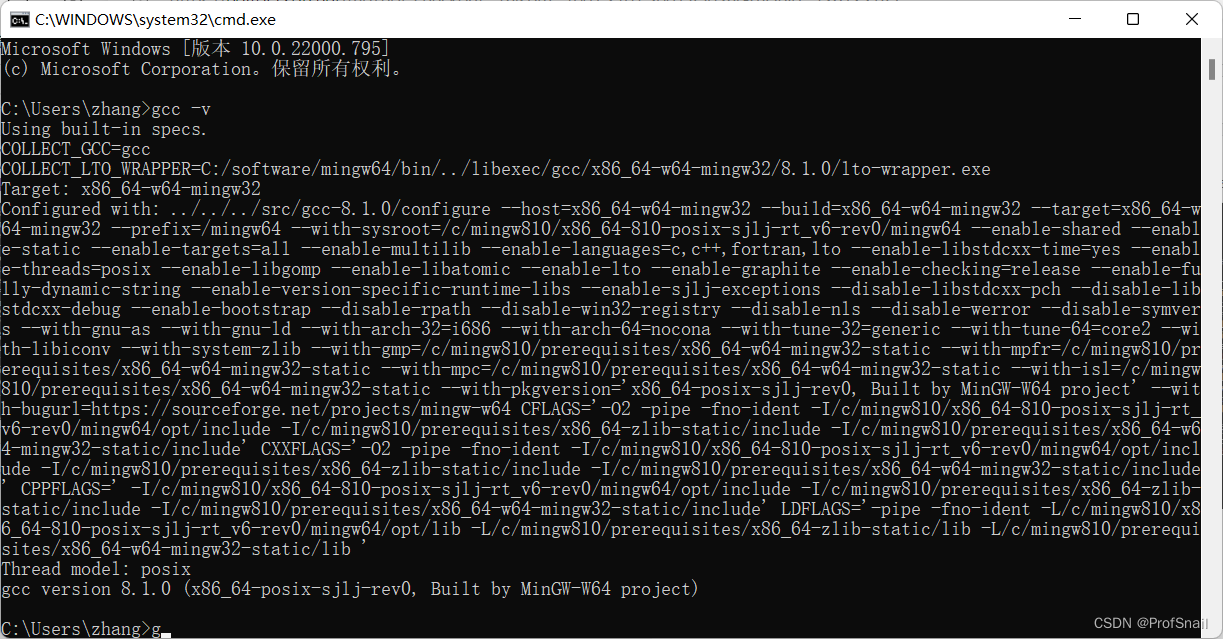
测试环境变量。win+r打开运行界面,输入cmd进入命令行,输入gcc -v,敲回车,查看gcc是否正常工作。
配置Vscode环境,支持编译C++
不用怎么配置,新建一个.cpp文件,用vscode打开,右下角提示是否安装推荐的C++扩展,安装之后就可以编译cpp文件了。
安装完成后,发现新增了如下的VSCode扩展。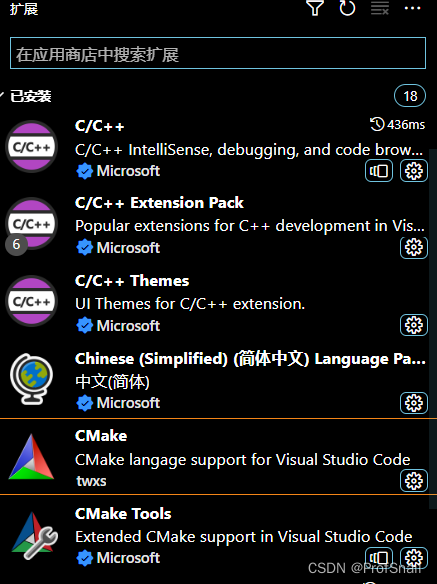
下载opencv3
进入官网,https://opencv.org/releases/,下载opencv3,选择Windows进行下载。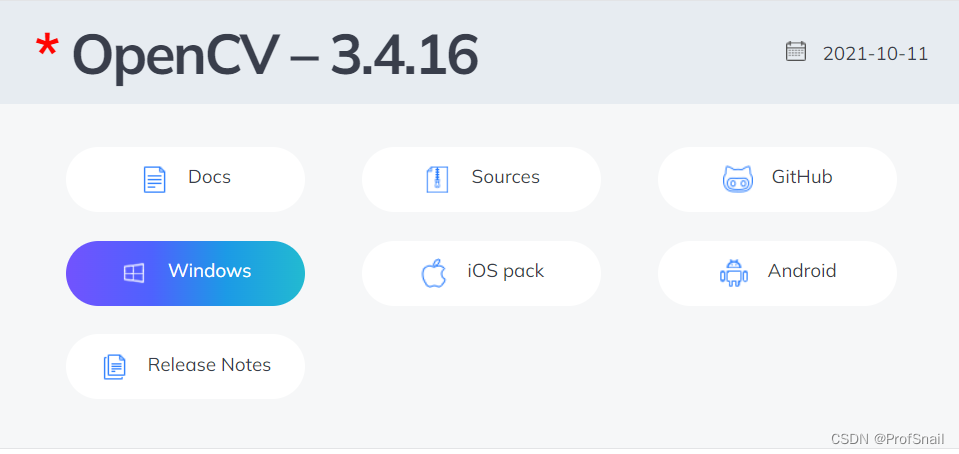
安装到指定目录下即可。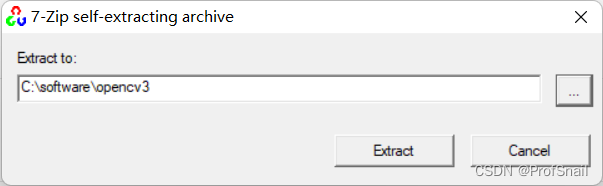
下载Cmake
下载路径是:https://cmake.org/download/
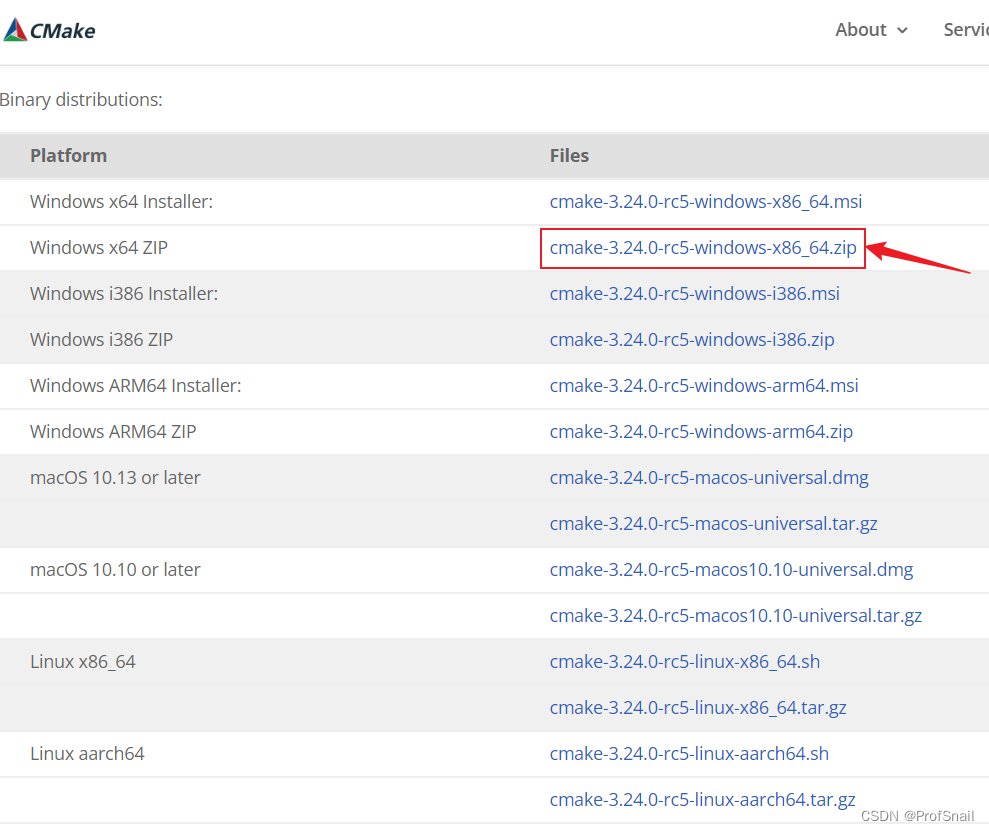
将其解压到自定义目录下,我的路径为:C:\software\cmake\bin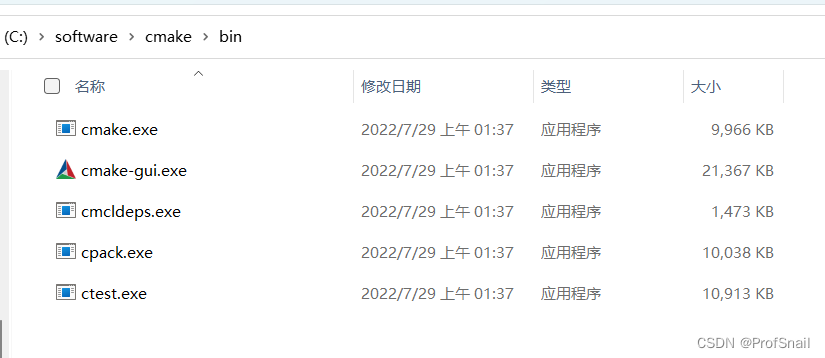
点开cmake-gui.exe。
where is source code,选择C:\software\opencv3\opencv\sources
where is to build the binaries,是自己设置的文件夹,选择C:\software\opencv3\opencv\build\x64\mingw。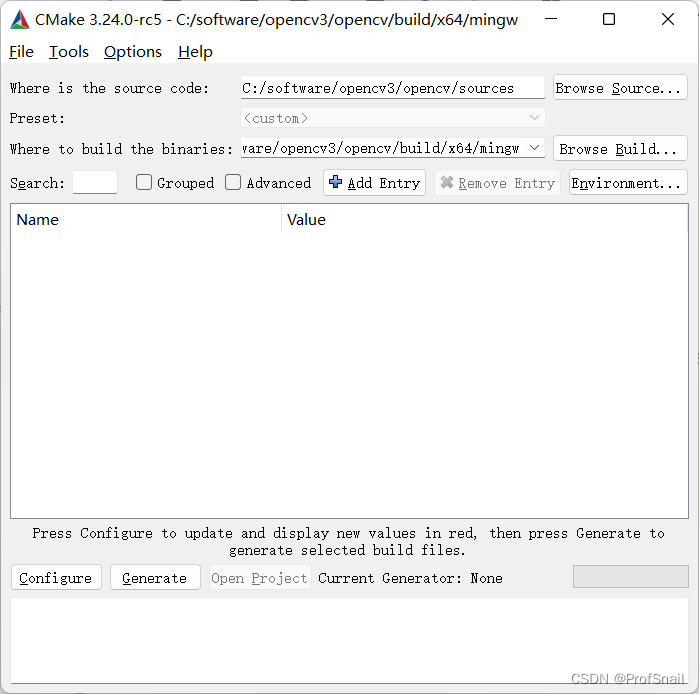
点击左下角的Configure,选择MinGW Makefiles,Specify native compiler。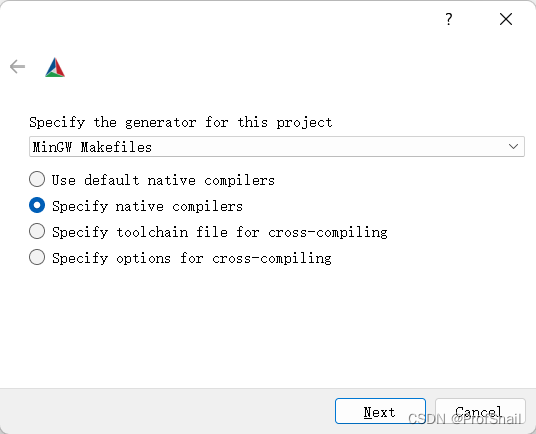
Compiler,选择Mingw文件夹bin下的gcc.exe和g++.exe。路径是C:\software\mingw64\bin。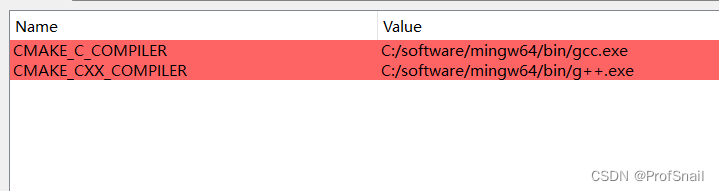
显示configure done。
一定注意这一步,如果不执行这一步,后面依赖的dll会缺失。
在执行完后,把关于python的都给取消勾选。勾选BUILD_opencv_world,WITH_OPENGL和BUILD_EXAMPLES,不勾选WITH_IPP、WITH_MSMF和ENABLE_PRECOMPILED_HEADERS(如果有的话),CPU_DISPATCH选空。
第二次点击Configure。
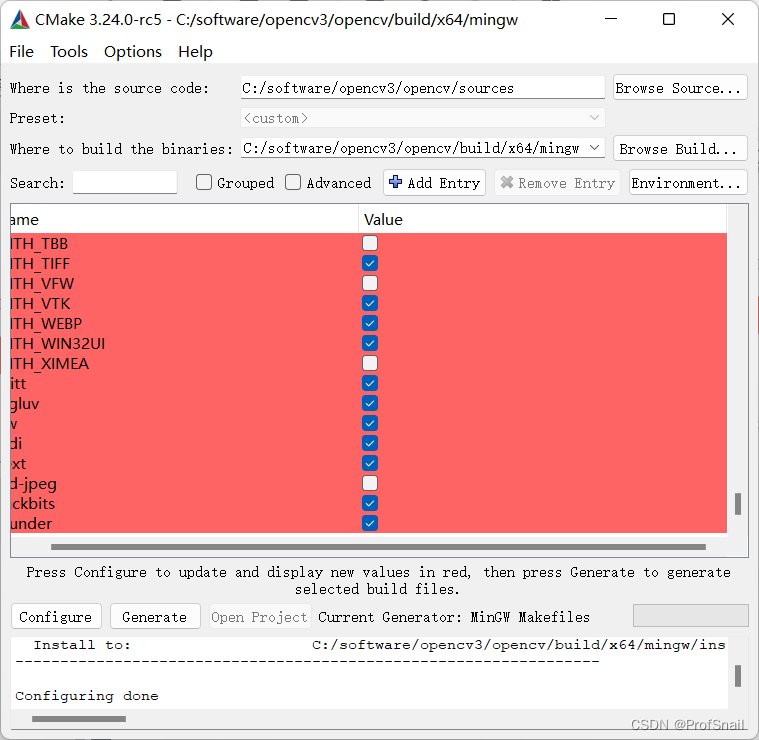
再点击Generate,最后Generate Done,就完成了。
make
cmd进入刚刚设置的文件夹C:\software\opencv3\opencv\build\x64\mingw,执行命令: minGW32-make -j 4。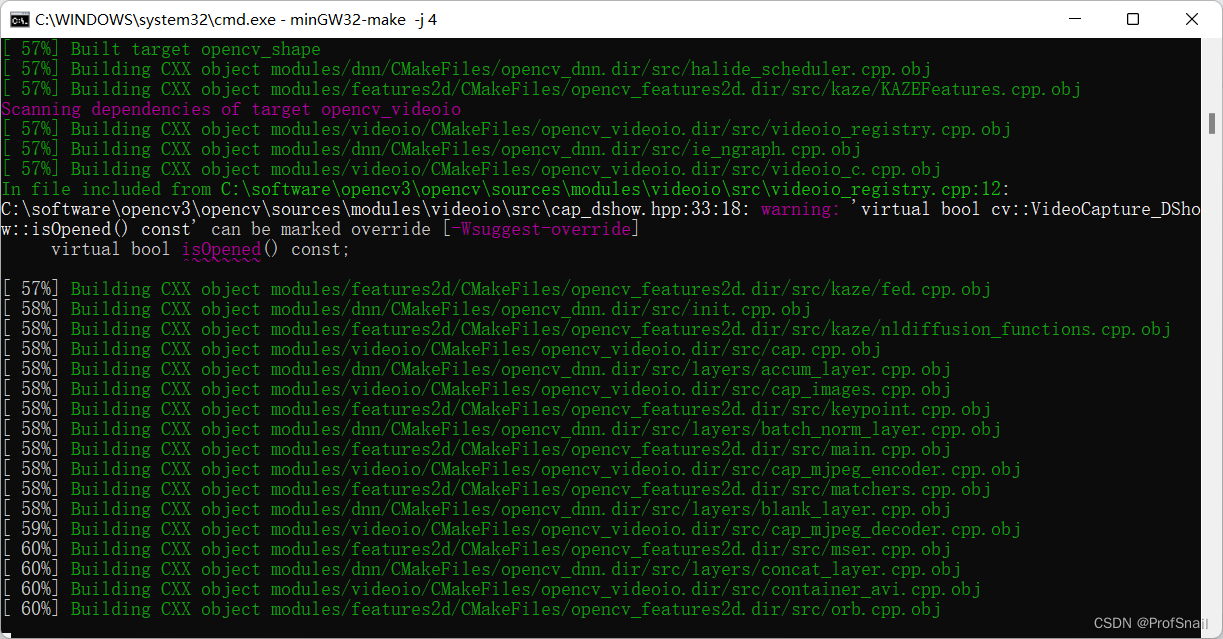
make成功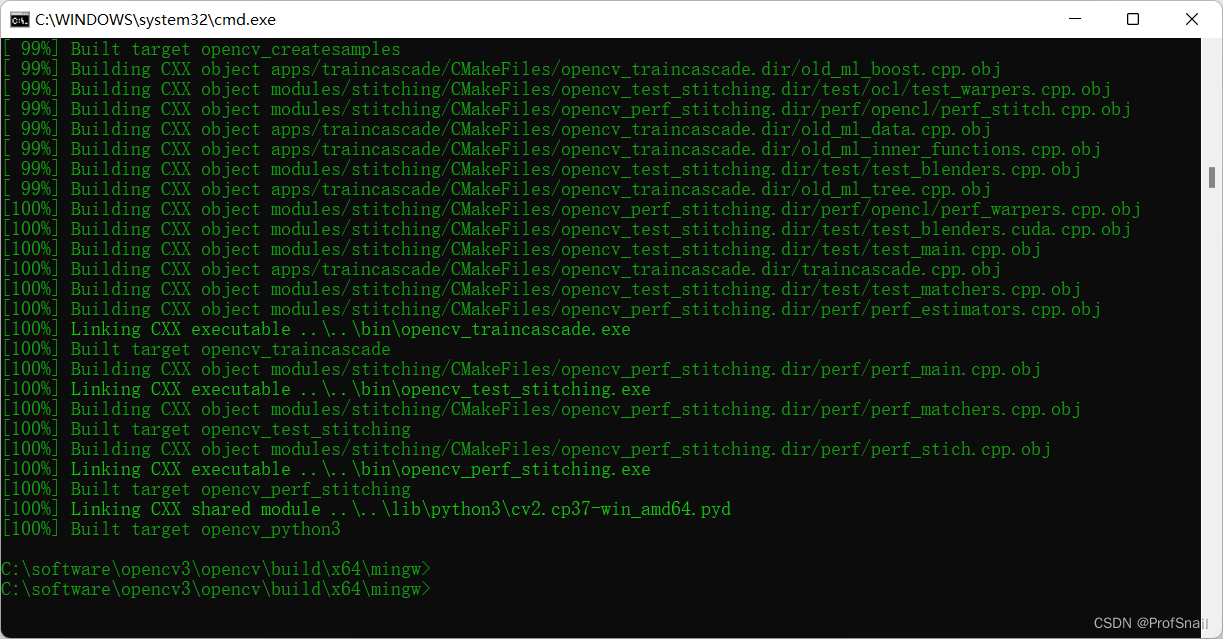
继续执行minGW32-make install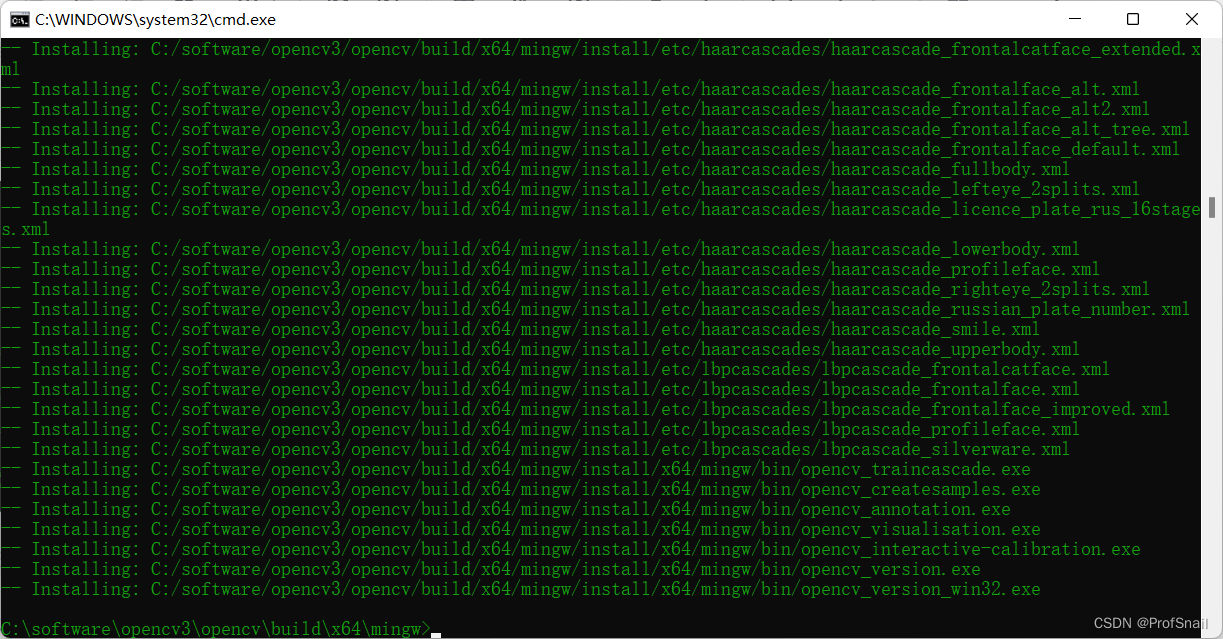
配置OpenCV的环境变量。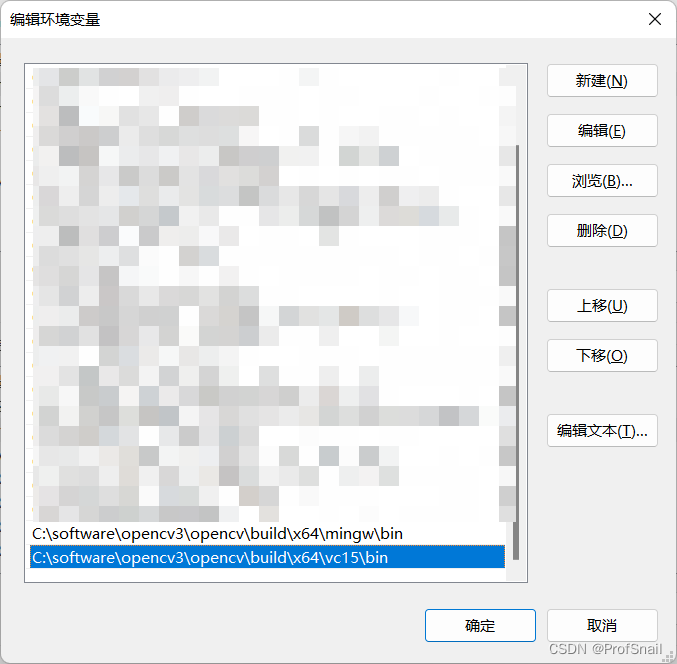
配置Vscode环境,支持OpenCV3
任意创建一个文件夹,放置自己的代码。
最后的文件结构如下: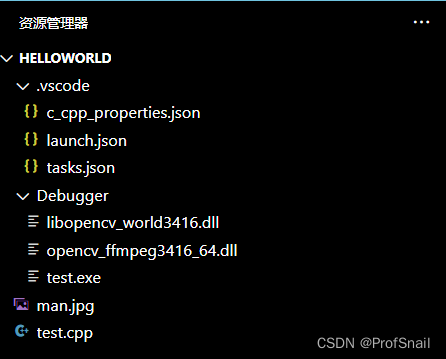
自己创建.vscode文件夹,自己创建c_cpp_properties.json、launch.json、tasks.json文件。自己创建Debugger文件夹。
c_cpp_properties.json
{

    "configurations": [
        {

            "name": "win",
            "includePath": [
                "${workspaceFolder}/**",
                "C:/software/opencv3/opencv/build/x64/mingw/include",
                "C:/software/opencv3/opencv/build/x64/mingw/install/include/opencv2",
                "C:/software/opencv3/opencv/build/x64/mingw/install/include"
            ],
            "defines": [],
            "compilerPath": "C:/software/mingw64/bin/g++.exe",
            "cStandard": "c11",
            "cppStandard": "c++17",
            "intelliSenseMode": "${default}"
        }
    ],
    "version": 4
}
launch.json
{


    "version": "0.2.0",
    "configurations": [
        {

            "name": "opencv debuge",
            "type": "cppdbg",
            "request": "launch",
            "program": "${workspaceFolder}//Debugger//${fileBasenameNoExtension}.exe",
            //上面这个Debugger是我自己定义的,为了方便放置生成的exe文件
            "args": [],
            "stopAtEntry": false, //这里如果为 false,则说明调试直接运行。(反之则停止)
            "cwd": "${workspaceFolder}",
            "environment": [],
            "externalConsole": true,//是否调用外部cmd
            "MIMode": "gdb",
            "miDebuggerPath": "C:/software/mingw64/bin/gdb.exe",//自己进行设置
            "setupCommands": [
                {

                    "description": "为 gdb 启用整齐打印",
                    "text": "-enable-pretty-printing",
                    "ignoreFailures": false
                }
            ],
            "preLaunchTask": "opencv3.5.2"
        }
    ]
}
tasks.json
{

    "version": "2.0.0",
    "tasks": [
        {

            "type": "shell",
            "label": "opencv3.5.2",
            "command": "C:/software/mingw64/bin/g++.exe",
            "args": [
                "-g",
                "${file}",
                "-o",
                "${workspaceFolder}//Debugger//${fileBasenameNoExtension}.exe",
                //上面这个Debugger是我自己定义的,为了方便放置生成的exe文件
                "C:/software/opencv3/opencv/build/x64/mingw/bin/libopencv_world3416.dll",
                "-I",
                "C:/software/opencv3/opencv/build/x64/mingw/install/include",
                "-I",
                "C:/software/opencv3/opencv/build/x64/mingw/install/include/opencv2",
            ],
            "options": {

                "cwd": "C:/software/mingw64/bin"
            },
            "problemMatcher": [
                "$gcc"
            ],
            "group": {

                "kind": "build",
                "isDefault": true
            }
        }
    ]
}
在C:\software\opencv3\opencv\build\x64\mingw\bin下找到libopencv_world3416.dll,复制到Debugger文件夹下。注意这个后缀3416是OpenCV的版本号,与自己安装的版本有关系。
在C:\software\opencv3\opencv\build\x64\vc15\bin下找到opencv_ffmpeg3416_64.dll,复制到Debugger文件夹下。
生成test.cpp文件,输入测试代码。
#include <opencv2/opencv.hpp>
#include <opencv2/highgui.hpp>
#include <iostream>
using namespace cv;
int main()
{

    Mat img=imread("man.jpg");
    imshow("image",img);
    waitKey();
    return 0;
}
能正常运行即可。
边栏推荐
- 初识网页与浏览器
- network issue?Service packet loss?This is enough
- [issue resolved] - jenkins pipeline checkout timeout
- 单臂路由实验和三层交换机实验
- By solving these three problems, the operation and maintenance efficiency will exceed 90% of the hospital
- H5 的浏览器存储
- 网络层协议介绍
- Programmers should understand I/O this way
- LeetCode中常用语言的一些基本方法记录
- [问题已处理]-虚拟机报错contains a file system with errors check forced
猜你喜欢

5分钟完成mysql离线安装
selenium learning
Unity realizes first-person roaming (nanny-level tutorial)
LeetCode中常用语言的一些基本方法记录
从“双卡双待“到”双通“,vivo率先推动DSDA架构落地
The use of three parameters of ref, out, and Params in Unity3D

Alibaba Cloud Video on Demand
NB-IOT智能云家具项目系列实站
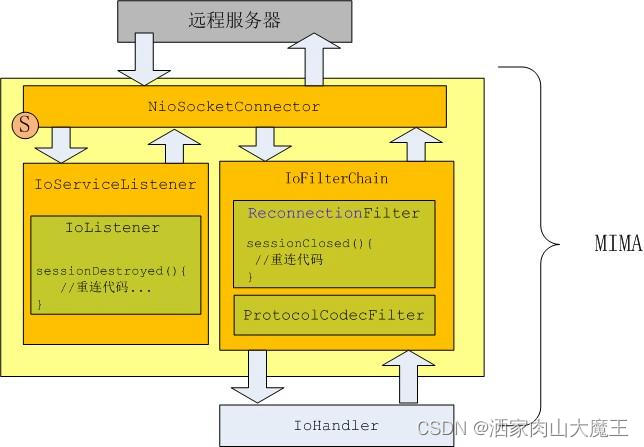
Mina断线重连
Complete mysql offline installation in 5 minutes
随机推荐
Will intelligent operation and maintenance replace manual operation and maintenance?
网络排错基础-学习笔记
Does flink cdc currently support Gauss database sources?
config.js related configuration summary
浏览器存储WebStorage
单臂路由实验和三层交换机实验
RAID disk array
LeetCode练习及自己理解记录(1)
What impact does CIPU have on the cloud computing industry?
This is indeed the best article on microservice architecture I have read!
错误类型:反射。ReflectionException:无法设置属性“xxx”的“类”xxx”与价值“xxx”
记录vue-页面缓存问题
User and user group management, file permission management
[ingress]-ingress exposes services using tcp port
干货!教您使用工业树莓派结合CODESYS配置EtherCAT主站
reduce()方法的学习和整理
Vim tutorial: vimtutor
多行文本省略
Insight into the general trend of the Internet, after reading this article, you will have a thorough understanding of Chinese domain names
The highlight moment of operation and maintenance starts with intelligence