当前位置:网站首页>How does the pytorch project run?
How does the pytorch project run?
2022-07-03 03:46:00 【Program Yuanke】
PyTorch Basic training process : Use PyTorch Establishing a deep learning model generally has the following steps :
- Basic configuration
- Data read in
- model building
- Loss function and optimizer
- Training
- assessment
In the following notes , First, I will briefly introduce the basic content of each step , Then match the case , Use FashionMNIST Data sets , adopt PyTorch The code implements every step , Finally, a classifier is built and trained .
pytorch How to run the project ?
Basic configuration
In the basic configuration, you generally need to complete the following three configurations :
Import Python Common bag
- Quickly realize the functions we need through common packages
GPU To configure
- If subsequent calculations require GPU, Here is the preset
Set the super parameters uniformly
- Put together , Convenient for subsequent debugging
# Import Python Common bag
import os
import numpy as np
import pandas as pd
import torch
import torch.nn as nn
import torch.optim as optim
from torch.utils.data import Dataset
# To configure GPU
device = torch.device("cuda:1" if torch.cuda.is_available() else "cpu")
# Configure other super parameters
batch_size = 256 # A training batch Size
num_workers = 1 # Working at the same time cpu Threads
lr = 1e-4 # Learning rate
epochs = 20 # Training epochs Count
Be careful , In the following code , We will not use GPU Calculation .
Data read in
Data reading will use PyTorch Two classes of :
Dataset
- Define the format of the data , distinguish samples Corresponding to them labels
DataLoader
- take Dataset become iterable, Convenient for later use iterative Read in different batches of data
First , We use Dataset To build subclasses , In this subclass , We need to define three functions :
__init__
- Definition samples And the corresponding labels, At the same time, external parameters are passed into the class .
__len__
- Return data set samples Count
__getitem__
- adopt index Read one by one samples The elements in the collection , Finally, return the data required for training and verification ( If necessary, the data can be transformation operation )
Now let's look at an example . because FashionMNIST The data set is stored in csv In file , We need to do something about it first transformation.
#  Set data transformation
from torchvision import transforms

image_size = 28
#  Package a series of transformations you want to make to the data , So that it can be directly used when reading data later
data_transform = transforms.Compose([
                                     transforms.ToPILImage(), # convert a tensor or ndarray to PIL image(python image library)
                                     transforms.Resize(image_size), # resize imput image into given size
                                     transforms.ToTensor() # convert a PIL image or ndarray into tensor
])
First put these csv The table data in is converted to Python Recognable PILImage Format , Then put their size Change it to the size we need , Finally, all the data will be transformed into what the model can recognize tensor Format .
Then we can start to create Dataset Subclass
#  Data reading method 2 :  Read in csv Formatted data , Building on its own Dataset class
class FMDataset(Dataset):
  # __init__ Is that 1. Pass in external parameters (transform) 2. Define samples,labels
  def __init__(self, df, transform=None):
    self.df = df #  Data sets
    self.transform = transform # transformation
    self.image = df.iloc[:,1:].values.astype(np.uint8) #  Define what is in the dataset training set
    self.label = df.iloc[:,0].values #  Define what is in the dataset testing set

  #__len__ Record and return dataset Medium samples Count
  def __len__(self):
    return len(self.image)

  # __getitem__ Returns the specified index Specific to sample. Here include the image and his label
  def __getitem__(self, idx):
    image = self.image[idx].reshape(28,28,1) #  Will be sample Save it in a variable and set its shape In order to input the model later
    label = int(self.label[idx]) #  Will be sample Of label Save in variable

    #  Determine whether to transform operation
    if self.transform is not None:
      image = self.transform(image)
    else:
      image = torch.tensor(image/255, dtype=torch.float) # If you don't transform We have to turn the data into tensor In the form of , here /255 In order to put every piece of data pixel The size is controlled in 0-1 Between , Meet the requirements of the model
    label = torch.tensor(label, dtype=torch.long)
    return image, label


#  Import data
import pandas
import io

#  Be careful , What we use here is colab, Other environments may need to be fine tuned
train_df = pd.read_csv(io.BytesIO(uploaded['fashion-mnist_train.csv']))
test_df = pd.read_csv(io.BytesIO(uploaded['fashion-mnist_test.csv']))

train_data = FMDataset(train_df, data_transform)
test_data = FMDataset(test_df, data_transform)
In the building Dataset after , We can use DataLoader Class will come Dataset become iterable
#  structure DataLoader class , The purpose is to load data during later training and testing .DataLoader It's a iterable! use next(iter()) To go back to the next batch
#  Property introduction
# Dataset:  Previously defined Dataset
# Batch_size:# sample to load in each batch
# shuffle: according to index load data Do you want to disturb the order every time load None of them are the same
# num_workers: load Number of data processes , The higher the number , The faster the speed.
# drop_last:  When load To the last batch,batch Quantity of is not satisfied batch_size when ,drop Drop this batch
train_loader = DataLoader(train_data, batch_size=batch_size, shuffle=True, num_workers=num_workers, drop_last=True)
test_loader = DataLoader(test_data, batch_size=batch_size, shuffle=False, num_workers=num_workers)
adopt next(iter(train_loader)) We can get one batch The data of . With the following code and visualization, we can more intuitively feel how we can pass DataLoader get data .
#  Visual view sample
import matplotlib.pyplot as plt
image, label = next(iter(train_loader)) #  The output here is train_loader One of them batch.train_loader It's a iterable object, adopt iter() obtain iterator, use next() You can visit this iterator Next element of
print(image.shape, label.shape)
plt.imshow(image[0][0], cmap='gray') #  Show this batch No 0 Pictures . Behind the [0] How to understand ???
model building
By inheritance PyTorchnn Module Module Class to define the model we want . When constructing the model , We are generally right about Module Overloads two functions of :
__init__
- Create model parameters , And define forward calculation
forward
Model initialization
Loss function and optimizer
Training
assessment
Share some of my artificial intelligence learning materials for free , For a long time , Very comprehensive . Including some AI Common framework actual combat video 、 Image recognition 、OpenCV、NLQ、 machine learning 、pytorch、 Computer vision 、 Videos such as deep learning and neural network 、 Courseware source code 、 Famous essence resources at home and abroad 、AI Hot papers 、 Industry reports, etc .
For better systematic learning AI, I recommend that you collect one .
Here are some screenshots , Free download method is attached at the end of the article .
One 、 AI must read books

Two 、 Free video on artificial intelligence courses and projects

3、 ... and 、 Collection of papers on artificial intelligence

Four 、 AI Industry Report

Learn Artificial Intelligence well , Read more , Do more , practice , If you want to improve your level , We must learn to settle down and learn slowly and systematically , Only in the end can we gain something .
Click on the business card below , Scan the code and download the information for free .
边栏推荐
- VS克隆时显示403错误
- navicat 导出数据库的表结构
- C # webrequest post mode, based on "basic auth" password authentication mode, uploads files and submits other data using multipart / form data mode
- C language hashtable/hashset library summary
- 【全民编程】《软件编程-讲课视频》【零基础入门到实战应用】
- Positioning (relative positioning, absolute positioning, fixed positioning, Z-index) 2022-2-11
- Nce detail of softmax approximation
- The calculation of stripe, kernel and padding in CNN
- NPM: the 'NPM' item cannot be recognized as the name of a cmdlet, function, script file, or runnable program. Please check the spelling of the name. If the path is included, make sure the path is corr
- 阿洛对自己的思考
猜你喜欢
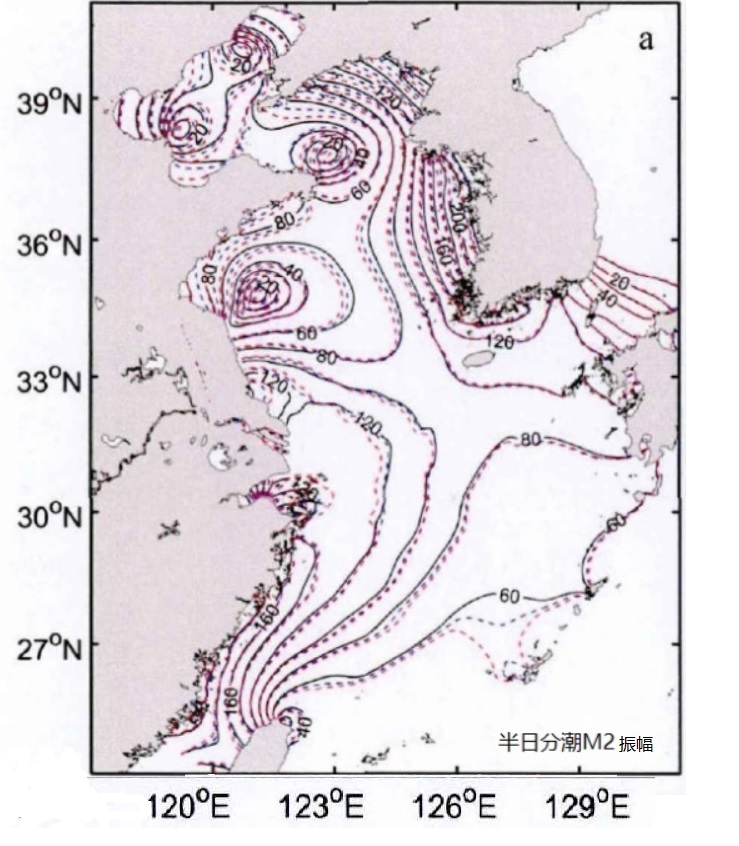
渤、黄海的潮汐特征

Without sxid, suid & sgid will be in danger- Shangwen network xUP Nange
TCP/IP模型中的重磅嘉宾TCP--尚文网络奎哥

Section 26 detailed explanation and demonstration of IPSec virtual private network configuration experiment - simulation experiment based on packettracer8.0
![Ansible introduction [unfinished (semi-finished products)]](/img/2a/0003daf761ba02d8837c4657fc3f29.png)
Ansible introduction [unfinished (semi-finished products)]
![[MySQL] the difference between left join, right join and join](/img/d4/8684cd59cd1bd77e70bd4d7c7074c3.jpg)
[MySQL] the difference between left join, right join and join
Recursion: one dimensional linked lists and arrays
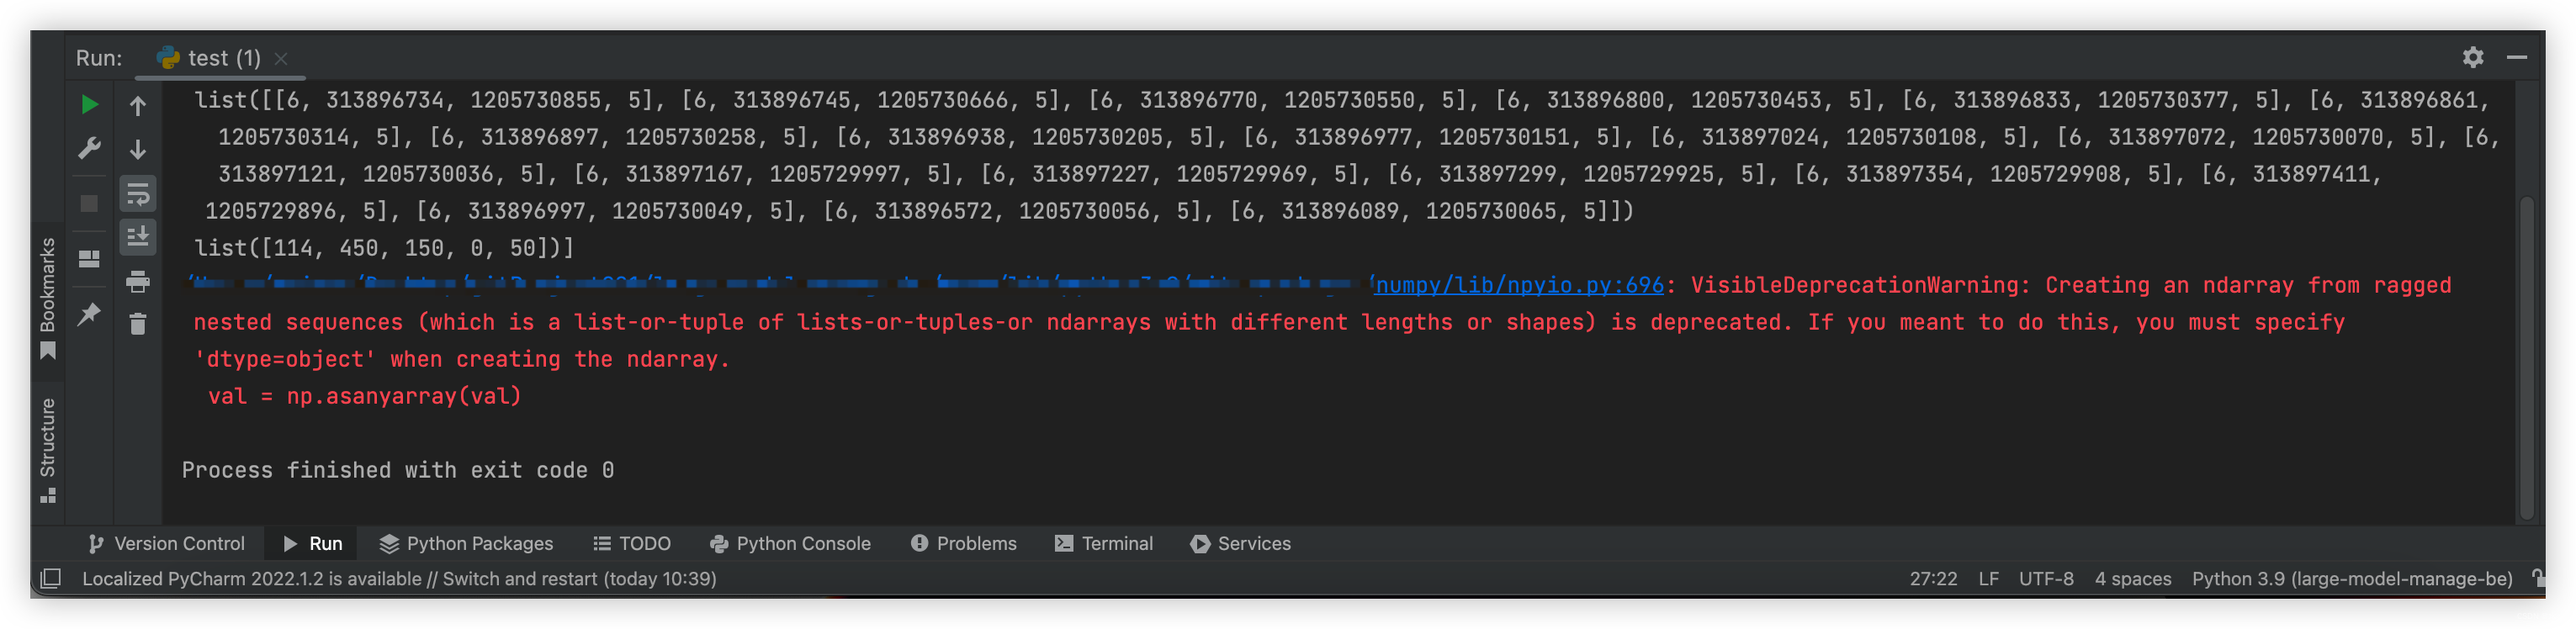
numpy之 警告VisibleDeprecationWarning: Creating an ndarray from ragged nested sequences
navicat 导出数据库的表结构

Download and install captura and configure ffmpeg in captura
随机推荐
softmax的近似之NCE详解
IPv6 transition technology-6to4 manual tunnel configuration experiment -- Kuige of Shangwen network
Ffmpeg recording screen and screenshot
Makefile demo
Some preliminary preparations for QQ applet development: make an appointment for a development account, download and install developer tools, and create QQ applet
Summary of determinant knowledge points in Chapter 1 of Linear Algebra (Jeff's self perception)
PHP generates PDF tcpdf
Convert binary stream to byte array
Introduction à mongodb
Change and access of median value of listening object
Separable bonds and convertible bonds
Web session management security issues
【DRM】DRM bridge驱动调用流程简单分析
Limit of one question per day
在 .NET 6 项目中使用 Startup.cs
Message queue addition failure
Open Visual Studio 2010 hangs when opening a SQL file sql file
Filter
npm : 无法将“npm”项识别为 cmdlet、函数、脚本文件或可运行程序的名称。请检查名称的拼写,如果包括路径,请确保路径正确,然后再试一次。
Latest version of NPM: the "NPM" item cannot be recognized as the name of a cmdlet, function, script file, or runnable program. Please check