当前位置:网站首页>[start from scratch] detailed process of deploying yolov5 in win10 system (CPU, no GPU)
[start from scratch] detailed process of deploying yolov5 in win10 system (CPU, no GPU)
2022-07-07 06:32:00 【Buli catalpa dibuli】
Preface
I also read others' blogs , Hit a lot of holes , It took nearly a morning to deploy . So please be clear before you start Corresponding version ! Please follow the steps step by step . in addition to , Please download by yourself YOLOV5 Extract and save the source code ,GitHub - ultralytics/yolov5: YOLOv5 in PyTorch > ONNX > CoreML > TFLite
One 、Anaconda3 Download and install
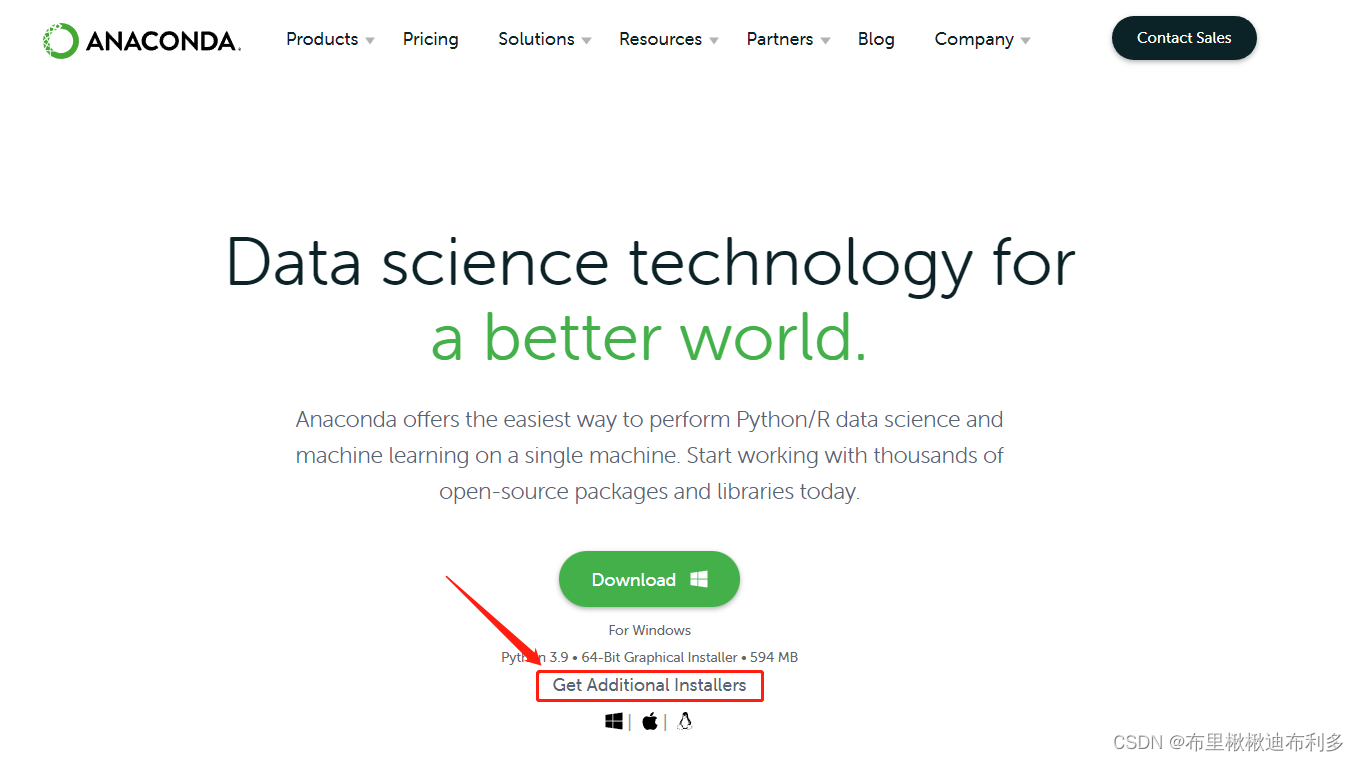
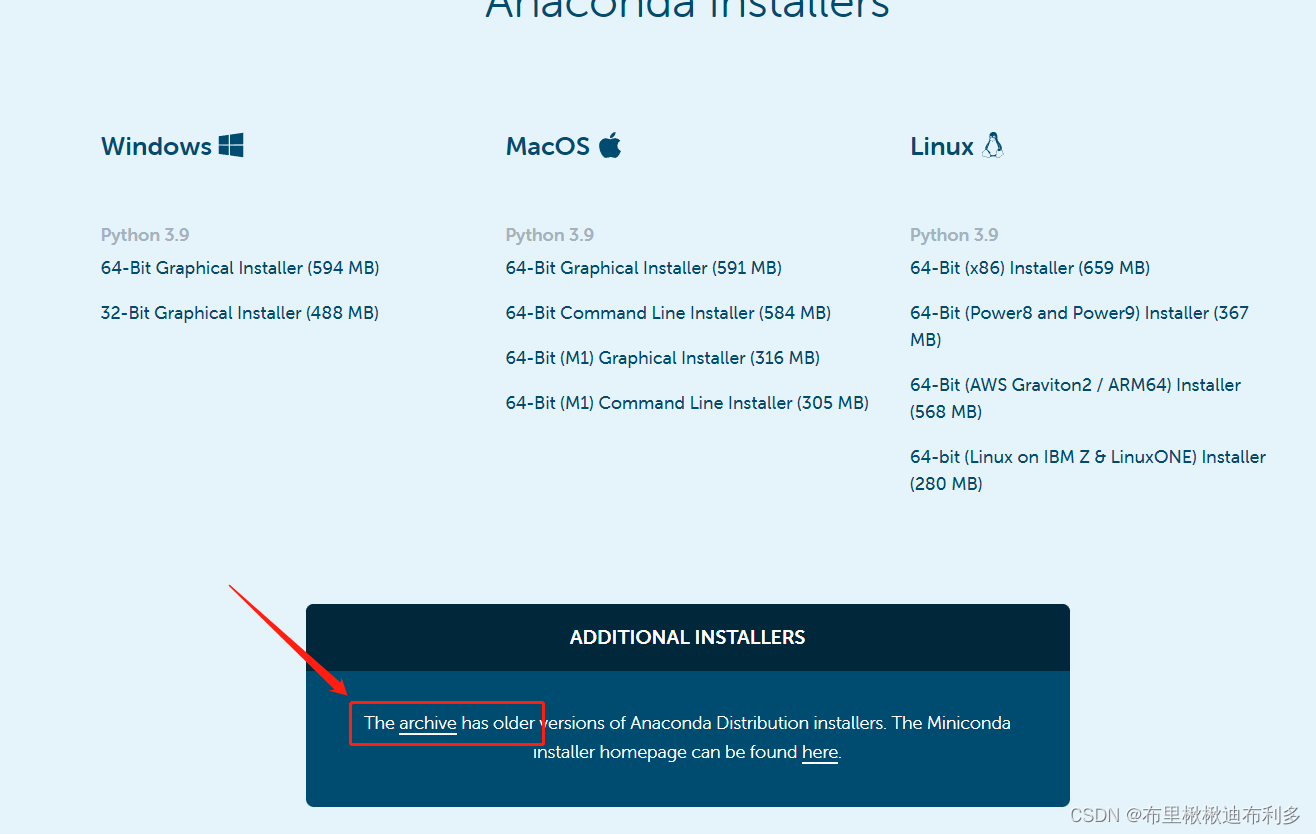
Anaconda | The World's Most Popular Data Science Platform Enter official website , Don't download the latest version , Corresponding to the latest version at present Python3.9, The version is too new PyTorch Will also face the problem of updating , It's better to use a lower version !! Upper figure
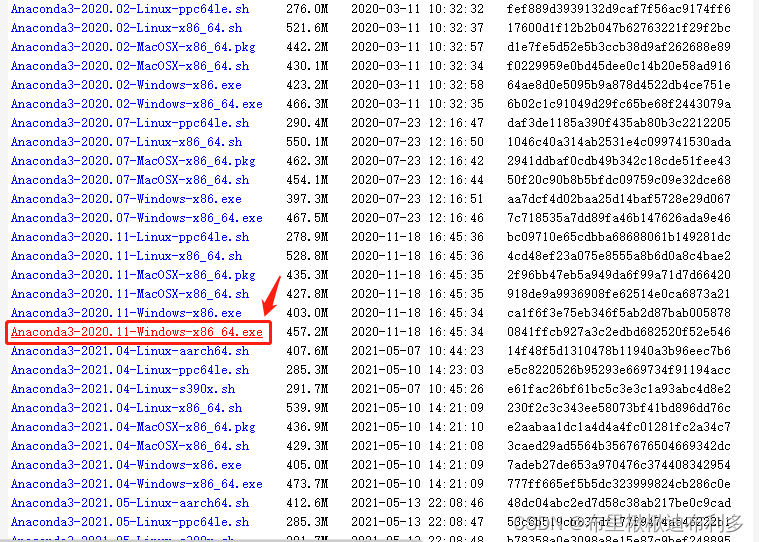
I downloaded it 2020 year 11 Of the month , Corresponding Python3.8.5 edition , Actually use 2021 year 05 No problem with the version . however Python The version should not be too new ! The installation process is simple , I only have a few important pictures , All the unimportant pictures are dotted Next!! No mistake .

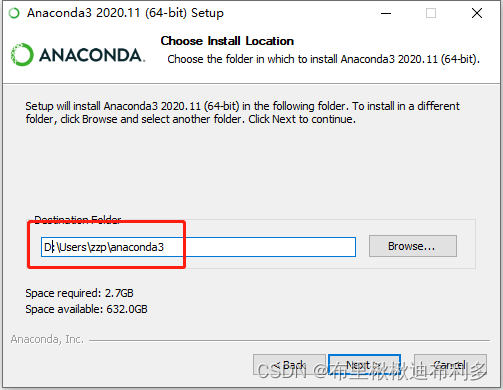

Choose all here , The first represents automatic configuration of environment variables , The second represents the configuration Python3.8 edition . After installation, two options are cancelled ( Oh dear , What does it matter if you don't cancel ? Not affecting use ). thus ,Anaconda installation is complete !
Two 、 utilize Anaconda3 download PyTorch
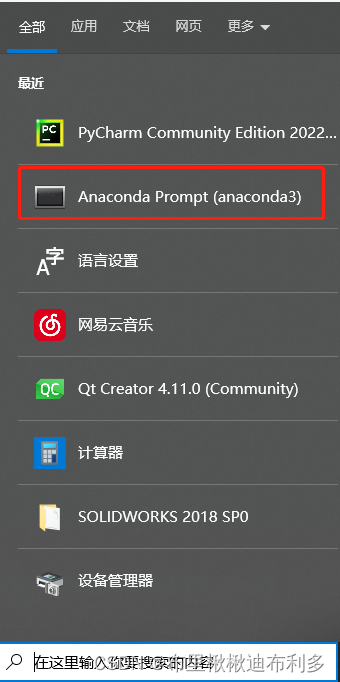
2.1 Find... In the lower left corner Anaconda Prompt
2.2 establish PyTorch Environmental Science
conda create --name pytorch pyrhon==3.8 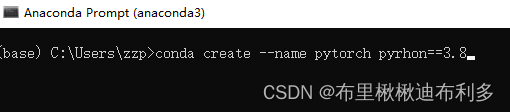
Next You also need to manually enter a “y"!!!! Wait for installation
2.3 see pytorch Environment and activate
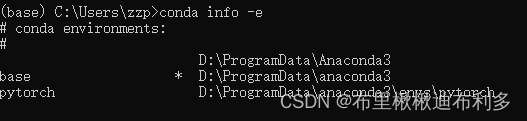
obviously , except base Environmental Science , There is another one we created ourselves pytorch Environmental Science . Next , Activate pytorch Environmental Science .
conda activate pytorch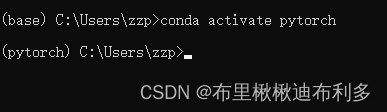
After activation , You can see the front base Turned into pytorch The environment .ok, Then let's install pytorch.
2.4 install PyTorch
Start Locally | PyTorch Enter the page and then come here , Select the configuration shown in the figure below ( ah ? Why did you choose CPU ah ? Because I don't have NVIDIA alone , So it doesn't work CUDA, If you have NVIDIA graphics card , Remember to choose CUDA!!) as for CUDA Part I ignored , Because I didn't install it , But I think it should be almost installed .
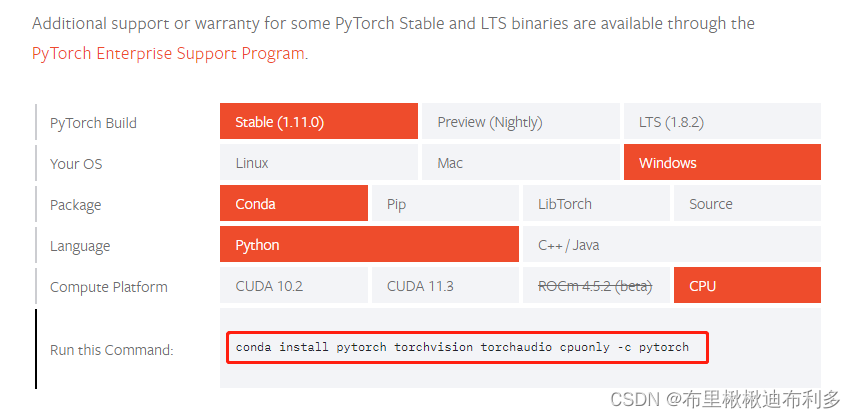
Copy the red box in the above figure , namely
conda install pytorch torchvision torchaudio cpuonly -c pytorchIn what we have just entered PyTorch Enter in the environment

This process also You need to manually enter a “y"!!! If during your installation Not all downloads succeeded , then Repeat several times This Directive !!
2.5 verification PyTorch Is the installation successful
Activate first pytorch Environmental Science , Reuse python, Second tone torch library , The final output torch Version number of !
import torch
torch.__version__
If you can do this smoothly , You can read Chapter 3 directly . however !!! Not everyone is plain sailing , For example, I , I can enter here Import torch Report errors :No module named "torch"!! I tried many ways , Finally, I changed my mind : Check on pytorch Is it really installed in the environment pytorch.
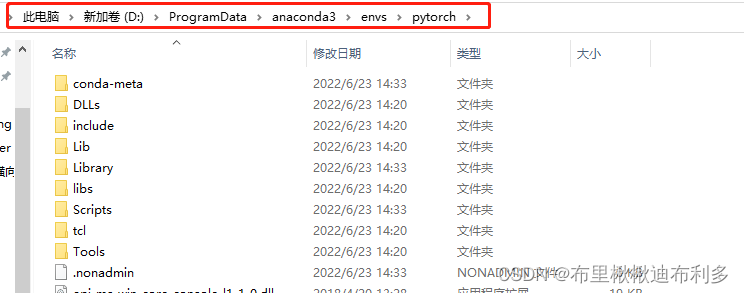
Enter into pytorch Folder for environment , Enter... In the menu bar cmd
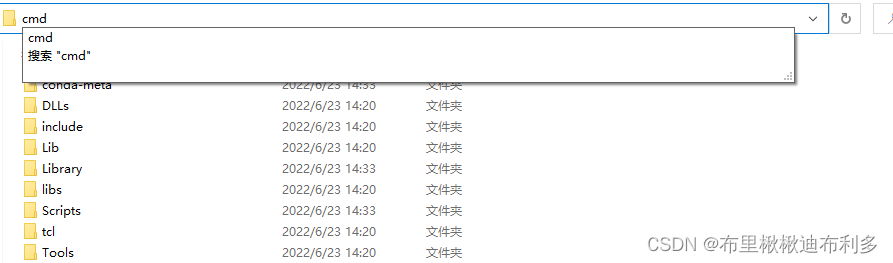
Type again
conda install pytorch torchvision torchaudio cpuonly -c pytorchthen , I'll test it again , It's wrong not to report !
3、 ... and 、 stay PyTorch Install in Opencv
This is an easy step , Enter the first Anaconda Prompt Console , Activate PyTorch Environmental Science , download opencv that will do .
pip install python-opencv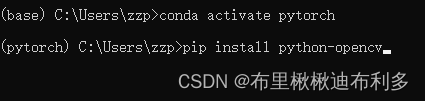
Remember to test after completion opencv
import cv2
cv2.__version__
without . Then it's the same as the end of Chapter 2 , First of all to enter pytorch Environmental Science , Execute it again cv Installation instructions are sufficient .
pip install python-opencvFour 、PyCharm Environment building
Skip here PyCharm Download and install .
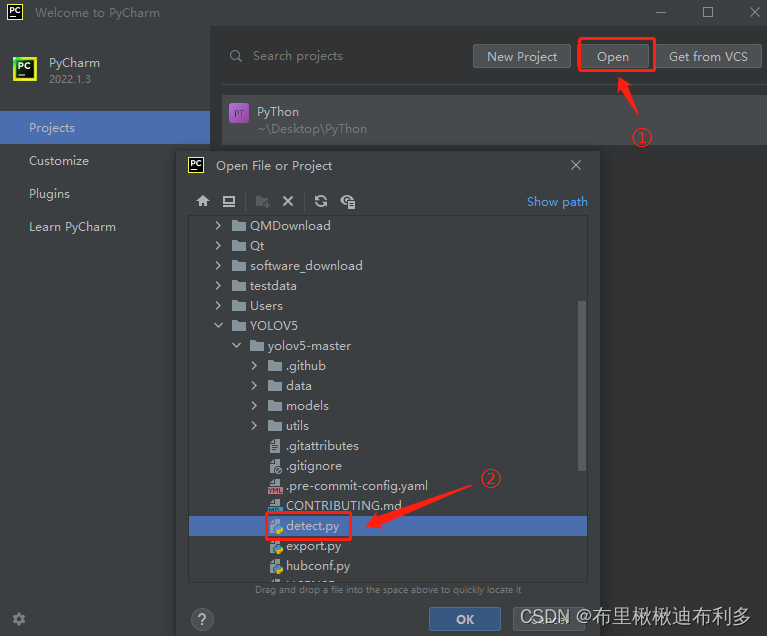
4.1 Open it up and download okay detect.py file
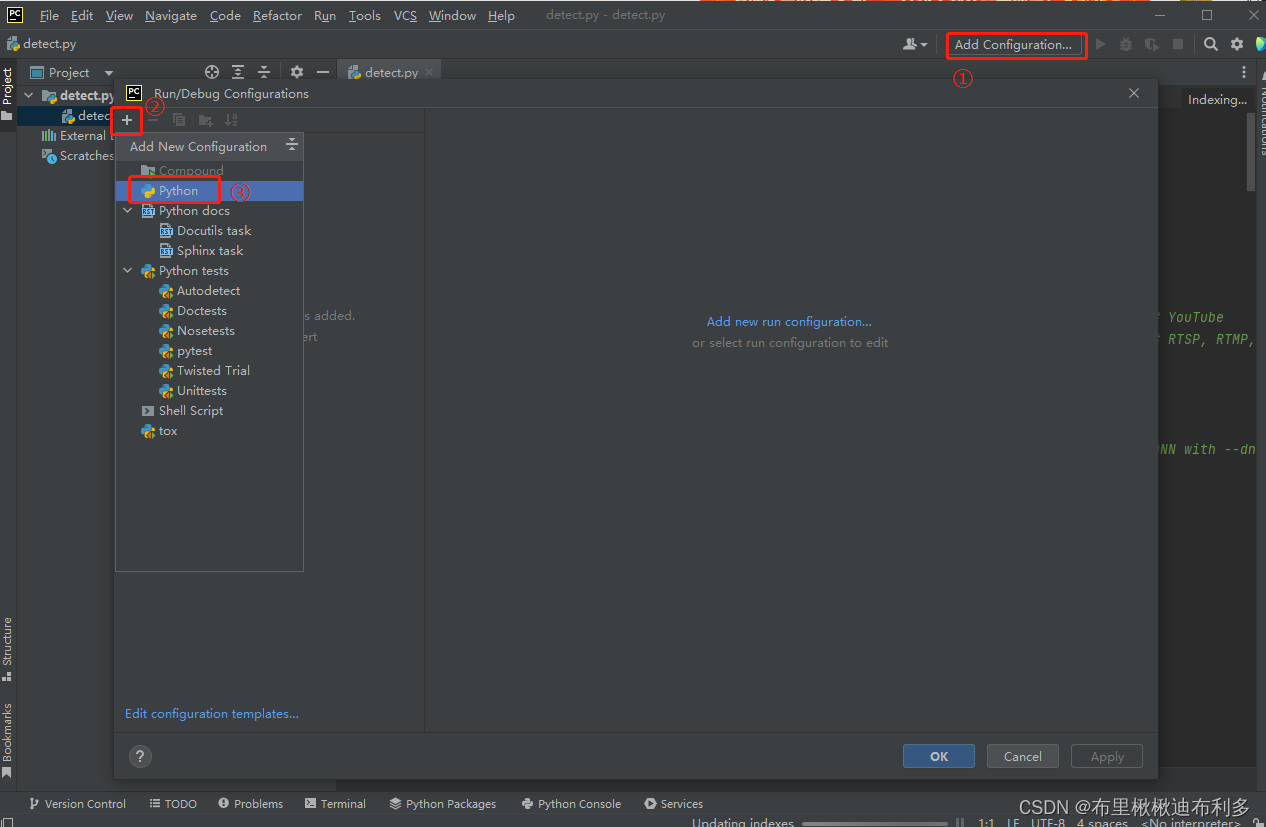
4.2 Set compilation configuration
choice detect.py


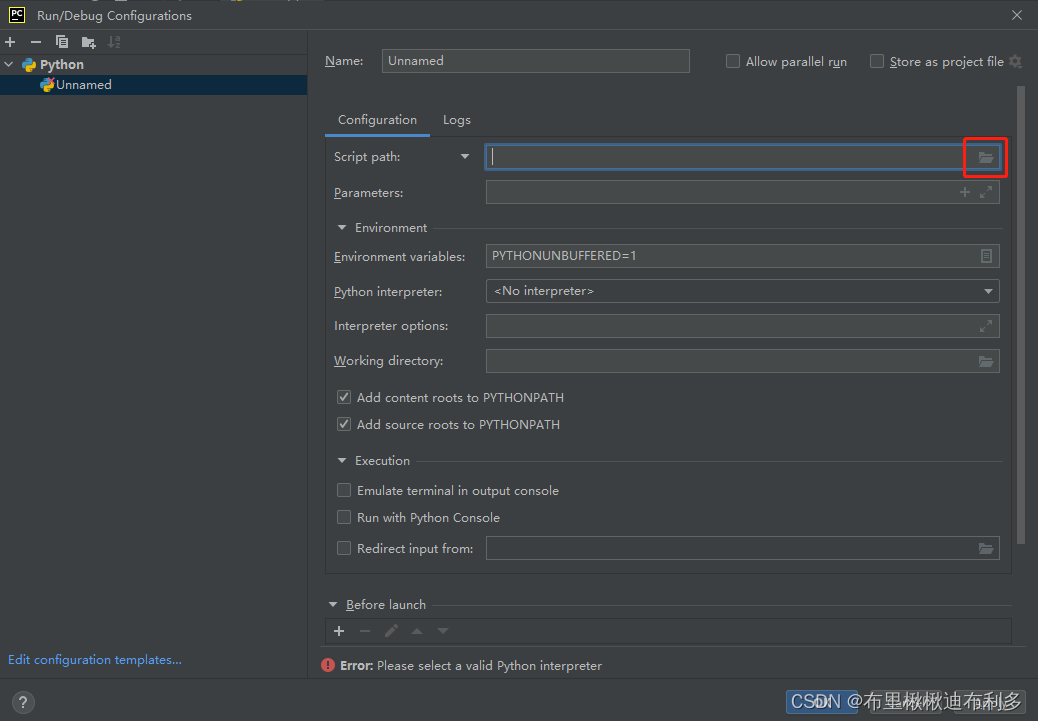
4.3 Set interpreter
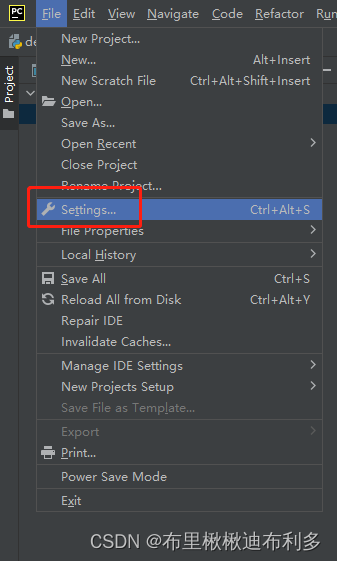
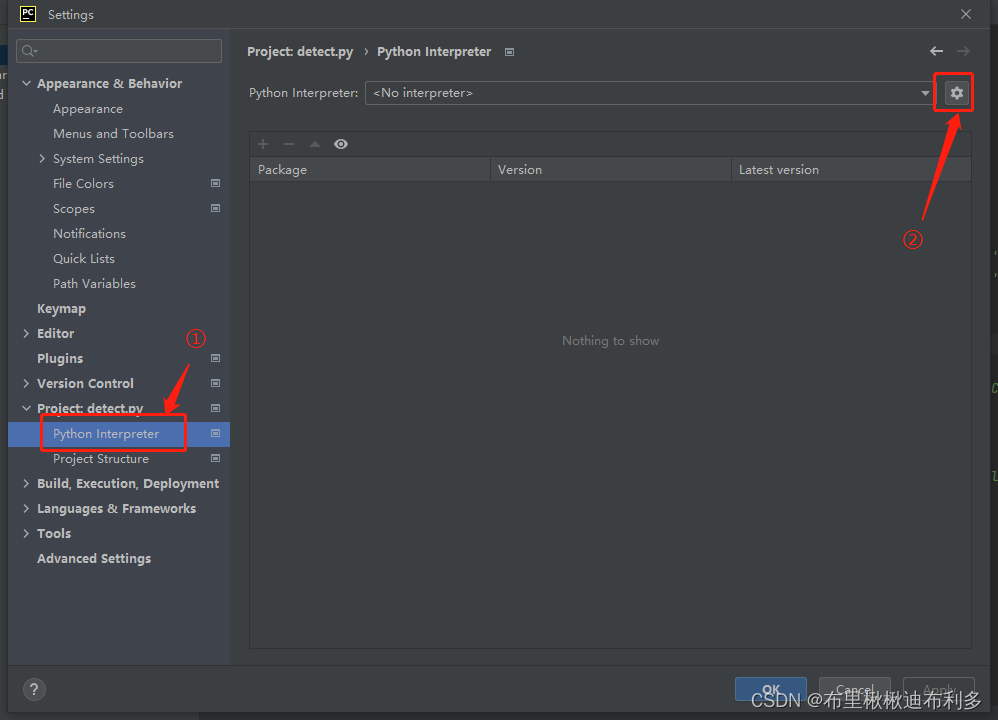
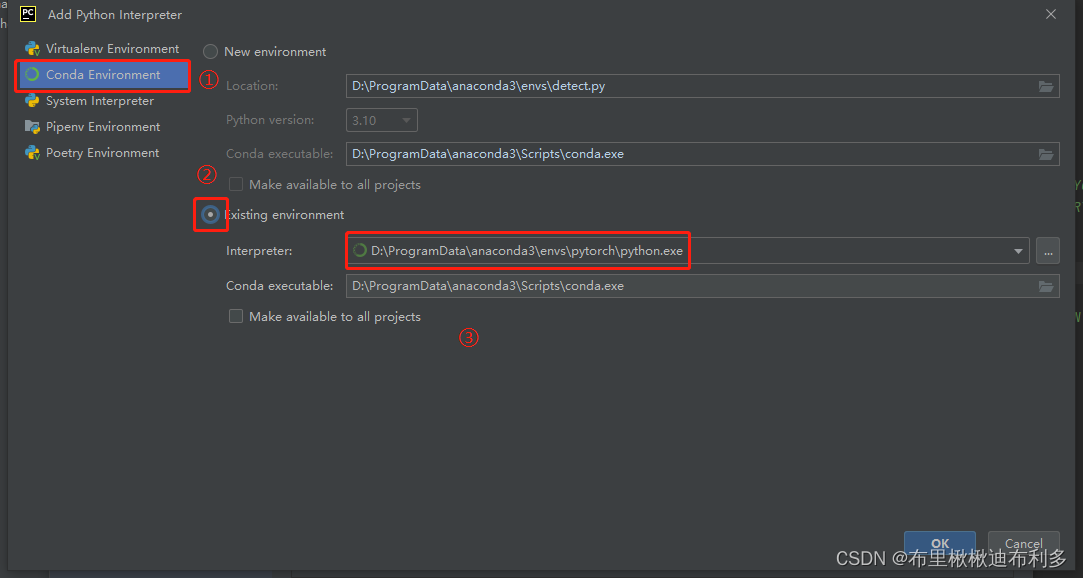
Here we set the settings in Chapter 2 pytorch frame .
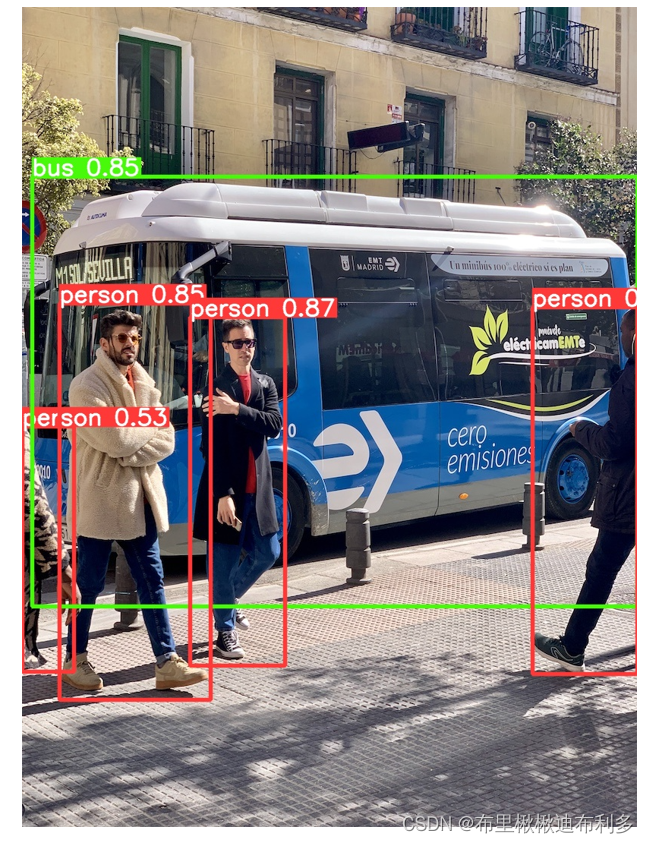
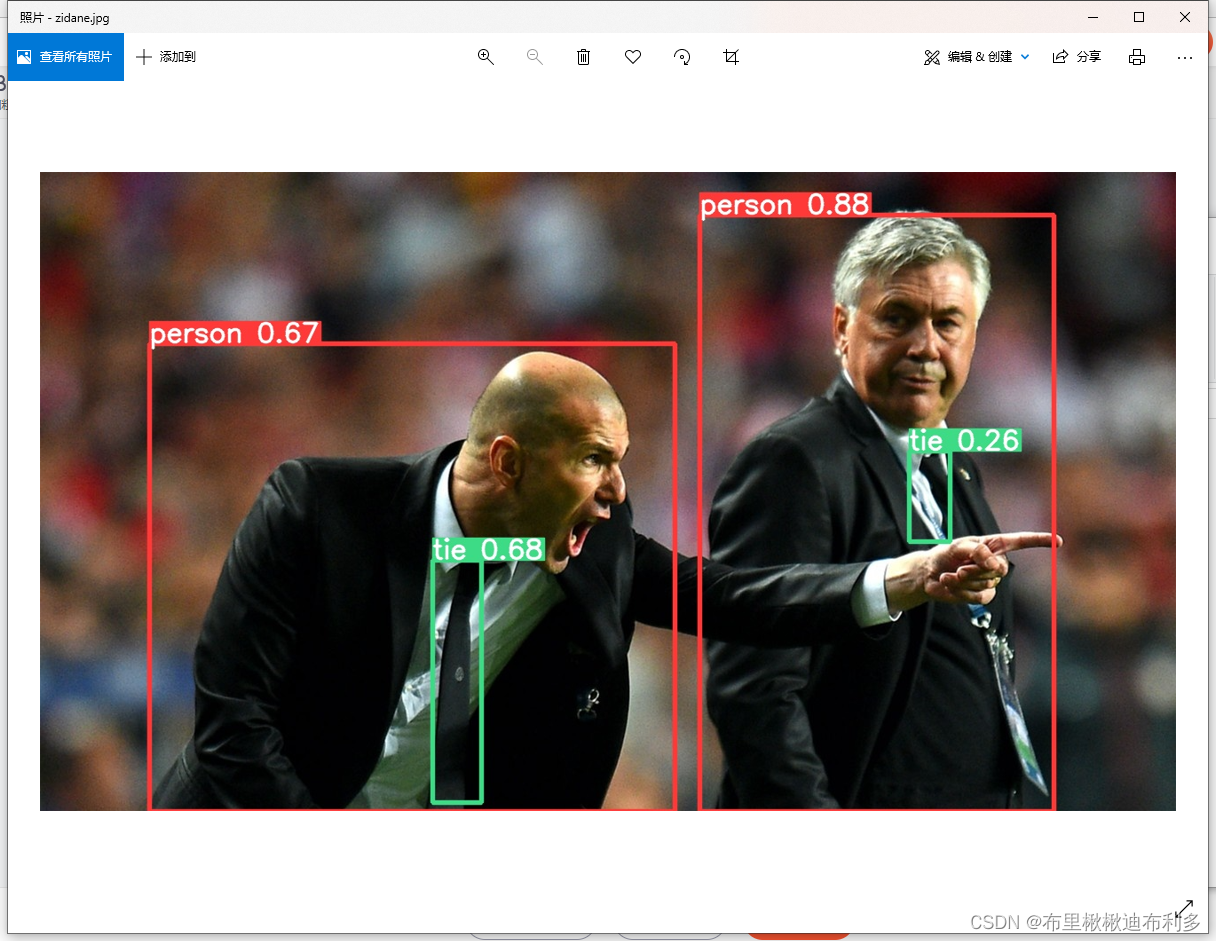
5、 ... and 、 The test results
When everything is ready , Click on the compilation , Miracles happen ! If you appear No module named "XXXXX", Please read on .
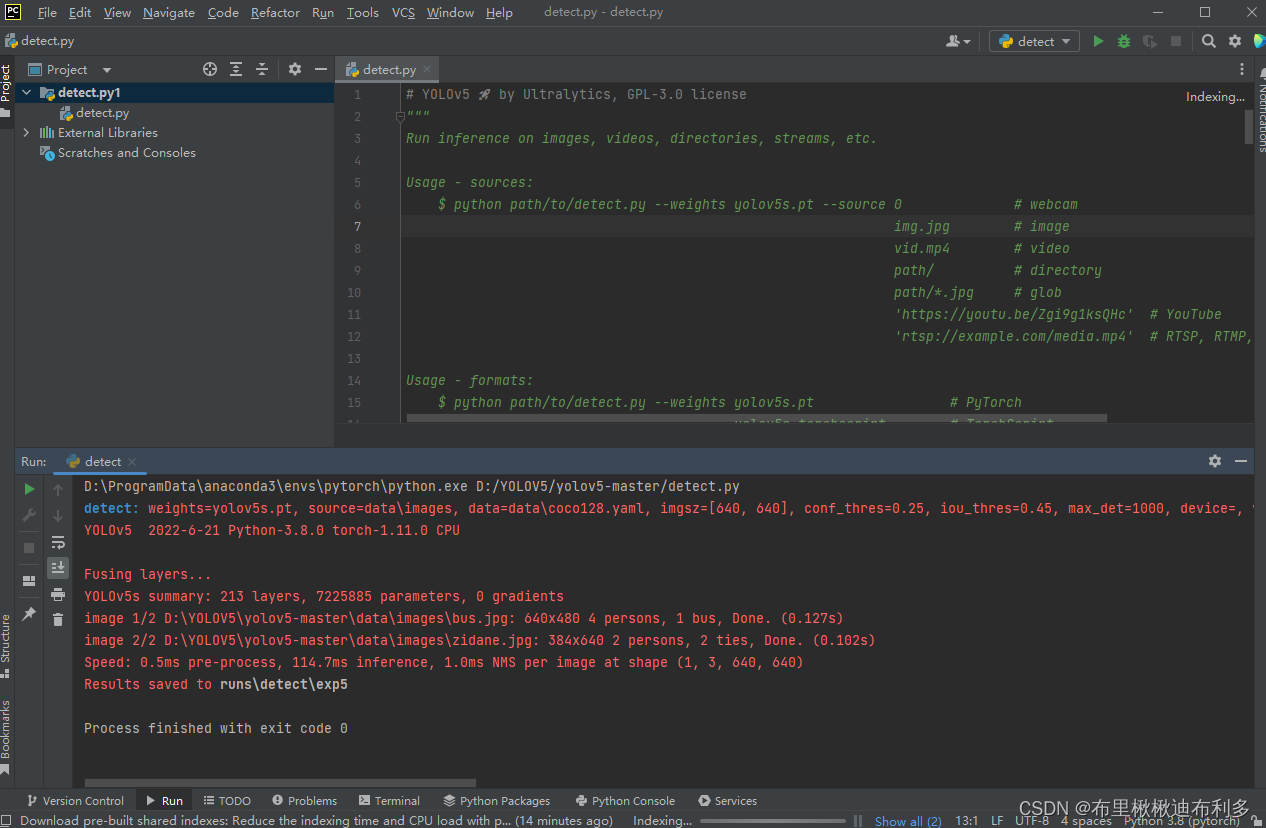
And in runs The test results can be seen in the folder ...
6、 ... and 、 Rely on the supplementary installation of the Library
First , stay Anaconda Prompt Active in pytorch Environmental Science
conda activate pytorchsecondly , Install the dependent libraries in turn , What's missing for installation . for example , The lack of pandas library , be :
conda install pandas边栏推荐
- 软件测试的几个关键步骤,你需要知道
- Redis (II) - redis General Command
- Redis(二)—Redis通用命令
- ICML 2022 | 探索语言模型的最佳架构和训练方法
- Three updates to build applications for different types of devices | 2022 i/o key review
- C面试24. (指针)定义一个含有20个元素的double型数组a
- 对称的二叉树【树的遍历】
- 线性代数(一)
- 面试中有哪些经典的数据库问题?
- Peripheral driver library development notes 43: GPIO simulation SPI driver
猜你喜欢
JVM command - jmap: export memory image file & memory usage

软件测试知识储备:关于「登录安全」的基础知识,你了解多少?
软件测试的几个关键步骤,你需要知道
如何在Touch Designer 2022版中设置解决Leap Motion不识别的问题?
Navicat导入15G数据报错 【2013 - Lost connection to MySQL server during query】 【1153:Got a packet bigger】

地质学类比较有名的外文期刊有哪些?
Haqi projection Black Horse posture, avec seulement six mois de forte pénétration du marché des projecteurs de 1000 yuans!
Several key steps of software testing, you need to know

你不知道的互联网公司招聘黑话大全

可极大提升编程思想与能力的书有哪些?
随机推荐
2022 Android interview essential knowledge points, a comprehensive summary
「解析」FocalLoss 解决数据不平衡问题
Force deduction 62 different paths (the number of all paths from the upper left to the lower right of the matrix) (dynamic planning)
生活中的开销,怎么记账合适
window下面如何安装swoole
JWT 认证
JVM monitoring and diagnostic tools - command line
Calculation model FPS
C语言面试 写一个函数查找两个字符串中的第一个公共字符串
How to keep accounts of expenses in life
Subghz, lorawan, Nb IOT, Internet of things
[opencv] morphological filtering (2): open operation, morphological gradient, top hat, black hat
JMeter function assistant - random value, random string, fixed value random extraction
uniapp开发小程序如何使用微信云托管或云函数进行云开发
安装VMmare时候提示hyper-v / device defender 侧通道安全性
What are the classic database questions in the interview?
可极大提升编程思想与能力的书有哪些?
线性代数(一)
Leite smart home longhaiqi: from professional dimming to full house intelligence, 20 years of focus on professional achievements
力扣62 不同路径(从矩阵左上到右下的所有路径数量) (动态规划)