当前位置:网站首页>Writing OpenCV in VSCode
Writing OpenCV in VSCode
2022-08-05 06:44:00 【ProfSnail】
首先,需要安装MinGW编译器,支持编译C++代码.
安装MinGW编译器
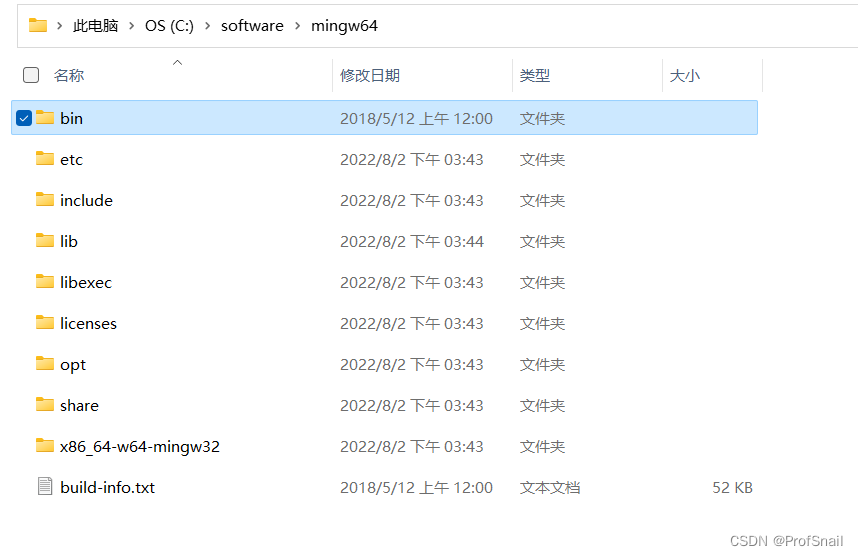
将MinGWUnzip in a folder.例如:C:\software\mingw64
配置环境变量.
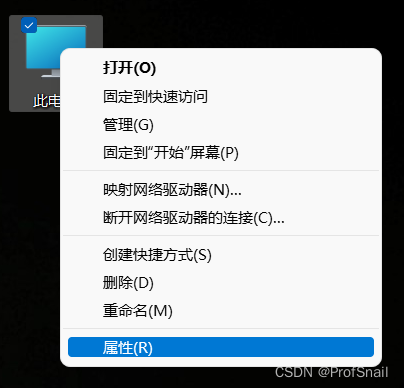
3.1 Right-click this computer on the desktop,选择属性.
3.2 选择高级系统设置.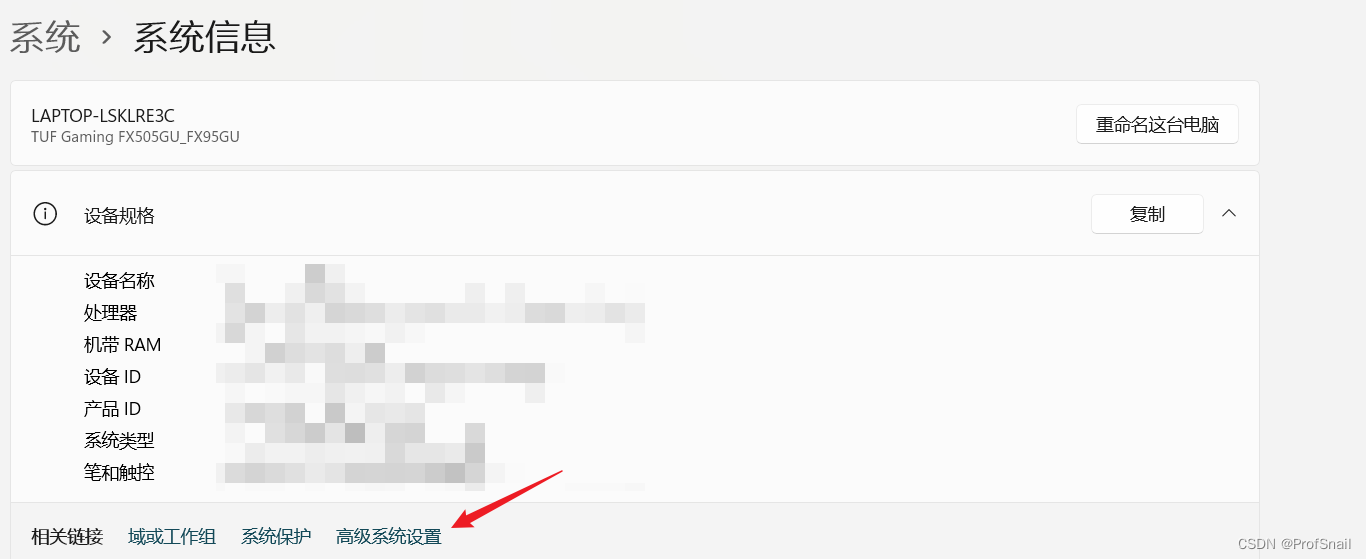
3.3 打开环境变量.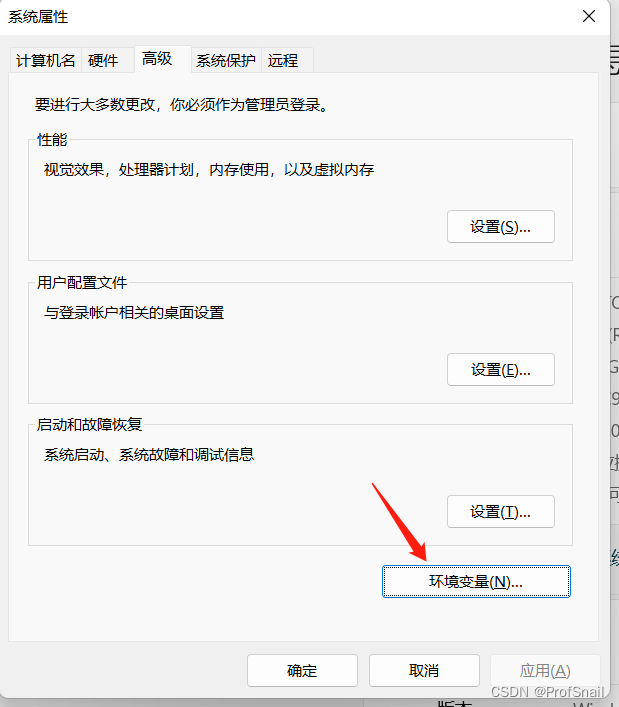
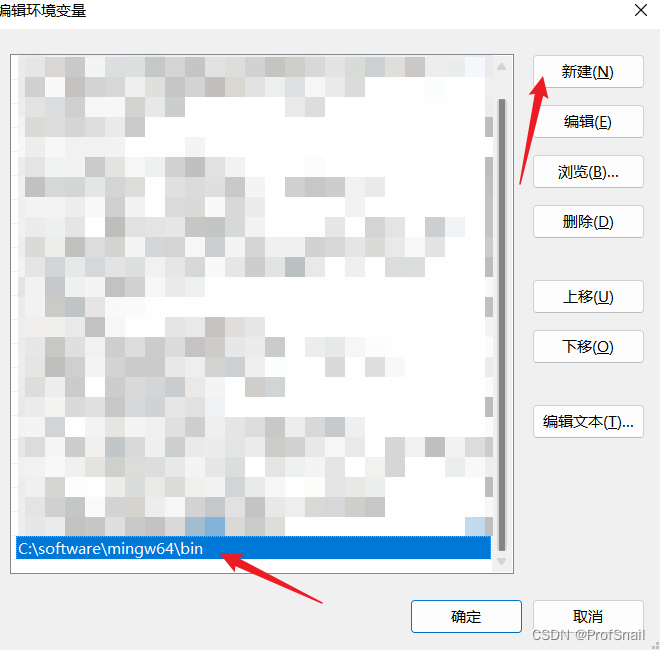
3.4 设置path,添加一条路径,为刚刚mingw的下bin文件夹的路径.C:\software\mingw64\bin.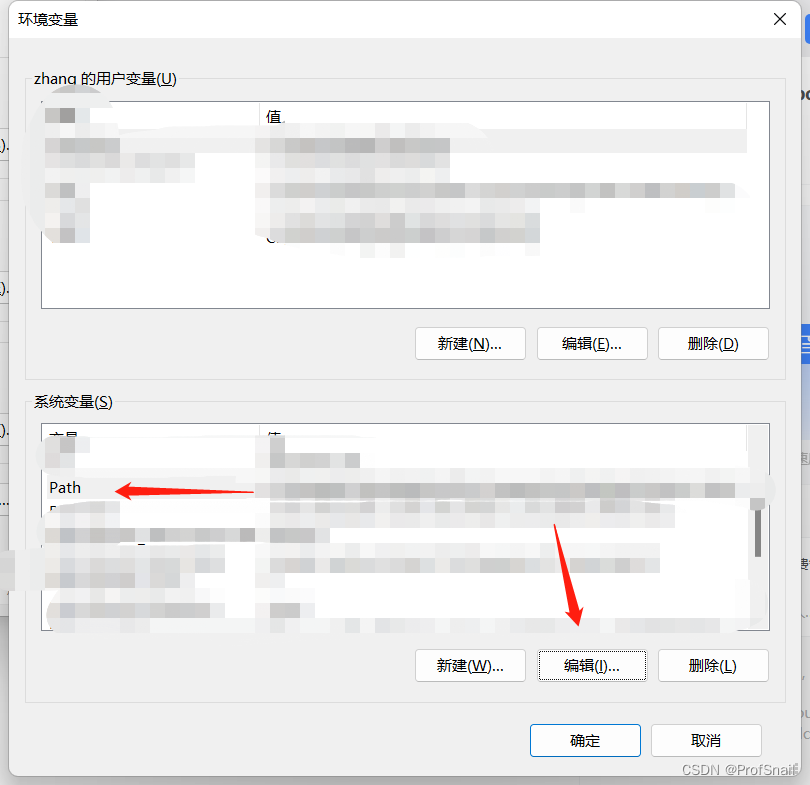
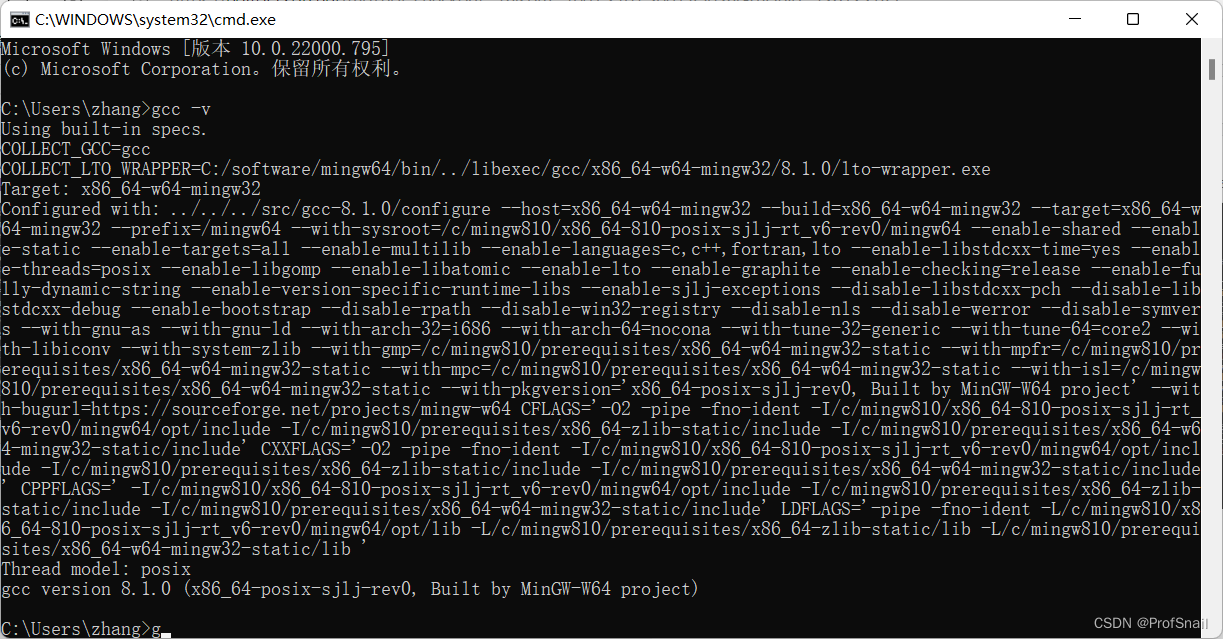
测试环境变量.win+r打开运行界面,输入cmd进入命令行,输入gcc -v,敲回车,查看gcc是否正常工作.
配置Vscode环境,支持编译C++
不用怎么配置,新建一个.cpp文件,用vscode打开,The lower right corner prompts whether to install the recommended onesC++扩展,It can be compiled after installationcpp文件了.
安装完成后,Found that the following has been addedVSCode扩展.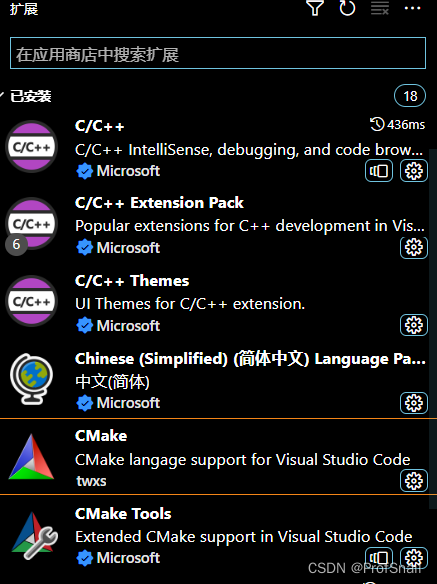
下载opencv3
进入官网,https://opencv.org/releases/,下载opencv3,选择Windows进行下载.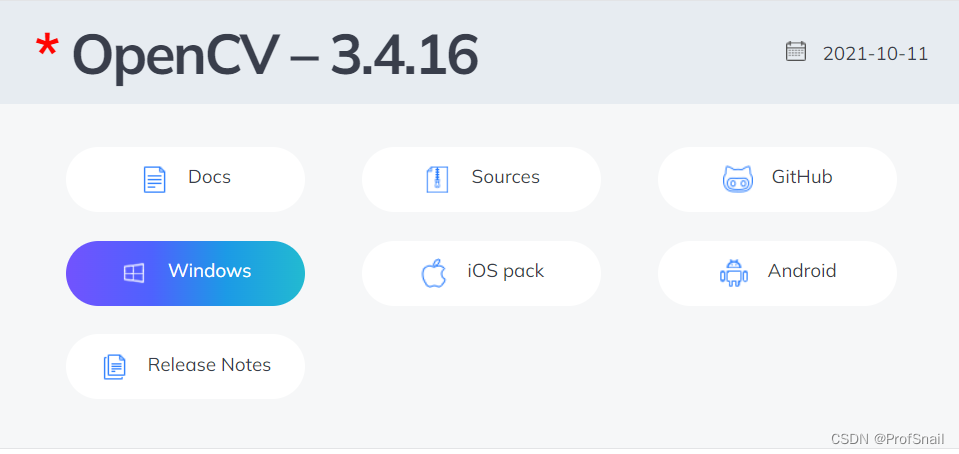
It can be installed in the specified directory.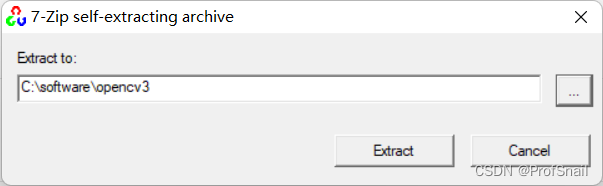
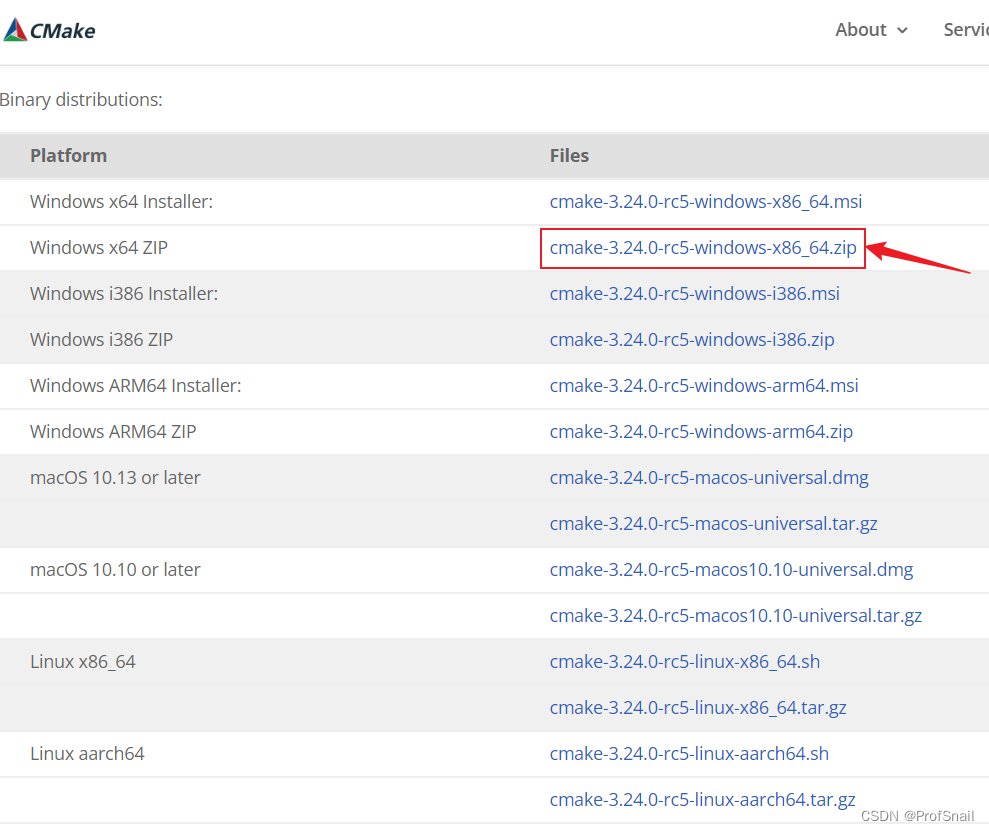
下载Cmake
下载路径是:https://cmake.org/download/
Unzip it to a custom directory,我的路径为:C:\software\cmake\bin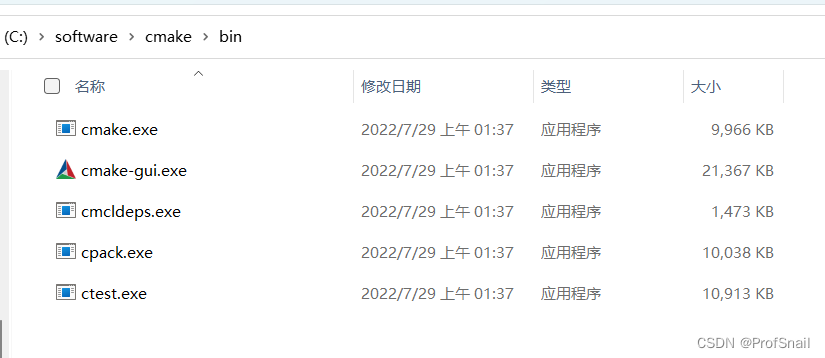
点开cmake-gui.exe.
where is source code,选择C:\software\opencv3\opencv\sources
where is to build the binaries,It is a folder set by yourself,选择C:\software\opencv3\opencv\build\x64\mingw.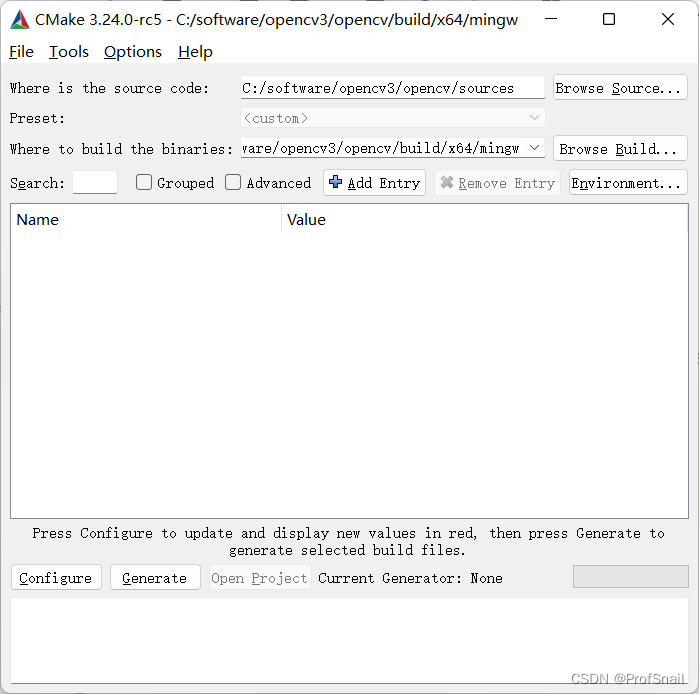
点击左下角的Configure,选择MinGW Makefiles,Specify native compiler.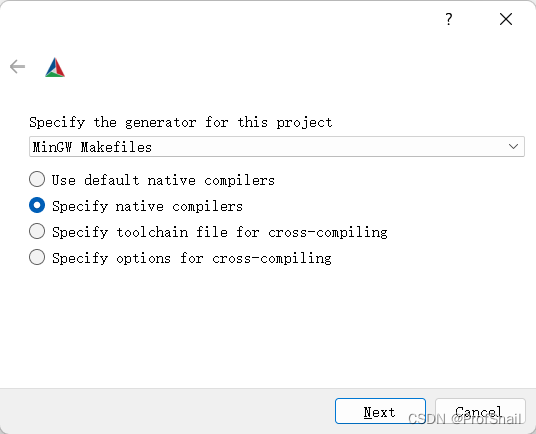
Compiler,选择Mingw文件夹bin下的gcc.exe和g++.exe.路径是C:\software\mingw64\bin.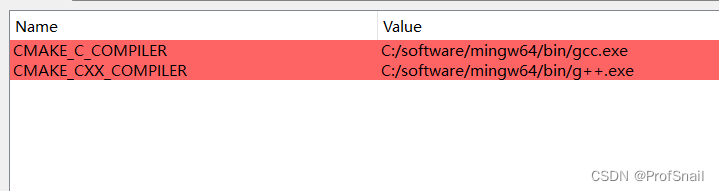
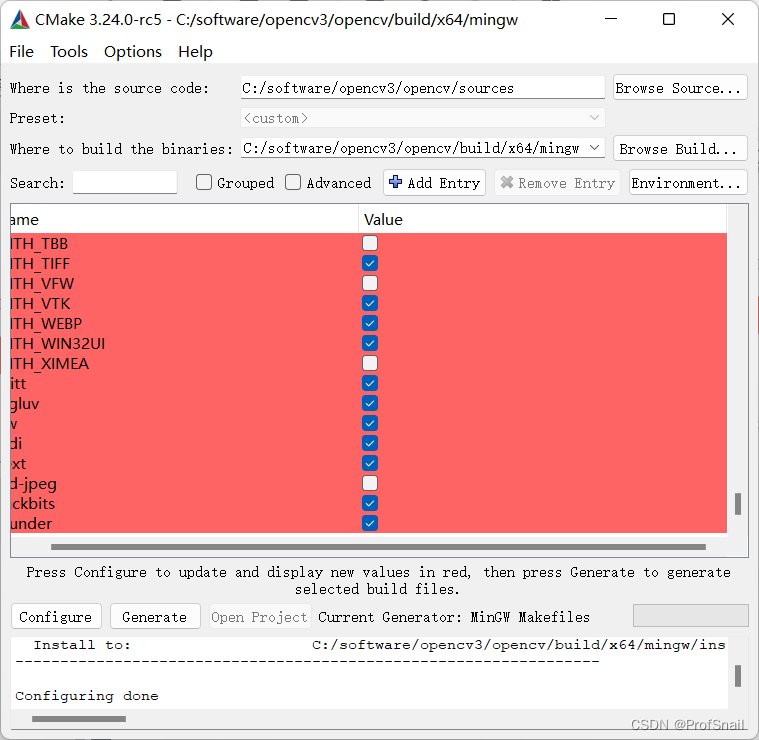
显示configure done.
Be sure to pay attention to this step,如果不执行这一步,later dependentdll会缺失.
在执行完后,把关于pythonare unchecked.勾选BUILD_opencv_world,WITH_OPENGL和BUILD_EXAMPLES,不勾选WITH_IPP、WITH_MSMF和ENABLE_PRECOMPILED_HEADERS(如果有的话),CPU_DISPATCH选空.
第二次点击Configure.
再点击Generate,最后Generate Done,就完成了.
make
cmdGo to the folder you just set upC:\software\opencv3\opencv\build\x64\mingw,执行命令: minGW32-make -j 4.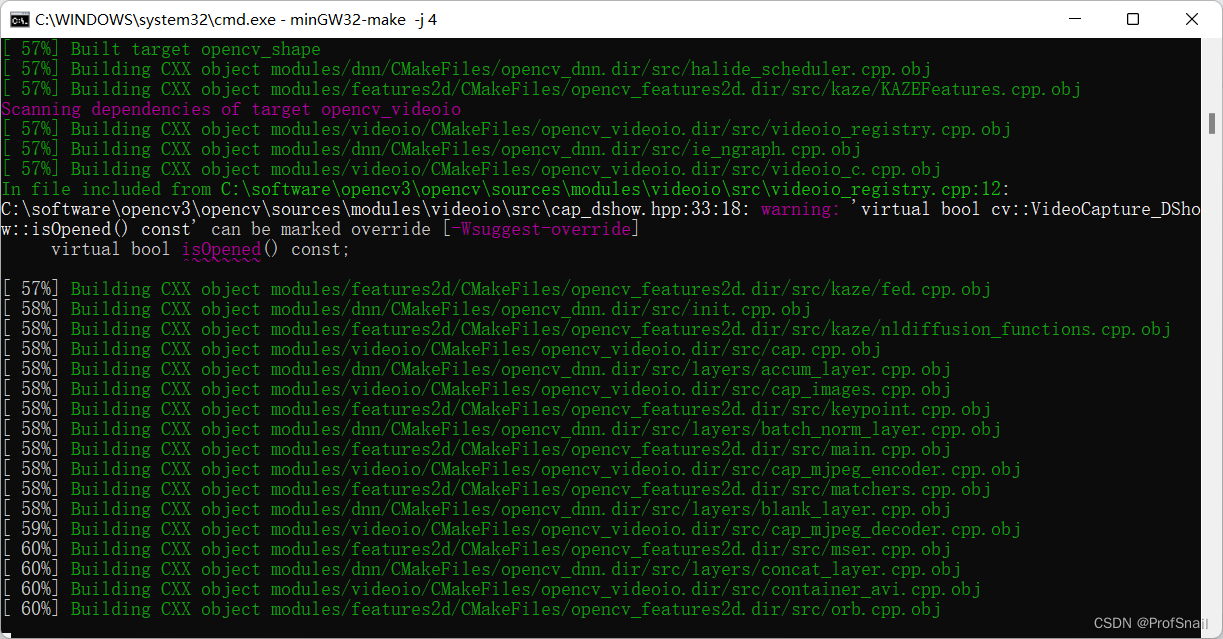
make成功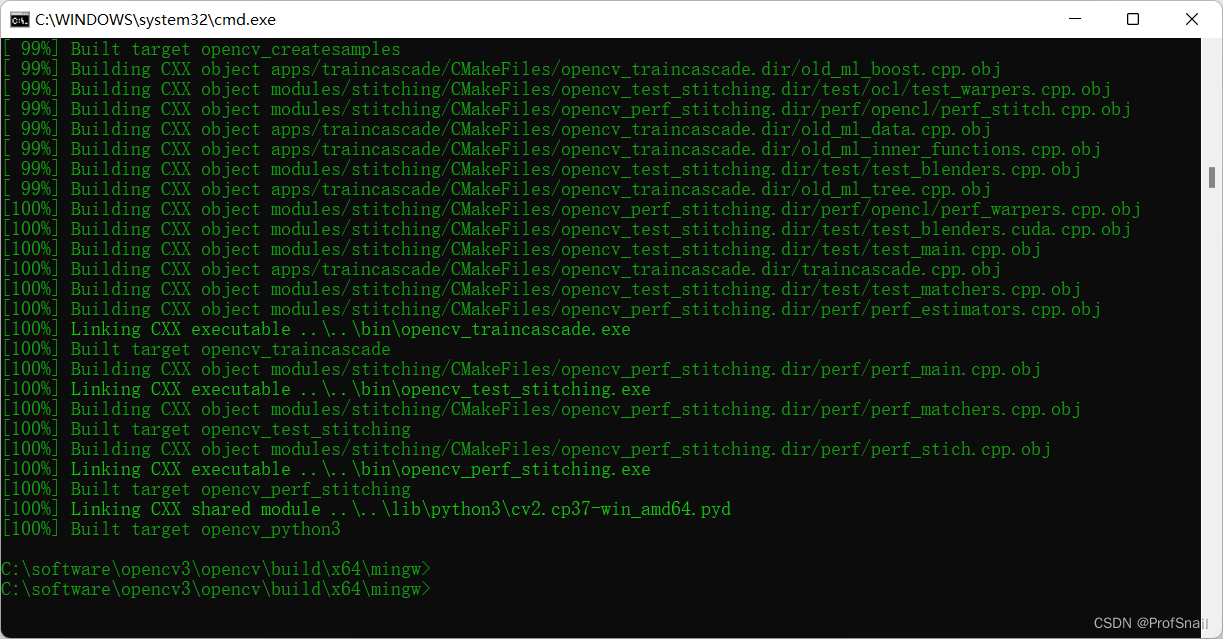
继续执行minGW32-make install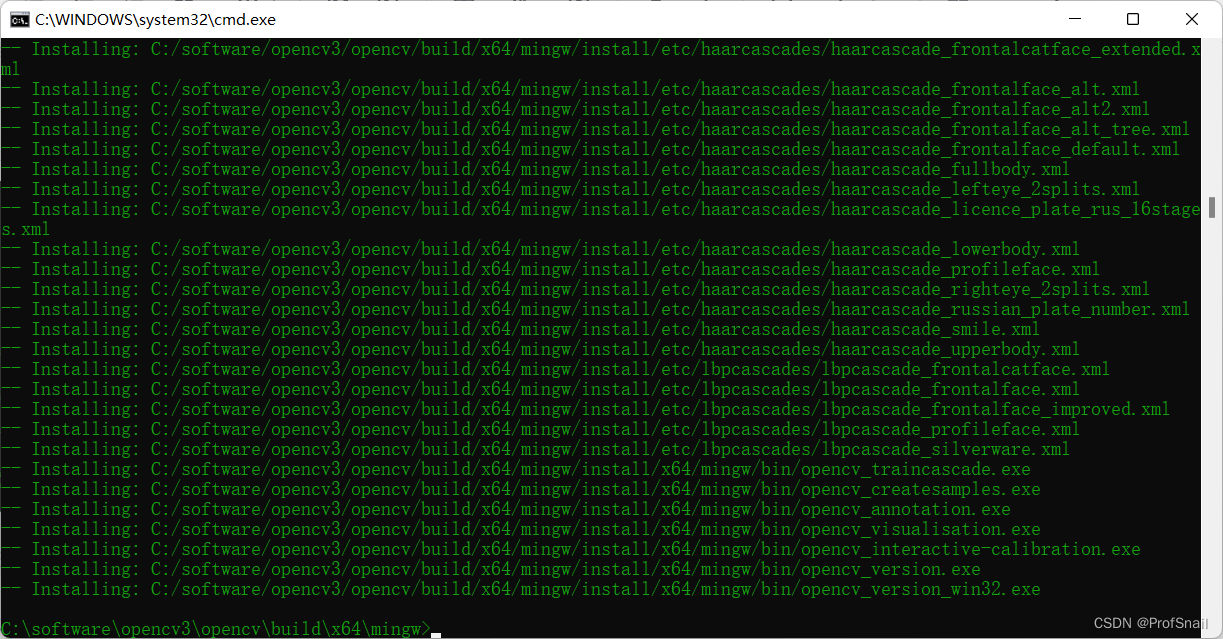
配置OpenCV的环境变量.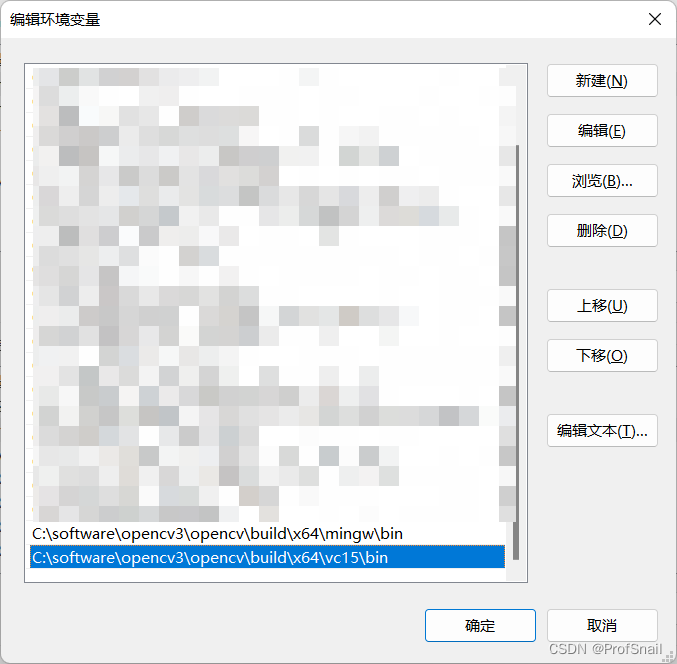
配置Vscode环境,支持OpenCV3
任意创建一个文件夹,Put your own code.
The final file structure is as follows: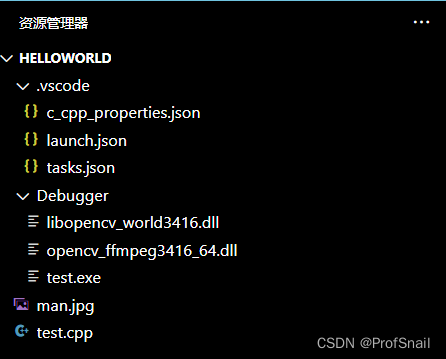
自己创建.vscode文件夹,自己创建c_cpp_properties.json、launch.json、tasks.json文件.自己创建Debugger文件夹.
c_cpp_properties.json
{

    "configurations": [
        {

            "name": "win",
            "includePath": [
                "${workspaceFolder}/**",
                "C:/software/opencv3/opencv/build/x64/mingw/include",
                "C:/software/opencv3/opencv/build/x64/mingw/install/include/opencv2",
                "C:/software/opencv3/opencv/build/x64/mingw/install/include"
            ],
            "defines": [],
            "compilerPath": "C:/software/mingw64/bin/g++.exe",
            "cStandard": "c11",
            "cppStandard": "c++17",
            "intelliSenseMode": "${default}"
        }
    ],
    "version": 4
}
launch.json
{


    "version": "0.2.0",
    "configurations": [
        {

            "name": "opencv debuge",
            "type": "cppdbg",
            "request": "launch",
            "program": "${workspaceFolder}//Debugger//${fileBasenameNoExtension}.exe",
            //上面这个Debugger是我自己定义的,Generated for ease of placementexe文件
            "args": [],
            "stopAtEntry": false, //这里如果为 false,It means that the debugging runs directly.(反之则停止)
            "cwd": "${workspaceFolder}",
            "environment": [],
            "externalConsole": true,//Whether to call externalcmd
            "MIMode": "gdb",
            "miDebuggerPath": "C:/software/mingw64/bin/gdb.exe",//自己进行设置
            "setupCommands": [
                {

                    "description": "为 gdb 启用整齐打印",
                    "text": "-enable-pretty-printing",
                    "ignoreFailures": false
                }
            ],
            "preLaunchTask": "opencv3.5.2"
        }
    ]
}
tasks.json
{

    "version": "2.0.0",
    "tasks": [
        {

            "type": "shell",
            "label": "opencv3.5.2",
            "command": "C:/software/mingw64/bin/g++.exe",
            "args": [
                "-g",
                "${file}",
                "-o",
                "${workspaceFolder}//Debugger//${fileBasenameNoExtension}.exe",
                //上面这个Debugger是我自己定义的,Generated for ease of placementexe文件
                "C:/software/opencv3/opencv/build/x64/mingw/bin/libopencv_world3416.dll",
                "-I",
                "C:/software/opencv3/opencv/build/x64/mingw/install/include",
                "-I",
                "C:/software/opencv3/opencv/build/x64/mingw/install/include/opencv2",
            ],
            "options": {

                "cwd": "C:/software/mingw64/bin"
            },
            "problemMatcher": [
                "$gcc"
            ],
            "group": {

                "kind": "build",
                "isDefault": true
            }
        }
    ]
}
在C:\software\opencv3\opencv\build\x64\mingw\bin下找到libopencv_world3416.dll,复制到Debugger文件夹下.Note this suffix3416是OpenCV的版本号,Depends on the version you installed.
在C:\software\opencv3\opencv\build\x64\vc15\bin下找到opencv_ffmpeg3416_64.dll,复制到Debugger文件夹下.
生成test.cpp文件,输入测试代码.
#include <opencv2/opencv.hpp>
#include <opencv2/highgui.hpp>
#include <iostream>
using namespace cv;
int main()
{

    Mat img=imread("man.jpg");
    imshow("image",img);
    waitKey();
    return 0;
}
能正常运行即可.
边栏推荐
猜你喜欢
The use of three parameters of ref, out, and Params in Unity3D

从“双卡双待“到”双通“,vivo率先推动DSDA架构落地
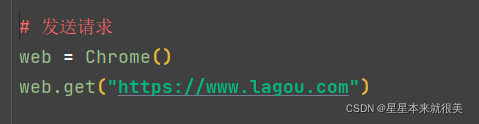
selenium模块的操作之拉钩
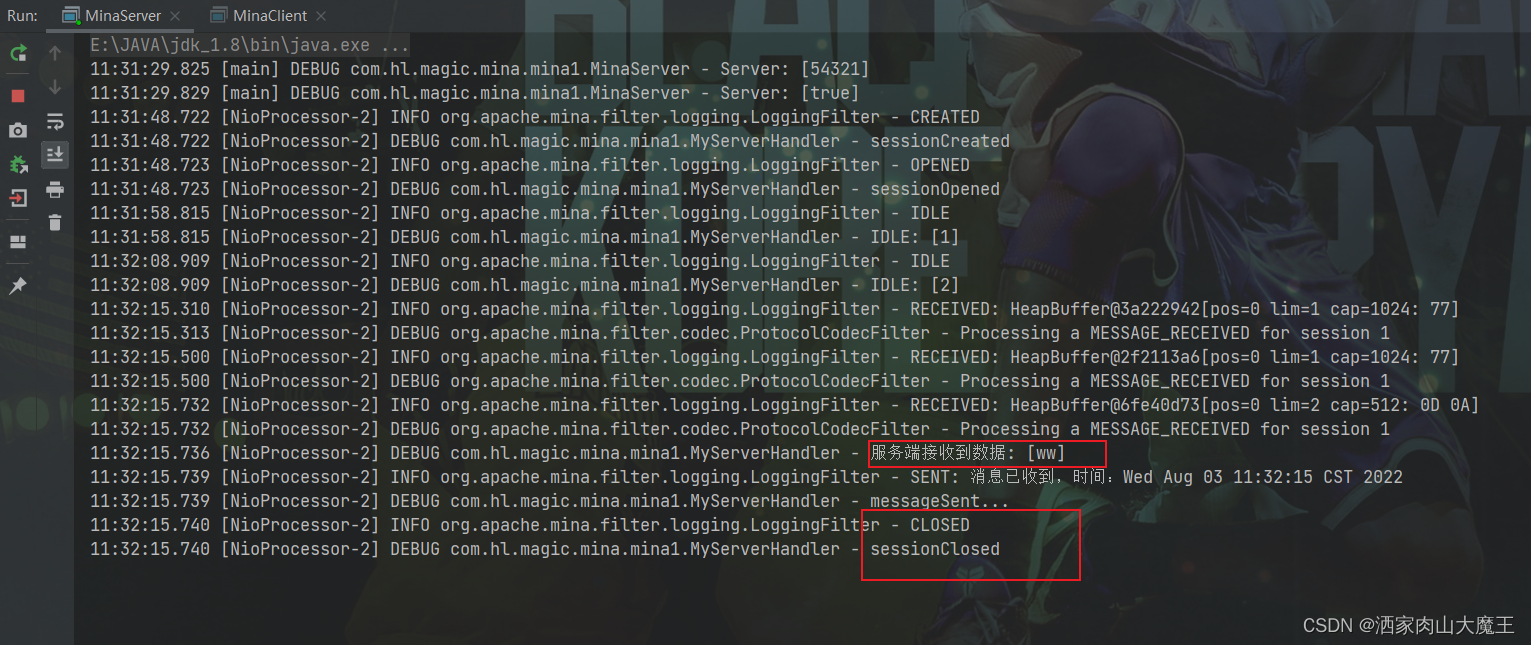
Mina's long and short connections
![[问题已处理]-jenkins流水线checkout超时](/img/3d/c14276d2b5ce18fc3d1288abb059c0.png)
[问题已处理]-jenkins流水线checkout超时

The 25 best free games on mobile in 2020

Successful indie developers deal with failure & imposters
DevOps-了解学习
NB-IOT智能云家具项目系列实站

Vim tutorial: vimtutor
随机推荐
D46_Force applied to rigid body
Alibaba Cloud Video on Demand
Autoware--Beike Tianhui rfans lidar uses the camera & lidar joint calibration file to verify the fusion effect of point cloud images
The use of three parameters of ref, out, and Params in Unity3D
Does flink cdc currently support Gauss database sources?
sql server duplicate values are counted after
DevOps流程demo(实操记录)
浏览器兼容汇总
Difference between link and @improt
BIO, NIO, AIO practical study notes (easy to understand theory)
Insight into the general trend of the Internet, after reading this article, you will have a thorough understanding of Chinese domain names
ev加密视频转换成MP4格式,亲测可用
单臂路由实验和三层交换机实验
原生JS带你了解数组方法实现及使用
config.js related configuration summary
selenium learning
VRRP overview and experiment
Growth: IT Operations Trends Report
VLAN介绍与实验
What's the point of monitoring the involution of the system?