当前位置:网站首页>Linux: CentOS 7 install MySQL5.7
Linux: CentOS 7 install MySQL5.7
2022-08-02 14:20:00 【Xiao Liyi】
一、OracleVirtualBox虚拟机安装
1. Go to the official website to download the virtual machine installation package(https://www.virtualbox.org/wiki/Downloads)
Oracle VM VirtualBox,A cross-platform virtualization application.It can be installed over your existing base Intel 或 AMD 的计算机上,无论它们运行的是 Windows、Mac OS X、Linux 等操作系统.其次,它扩展了现有计算机的功能,Make it possible to run multiple operating systems in multiple virtual machines at the same time.例如,您可以在您的 Mac 上运行 Windows 和 Linux,在您的 Linux 服务器上运行 Windows,在您的 Windows PC 上运行 Linux 等等,All of this works with your existing applications.You can install and run any number of virtual machines.The only practical limitations are disk space and memory.
Oracle VM VirtualBox 看似简单,但也非常强大.它可以在任何地方运行,From small embedded systems or desktops all the way to data center deployments and even cloud environments,The important thing is that it is completely free and functionalPD和VM.
2. 下载后的样子

3. 安装步骤
After the installation package is downloaded, go to the next step,完成后效果如下:
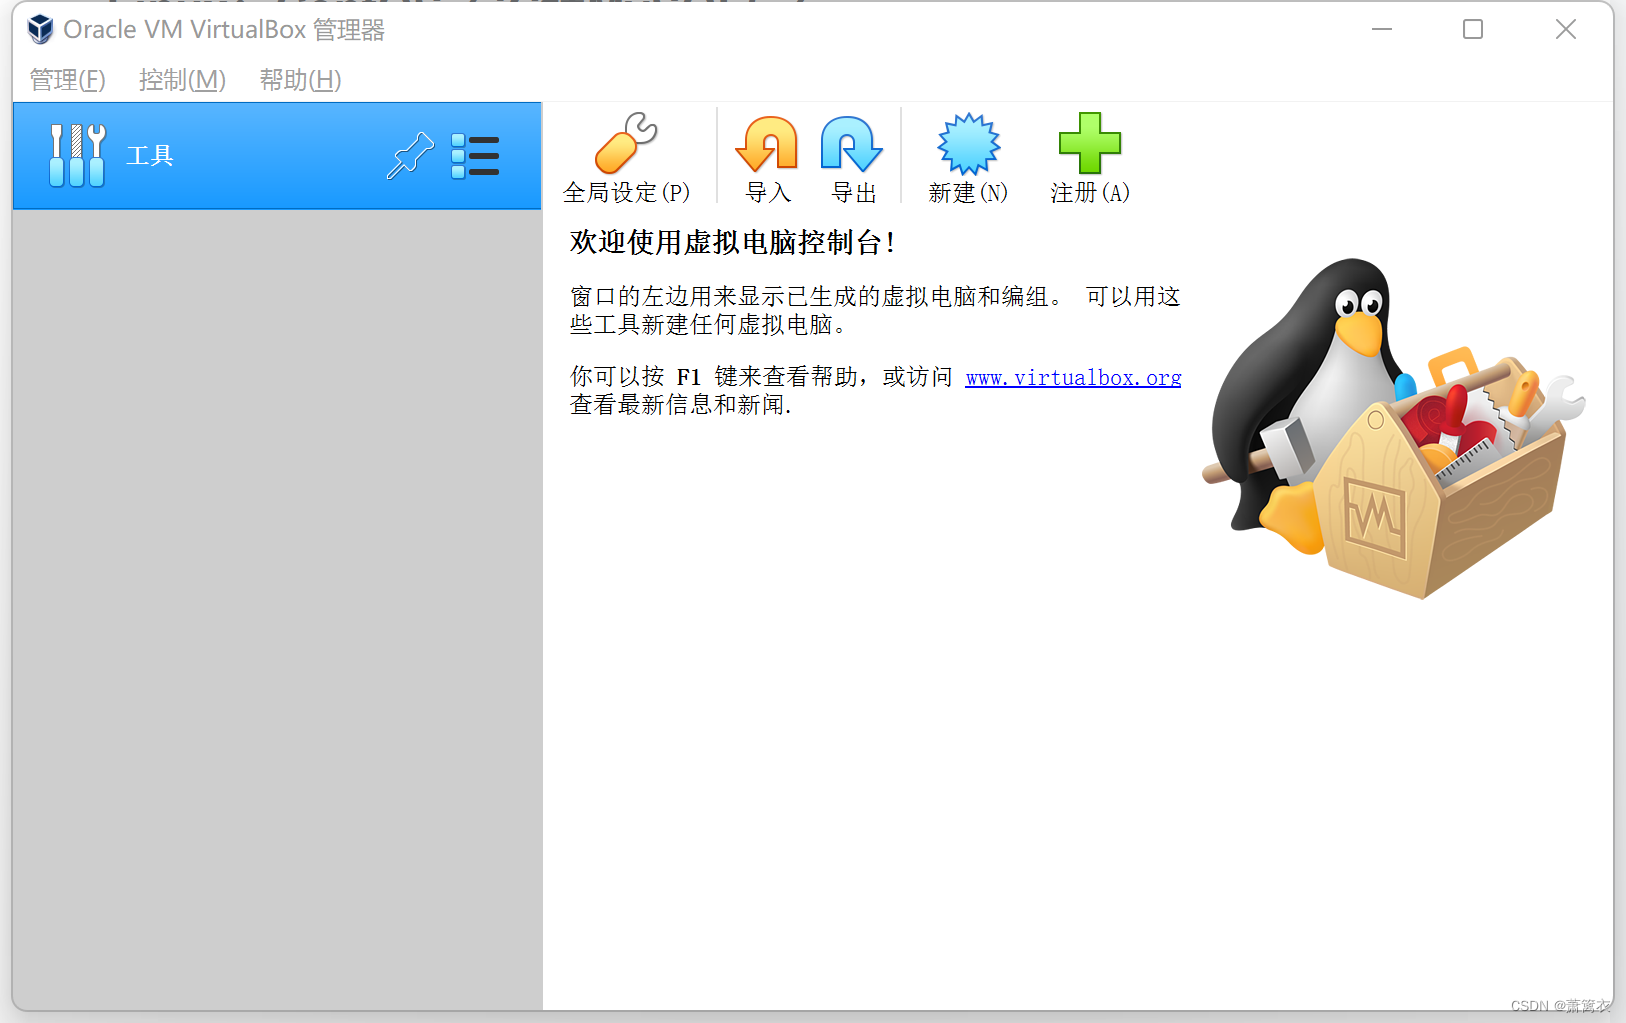
二、安装Linux系统
We use the ones that are common in the marketCentOS-7
安装步骤:
第一步:新建虚拟电脑
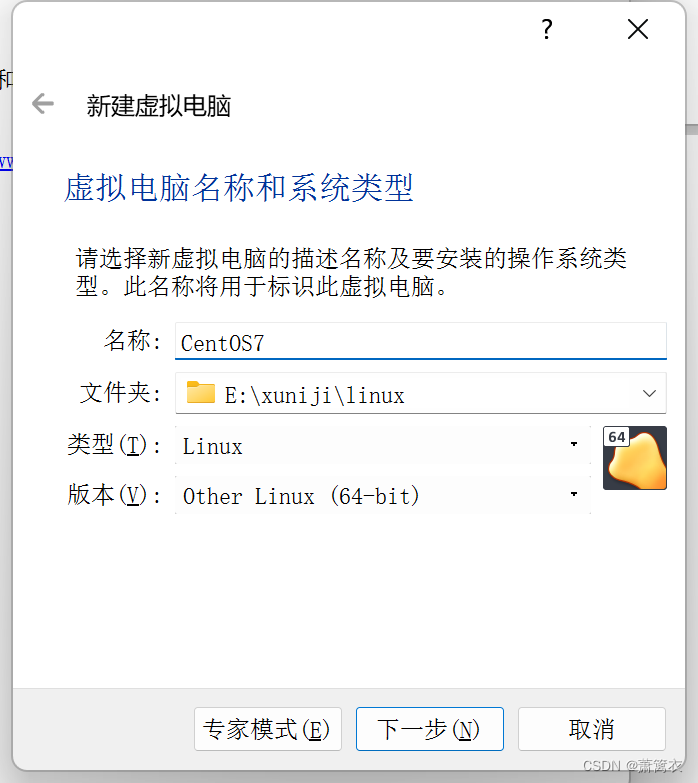
version if not availableCentOS-7选择其他
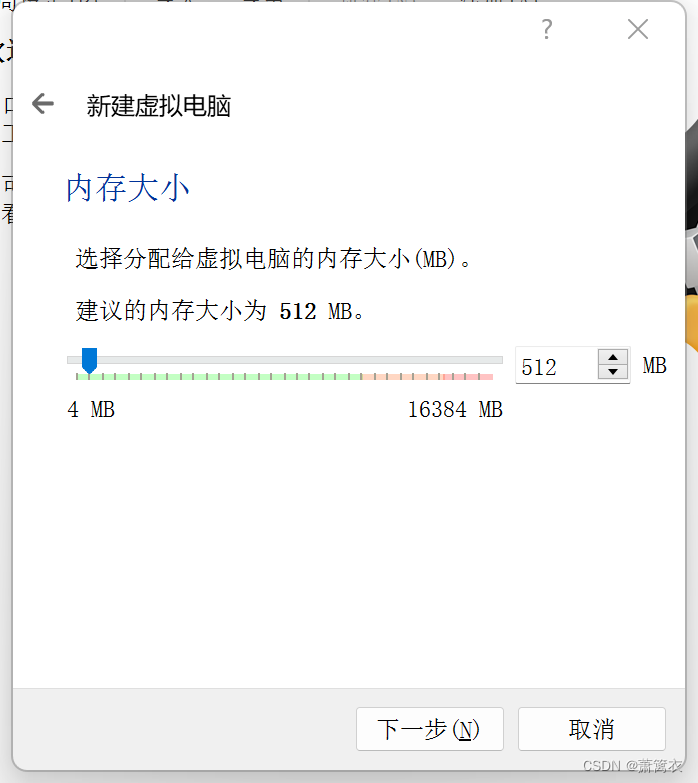
The memory size is greater than 512
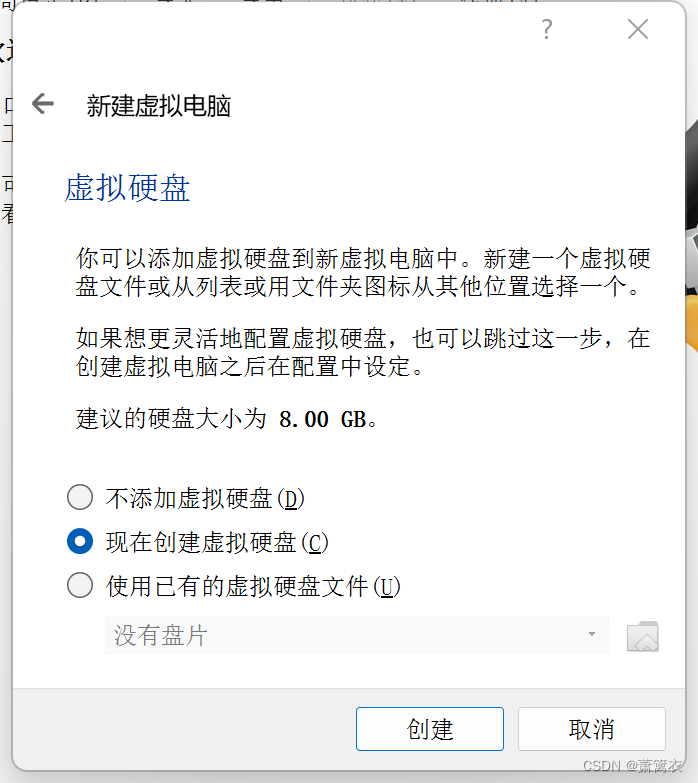
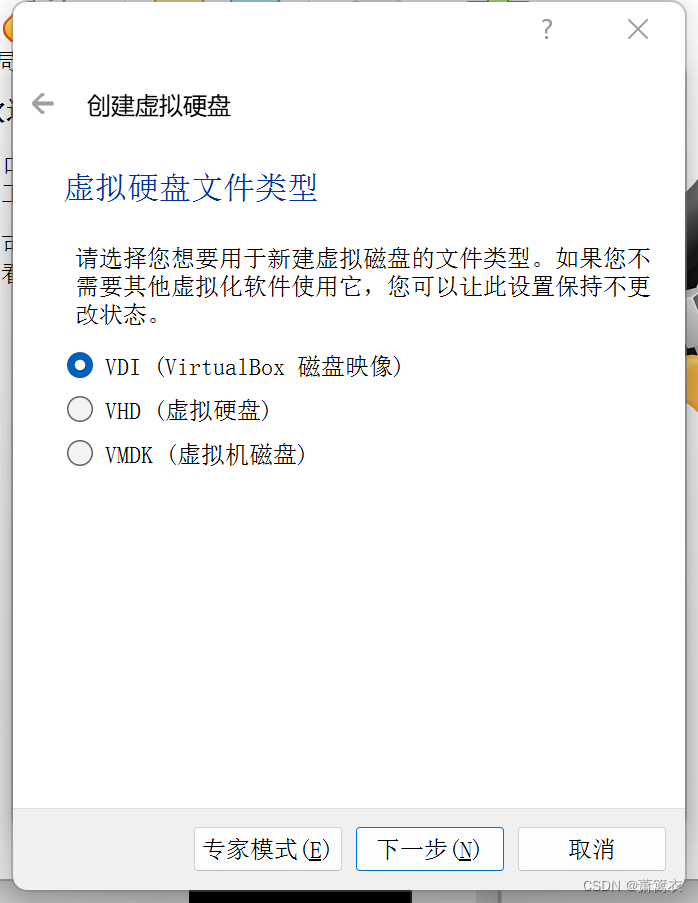
直接下一步即可完成,完成后如下:
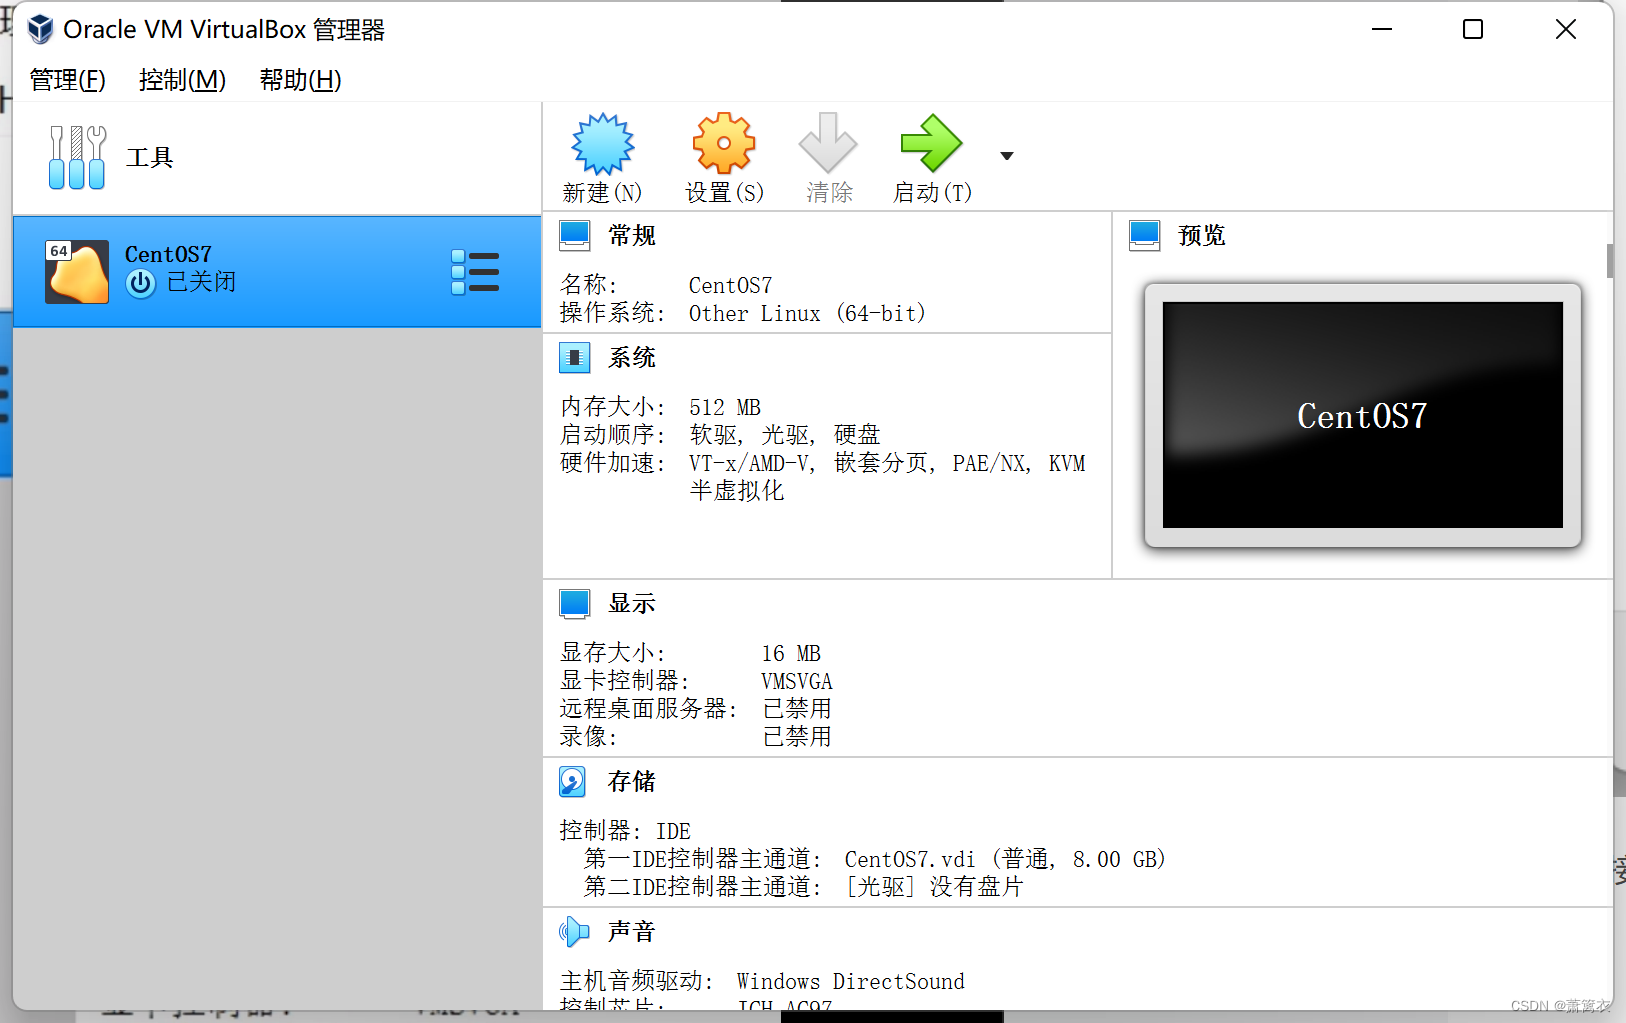
第二步:Select Startup Disk dialog
点击启动按钮,The Select Startup Disk dialog box pops up,将CentOS-7添加进去,回车进入,等待即可.
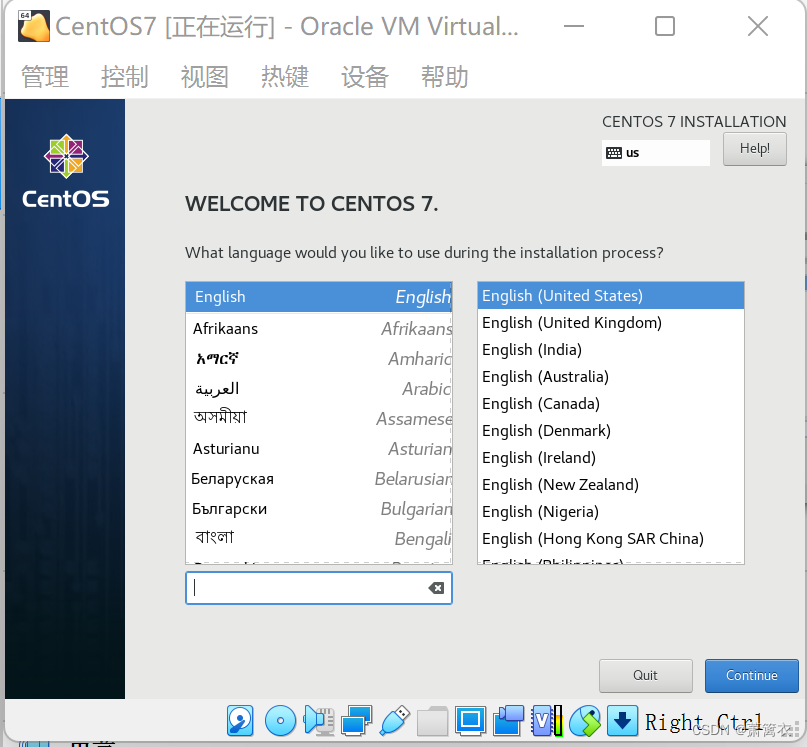
Click after selecting Englishcontinue(蓝色图标)进行下一步,Click on the content in the red box below and click on the upper left cornerDone进行下一步.
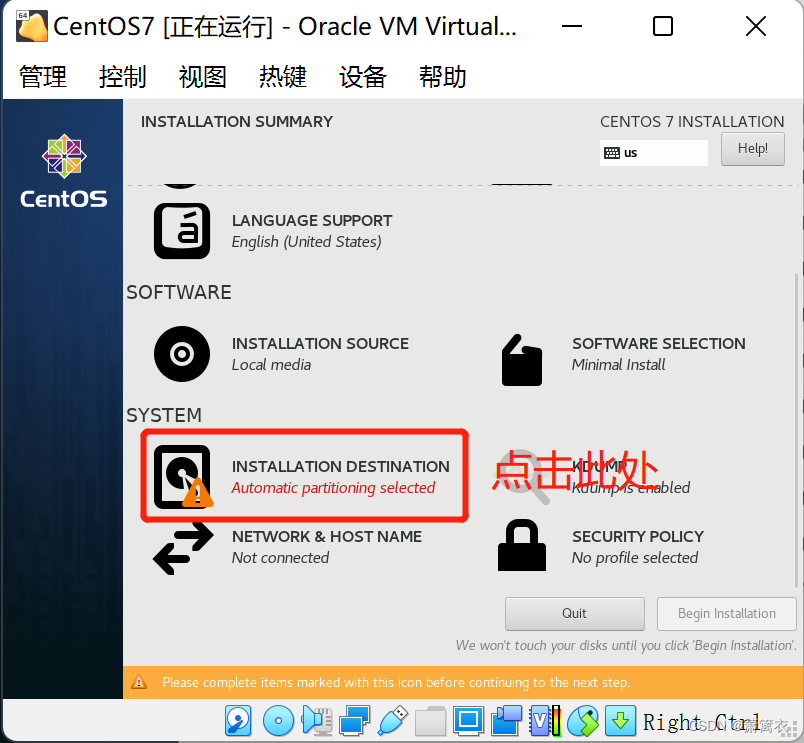
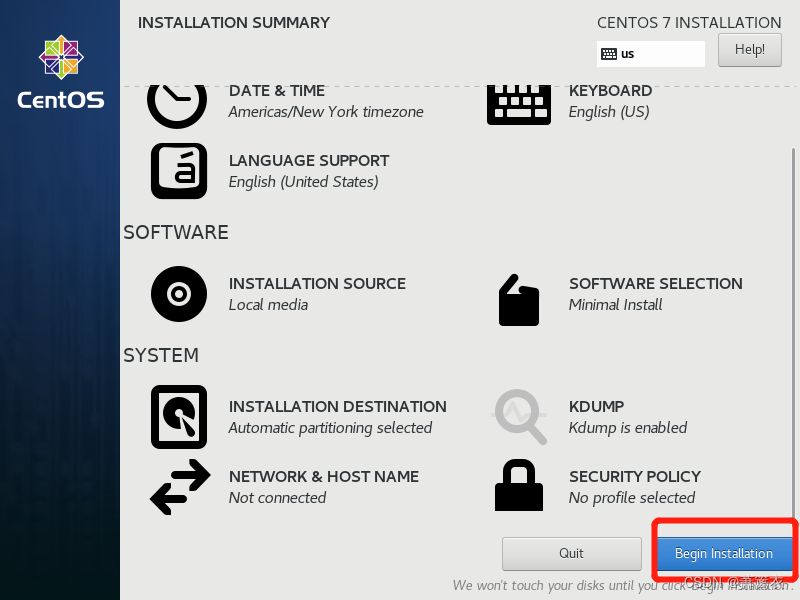
At this point, set the user and password by yourself,If the password has not passed the high probability, it is because the password is too simple,It can be a little more complicated to set up.
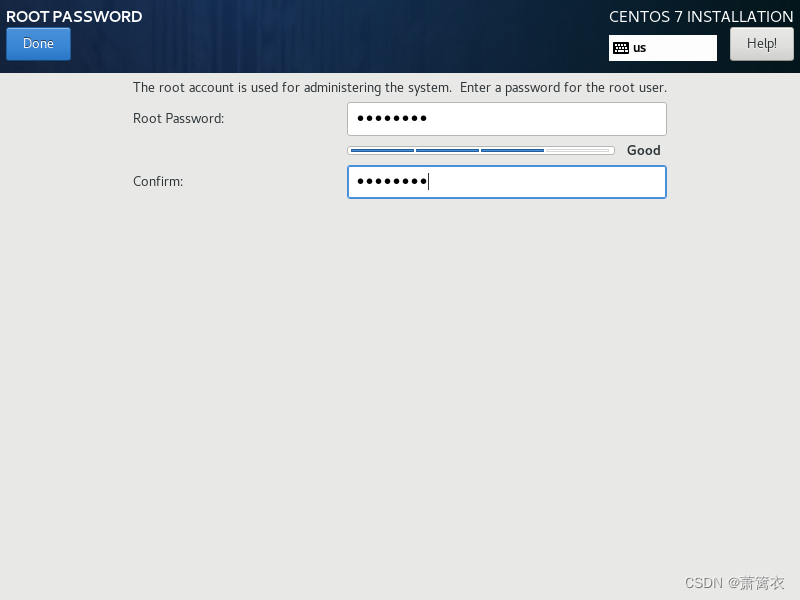
After the progress bar finishes, the installation is complete.
第三步:Log in as an administrator(The password is not displayed,Type carefully)
第四步:相关环境设置
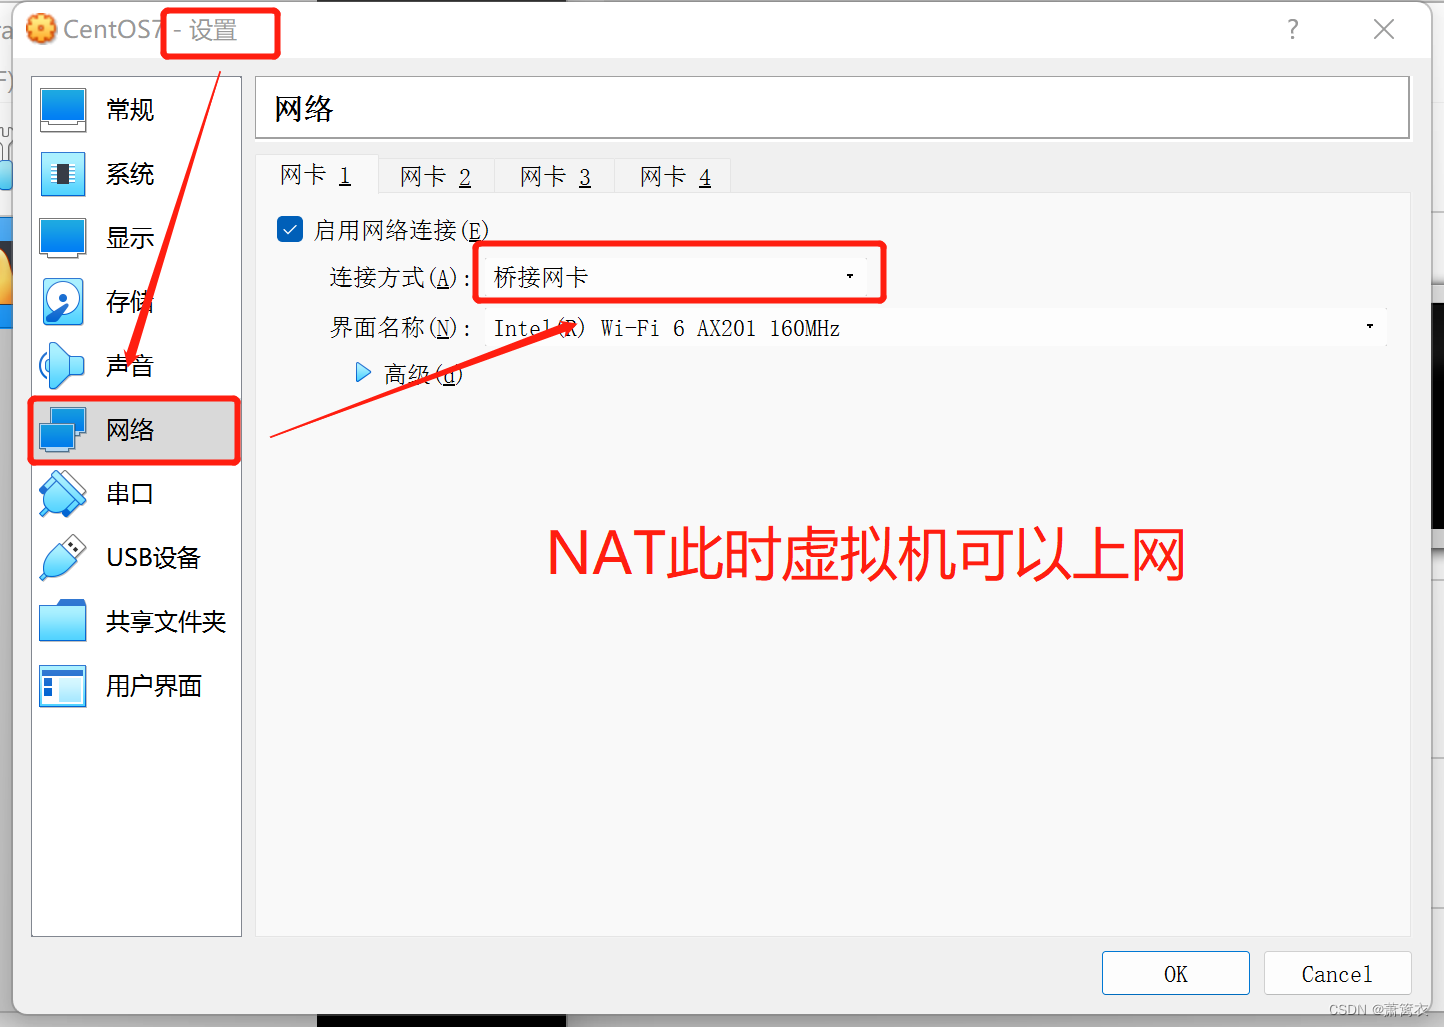
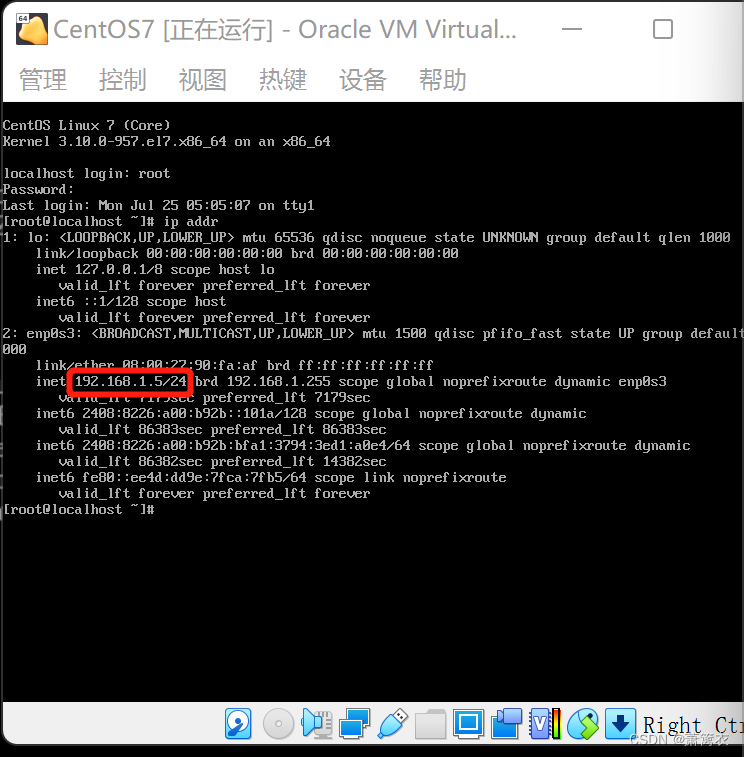
第五步:查看IP地址
ip addr
Here we need to turn on the name of enp0s3 的网卡,默认是关闭的.The way to open the network card is to modify the file attribute value
命令:vi /etc/sysconfig/network-scripts/ifcfg-enp0s3
键盘输入 i 进入编辑模式,将ONBOOT的属性值改为yes;键盘按下 ESC 退出编辑模式,键盘按下 :wq保存退出文件

再次输入命令 ip addr 既可以查看到ip地址了
三、MySQL5.7的安装
3.1 Uninstall dependent components
3.1.1 卸载postfix
首先查看postfixFull file name
命令:rpm -qa | grep postfix

Uninstall the file of that name
命令:rpm -ev postfix-2.10.1-7.el7.x86_64

3.1.2 卸载mariadb-libs
首先查看mariadb-libsfull file name
命令:rpm -qa | grep mariadb-libs

Uninstall the file of that name
命令:rpm -ev mariadb-libs-5.5.60-1.el7.x86_64

3.2 添加依赖组件
3.2.1 添加curse组件
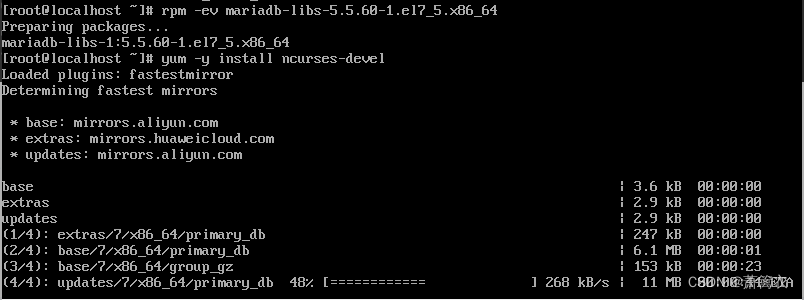
命令:yum -y install ncurses-devel
3.2.2 添加c++组件
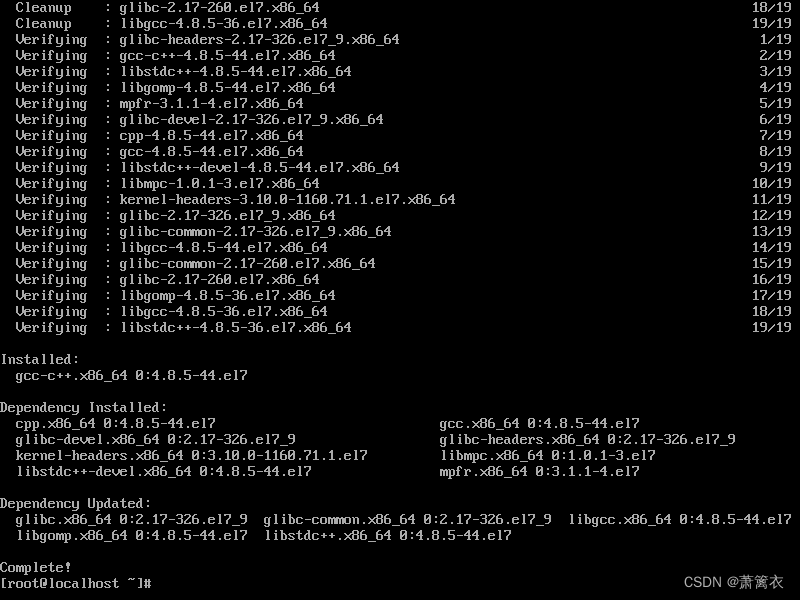
命令:yum install gcc-c++
3.2.3 添加net-tools组件
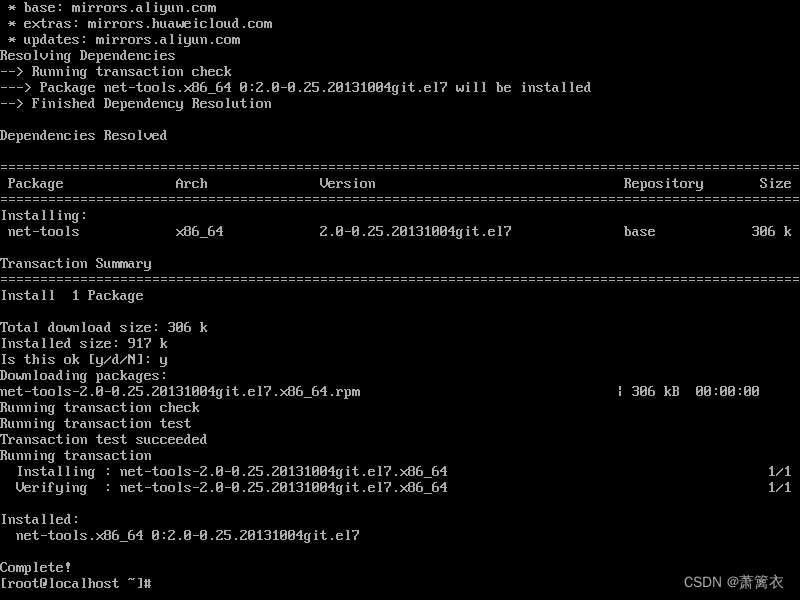
命令:yum install net-tools
3.2.4 添加perl组件
命令:yum install cpan
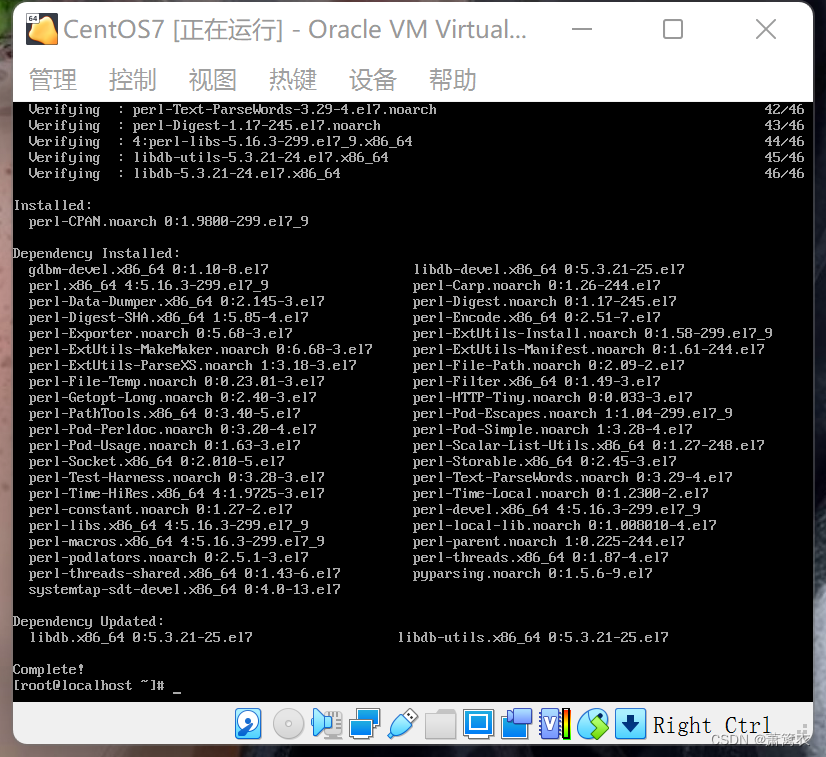
命令:yum install perl

The above message appears because the machine has the latest version installed,但是无所谓,Indicates that the component already exists on the machine.
3.2.5、添加libaio组件
下载地址:libaio组件
The tool can be connected remotelyfinal shell上传到linux
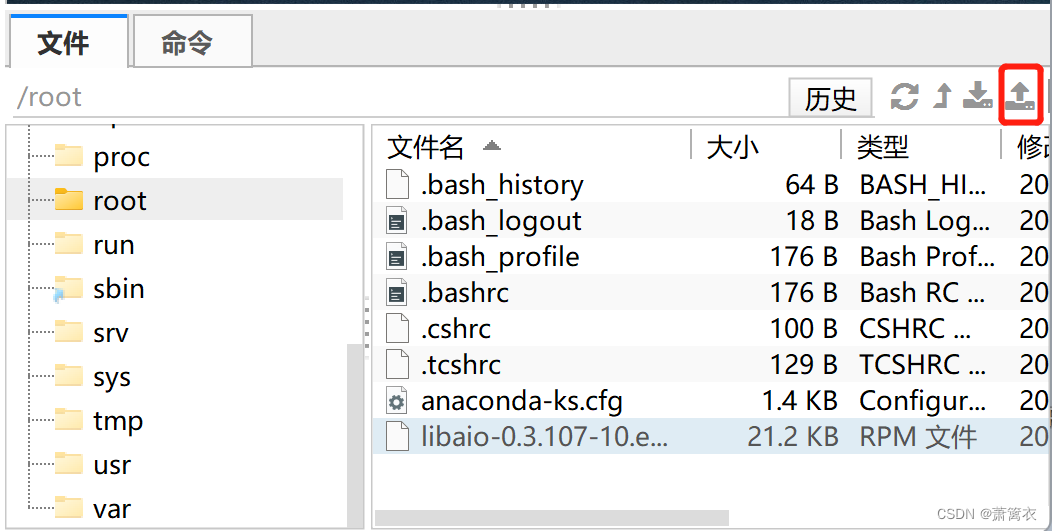
3.3 安装MySQL
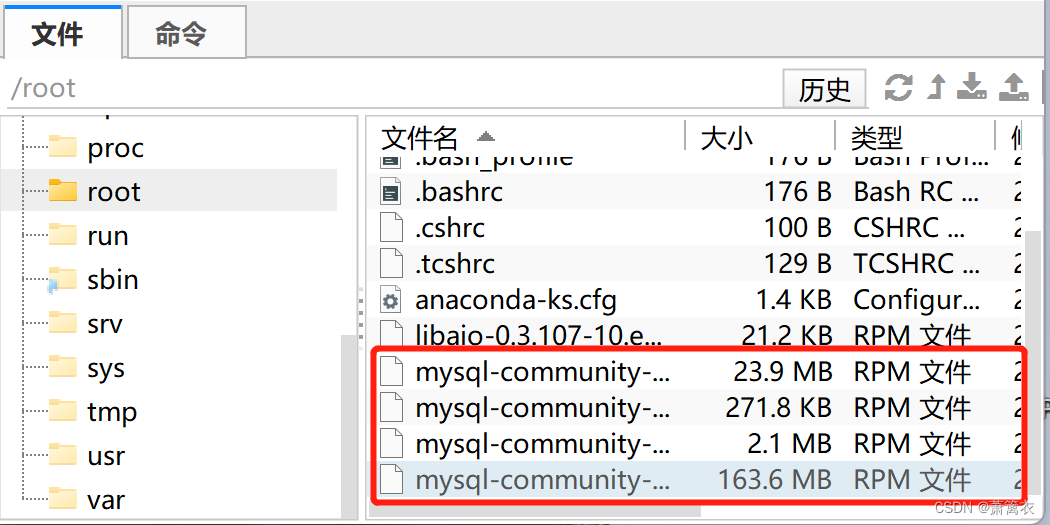
MySQL提供了4files for user installation,Users need to install all of them,但是这4The files need to be installed in a fixed order,顺序如下:
mysql-community-common
mysql-community-libs
mysql-community-client
mysql-community-server
The installation command and installation process are as follows:
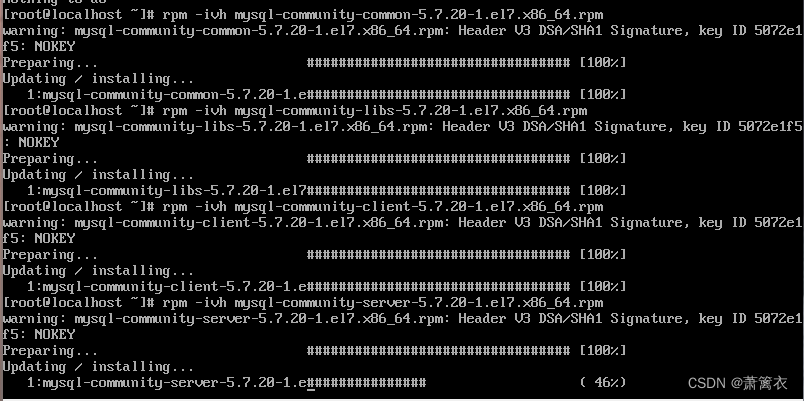
至此,在CentOS 7 下的MySQL5.7就安装完成了
*Ps:如安装client时出现libncurses依赖错误,我们需要通过yum下载依赖,如图:

命令:yum install libncurses*
四、启动数据库
4.1 查看是否启动(状态)
命令:service mysqld status
4.2 启动MySQL
命令:service mysqld start
4.3 停止MySQL
命令:service mysqld stop
五、初始化MySQL密码
MySQL5.7It will be given after successful installationrootThe account is assigned an initial password,We can find this initial password in the log file.
命令:grep password /var/log/mysqld.log

Next use this password to log in to the database
命令:mysql -uroot -p

成功登录后,可以通过password()function to change the password,This requires that the password must contain capital letters+小写字母+符号
命令:set password = password("Suxin119.");
![]()
*mysql8Change password command later:
mysql> alter user 'root'@'localhost' identified by 'Aa123456.';
修改完成后用 quit; 命令退出登录,The password has now been changed successfully
六、授权root用户远程连接
6.1 授权root用户远程连接
切换到mysql数据库,修改user表数据
命令:use mysql Database changed;

授权命令:
GRANT ALL PRIVILEGES ON *.* TO'root'@'%' IDENTIFIED BY 'Suxin119.' WITH GRANT OPTION;

At this point, the authorization work has been completed,可以使用 quit; 命令退出mysql操作,进入linux命令行;
Although the remote connection is authorized,但是MySQL的3306The port has not been set to release,我们需要给Linux防火墙设置3306端口放行
6.2 设置防火墙放行MySQL的3306端口
开放端口命令:firewall-cmd --zone=public --add-port=3306/tcp --permanent

命令含义:
--zone #作用域
--add-port=3306/tcp #添加端口,格式为:端口/通信协议
--permanent #永久生效,没有此参数重启后失效
Next restart the firewall
命令:firewall-cmd --reload

至此,MySQLThe remote connection authorization is all over,我们可以在本地通过Navicat for MySQL软件来远程访问Linux下的MySQL数据库
七、通过Navicat for MySQL客户端远程访问MySQL数据库
输入IP地址、用户名、密码后,Click the Connection Test button,Found that you can successfully connect to remotelyMySQL

边栏推荐
- yolov5,yolov4,yolov3乱七八糟的
- The 2nd China Rust Developers Conference (RustChinaConf 2021~2022) Online Conference Officially Opens Registration
- Swagger 的使用
- 无序数组排序并得到最大间隔
- Hands-on OCR (1)
- 第十一单元 序列化器
- Unit 4 Routing Layer
- Building and getting started with the Flask framework
- Interview | with questions to learn, Apache DolphinScheduler Wang Fuzheng
- ftp常用命令详解_iftop命令详解
猜你喜欢
![[ROS]roscd和cd的区别](/img/a8/a1347568170821e8f186091b93e52a.png)
[ROS]roscd和cd的区别

Configure zabbix auto-discovery and auto-registration.

Some impressions of the 519 plummet 2021-05-21

Supervision strikes again, what about the market outlook?2021-05-22

史上最全!47个“数字化转型”常见术语合集,看完秒懂~
![[ROS] Introduction to common tools in ROS (to be continued)](/img/ea/e390106f750bf697e62a3a296014d2.png)
[ROS] Introduction to common tools in ROS (to be continued)

redis延时队列
Sentinel源码(三)slot解析
IDEA打包jar包
Object detection scene SSD-Mobilenetv1-FPN
随机推荐
STM32(F407)—— 堆栈
[ROS](03)CMakeLists.txt详解
Network pruning (1)
8580 Merge linked list
drf视图组件
8576 Basic operations of sequential linear tables
[ROS] (01) Create ROS workspace
redis分布式锁和看门狗的实现
【ROS】工控机的软件包不编译
[ROS] The difference between roscd and cd
What is the difference between web testing and app testing?
deal!It's July 30th!
如何自定义feign方法级别的超时时间
yolov5 improvement (1) Add attention focus mechanism
ftp常用命令详解_iftop命令详解
You can't accept 60% slump, there is no eligible for gain of 6000% in 2021-05-27
期货具体是如何开户的?
Unit 11 Serializers
此次519暴跌的几点感触 2021-05-21
【ROS】编译软件包packages遇到进度缓慢或卡死,使用swap