当前位置:网站首页>Based on mobileNet dog breed classification (migration)
Based on mobileNet dog breed classification (migration)
2022-08-02 17:05:00 【Don't wait for brother shy to develop】
基于mobileNetRealize the classification of dog breeds
一、数据集介绍
数据集下载地址:https://www.kaggle.com/datasets/carlosmiao/dogbreedidentification
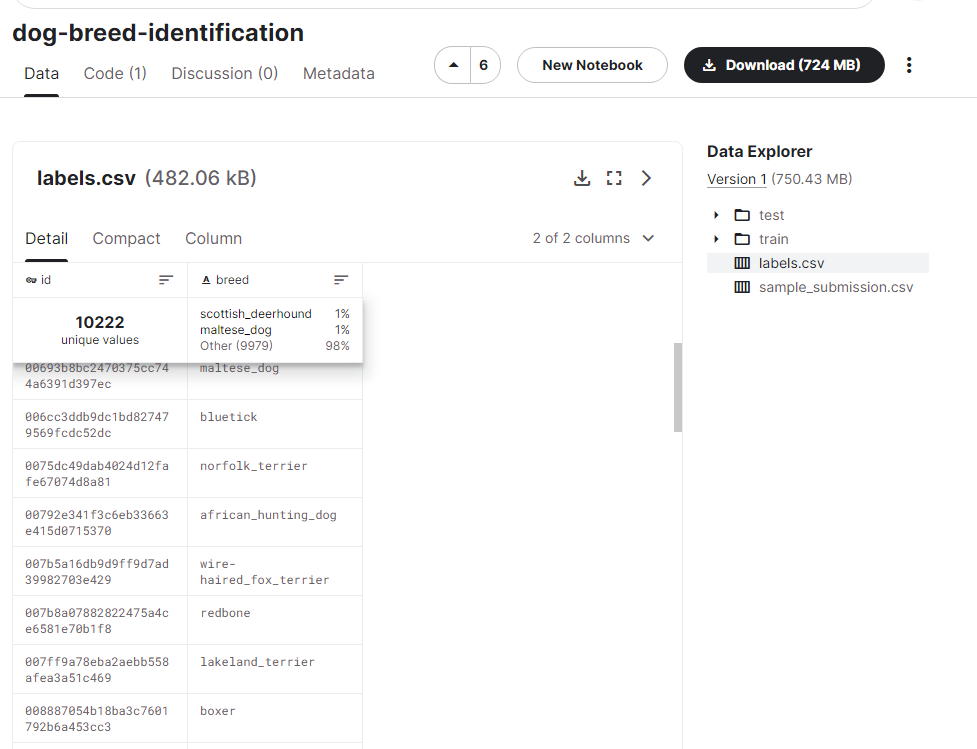
Dog breeds total120种
10222张训练图片
train和testInside the folder are pictures
labels.csvIt records the label value corresponding to the picture.
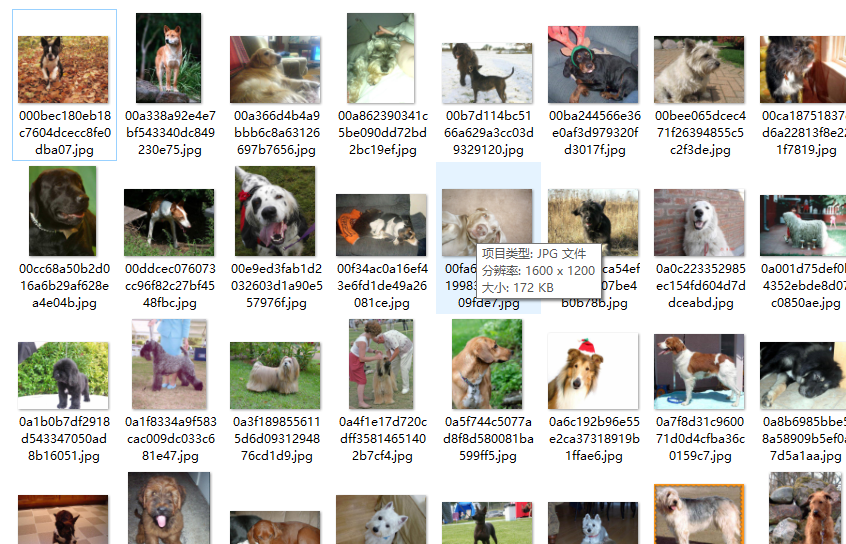
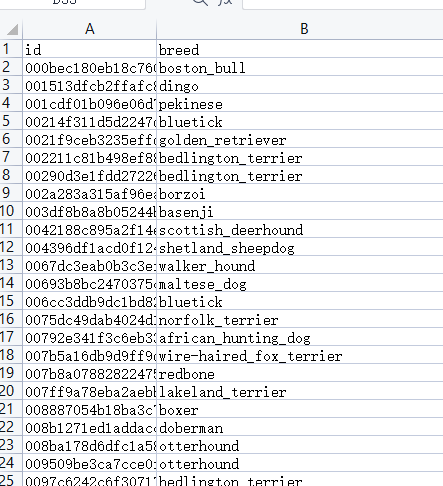
关于mobileNet模型,这里不做过多介绍,Just transfer learning is used,当然,You can completely customize the network
二、实战
import numpy as np
import pandas as pd
import matplotlib.pyplot as plt
import seaborn as sns
import os
import datetime
import glob
import wget
import PIL

from sklearn.preprocessing import LabelEncoder, OneHotEncoder
from sklearn.model_selection import train_test_split

import tensorflow as tf
import tensorflow_hub as hub
# from tensorflow.keras.utils import plot_model
from tensorflow.keras.models import load_model
from plot_model import plot_model

import warnings
warnings.filterwarnings('ignore')
2.1 数据预处理
# 数据集所在路径
dataset_dir = "dog-breed-identification/"
2.1.1 第1步:对labelsPreprocessing of labels
# 读取labels.csv文件
# 说明:
# labels.csv文件中的每一行数据 与 文件夹train中的图片一一对应
labels = pd.read_csv(os.path.join(dataset_dir, 'labels.csv'))
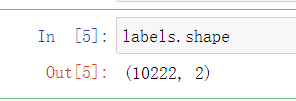
labels.shape
# 默认显示前5行
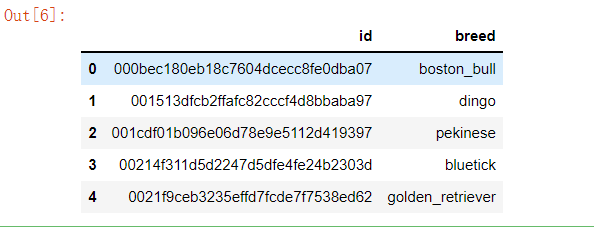
labels.head()
# 说明:
# id : The filename of each image;
# bread : Each picture corresponds to the breed of dog;
# 数据表描述
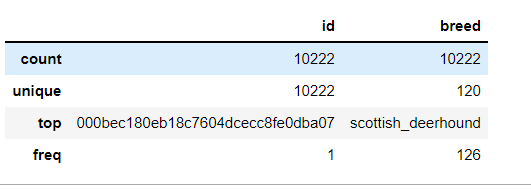
labels.describe()
# 解释:
# ① 一共有10222张训练图片;
# ② 不同的breed(品种)共有120种,That is, the different categories of dogs total120种;
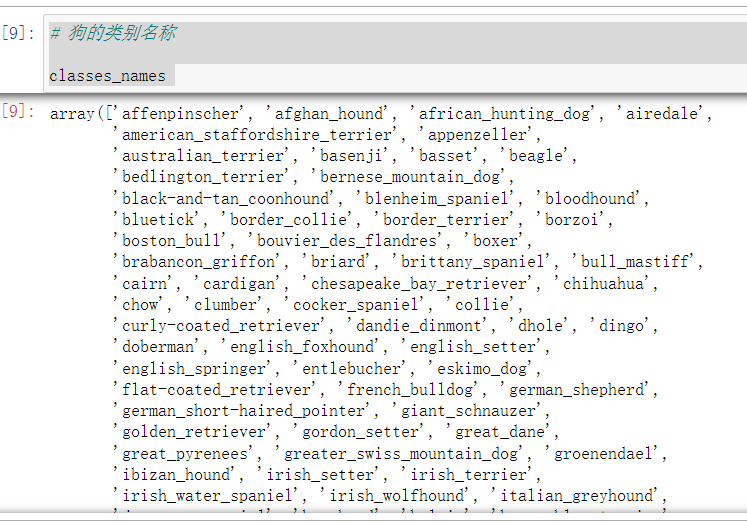
# Different breed names of dogs(标签类别)
classes_names = np.unique(labels['breed'])
print("一共有{}type of dog".format(len(classes_names)))

# The class name of the dog
classes_names
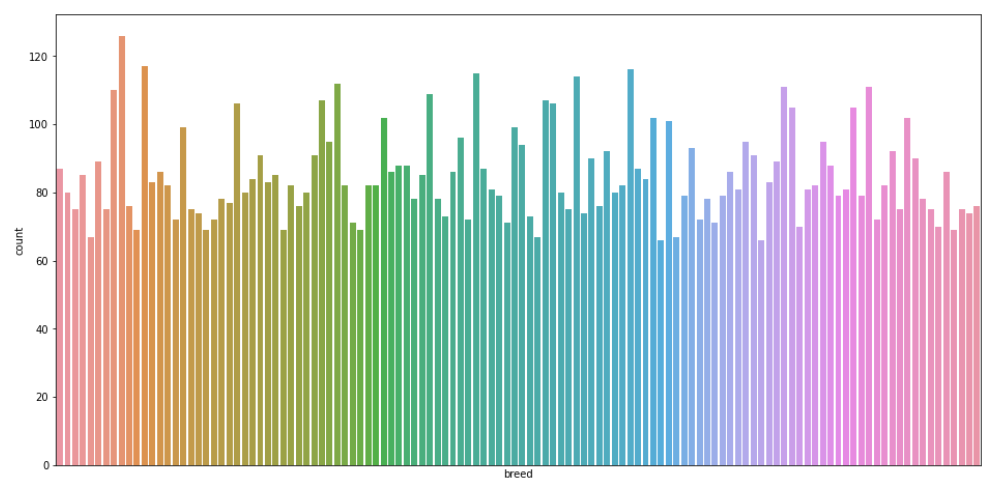
# 一共有10222张狗的图片,一共120个品种,Count the number of pictures corresponding to each breed of dog
plt.figure(figsize=(16, 8))
sns.countplot(labels['breed'])
plt.xticks([])
plt.show()
# 对labels进行labelencoding和onehotencoding
lb_encoder = LabelEncoder()
new_labels = lb_encoder.fit_transform(labels['breed']).reshape(-1, 1) # The transformed result is transformed into one column
new_labels.shape

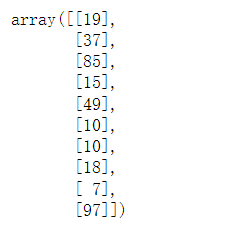
# 显示前10个标签值
new_labels[:10]
ot_encoder = OneHotEncoder()
# 注意:Here needs to be converted toarray类型,否则是matrix
new_labels = ot_encoder.fit_transform(new_labels).toarray()
new_labels.shape

type(new_labels)

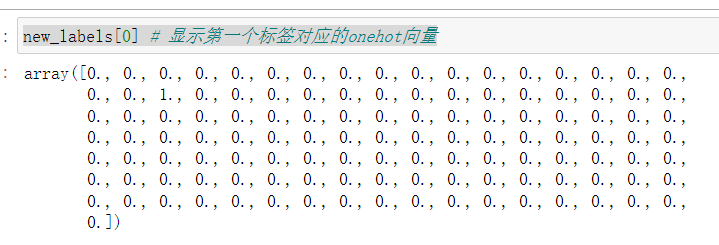
new_labels[0] # Displays the corresponding to the first labelonehot向量
2.1.2 第2步:Preprocessing of image data
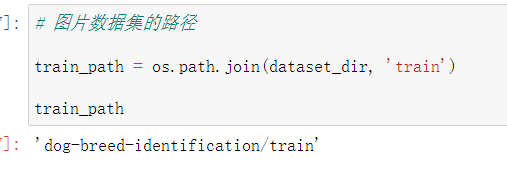
# The path to the image dataset
train_path = os.path.join(dataset_dir, 'train')
train_path
# 统计trainHow many pictures are there in the folder
images_paths = glob.glob(train_path+'/*.jpg')
len(images_paths)

# 显示前5张图片的路径
images_paths[:5]

# 加载每一张图片,转换为tensor类型,并进行归一化处理

IMG_SIZE = 224 # 由于MobileNet v2的输入shape=(224,224,3)

def process_image(img_path):
    # 加载图片
    img = tf.io.read_file(img_path)
    # 将jpg格式转换为tensor
    img = tf.image.decode_jpeg(img, channels=3)
    # 数据归一化,(0,255) --> [0,1)
    img = tf.image.convert_image_dtype(img, dtype=tf.float32)
    # resize 调整图像大小
    img = tf.image.resize(img, size=[IMG_SIZE, IMG_SIZE])
    # 返回
    return img
# Compare each picture with labelsThe tags in are associated one by one
def get_img_label(img_path, label):
    image = process_image(img_path) # 调用函数 process_image
    return image, label # Return as a tuple
# Split image data with label data,分离成:train 和 val 数据集

def train_data_split(images, labels, ratio=0.2):
    ''' images : 图片数据路径 labels : 标签数据 ratio : The percentage of validation data random_state:随机数种子 '''
    x_train, x_val, y_train, y_val = train_test_split(images, labels, test_size=ratio, random_state=666)

    return x_train, x_val, y_train, y_val
x_train, x_val, y_train, y_val = train_data_split(images_paths, new_labels, ratio=0.2)
len(x_train) # The number of image paths in the training set

x_train[:5] # 注意:At present, the training set data is still the path of the picture

The number of validator pictures:
len(x_val) # The number of validation set image paths

# 创建批数据,Read data batch by batch

BATCH_SIZE = 32 # 每批32张图片

def create_batch_data(X, y=None, batch_size = BATCH_SIZE, data_type=3):
    '''参数说明: ① X : 图片数据集(路径) ② y :标签数据集(OneHot向量) ③ batch_size :一批数据的大小 ④ data_type :数据集类型,1 :表示测试集,2 :表示验证数据,3 :表示训练数据 进一步说明: 1. 如果是测试集,图片格式转换为tensor类型; 2. If it is a validation set,图片格式转换为tensor类型,同时,images与labels同时返回; 3. 如果是训练集,图片格式转换为tensor类型,打乱数据集,images与labels同时返回; '''

    if data_type == 1: # 测试集
        # 创建一个数据集,其元素是给定张量的切片.
        print("**** Create a test setbatches ****")
        dataset = tf.data.Dataset.from_tensor_slices((tf.constant(X)))
        data_batch = dataset.map(process_image).batch(batch_size)
        return data_batch
    elif data_type == 2: # 验证集
        print("**** Create a validation setbatches ****")
        dataset = tf.data.Dataset.from_tensor_slices((tf.constant(X), tf.constant(y)))
        data_batch = dataset.map(get_img_label).batch(batch_size)
        return data_batch
    else: # 训练集
        print("**** Create a training setbatches ****")
        dataset = tf.data.Dataset.from_tensor_slices((tf.constant(X), tf.constant(y)))
        dataset = dataset.shuffle(buffer_size=len(X)) # 打乱训练集顺序
        data_batch = dataset.map(get_img_label).batch(batch_size)
        return data_batch
# 示例:演示from_tensor_slices()的效果

t = tf.data.Dataset.from_tensor_slices((tf.constant(x_train)))
it=iter(t)
print(next(it))

# 训练集:创建batches
train_data = create_batch_data(x_train, y_train, data_type=3)
# 验证集:创建batches
val_data = create_batch_data(x_val, y_val, data_type=2)

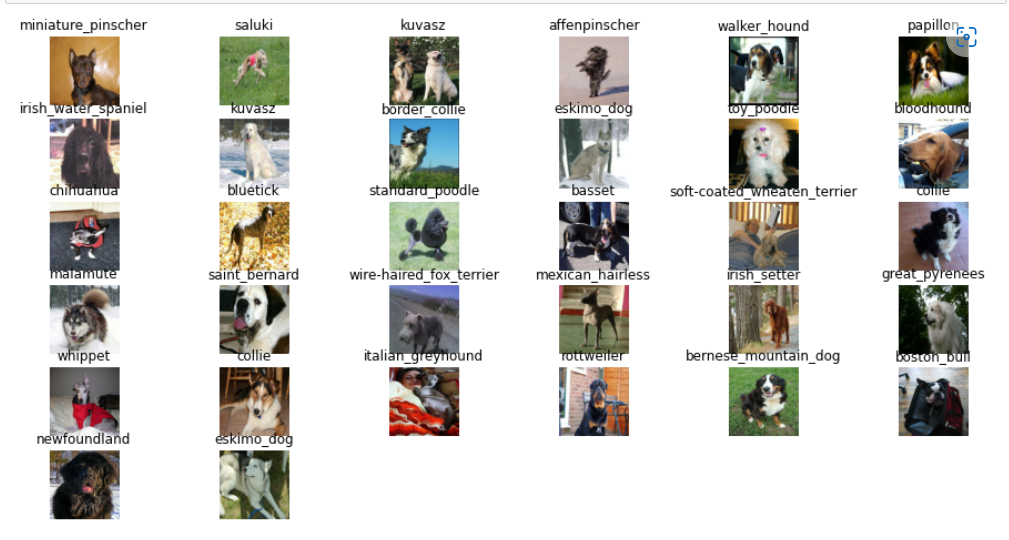
# Display a batch of datasets
def show_images(images, labels):
    batches = len(images) # 一个batch包含的图片数量
    plt.figure(figsize=(16,8))
    for i in range(batches):
        plt.subplot(6, 6, i+1) # Specifies the position where the picture is displayed
        plt.imshow(images[i])
        plt.axis('off')
        # 获取每个labelThe index of the largest value in the vector,Find the corresponding label name
        plt.title(classes_names[np.argmax(labels[i])])
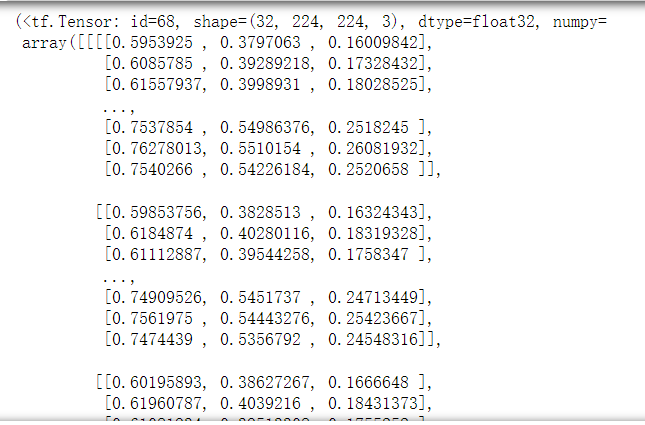
# 从train中获取一个batch_size的样本数据
# samples_data, samples_label = next(train_data.as_numpy_iterator())
it=iter(train_data)
samples_data, samples_label=next(it)
samples_data, samples_label
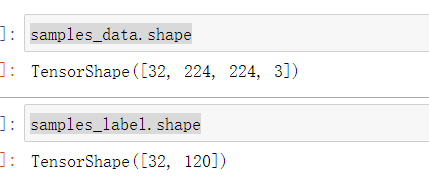
samples_data.shape
samples_label.shape
# Display a batch of datasets
show_images(samples_data, samples_label)
2.2 迁移学习、模型微调
# 超参数设置

INPUT_SHAPE = (None, IMG_SIZE, IMG_SIZE, 3) # batch_size, height, width, channel

OUTPUT_SHAPE = len(classes_names) # 即120个类别
MODEL_URL = "https://tfhub.dev/google/imagenet/mobilenet_v3_large_100_224/classification/5" # 模型URL
# Defines functions that create model objects
def create_model(input_shape=INPUT_SHAPE, output_shape=OUTPUT_SHAPE, model_url=MODEL_URL):
    model = tf.keras.Sequential([
        hub.KerasLayer(model_url), # 下载预训练模型
        tf.keras.layers.Dense(units=output_shape, activation='softmax') # 全连接层,多分类,Calculate the probability value for each class
    ])

    # 模型编译
    model.compile(loss=tf.keras.losses.CategoricalCrossentropy(), # 多分类损失函数
              optimizer=tf.keras.optimizers.Adam(), # 优化器
              metrics=['accuracy']) # 评估指标

    # 模型构建
    model.build(input_shape)
    return model
# 模型编译
model = create_model()
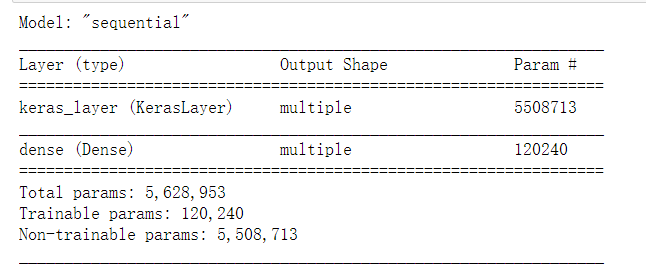
# 模型结构
model.summary()
%load_ext tensorboard
!rm -rf ./logdir/ # Clear previous log records
# 定义TensorBoard

logdir = os.path.join('logdir', datetime.datetime.now().strftime('%Y%m%d-%H%M%S')) # The format of the log save folder

tensorboar_callback = tf.keras.callbacks.TensorBoard(logdir) # 定义callback
# 定义earlystop callback
# if on the validation set,在3轮后,accuracyNot a huge boost,stop training
early_stopping_callback = tf.keras.callbacks.EarlyStopping(monitor='accuracy', patience=3)
2.3 模型训练、验证、测试
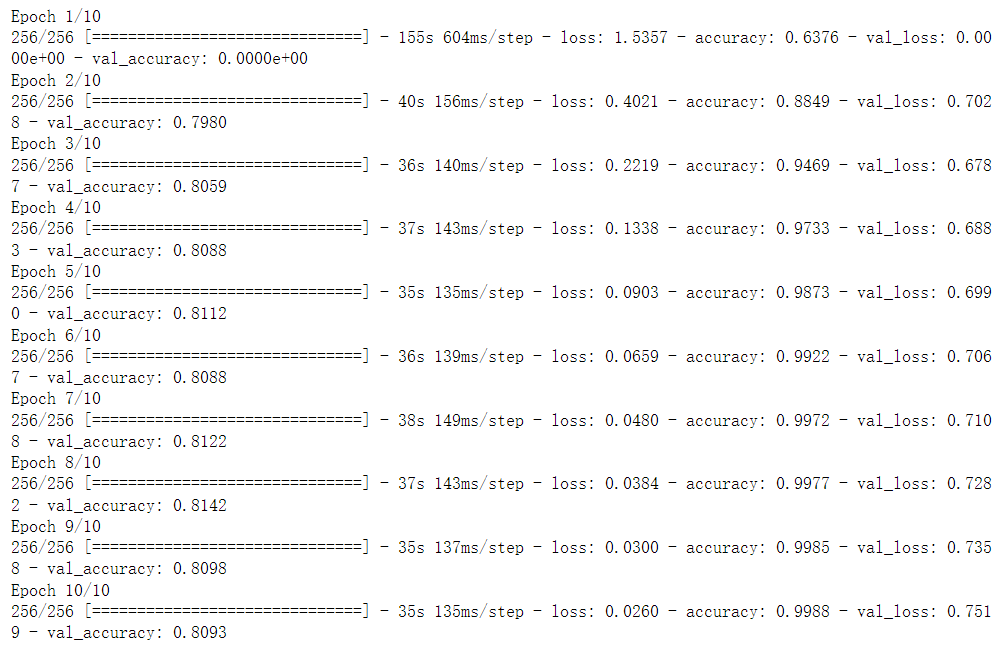
# 模型训练、验证

# EPOCHS = 30 # 轮数
EPOCHS=10

model.fit(x=train_data, # 训练集
          epochs=EPOCHS, # 循环次数
          validation_data=val_data, # 验证集
          callbacks=[tensorboar_callback, early_stopping_callback] # callbacks
         )
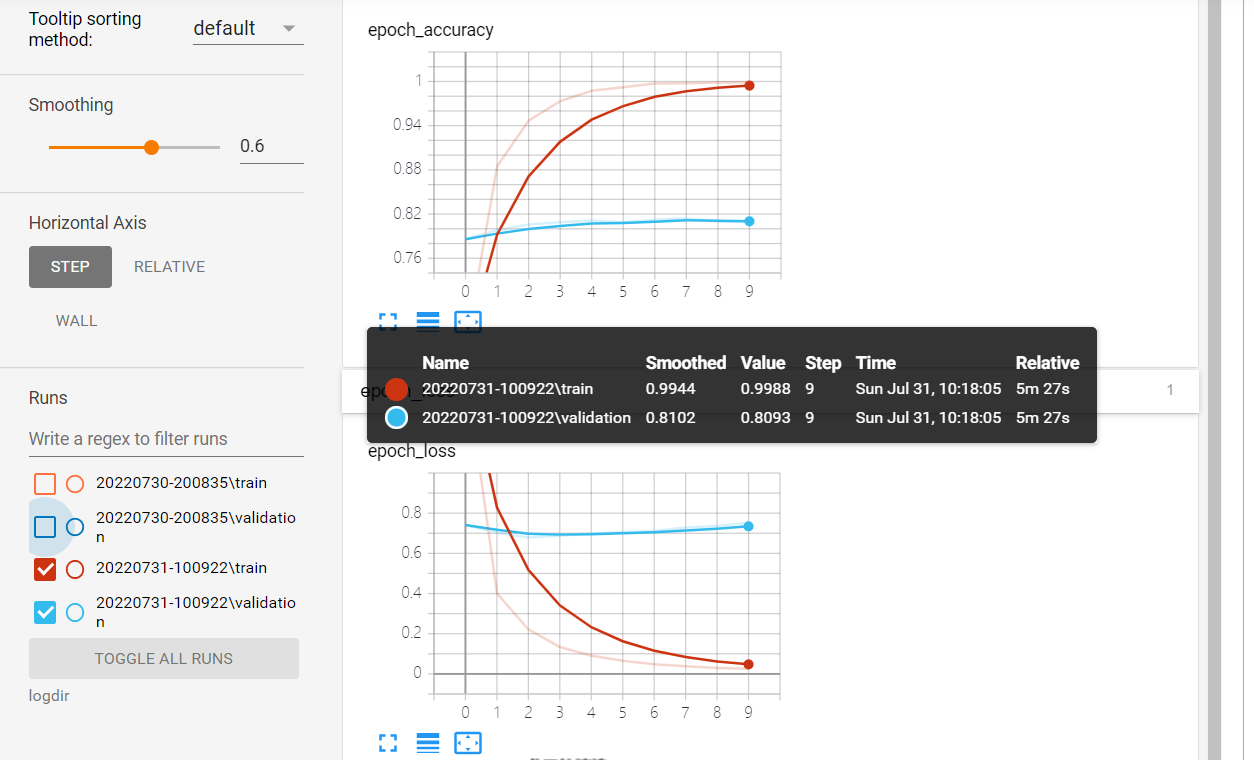
Here my computer graphics card is too rubbish,只设置epochs=10,You can adjust it according to your hardware
# 显示 训练结果
%tensorboard --logdir logdir
# 模型测试

test_path = os.path.join(dataset_dir, 'test')

test_images_paths = glob.glob(test_path+'/*.jpg')

test_images_paths[:5]

test_data = create_batch_data(test_images_paths, data_type=1) # 测试集类型,Generate batches of data

test_preditions = model.predict(test_data, verbose=1)

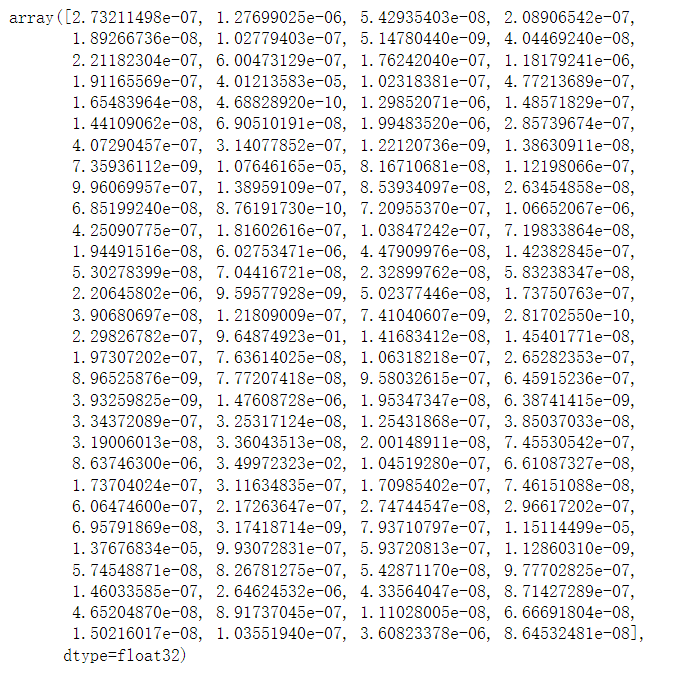
test_preditions.shape # 预测了10357张图片,每个标签对应一个120维的向量

# 获取第一张test图片,其120The predicted probability values for each category are as follows:
test_preditions[0] # The predicted class probability value for the first image
# 第一张testThe maximum probability value of the picture
max_test_01_prob = np.max(test_preditions[0])
print(f'最大概率值:{
      max_test_01_prob}')

# 第一张testThe index of the maximum probability value for the picture
max_test_01_index = np.argmax(test_preditions[0])
print(f'The index corresponding to the maximum probability value:{
      max_test_01_index}')

# 第一张testThe label corresponding to the maximum probability value of the image
max_test_01_label = classes_names[max_test_01_index]
print(f'corresponding to the maximum probability valuelabel:{
      max_test_01_label}')

# 函数:显示测试集图片,预测概率,Predicted label name
def show_test_imgs(img_path, prob):
    test_image = process_image(img_path) # 图片预处理
    pred_label = classes_names[np.argmax(prob)] # 模型预测结果
    max_prob = round(np.max(prob),2) # 最大概率值
    title_name = f'prob:{
      str(max_prob)},label:{
      pred_label}' # title : 概率,标签名
    plt.imshow(test_image)
    plt.axis('off')
    plt.title(title_name)
# 函数:Shows the top ranking of test images10The probability value and label name of
def show_top10_prob_label(pred_probs):
    top_10_probs_indices = pred_probs.argsort()[-10:][::-1] # 先升序排序,获取最后10个概率值的索引,再降序(由高到低)
    top_10_probs_values = pred_probs[top_10_probs_indices] # 获取10maximum probability value(由高到低)
    top_10_probs_labels = classes_names[top_10_probs_indices] # 获取10The label corresponding to the probability value
    # 显示
    plt.bar(np.arange(len(top_10_probs_indices)), # 范围
            top_10_probs_values, # The displayed probability value
            color='blue')
    # Displays horizontal axis information
    plt.xticks(np.arange(len(top_10_probs_indices)), # 范围
               labels=top_10_probs_labels, # 标签
               rotation='vertical') # 垂直显示
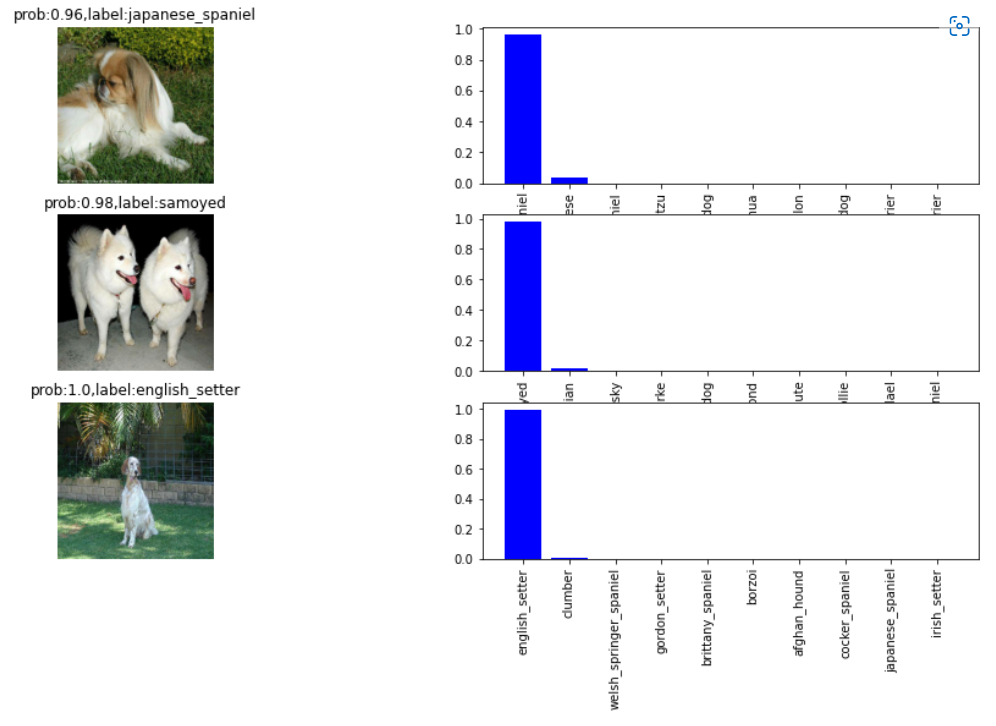
# 显示3image and the corresponding predicted probability value(排名前10)
def show_test_prediction(numbers = 3):
    plt.figure(figsize=(16,8))
    for i in range(numbers):
        plt.subplot(numbers, 2, 2*i+1) # 指定位置(第一列)
        show_test_imgs(test_images_paths[i], # 指定test图片
                       test_preditions[i]) # 指定test概率值(120个类别)

        plt.subplot(numbers, 2, 2*i+2) # 指定位置(第二列)
        show_top10_prob_label(test_preditions[i]) # 显示排名前10a predicted probability value

    plt.show()
show_test_prediction(numbers=3)
2.4 模型预测
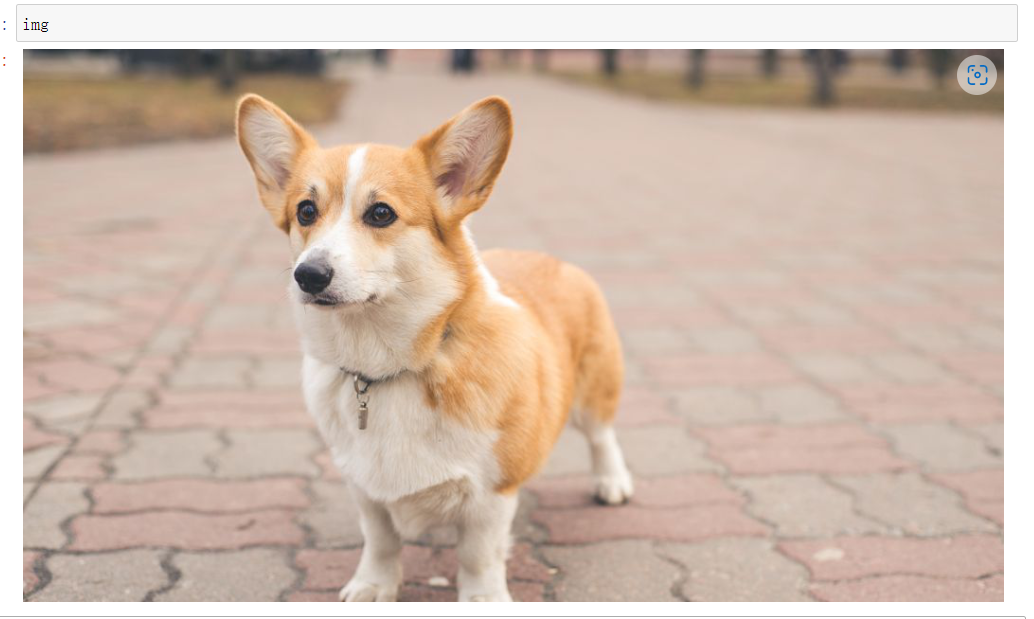
Download a picture of Corgi from the Internet here to test
from PIL import Image
try:
    img=Image.open('Corgi.jpg')
except:
    print('error')
# 数据类型转换

test_img_01_data = create_batch_data(X=['Corgi.jpg'], y=None, batch_size=1, data_type=1)

# 模型预测
test_result = model.predict(test_img_01_data)
# Prediction result dimension
test_result.shape

# 输出结果
best_prob = np.max(test_result)
prob_label = classes_names[np.argmax(test_result)]
print(f'The predicted maximum probability:{
      round(best_prob*100, 2)}%,对应的标签名:{
      prob_label}')
# Another direct way:model.predict_proba(test_img_01_data)

可以看到,The prediction turned out to be corgi indeed,It proves that our model is still quite good.
But the hardware is too strained,略微出手已是显卡极限.
2.5 模型保存
# 模型保存
model.save("model.h5")
# 加载模型
model = load_model('model.h5', custom_objects={
    "KerasLayer" : hub.KerasLayer})

model.summary()
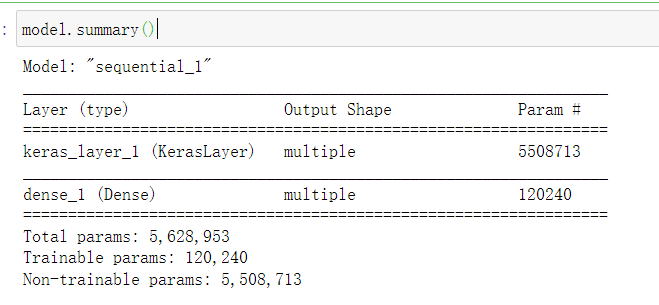
There's nothing wrong with saving preloads,到此,Transfer learning is done.
边栏推荐
猜你喜欢
随机推荐
Reading is the cheapest and noblest
阅读,是最便宜的高贵
mysql 自动添加创建时间、更新时间
我的第一篇博客
初识art-template模板引擎
【无标题】
第四章-4.1-最大子数组问题
XML技术
页面返回顶部和固定导航栏js基础案例
XML和注解(Annotation)
PAT甲级 1078 哈希
事件对象,事件流(事件冒泡和事件捕获)、事件委托、L0和L2注册等相关概念及用法
scroll、offset、client事件的用法及区别
【数据知多少】一文学懂通过Tushare、AKshare、baostock、Ashare、Pytdx获取股票行情数据(含代码)
2022-07-11 第五小组 瞒春 学习笔记
PAT tree DP (memory search) class a, 1079, 1090, 1106
Cookie 和 Session
2022-07-20 第六小组 瞒春 学习笔记
【无标题】
Redis + Caffeine实现多级缓存
