当前位置:网站首页>Redis-01. First meet redis
Redis-01. First meet redis
2022-07-05 06:28:00 【Cold leaves elegant_】
NoSQL
SQL and NoSQL The difference between
| SQL | NoSQL | |
|---|---|---|
| data structure | structured | Unstructured ( Key value 、 file 、 Column 、 Map, etc. ) The structure is loose |
| Data Association | The associated | Unrelated |
| A query | SQL Inquire about | Not SQL |
| Transaction features | ACID | BASE |
| storage | disk | Memory |
| Extensibility | vertical | level |
| Use scenarios | 1) The data structure is fixed 2) For data security 、 High consistency is required | 1) The data structure is not fixed 2) For consistency 、 Safety requirements are not high 3) Performance requirements |
Redis
features :
- Key value type ,value Support a variety of different data structures
- Single thread , Every command is atomic
- Low latency , Fast ( Memory based 、IO Multiplexing 、 Good coding )
- Support data persistence
- Support the master-slave cluster 、 Fragmentation cluster
- Support for multilingual clients
1. install Redis
1. install Redis rely on
Redis be based on C Language implementation , So first install gcc rely on
yum install -y gcc tcl
2. Upload the installation package and unzip it
Upload Redis Installation package to /usr/local/src
Decompress after entering this path
tar -xzf redis-6.2.6.tar.gz
After decompression, enter the decompression path
cd redis-6.2.6
Run the compile command :
make && make install
After successful operation , Just install it
The default installation path is /usr/local/bin/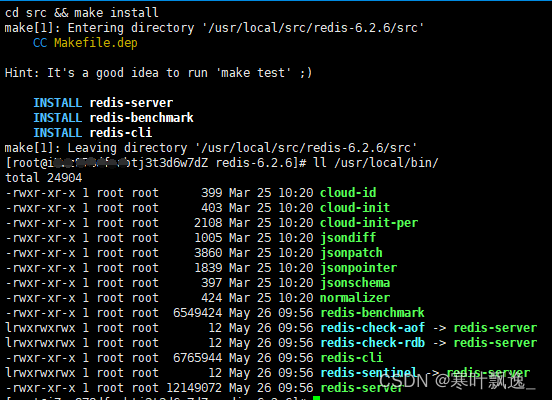
This directory and the default configuration to the environment variable , Therefore, you can run these commands in any directory . among :
- redis-cli: yes redis The command line client provided
- redis-server: yes redis Server startup script
- redis-sentinel: yes redis Sentinel startup script
3. start-up
redis There are many ways to start , for example :
- The default startup
- Specify the configuration to start
- Boot from boot
1. The default startup
After installation , Enter... In any directory redis-server Command to start Redis:
redis-server
This startup belongs to The front desk starts , Will block the entire session window , Close the window or press CTRL + C be Redis stop it . It is not recommended to use .
2. Specify the configuration to start
If you want to make Redis With backstage Mode start , You have to modify Redis The configuration file , Just before we unzipped redis Under the installation package (/usr/local/src/redis-6.2.6), Name is redis.conf
First, back up this configuration file :
cp redis.conf redis.conf.bck
Modify the configuration file
vi redis.conf
And then modify redis.conf Some configurations in the file :
#  Address allowed to access , The default is 127.0.0.1, Will result in local access only . It is amended as follows 0.0.0.0 It can be in any IP visit , The production environment should not be set to 0.0.0.0
bind 0.0.0.0
#  Daemon , It is amended as follows yes After, it can run in the background
daemonize yes
#  password , Access after setting Redis You must enter a password
requirepass redispasswd
Redis Other common configurations :
#  Listening port
port 6379
#  working directory , The default is the current directory , Which is running redis-server When the command , journal 、 Files such as persistence will be saved in this directory
dir .
#  Number of databases , Set to 1, Stands for using only 1 Databases , The default is 16 Databases , Number 0~15
databases 1
#  Set up redis Maximum memory available
maxmemory 512mb
#  Log files , The default is empty. , Do not log , You can specify the log file name
logfile "redis.log"
start-up Redis:
#  Get into redis The installation directory
cd /usr/local/src/redis-6.2.6
#  start-up
redis-server redis.conf
Out of Service :
#  utilize redis-cli To execute  shutdown  command , Just stop  Redis  service ,
#  Because the password was configured before , So it needs to pass  -a  To specify the password
redis-cli -a 123321 shutdown
3. Boot from boot
We can also realize self startup through configuration .
First , Create a new system service file :
vi /etc/systemd/system/redis.service
The contents are as follows :
[Unit]
Description=redis-server
After=network.target

[Service]
Type=forking
ExecStart=/usr/local/bin/redis-server /usr/local/src/redis-6.2.6/redis.conf
PrivateTmp=true

[Install]
WantedBy=multi-user.target
Then reload the system services :
systemctl daemon-reload
Now? , We can use the following set of commands to operate redis 了 :
#  start-up
systemctl start redis
#  stop it
systemctl stop redis
#  restart
systemctl restart redis
#  Check the status
systemctl status redis
Execute the following command , It can make redis Boot from boot :
systemctl enable redis
2.Redis client
installation is complete Redis, We can operate Redis, To achieve data CRUD 了 . It needs to use Redis client , Include :
- Command line client
- Graphical desktop client
- Programming client
1.Redis Command line client
Redis After the installation is completed, the command-line client comes with it :redis-cli, Use as follows :
redis-cli [options] [commonds]
One of the common ones is options Yes :
-h 127.0.0.1: Specify the... To connect to redis Node IP Address , The default is 127.0.0.1-p 6379: Specify the... To connect to redis Port of node , The default is 6379-a 123321: Appoint redis Access code for
Among them commonds Namely Redis Operation command of , for example :
ping: And redis The server does a heartbeat test , The server will normally returnpong
Don't specify commond when , Will enter redis-cli Interactive console
First start redis client
redis-cli
Then enter the password
auth "123321"
ping once
ping
ping If successful, it will return a pong
have access to set Store the data in the database in the form of a dictionary 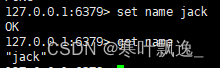
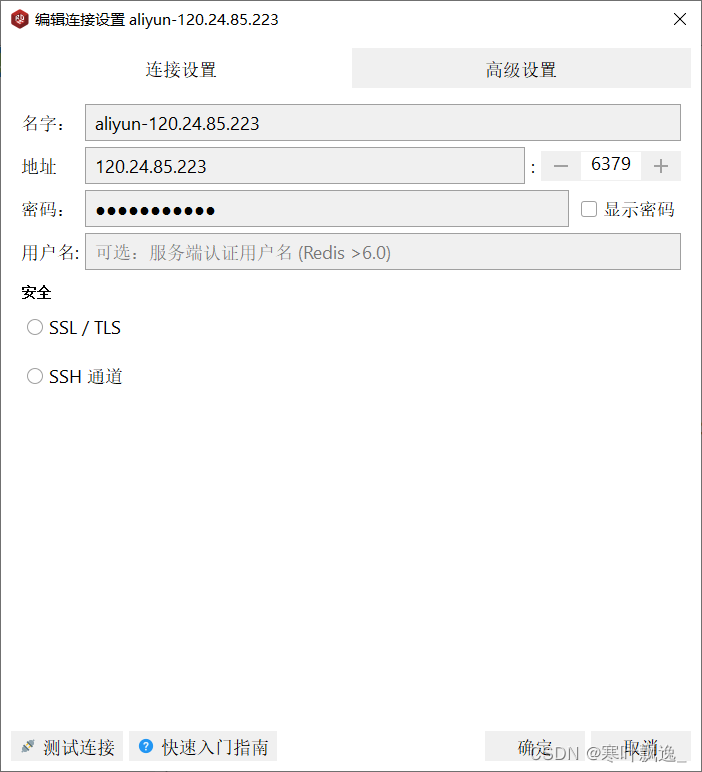
2. Graphical desktop client
Installation package warehouse :https://github.com/lework/RedisDesktopManager-Windows/releases
Source code :https://github.com/uglide/RedisDesktopManager
According to myself redis You can connect by setting the configuration of
You can find , Deposited before redis The data of was successfully saved in redis In the database of 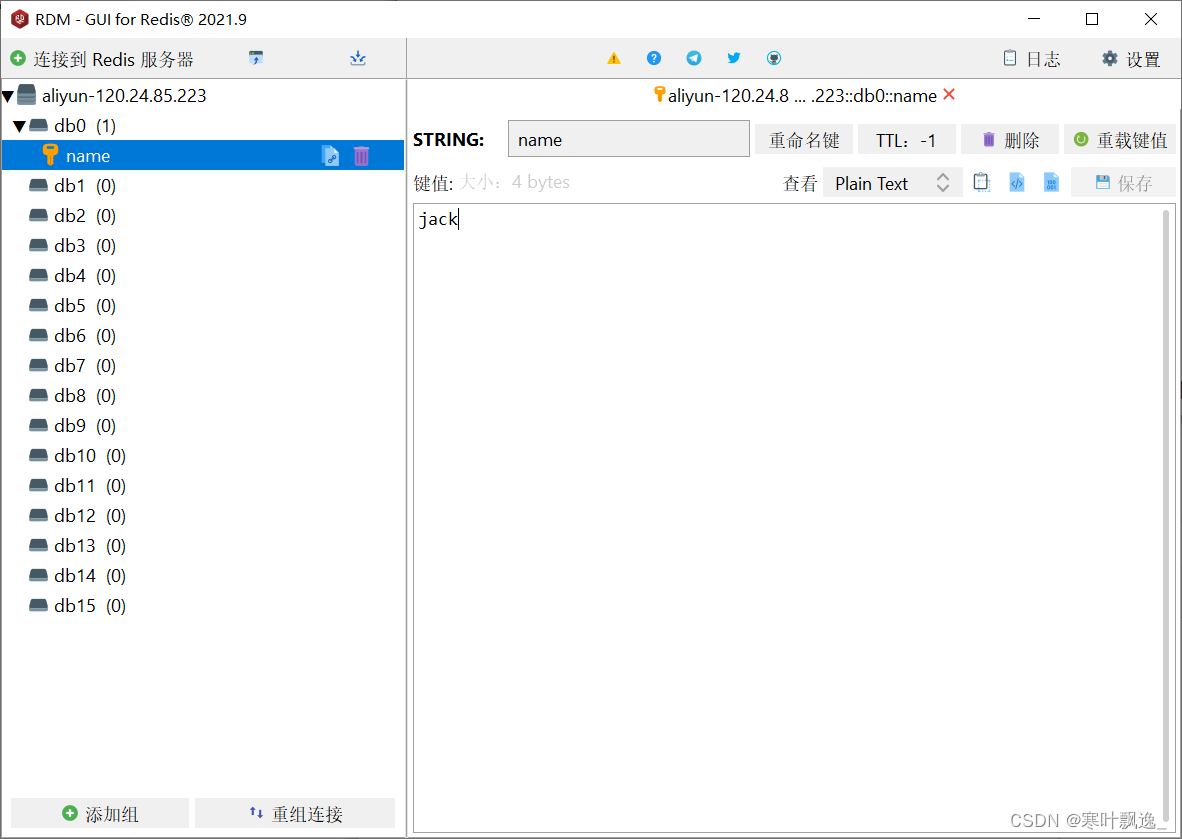
Reference material :
- https://www.bilibili.com/video/BV1cr4y1671t?p=7&spm_id_from=pageDriver
- https://blog.csdn.net/Mr_wangB0/article/details/102741624
- https://blog.csdn.net/qq_26710805/article/details/80171101
边栏推荐
- MySQL advanced part 2: storage engine
- Stack acwing 3302 Expression evaluation
- Basic explanation of typescript
- 求组合数 AcWing 887. 求组合数 III
- 7.Oracle-表结构
- [leetcode] day95 effective Sudoku & matrix zeroing
- ollvm编译出现的问题纪录
- 【LeetCode】Easy | 20. Valid parentheses
- VLAN experiment
- Dataframe (1): introduction and creation of dataframe
猜你喜欢
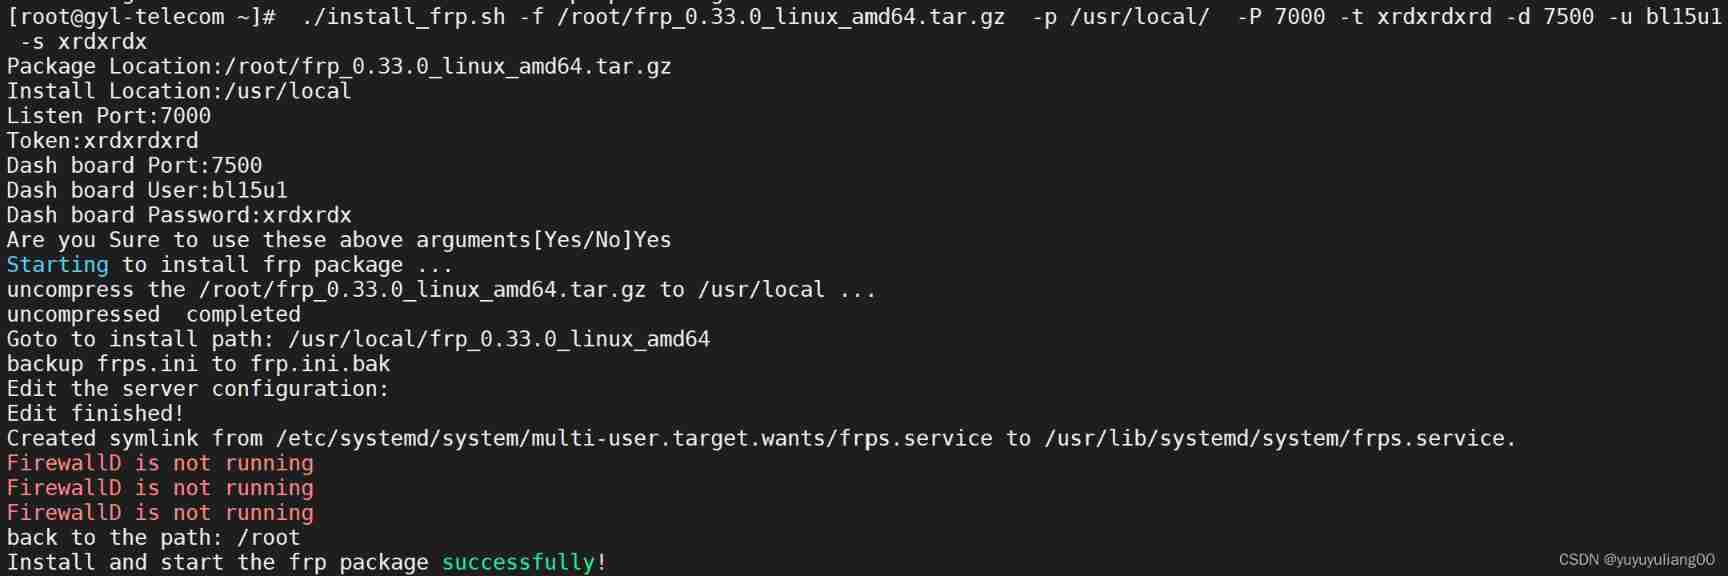
Bash exercise 17 writing scripts to install the server side of FRP reverse proxy software

International Open Source firmware Foundation (osff) organization

Simple selection sort of selection sort

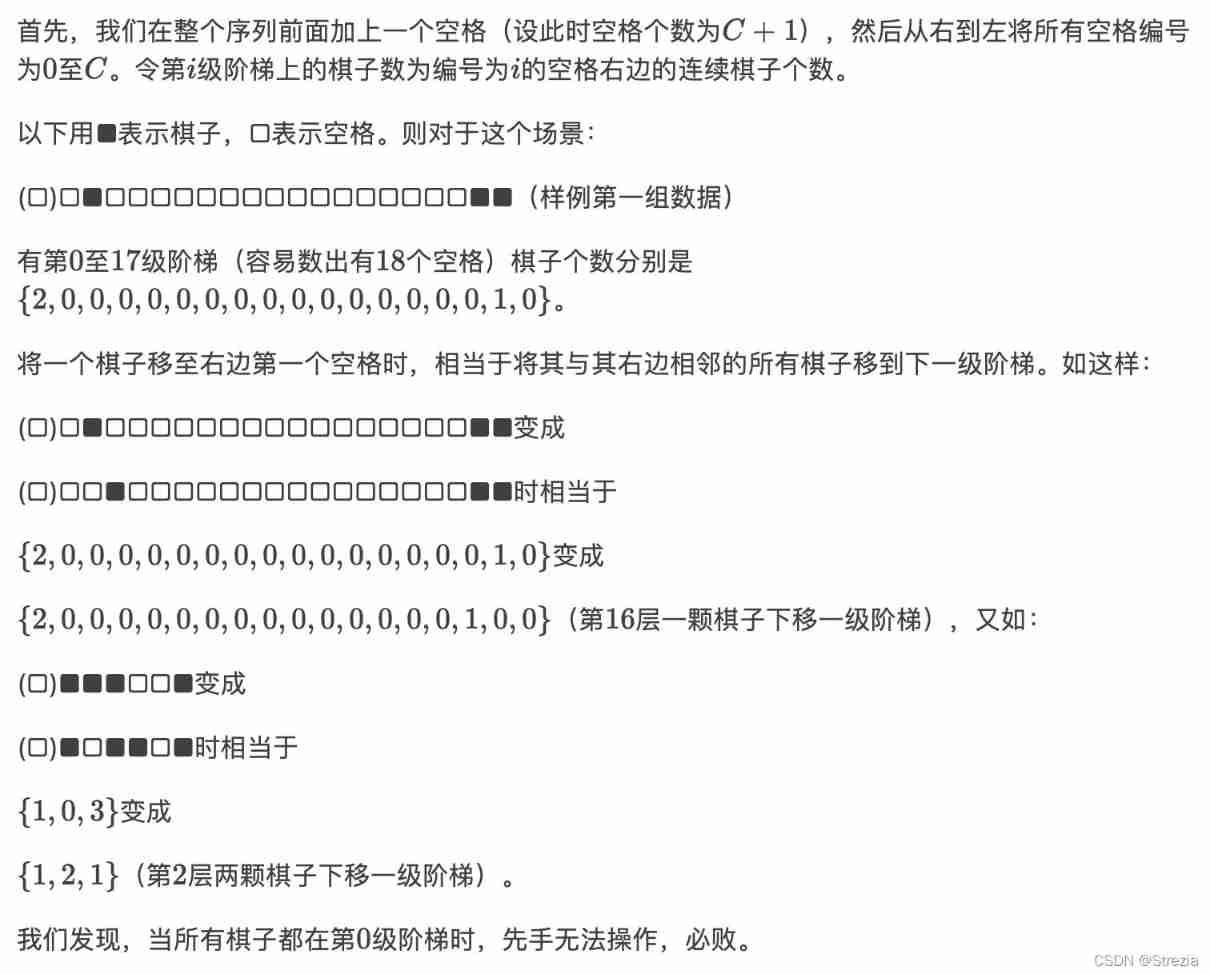
Game theory acwing 892 Steps Nim game
P2575 master fight
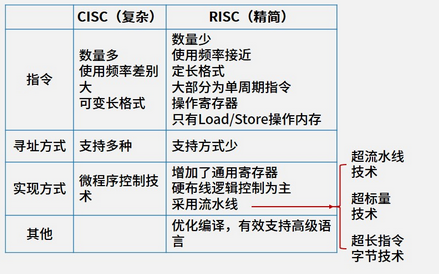
1.13 - RISC/CISC
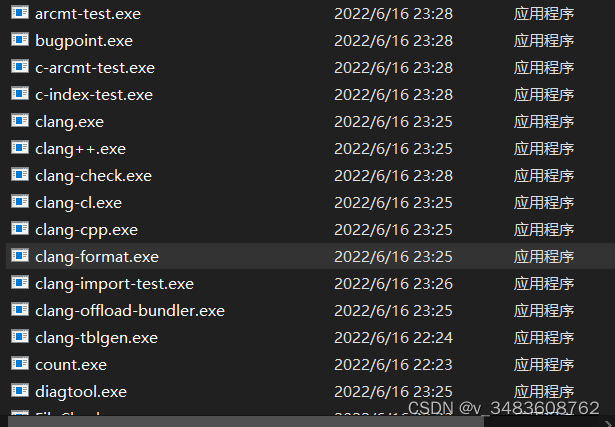
ollvm编译出现的问题纪录
MySQL advanced part 2: storage engine
【LeetCode】Easy | 20. Valid parentheses

LeetCode-54
随机推荐
MySQL advanced part 2: SQL optimization
MySQL advanced part 2: storage engine
LeetCode-61
Daily question 1189 Maximum number of "balloons"
Paper reading report
[BMZCTF-pwn] ectf-2014 seddit
Regulations for network security events of vocational group in 2022 Guizhou Vocational College skill competition
LeetCode-54
MySQL advanced part 2: the use of indexes
Quickly use Amazon memorydb and build your own redis memory database
将webApp或者H5页面打包成App
MySQL advanced part 1: View
时间很快,请多做有意义的事情
2022-5-the fourth week daily
Leetcode recursion
Vscode creates its own code template
WordPress switches the page, and the domain name changes back to the IP address
2021apmcm post game Summary - edge detection
MySQL advanced part 1: index
阿里新成员「瓴羊」正式亮相,由阿里副总裁朋新宇带队,集结多个核心部门技术团队