当前位置:网站首页>Rewrite the tensorrt version deployment code of yolox
Rewrite the tensorrt version deployment code of yolox
2022-07-27 08:52:00 【DeepDriving】
[ The attached code ] rewrite YOLOX Of TensorRT Version deployment code
This article was first published on WeChat public 【DeepDriving】, Pay attention to the official account back office key reply 【YOLOX】 You can get the code link of this article .
Preface
YOLOX It is a target detection algorithm of open source recently , It is said that the effect is very good , I'll study it when I'm free these two days , After reading the paper, I feel there are still a lot of dry goods , We will study it carefully later . From the results of the paper ,YOLOX In terms of speed and accuracy, it should be more than the previous YOLO A series of algorithms .

More conscientiously , The author not only open source the code and model , And released TensorRT、OpenVINO、NCNN And other model deployment sample code under the framework , It can be said to be the gospel of engineering people .
I saw TensorRT Version of C++ Deploy sample code , Decide to rewrite it by yourself , Just practice your hand .
Implementation process
Here we mainly record the matters needing attention and the differences from the official sample code .
1. download ONNX Model
ONNX The model can be downloaded from the following link page :
https://github.com/Megvii-BaseDetection/YOLOX/releases/
It should be noted that , We need to download 0.1.1pre Weight of version , In the latest code, the author has modified the way of image preprocessing , This will lead to the previous version ONNX Model weights are incompatible with the latest code , This is the author's description :

2. TensorRT analysis ONNX Model
YOLOX Official TensorRT The version sample code is passed first tools/trt.py Script ONNX The model is parsed and serialized to model_trt.engine In file , then C++ The code then loads the model from the file to reason . Here we can go straight to C++ To parse in the code ONNX Model , Then serialize it to .engine In file ,TensorRT analysis ONNX The model method can refer to the official provided by NVIDIA sampleOnnxMNIST routine .
if (!isFileExists(engine_path)) {
  std::cout << "The engine file " << engine_path
            << " has not been generated, try to generate..." << std::endl;
  engine_ = SerializeToEngineFile(model_path_, engine_path);
  std::cout << "Succeed to generate engine file: " << engine_path
            << std::endl;
} else {
  std::cout << "Use the exists engine file: " << engine_path << std::endl;
  engine_ = LoadFromEngineFile(engine_path);
}
Let's first judge ONNX Model corresponding .engine Does the file exist , If there is one, go straight from .engine Load the model in the file , Otherwise, create a ONNX The model parser parses the model , Then serialize the model to .engine The file is convenient for next use .
// Serialize the model to engine In file
nvinfer1::IHostMemory *trtModelStream = engine->serialize();
std::stringstream gieModelStream;
gieModelStream.seekg(0, gieModelStream.beg);
gieModelStream.write(static_cast<const char *>(trtModelStream->data()),
                      trtModelStream->size());
std::ofstream outFile;
outFile.open(engine_path);
outFile << gieModelStream.rdbuf();
outFile.close();
3. Automatically obtain the input size of the model
Official sample code , The input size of the default model is 640x640
static const int INPUT_W = 640;
static const int INPUT_H = 640;
But if the input size of the model is 416x416 Or different in length and width 512x416 This size , Then you need to change the code , It doesn't feel very convenient . In fact, the input and output dimensions of the model can pass TensorRT The provided interface gets , In this way, it is convenient to automatically obtain the input size according to the results of model analysis , Then according to this information, do the input image resize 了 .
nvinfer1::Dims input_dim = engine_->getBindingDimensions(index);
int input_size = 1;
for (int j = 0; j < input_dim.nbDims; ++j) {
  input_size *= input_dim.d[j];
}
In the above code ,input_dim.d Input dimensions for the model , according to NCHW The order of .
4. Image preprocessing
Official sample code , The preprocessing is to scale the image with equal length and width , Fill the insufficient places :
cv::Mat static_resize(cv::Mat& img) {
  float r = std::min(INPUT_W / (img.cols*1.0), INPUT_H / (img.rows*1.0));
  int unpad_w = r * img.cols;
  int unpad_h = r * img.rows;
  cv::Mat re(unpad_h, unpad_w, CV_8UC3);
  cv::resize(img, re, re.size());
  cv::Mat out(INPUT_H, INPUT_W, CV_8UC3, cv::Scalar(114, 114, 114));
  re.copyTo(out(cv::Rect(0, 0, re.cols, re.rows)));
  return out;
}
I'll simply and rudely resize 了 ( Don't learn from me. ):
cv::Mat resize_image;
cv::resize(input_image, resize_image, cv::Size(model_width_, model_height_));
Comparison of the two methods :


5. post-processing
Post processing is to analyze the results of model reasoning ,YOLOX yes anchor-free Target detection algorithm , Parsing is relatively simple . And YOLOv3 similar ,YOLOX Still 3 Test on a scale , The cells on each layer of the feature map predict only one box , The output of each cell is x,y,w,h,objectness this 5 Content plus the probability of each category . It can be used Netron Take a look at the structure of several layers behind the model :

You can see , If the model input size is 640x640, Separate downsampling 8,16,32 The dimensions of the feature map obtained after doubling are 80x80,40x40,20x20,COCO The dataset has 80 If there are categories, the length of data output from each cell of the characteristic graph is 5+80=85,3 The result on the characteristic graph will finally concat Together for output , So the final output data dimension is (80x80+40x40+20x20)x85=8400x85.
Several functions are used in the official sample code for post-processing , It's a little tedious , So I rewrite this part of the code :
const std::vector<int> strides = {8, 16, 32};
float *ptr = const_cast<float *>(output);
for (std::size_t i = 0; i < strides.size(); ++i) {
  const int stride = strides.at(i);
  const int grid_width = model_width_ / stride;
  const int grid_height = model_height_ / stride;
  const int grid_size = grid_width * grid_height;
  for (int j = 0; j < grid_size; ++j) {
    const int row = j / grid_width;
    const int col = j % grid_width;
    const int base_pos = j * (kNumClasses + 5);
    const int class_pos = base_pos + 5;
    const float objectness = ptr[base_pos + 4];
    const int label =
        std::max_element(ptr + class_pos, ptr + class_pos + kNumClasses) -
        (ptr + class_pos);
    const float confidence = (*(ptr + class_pos + label)) * objectness;
    if (confidence > confidence_thresh) {
      const float x = (ptr[base_pos + 0] + col) * stride / width_scale;
      const float y = (ptr[base_pos + 1] + row) * stride / height_scale;
      const float w = std::exp(ptr[base_pos + 2]) * stride / width_scale;
      const float h = std::exp(ptr[base_pos + 3]) * stride / height_scale;

      Object obj;
      obj.box.x = x - w * 0.5f;
      obj.box.y = y - h * 0.5f;
      obj.box.width = w;
      obj.box.height = h;
      obj.label = label;
      obj.confidence = confidence;
      objs->push_back(std::move(obj));
    }
  }
  ptr += grid_size * (kNumClasses + 5);
}
Here's a tip : There is no need to parse every cell first x,y,w,h Then go to see whether the confidence is greater than the threshold , Instead, we should first judge the confidence , If the confidence is greater than the threshold, then analyze x,y,w,h. Doing so can reduce a lot of computation ( On the embedded platform, save if you can ), After all, the results of thousands of cells may only meet the conditions .
Finally, I use Soft-NMS Algorithm ( I don't know if what I wrote is right ) Do non maximum suppression to remove duplicate boxes .
result
use yolox_s.onnx Several results of model test :


stay GeForce RTX 2080 The time consumption of each model tested on the graphics card is shown in the following table ( It's not very accurate ):
| Model | Enter dimensions | Time consuming |
|---|---|---|
| yolox_darknet.onnx | 640x640 | 22 ms |
| yolox_l.onnx | 640x640 | 21 ms |
| yolox_m.onnx | 640x640 | 11 ms |
| yolox_s.onnx | 640x640 | 7 ms |
| yolox_tiny.onnx | 416x416 | 3 ms |
| yolox_nano.onnx | 416x416 | 2 ms |
For section 3 spot , I tried regardless of the input size of the model 640x640,416x416 still 512x416 It's all right , The program will do adaptive processing .
summary
In a word :YOLOX Fast and good !
Welcome to my official account. 【DeepDriving】, I will share computer vision from time to time 、 machine learning 、 Deep learning 、 Driverless and other fields .

边栏推荐
- Built in method of tensorflow model training and evaluation
- 【进程间通信IPC】- 信号量的学习
- Initial summary of flask framework creation project
- 4274. 后缀表达式
- Flink1.15源码阅读flink-clients客户端执行流程(阅读较枯燥)
- 4278. 峰会
- MySQL Express
- Mmrotate trains its dataset from scratch
- Realize SKU management in the background
- How to permanently set source
猜你喜欢

4276. 擅长C

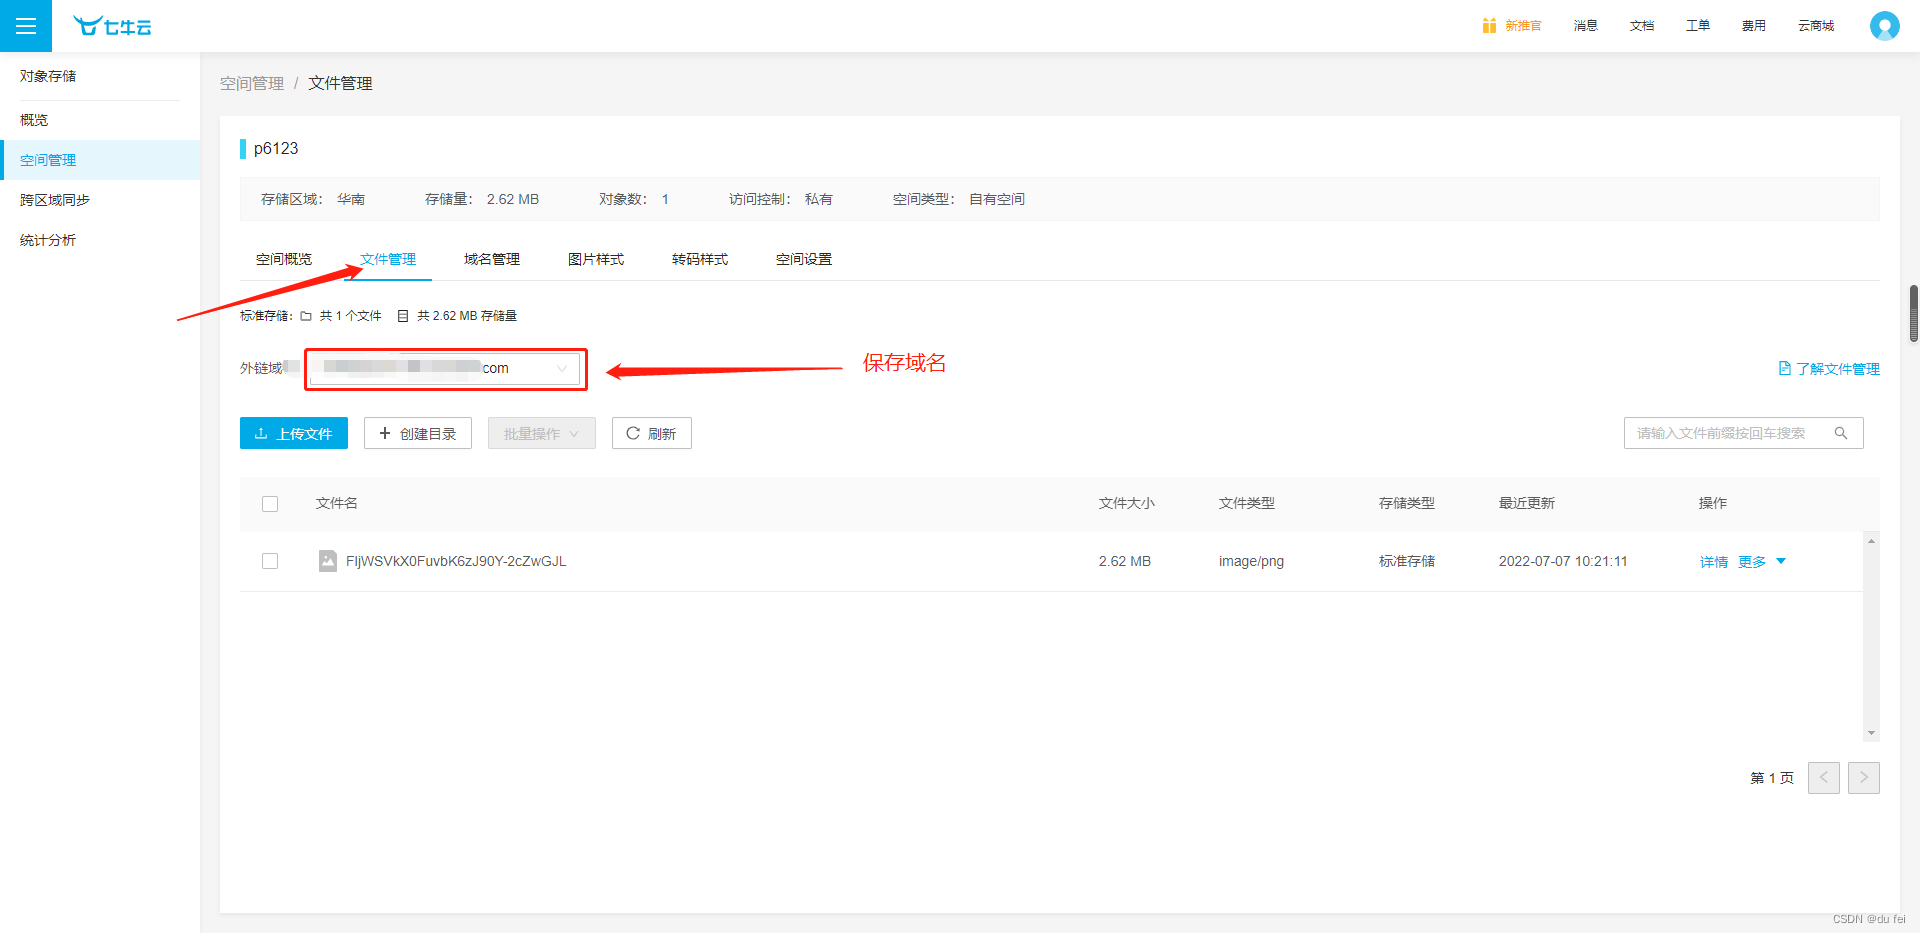
Forced login, seven cattle cloud upload pictures
![2040: [Blue Bridge Cup 2022 preliminary] bamboo cutting (priority queue)](/img/76/512b7fd4db55f9f7d8f5bcb646d9fc.jpg)
2040: [Blue Bridge Cup 2022 preliminary] bamboo cutting (priority queue)

redis 网络IO
How to upload qiniu cloud

Flask request data acquisition and response

User management - restrictions

Mmrotate trains its dataset from scratch
![[I2C reading mpu6050 of Renesas ra6m4 development board]](/img/1b/c991dd0d798edbb7410a1e16f3a323.png)
[I2C reading mpu6050 of Renesas ra6m4 development board]
![ROS2安装时出现Connection failed [IP: 91.189.91.39 80]](/img/7f/92b7d44cddc03c58364d8d3f19198a.png)
ROS2安装时出现Connection failed [IP: 91.189.91.39 80]
随机推荐
03.使用引号来监听对象嵌套值的变化
Explain cache consistency and memory barrier
Flink1.15 source code reading Flink clients client execution process (reading is boring)
redis的string类型及bitmap
说透缓存一致性与内存屏障
691. Cube IV
Pass parameters and returned responses of flask
Openresty + keepalived 实现负载均衡 + IPV6 验证
杭州电子商务研究院发布“数字化存在”新名词解释
Matlab数据导入--importdata和load函数
693. 行程排序
Solution of database migration error
微信安装包从0.5M暴涨到260M,为什么我们的程序越来越大?
Background coupon management
Test picture
Management of product pictures
Do a reptile project by yourself
Cookie addition, deletion, modification and exception
MySQL basic knowledge learning (I)
Network IO summary