当前位置:网站首页>Google colab踩坑
Google colab踩坑
2022-07-04 19:56:00 【Jay_Mapp】
1.在使用的时候,先将数据传入Google Drive中,然后在Colab中连接Google Colab
from google.colab import drive
drive.mount('/content/drive')
2.进入到自己的文件夹下:
在colab中,直接这样做就可以
cd 想要进入的文件夹名字/
3.安装Anaconda来配置需要的安装包:
!wget -c https://repo.continuum.io/archive/Anaconda3-5.1.0-Linux-x86_64.sh
!chmod +x Anaconda3-5.1.0-Linux-x86_64.sh
!bash ./Anaconda3-5.1.0-Linux-x86_64.sh -b -f -p /usr/local

import sys
sys.path.append('/usr/local/lib/python3.6/site-packages/')
4.Linux下Anaconda的虚拟环境创建、激活
虚拟环境创建:
!conda create -n 虚拟环境名称 python=3.7激活虚拟环境:
!source cnonda activate 虚拟环境虚拟环境被激活之后,就不用进行其他的操作了,激活了虚拟环境后,想要运行的python文件就会在这个虚拟环境下运行
安装各种依赖库时常会出现的错误有三个:
(1)Command "python setup.py egg_info" failed with error code 1 in /tmp/pip-build-nr4ydx_8/opencv-python/
!pip install --upgrade setuptools(2)Command "python setup.py egg_info" failed with error code 1 in /tmp/pip-build-ud_idlo6/opencv-python/
!python -m pip install --upgrade pip(3)ERROR: Cannot uninstall 'PyYAML'. It is a distutils installed project and thus we cannot accurately determine which files belong to it which would lead to only a partial uninstall.
pip install PyYAML --ignore-installed边栏推荐
- Sword finger offer II 80-100 (continuous update)
- How does win11 search for wireless displays? Win11 method of finding wireless display device
- uniapp 富文本编辑器使用
- LeetCode 871. Minimum refueling times
- 【服务器数据恢复】某品牌服务器存储raid5数据恢复案例
- HMS Core 统一扫码服务
- Go notes (3) usage of go language FMT package
- 电脑共享打印机拒绝访问要怎么办
- Gobang go to work fishing tools can be LAN / man-machine
- Go language notes (4) go common management commands
猜你喜欢
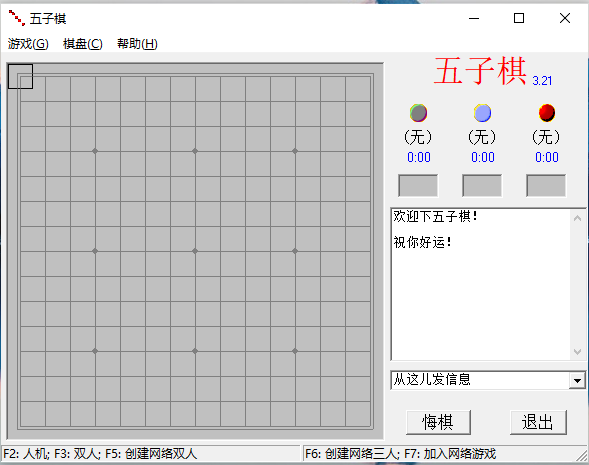
五子棋 上班摸鱼工具 可局域网/人机
电脑怎么保存网页到桌面上使用
How does win11 search for wireless displays? Win11 method of finding wireless display device
Ten years' experience of byte test engineer directly hits the pain point of UI automation test
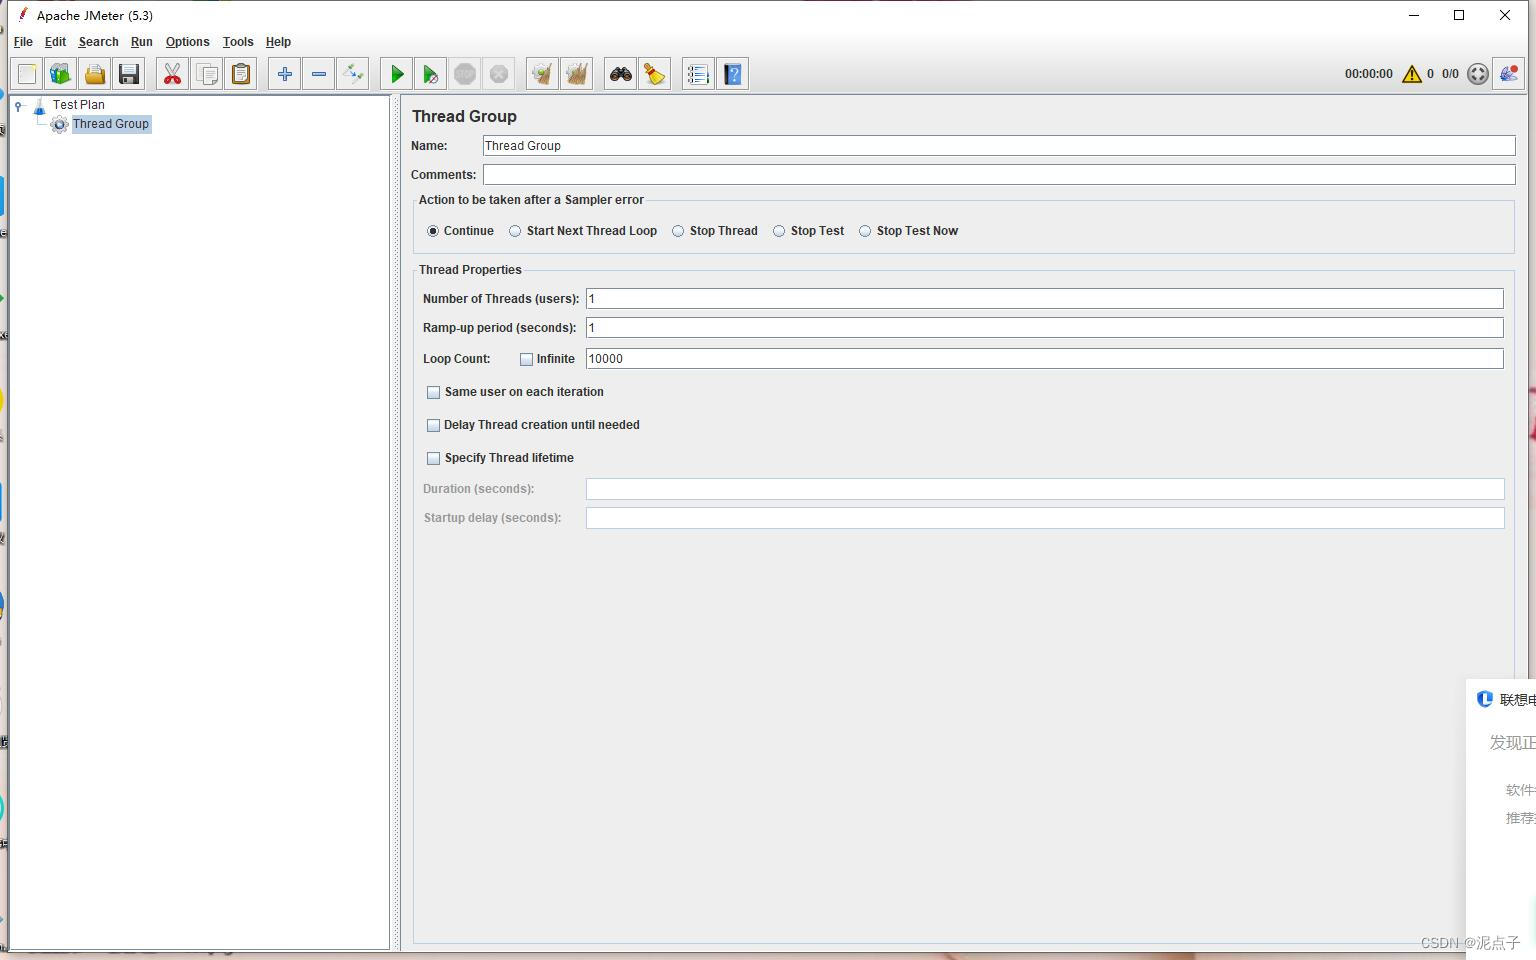
Jmeter 之压测入门
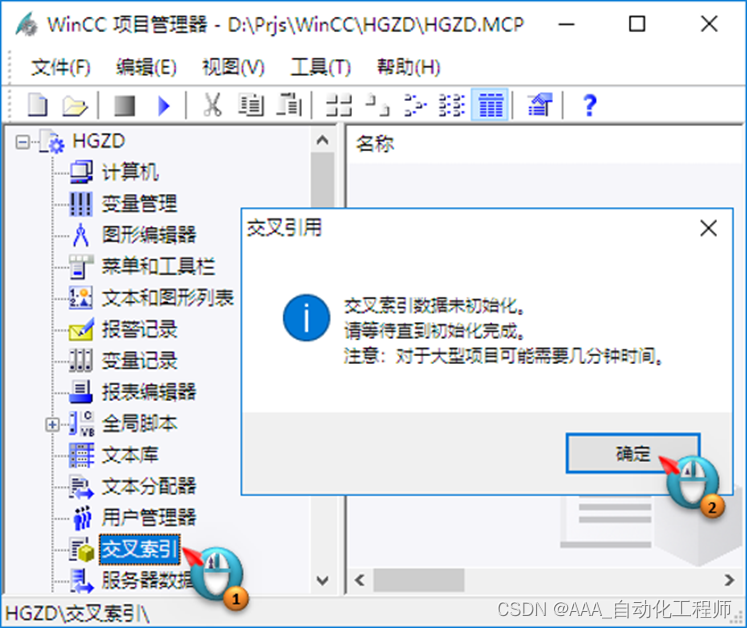
WinCC7.5 SP1如何通过交叉索引来寻找变量及其位置?

Idea configuration standard notes
What if the win11 shared file cannot be opened? The solution of win11 shared file cannot be opened
RFID仓储管理系统解决方案的优点
网件r7000梅林系统5g不稳定 5g信号经常掉线解决方法
随机推荐
nmap扫描
Après l'insertion de l'image dans le mot, il y a une ligne vide au - dessus de l'image, et la disposition est désordonnée après la suppression
工厂从自动化到数字孪生,图扑能干什么?
卷积神经网络在深度学习中新发展的5篇论文推荐
uniapp 富文本编辑器使用
科普达人丨一文看懂阿里云的秘密武器“神龙架构”
JS卡牌样式倒计时天数
acwing 3302. 表达式求值
记一次重复造轮子(Obsidian 插件设置说明汉化)
Stack: how to realize the judgment of valid brackets?
Go notes (1) go language introduction and characteristics
Explication détaillée du mécanisme de distribution des événements d'entrée multimodes
Go language notes (2) some simple applications of go
LeetCode+ 81 - 85 单调栈专题
【服务器数据恢复】某品牌服务器存储raid5数据恢复案例
What should I do if my computer sharing printer refuses access
Managed service network: application architecture evolution in the cloud native Era
Idea configuration standard notes
Understand Alibaba cloud's secret weapon "dragon architecture" in the article "science popularization talent"
RFID仓储管理系统解决方案的优点