当前位置:网站首页>DataX 的使用
DataX 的使用
2022-08-02 14:05:00 【boyzwz】
一、DataX 的部署
1、上传 datax 压缩包并解压
tar -zxvf datax.tar.gz -C /usr/local/soft/2、自检,执行命令(在datax目录下)
[[email protected] datax]# python ./bin/datax.py ./job/job.json安装成功
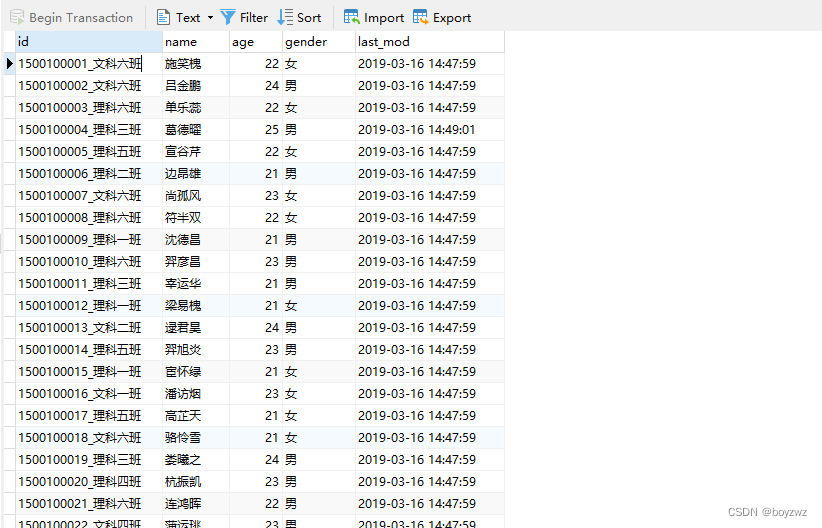
二、DataX 的使用
MySQL写入MySQL
1、生成模板命令
[[email protected] datax]# python ./bin/datax.py -r mysqlreader -w mysqlwriter2、根据读写的数据源,获取json模板;可根据官网修改 json 完成数据的同步
{
"job": {
"content": [{
"reader": {
"name": "mysqlreader",
"parameter": {
"column": [
"id",
"name",
"age",
"gender",
"clazz",
"last_mod"
],
"connection": [{
"jdbcUrl": ["jdbc:mysql://master:3306/student"],
"table": ["student"]
}],
"password": "123456",
"username": "root"
}
},
"writer": {
"name": "mysqlwriter",
"parameter": {
"column": [
"id",
"name",
"age",
"gender",
"clazz",
"last_mod"
],
"connection": [{
"jdbcUrl": "jdbc:mysql://master:3306/student2?useUnicode=true&characterEncoding=utf8",
"table": ["student2"]
}],
"preSql": [
"truncate table student2"
],
"password": "123456",
"username": "root",
"writeMode": "insert"
}
}
}],
"setting": {
"speed": {
"channel": "5"
}
}
}
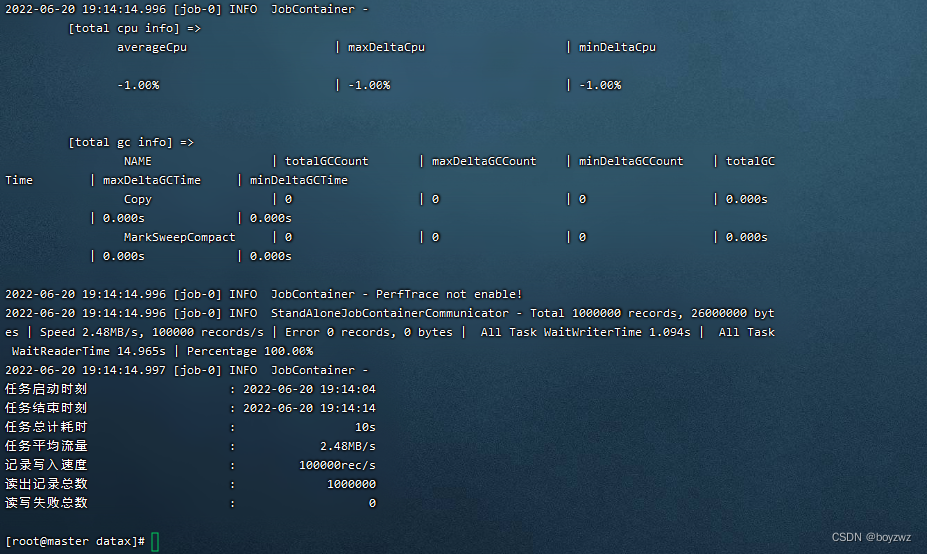
}3、执行
[[email protected] dataxjsons]# datax.py mysql2mysql.jsonMySQL写入HDFS
1、生成模板
[[email protected] dataxjsons]# python /usr/local/soft/datax/bin/datax.py -r mysqlreader -w hdfswriter2、修改
{
    "job": {
        "content": [
            {
                "reader": {
                    "name": "mysqlreader",
                    "parameter": {
                        "column": ["*"],
                        "connection": [
                            {
                                "jdbcUrl": ["jdbc:mysql://master:3306/student"],
                                "table": ["student"]
                            }
                        ],
                        "password": "123456",
                        "username": "root"
                    }
                },
                "writer": {
                    "name": "hdfswriter",
                    "parameter": {
                        "column": [
                        {
                                "name": "col1",
                                "type": "int"
                            },
                            {
                                "name": "col2",
                                "type": "String"
                            },
                            {
                                "name": "col3",
                                "type": "int"
                            },
                            {
                                "name": "col4",
                                "type": "String"
                            },
                            {
                                "name": "col5",
                                "type": "String"
                            },
                            {
                                "name": "col6",
                                "type": "Date"
                            }
                        ],
                        "defaultFS": "hdfs://master:9000",
                        "fieldDelimiter": ",",
                        "fileName": "msql2hdfs",
                        "fileType": "text",
                        "path": "/shujia/bigdata17/datax/",
                        "writeMode": "append"
                    }
                }
            }
        ],
        "setting": {
            "speed": {
                "channel": "1"
            }
        }
    }
}
3、执行
[[email protected] dataxjsons]# datax.py mysql2hdfs.jsonMySQL同步数据到Hive
1、hive建表
CREATE EXTERNAL TABLE IF NOT EXISTS student2(
id BIGINT,
name STRING,
age INT,
gender STRING,
clazz STRING,
last_mod STRING
)
comment '学生表'
ROW FORMAT DELIMITED
FIELDS TERMINATED BY ','
STORED AS TEXTFILE
2、生成模板
[[email protected] dataxjsons]# python /usr/local/soft/datax/bin/datax.py -r mysqlreader -w hdfswriter3、修改
{
    "job": {
        "content": [
            {
                "reader": {
                    "name": "mysqlreader",
                    "parameter": {
                        "column": ["*"],
                        "connection": [
                            {
                                "jdbcUrl": ["jdbc:mysql://master:3306/student"],
                                "table": ["student"]
                            }
                        ],
                        "password": "123456",
                        "username": "root"
                    }
                },
                "writer": {
                    "name": "hdfswriter",
                    "parameter": {
                        "column": [
                        {
                                "name": "id",
                                "type": "bigint"
                            },
                            {
                                "name": "name",
                                "type": "string"
                            },
                            {
                                "name": "age",
                                "type": "INT"
                            },
                            {
                                "name": "gender",
                                "type": "string"
                            },
                            {
                                "name": "clazz",
                                "type": "string"
                            },
                            {
                                "name": "last_mod",
                                "type": "string"
                            }
                        ],
                        "defaultFS": "hdfs://master:9000",
                        "fieldDelimiter": ",",
                        "fileName": "student2",
                        "fileType": "text",
                        "path": "/user/hive/warehouse/bigdata17.db/student2/",
                        "writeMode": "append"
                    }
                }
            }
        ],
        "setting": {
            "speed": {
                "channel": "1"
            }
        }
    }
}
4、执行
[[email protected] dataxjsons]# datax.py mysql2hive.json向Hive中同步数据,即向HDFS上Hive表目录下同步数据
增量同步,可在where后添加条件("where": "id > 7")
Mysql向HBase同步数据
1、hbase创建表
hbase(main):003:0> create 'datastudent','info'
2、生成模板
[[email protected] dataxjsons]# python /usr/local/soft/datax/bin/datax.py -r mysqlreader -w hbase11xwriter3、修改
{
	"job": {
		"content": [{
			"reader": {
				"name": "mysqlreader",
				"parameter": {
					"column": [
						"id",
						"name",
						"age",
						"gender",
						"clazz",
						"last_mod"
					],
					"connection": [{
						"jdbcUrl": ["jdbc:mysql://master:3306/student"],
						"table": ["student"]
					}],
					"password": "123456",
					"username": "root"
				}
			},
			"writer": {
				"name": "hbase11xwriter",
				"parameter": {
					"column": [{
							"index": 1,
							"name": "info:name",
							"type": "string"
						},
						{
							"index": 2,
							"name": "info:age",
							"type": "int"
						},
						{
							"index": 3,
							"name": "info:gender",
							"type": "string"
						},
						{
							"index": 5,
							"name": "info:last_mod",
							"type": "string"
						}
					],
					"encoding": "utf-8",
					"hbaseConfig": {
						"hbase.zookeeper.quorum": "master:2181,node1:2181,node2:2181"
					},
					"mode": "normal",
					"rowkeyColumn": [{
							"index": 0,
							"type": "string"
						},
						{
							"index": -1,
							"type": "string",
							"value": "_"
						},
						{
							"index": 4,
							"type": "string"
						}
					],
					"table": "datastudent"
				}
			}
		}],
		"setting": {
			"speed": {
				"channel": "5"
			}
		}
	}
}
4、执行
[[email protected] dataxjsons]# datax.py mysql2hbase.jsonHBase同步数据到MySQL
1、生成模板
python /usr/local/soft/datax/bin/datax.py -r hbase11xreader -w mysqlwriter2、修改
{
    "job": {
        "content": [
            {
                "reader": {
                    "name": "hbase11xreader",
                    "parameter": {
                        "column": [
                        {
                                "name": "rowkey",
                                "type": "string"
                            },
                            {
                                "name": "info: name",
                                "type": "string"
                            },
                            {
                                "name": "info: age",
                                "type": "int"
                            },
                            {
                                "name": "info: gender",
                                "type": "string"
                            },
                            {
                                "name": "info: last_mod",
                                "type": "string"
                            },
                        ],
                        "encoding": "utf-8",
                        "hbaseConfig": {
                            "hbase.zookeeper.quorum": "master:2181,node1:2181,node2:2181"
                        },
                        "mode": "normal",
                        "table": "datastudent"
                    }
                },
                "writer": {
                    "name": "mysqlwriter",
                    "parameter": {
                        "column": [
                        "id",
                        "name",
                        "age",
                        "gender",
                        "last_mod"
                        ],
                        "connection": [
                            {
                                "jdbcUrl": "jdbc:mysql://master:3306/student?useUnicode=true&characterEncoding=utf8",
                                "table": ["student_copy1"]
                            }
                        ],
                        "password": "123456",
                        "username": "root",
                        "writeMode": "append"
                    }
                }
            }
        ],
        "setting": {
            "speed": {
                "channel": "5"
            }
        }
    }
}
3、执行
[[email protected] dataxjsons]# datax.py hbase2mysql.json可在MySQL中查看从hbase同步过来的数据
边栏推荐
猜你喜欢
C语言日记 5、7setprecision()问题
科创知识年度盛会,中国科创者大会8月6日首场开幕!
宝塔搭建PESCMS-Ticket开源客服工单系统源码实测
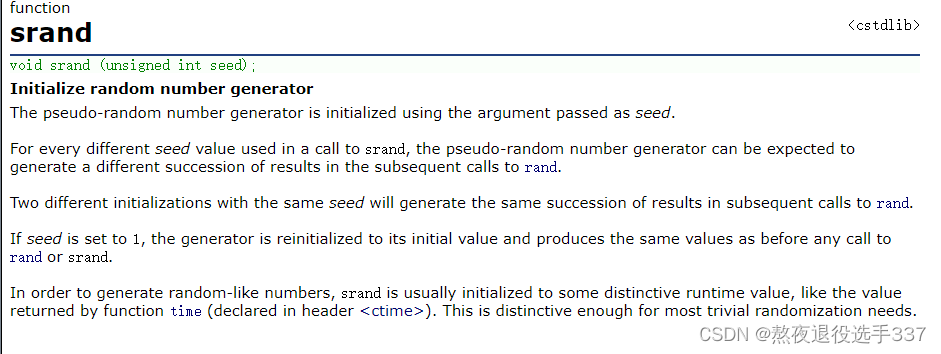
猜数字游戏,猜错10次关机(srand、rand、time)随机数生成三板斧(详细讲解!不懂问我!)
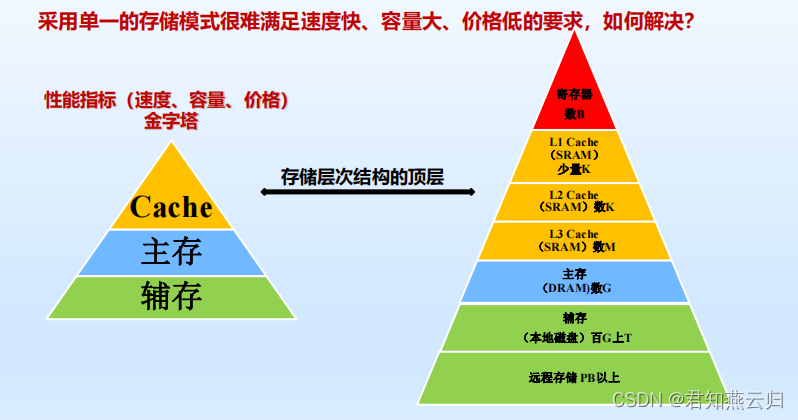
存储系统Cache(知识点+例题)
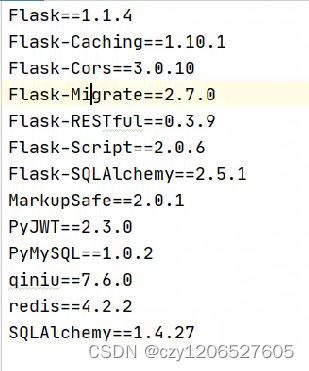
Creating seven NiuYun Flask project complete and let cloud
什么是 Web 3.0:面向未来的去中心化互联网

每周招聘|PostgreSQL专家,年薪60+,高能力高薪资
C语言——一级指针初识

Error Correction Design Principle of Hamming Check Code
随机推荐
[VCU] Detailed S19 file (S-record)
C语言初级—水仙花数
PHP版本切换:5.x到7.3
猜数字游戏,猜错10次关机(srand、rand、time)随机数生成三板斧(详细讲解!不懂问我!)
Tornado framework routing system introduction and (IOloop.current().start()) start source code analysis
Unit 6 meet ORM
binlog与iptables防nmap扫描
Hession使用
drf view component
字符串的小知识
Flask request application context source code analysis
HBuilderX 核心插件安装提示:“插件XXX下载失败,请检查网络”问题的解决办法
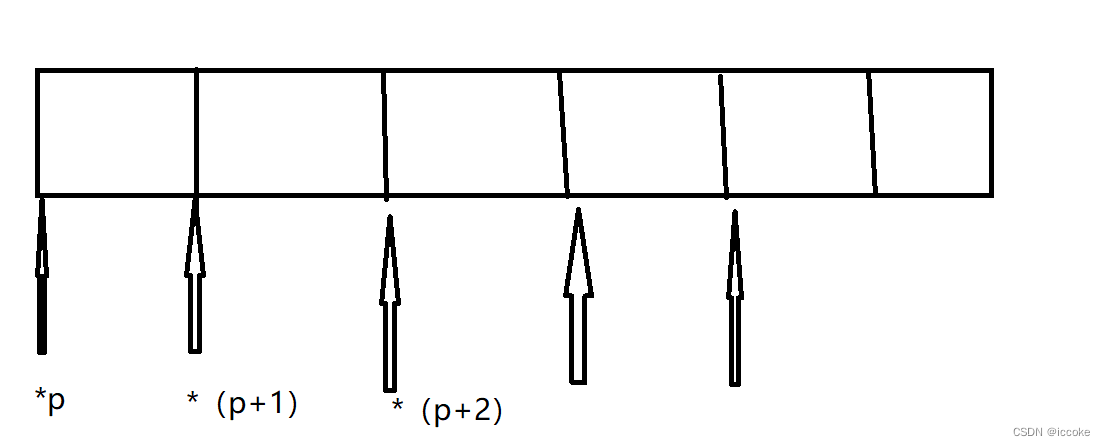
二级指针,数组指针,指针数组和函数指针
原码、反码、补码和移码
VS Code远程开发及免密配置
浮点数的运算方法
Unit 11 Serializers
宏定义问题记录day2
Unit 14 Viewsets and Routing
MySQL知识总结 (六) MySQL调优