当前位置:网站首页>FairyGUI人物状态弹窗
FairyGUI人物状态弹窗
2022-07-06 09:18:00 【SQ刘】
FairyGUI人物状态弹窗
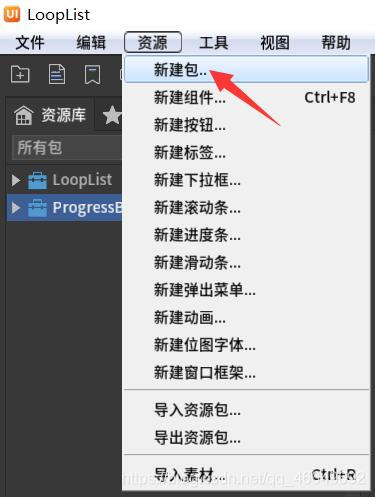
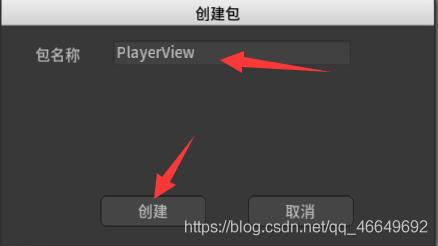
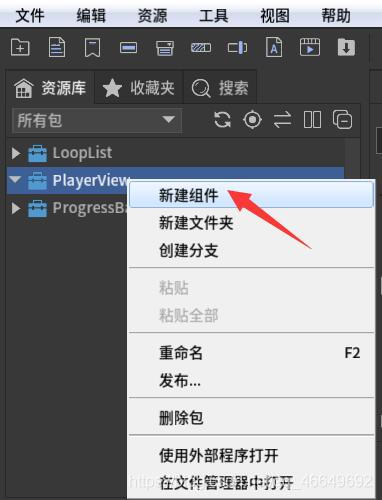
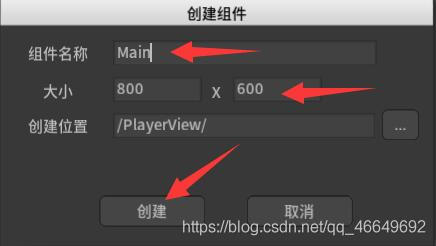
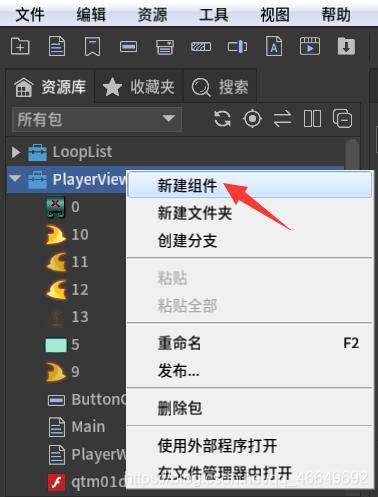
一、新建包和组件
二、导入素材
三、制作主界面
主界面就是一个简单的人物头像按钮
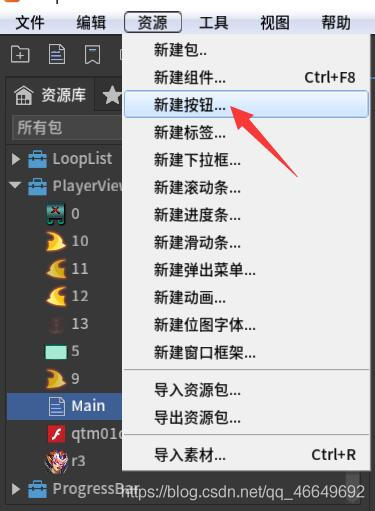
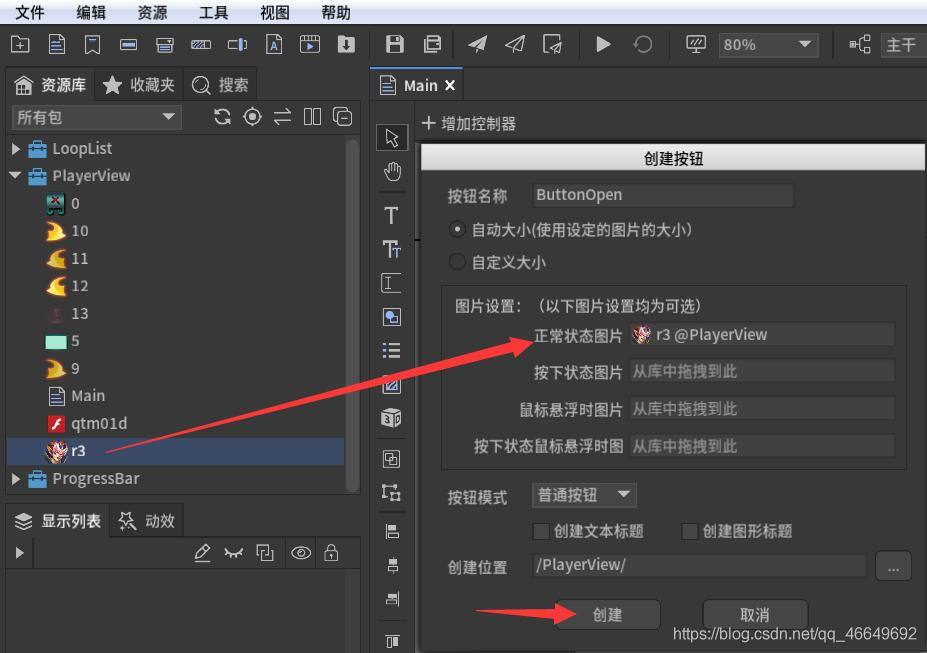
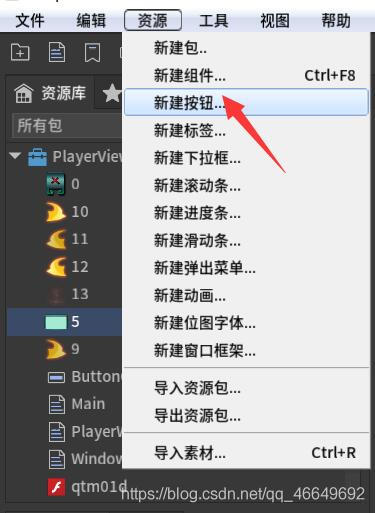
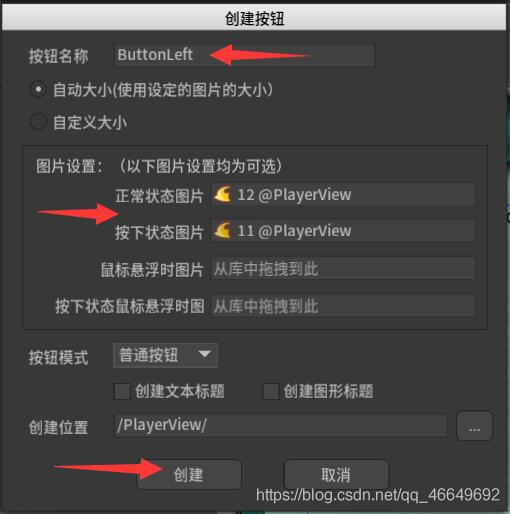
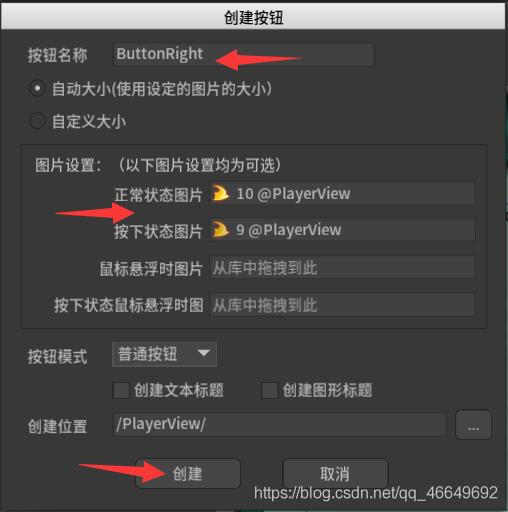
1、新建按钮
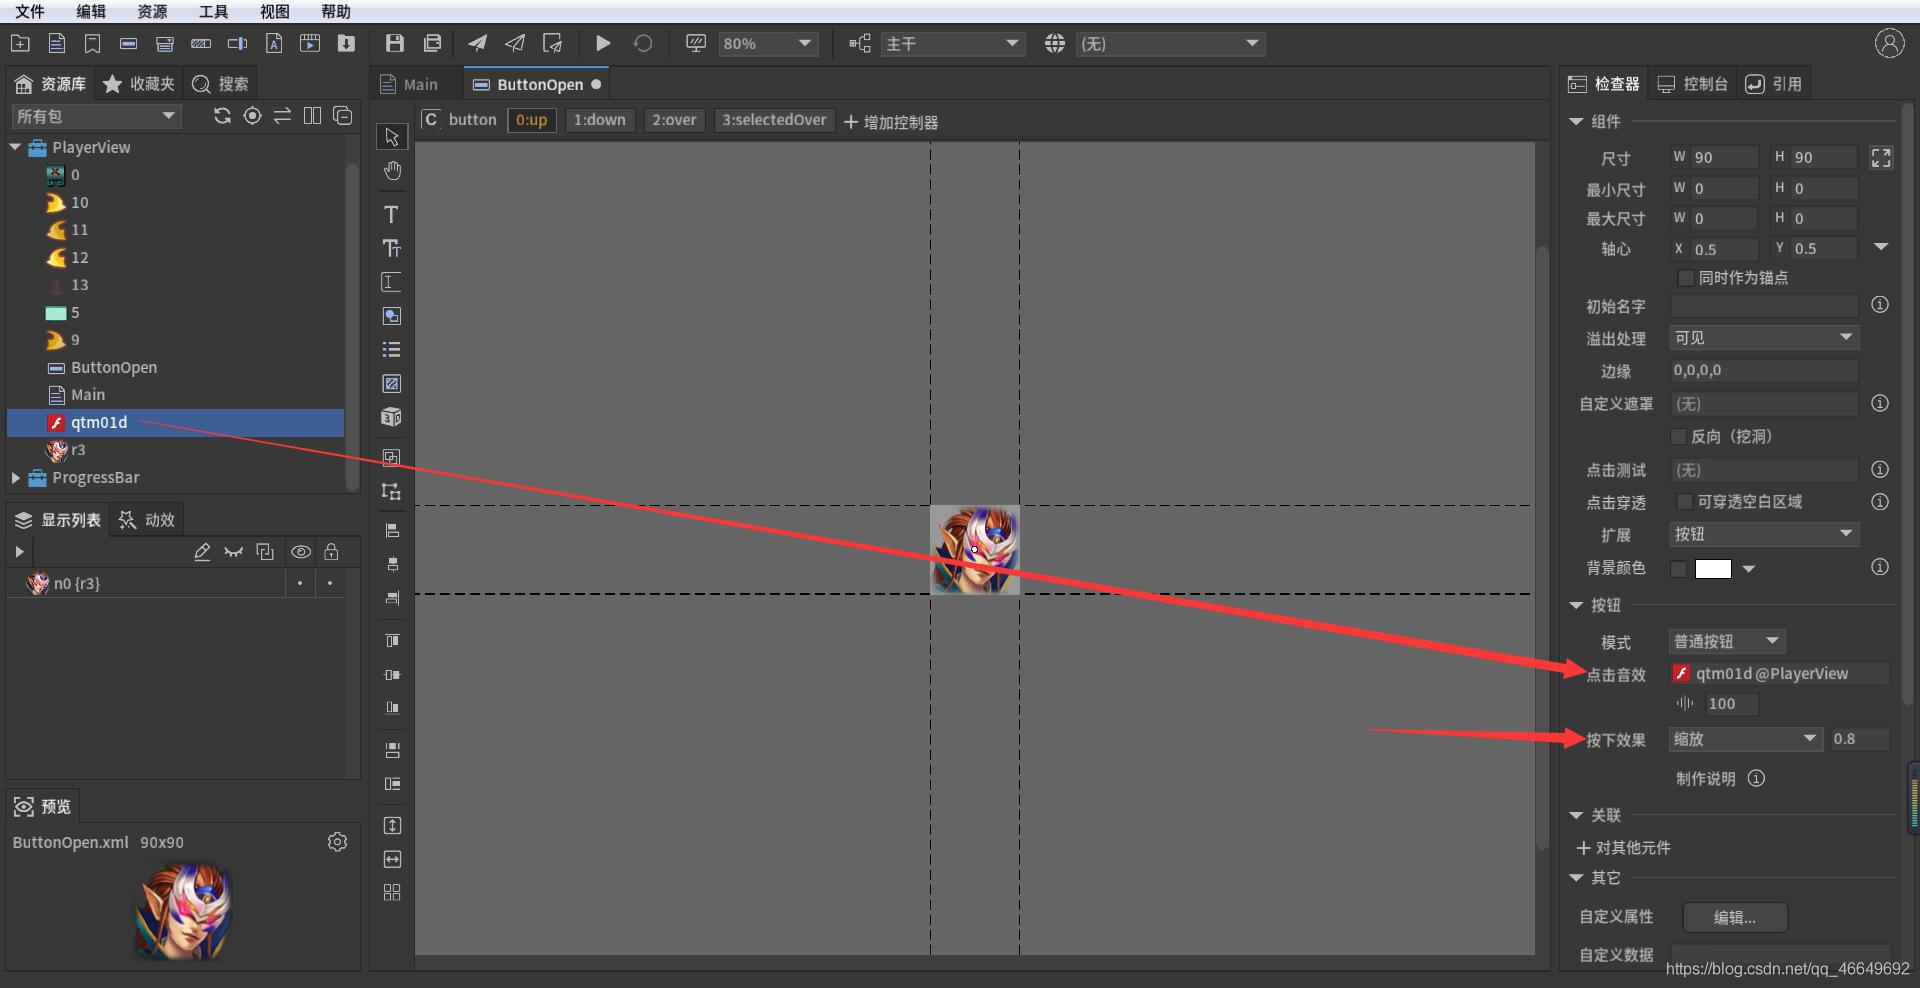
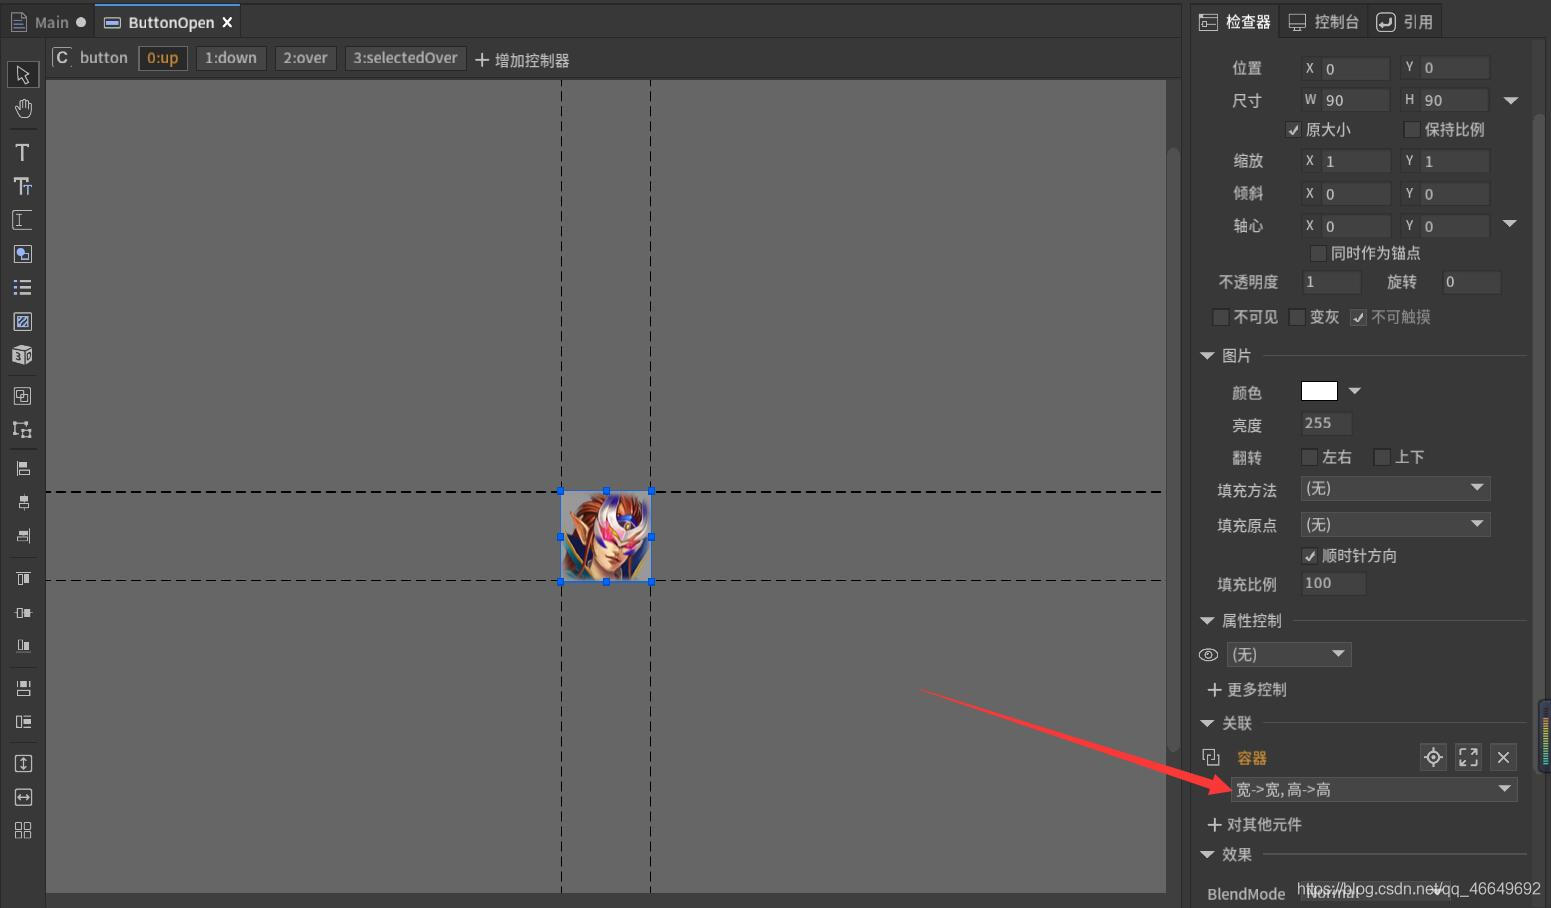
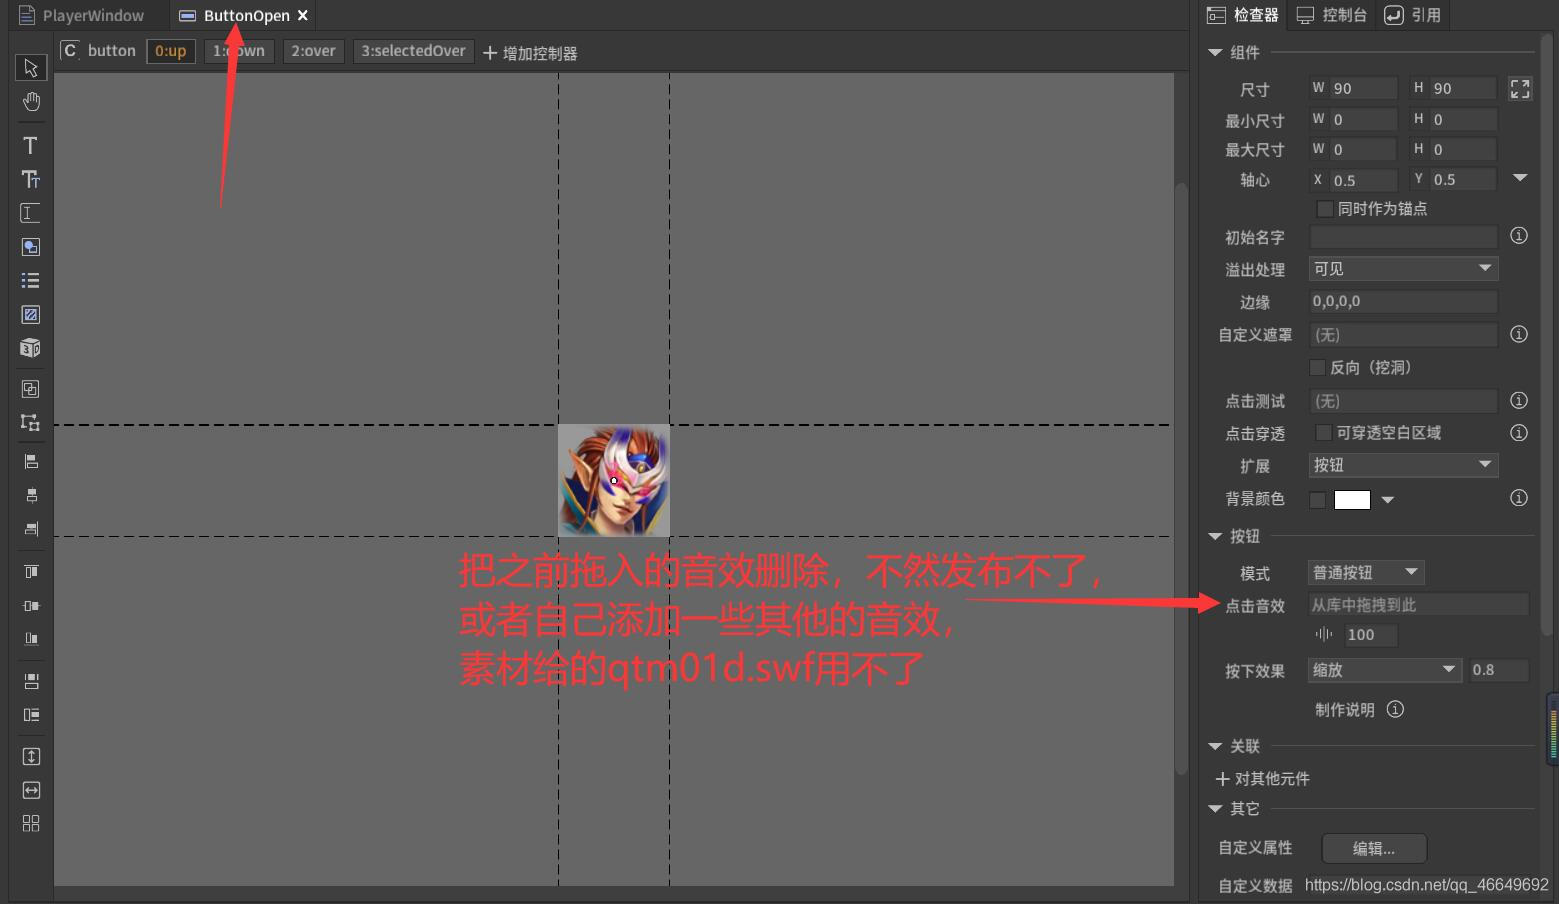
2、双击进入Button组件,给它设置一个缩放,当它按下的时候让它缩放一下,紧接着将声音素材拖进来,效果会更好。
3、将按钮拖入Main组件

4、制作弹窗
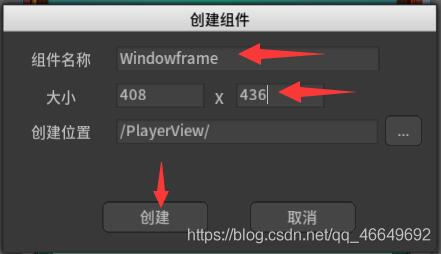
(1)首先要有一个容器组件装弹窗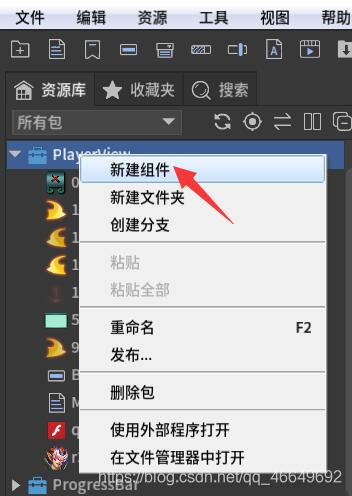
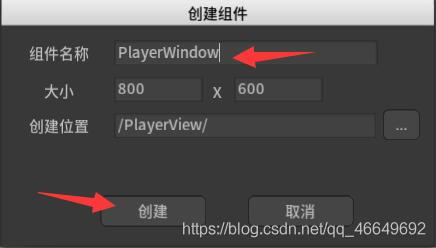
(2)设置窗口背景(408×436),将PlayerWindow大小也设置为408×436。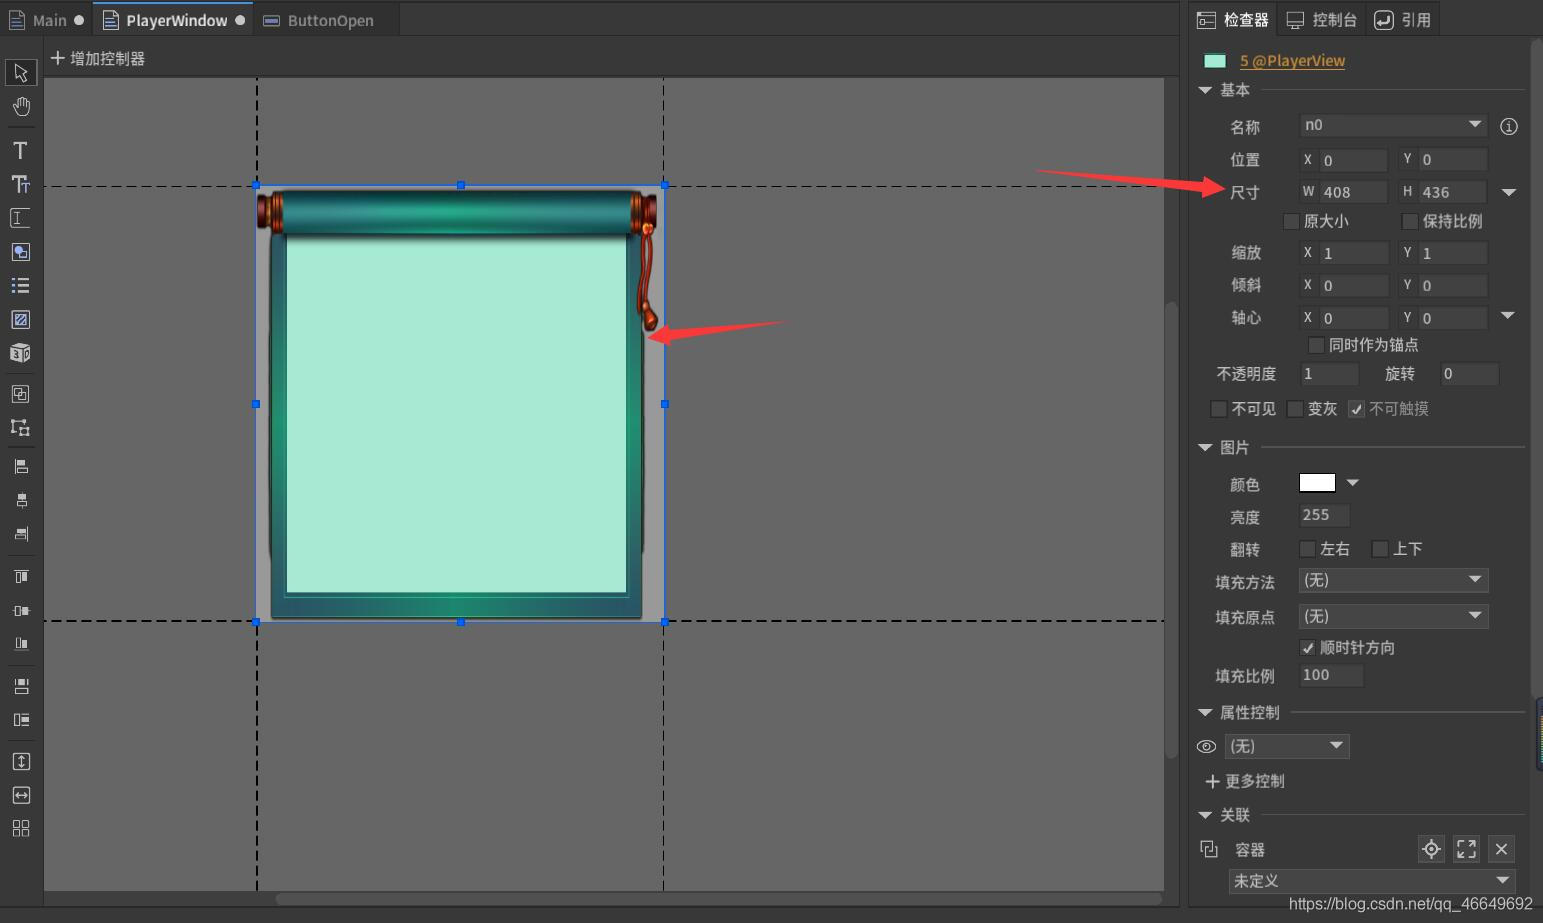
5、制作窗口框架
(1)新建组件Windowframe
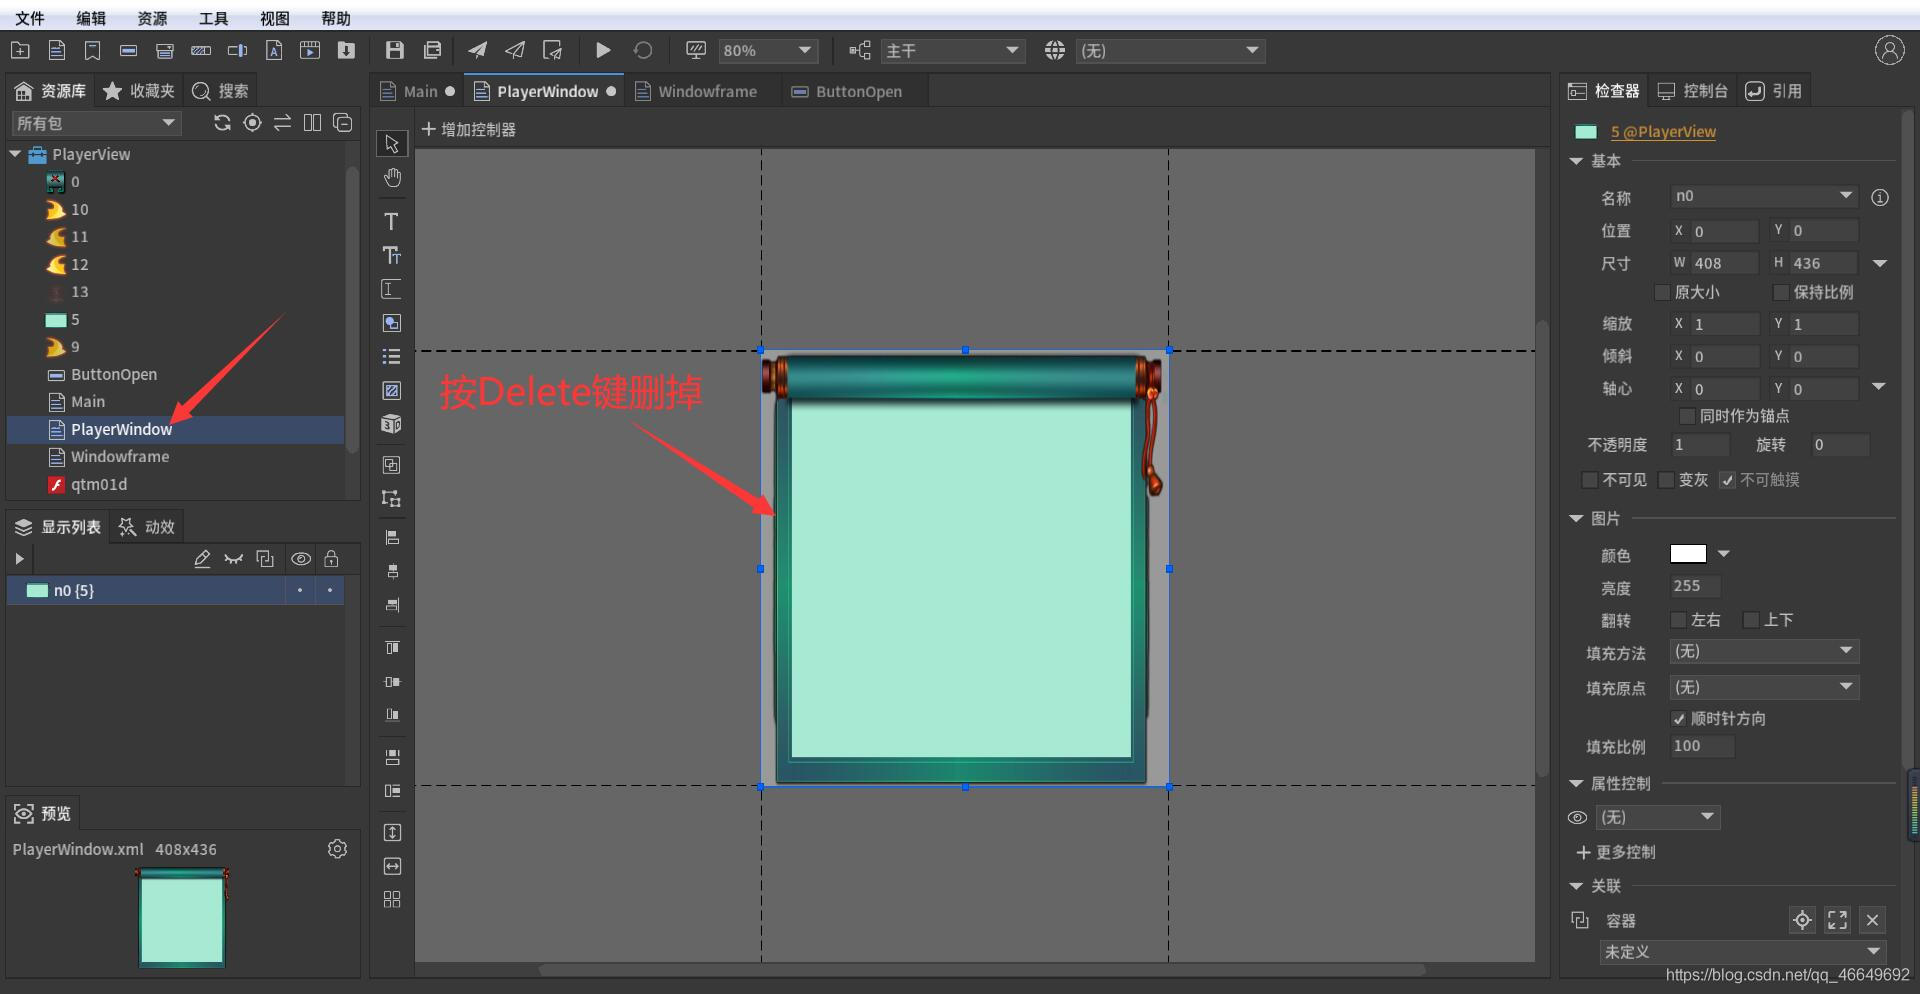
(2)给Windowframe添加背景图
可以直接在框架里面做背景,所以可以把下面这张背景图片删掉。

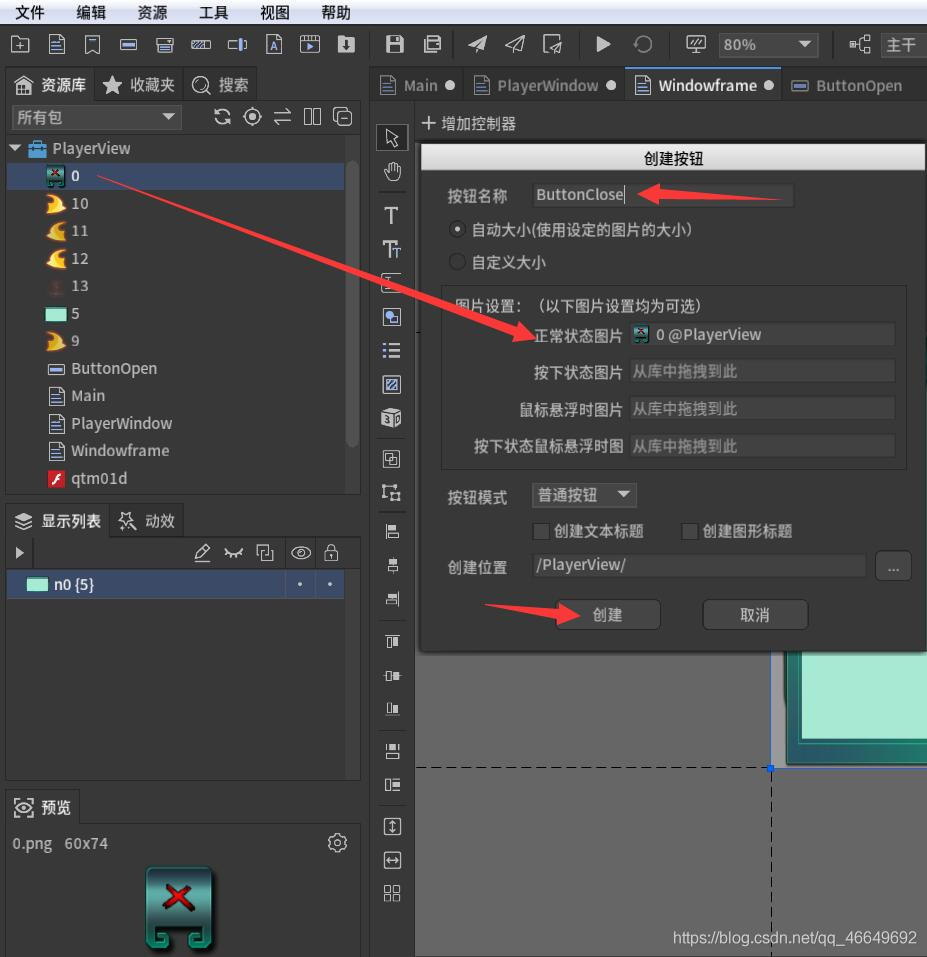
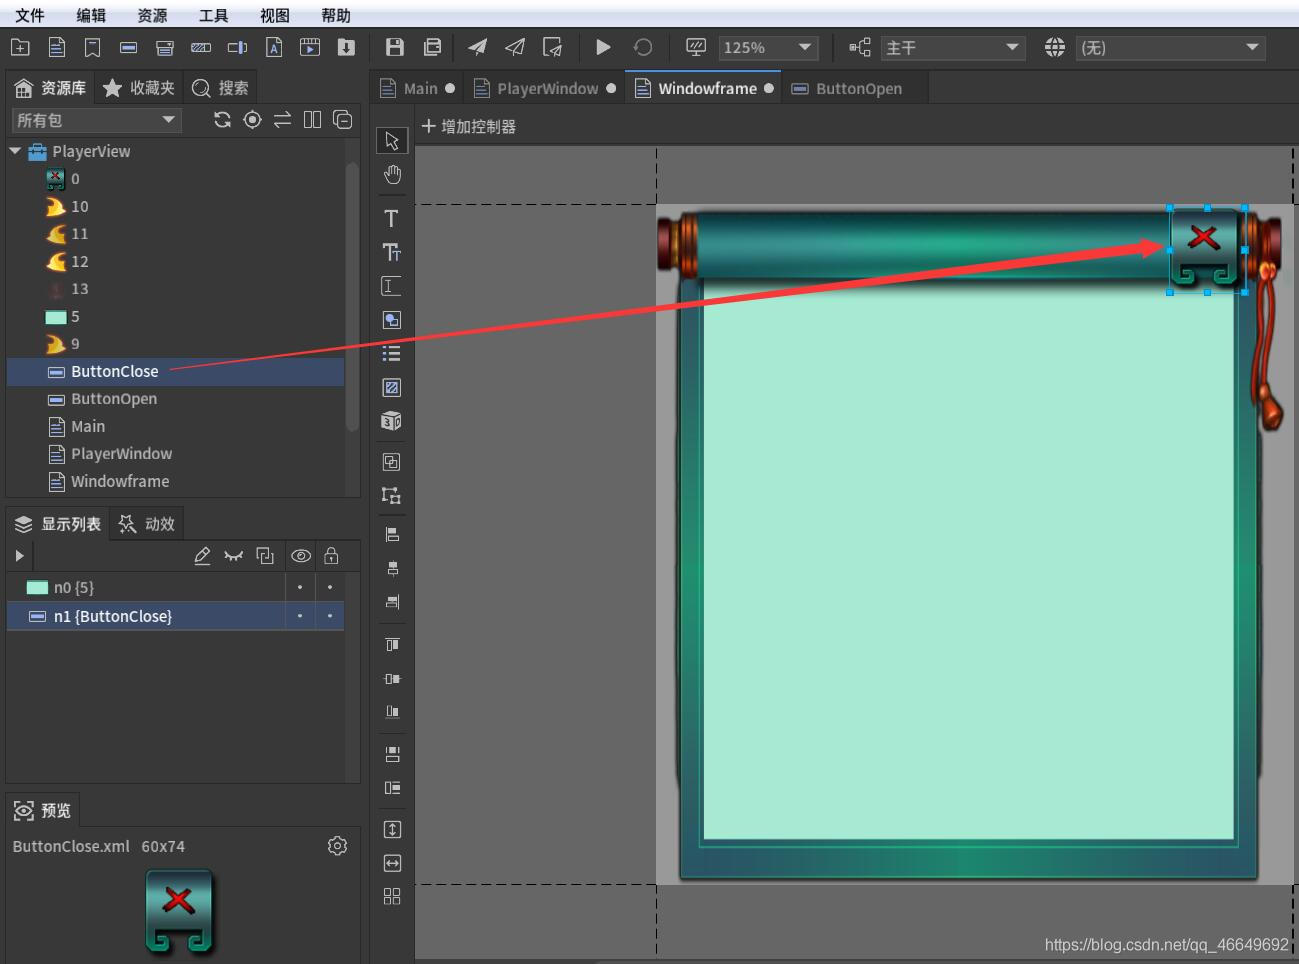
(3)新建关闭按钮
(4)制作框架拖拽区域
窗口框架还需要一个拖拽区域,也就是让玩家点击这个区域的时候,窗口整体会根据玩家鼠标移动。
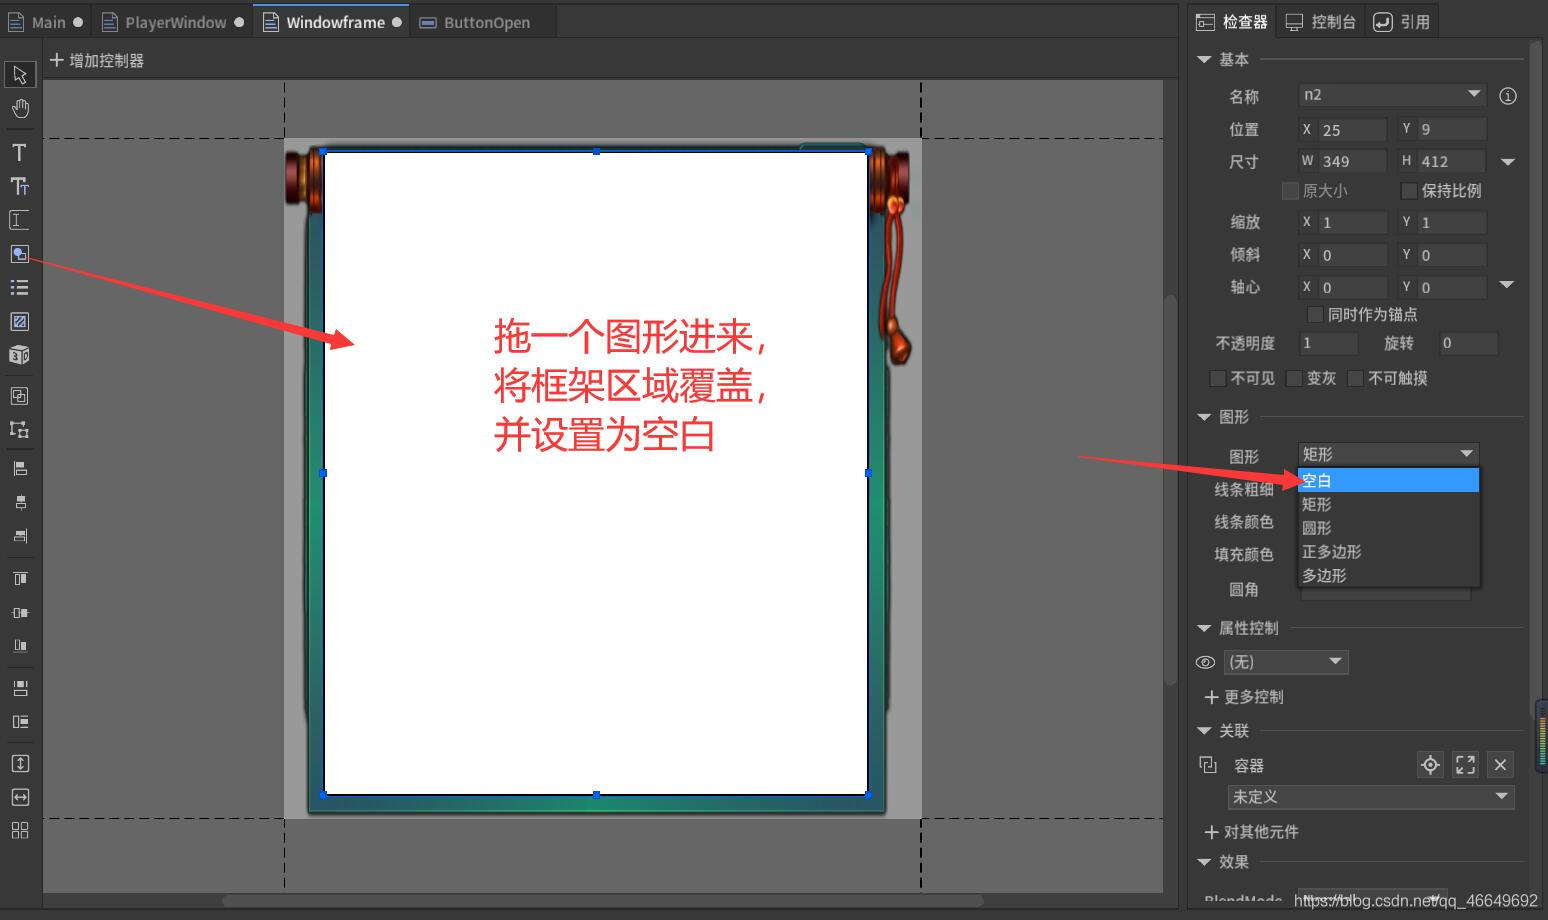
将图形重命名为dragArea,这是官方规定的名字!!!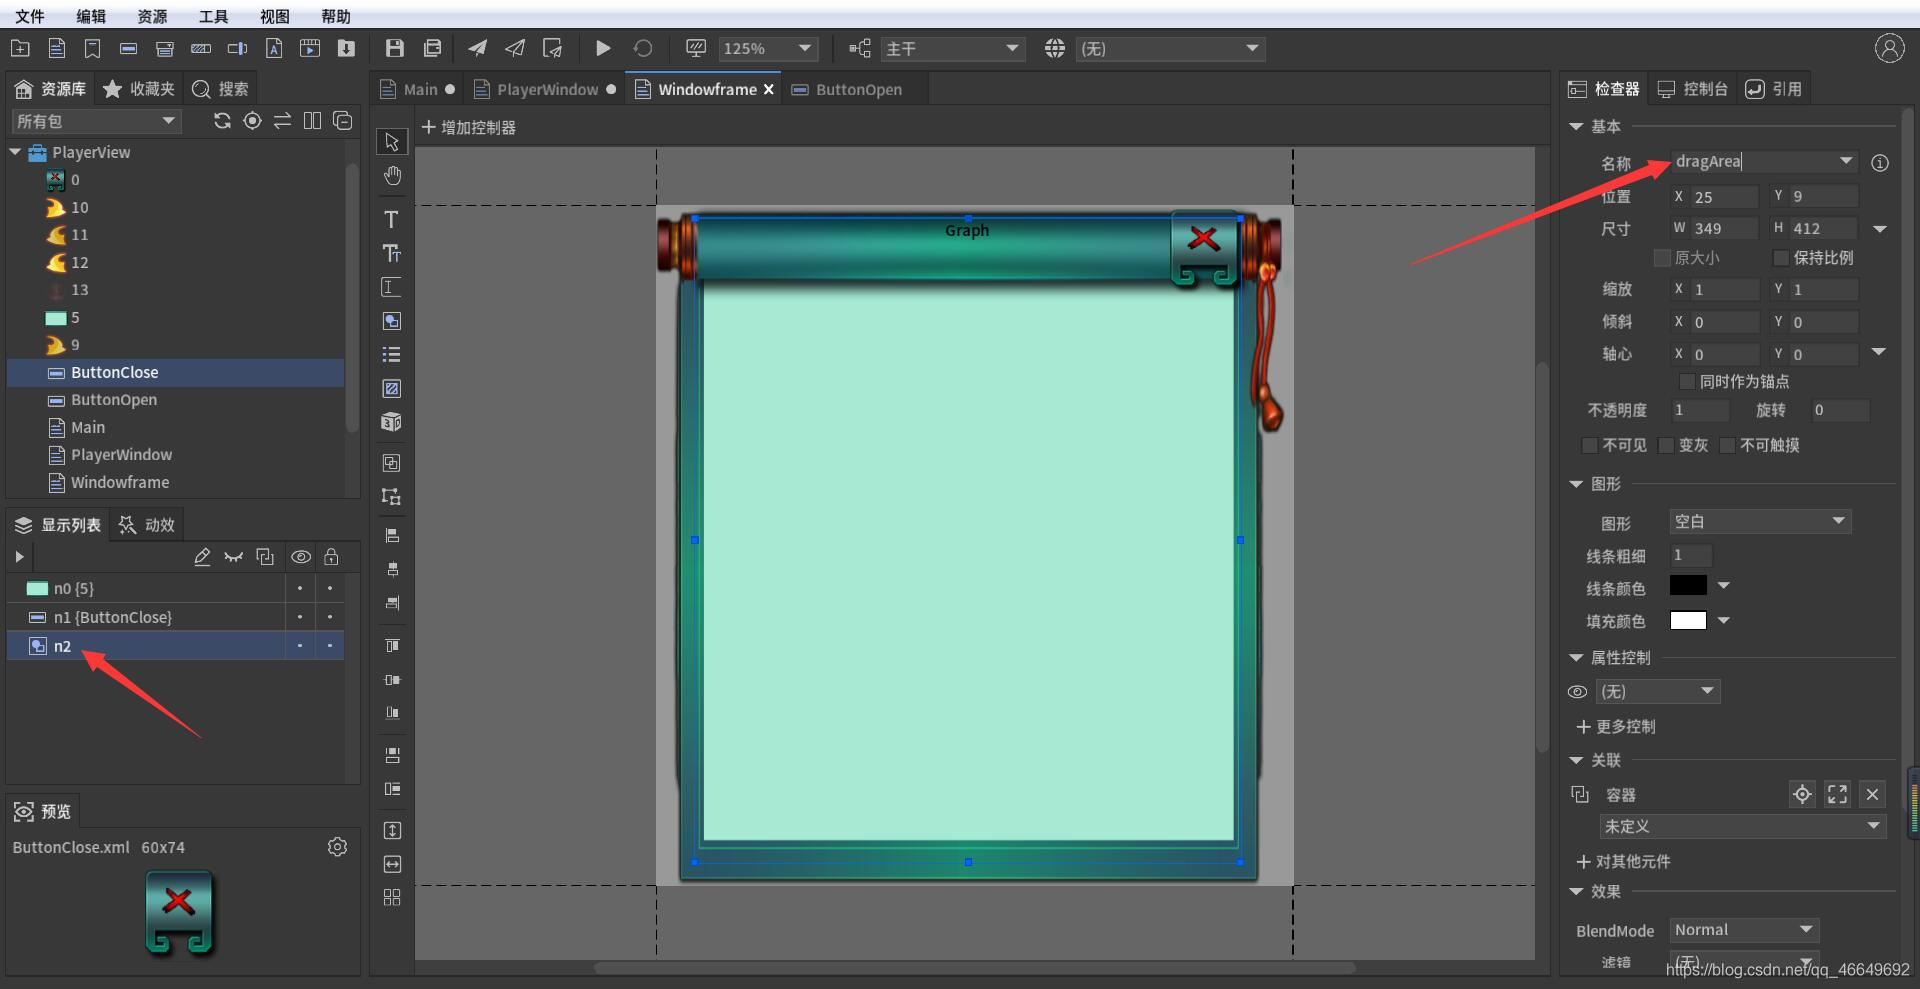
将关闭按钮也重新命名,方便后面的操作。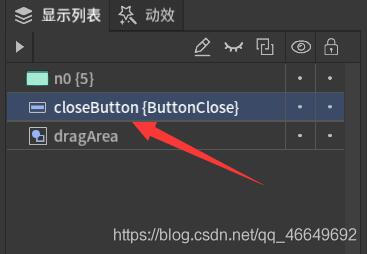
(5)添加背景图片,让它显得不那么单调
窗口框架制作完毕!
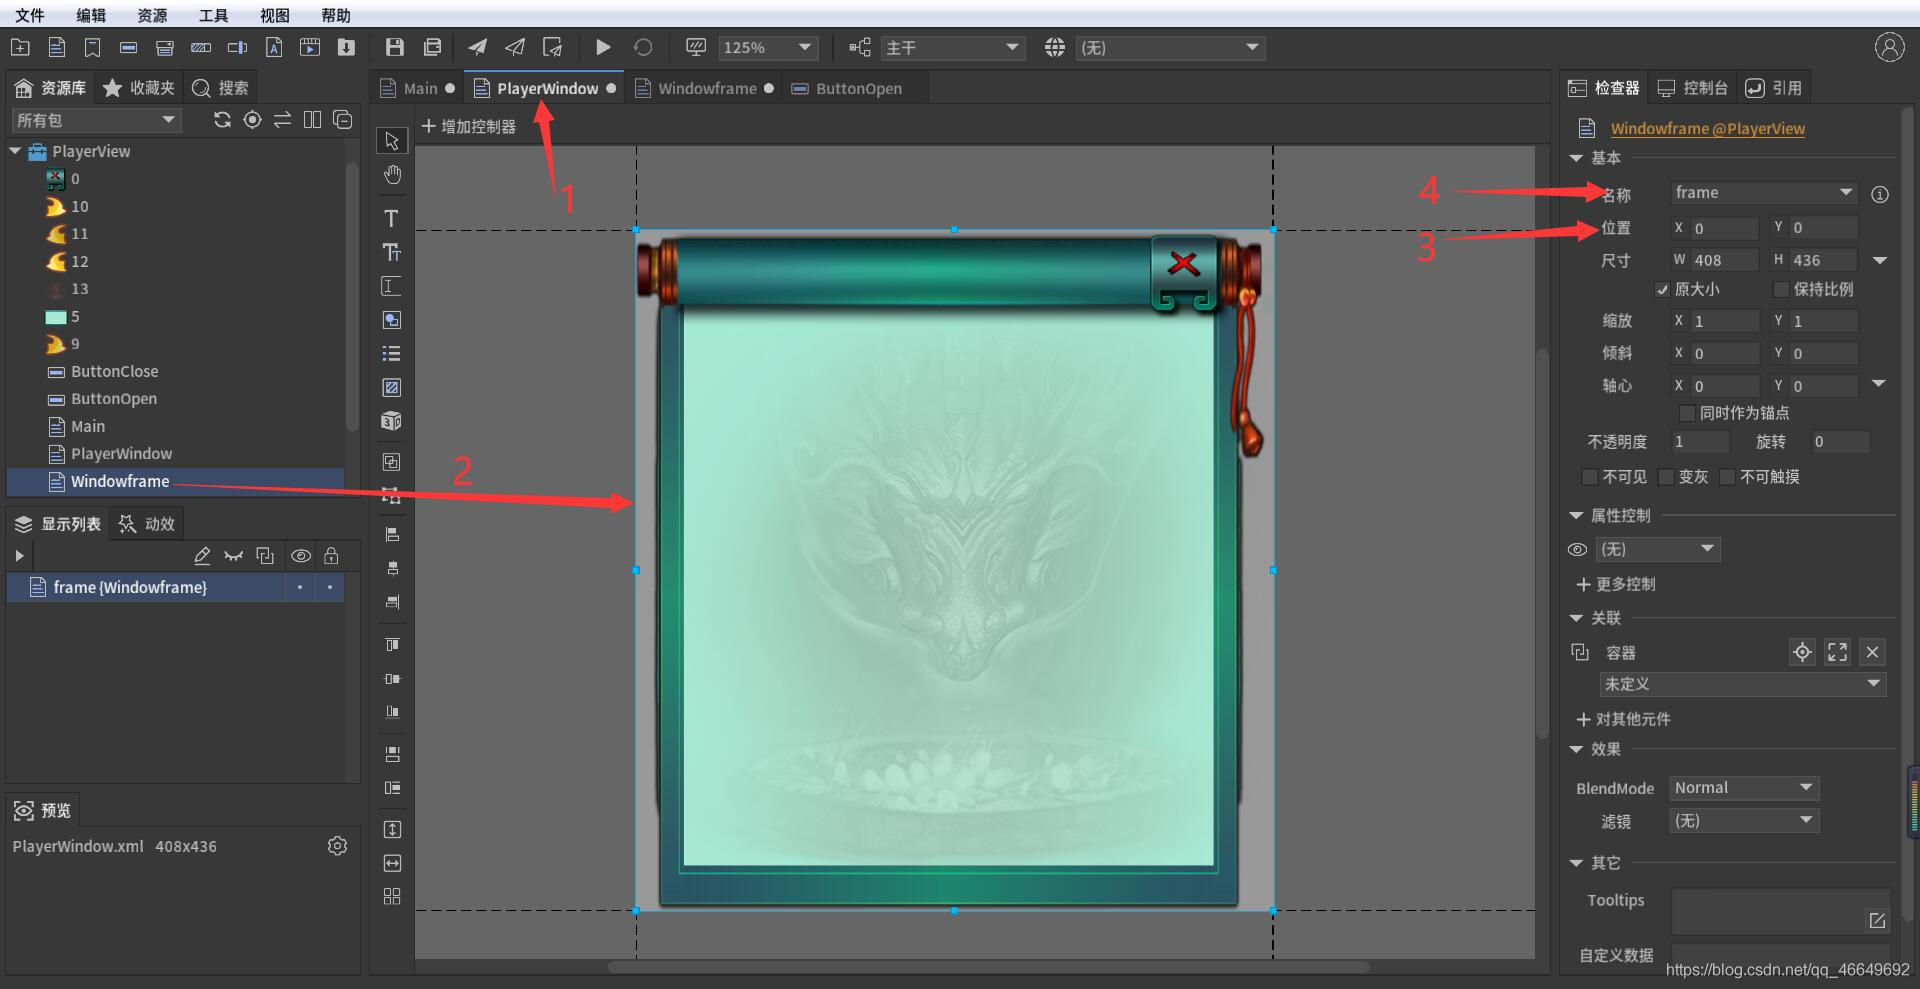
6、回到PlayerWindow,拖入窗口框架
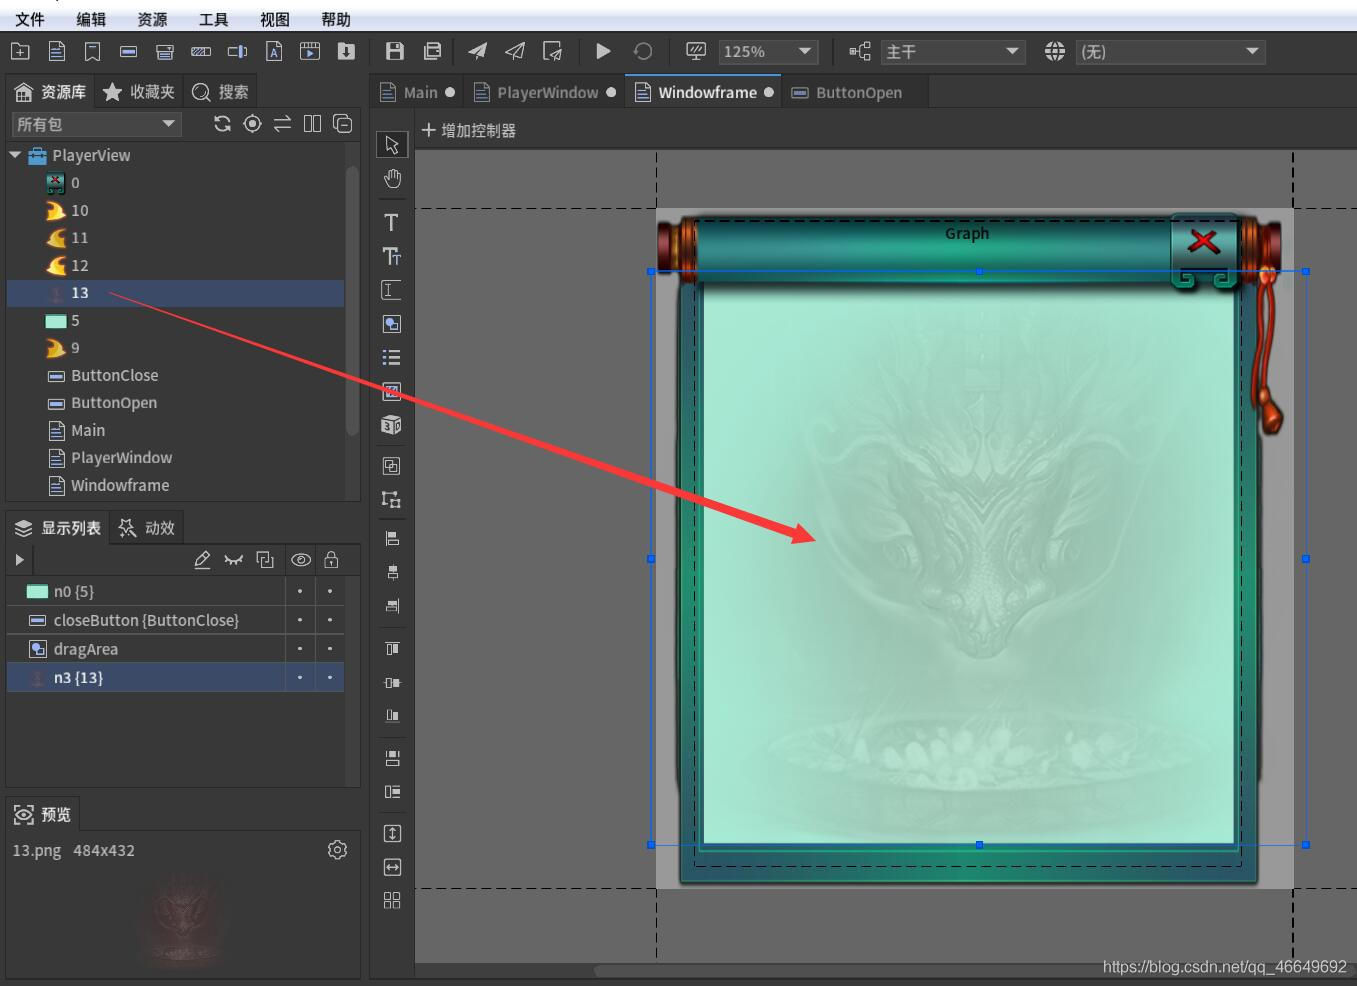
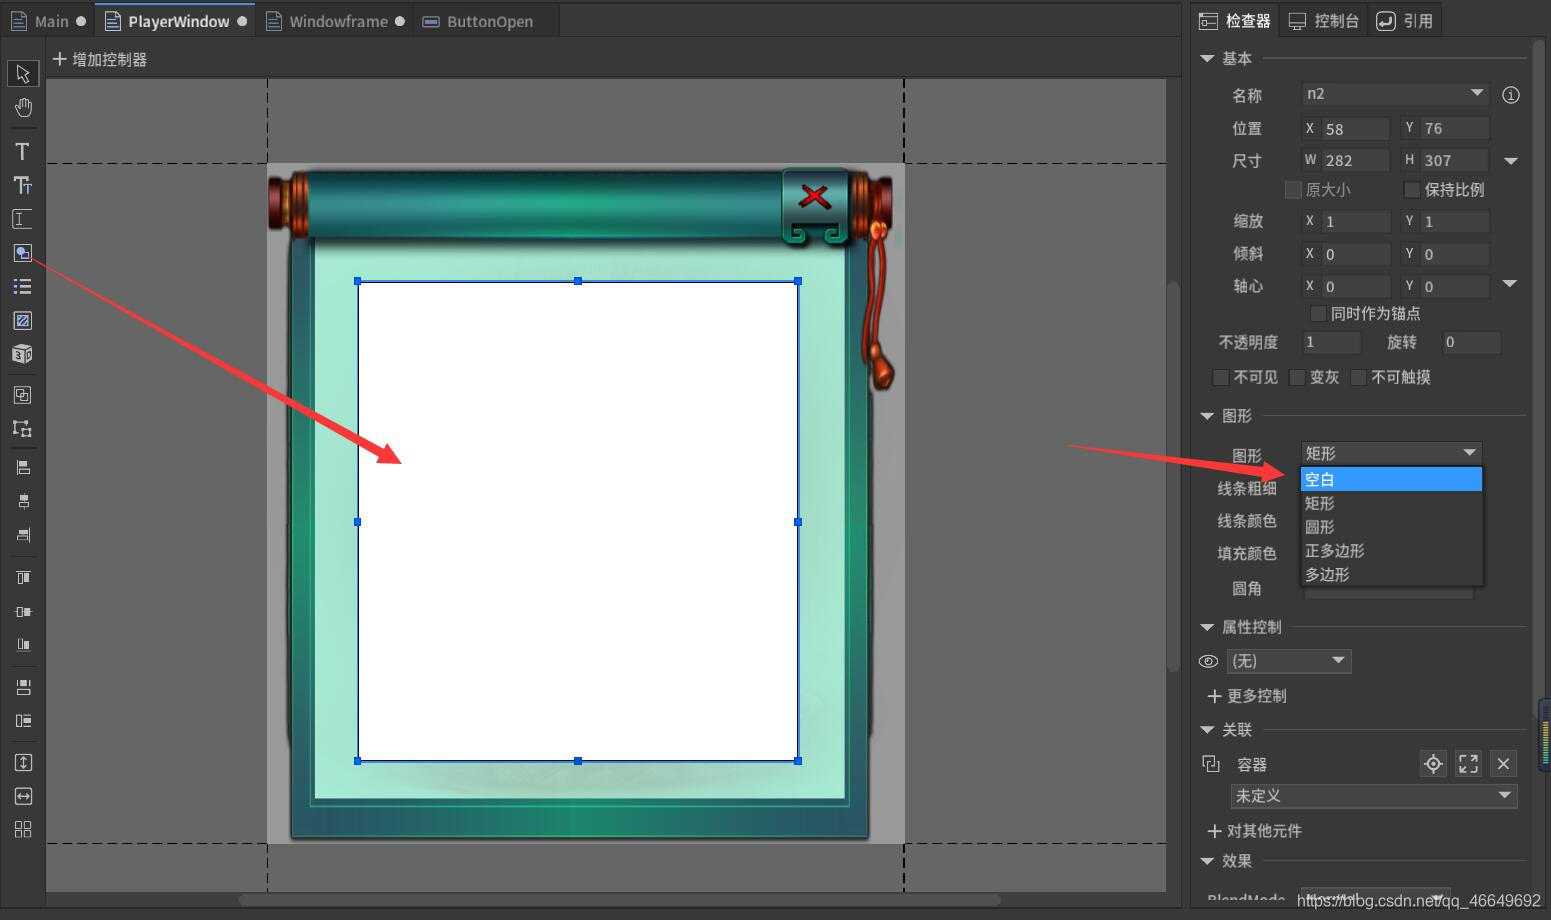
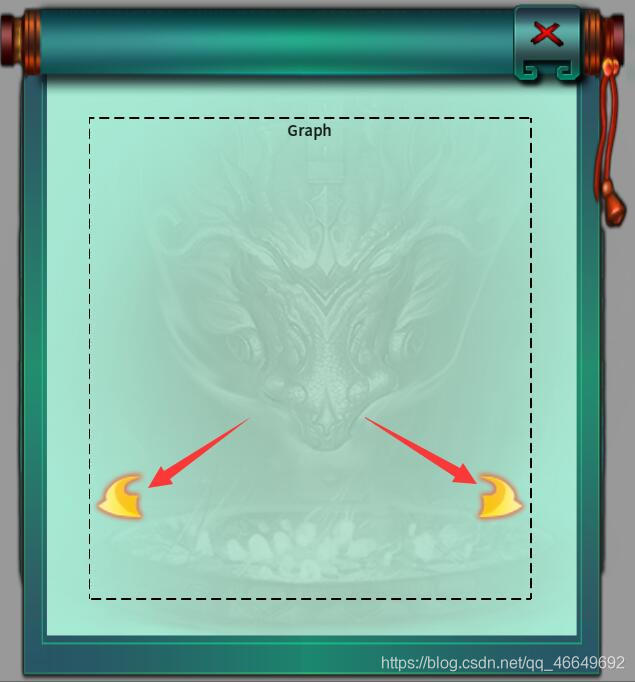
7、设置图形占位
玩家是一个3D物体,所以到时候要把3D物体照射在一张UI上,然后把这张UI显示在我们这个窗口上。那么我们到时候就需要用到Texture,把摄像机照射到的内容加载出来。所以就需要有一个占位,于是我们这里拖入一个图形。
8、新建按钮
人物加载出来之后,还需要有一个旋转等动态,于是需要添加按钮让人物扭一扭。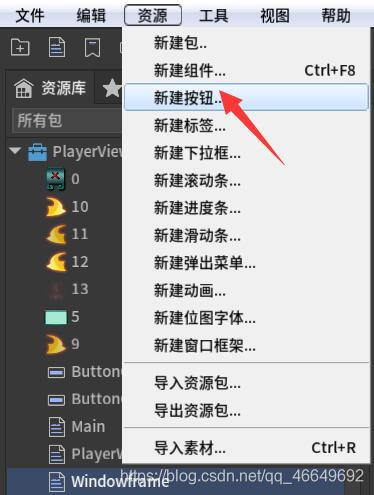
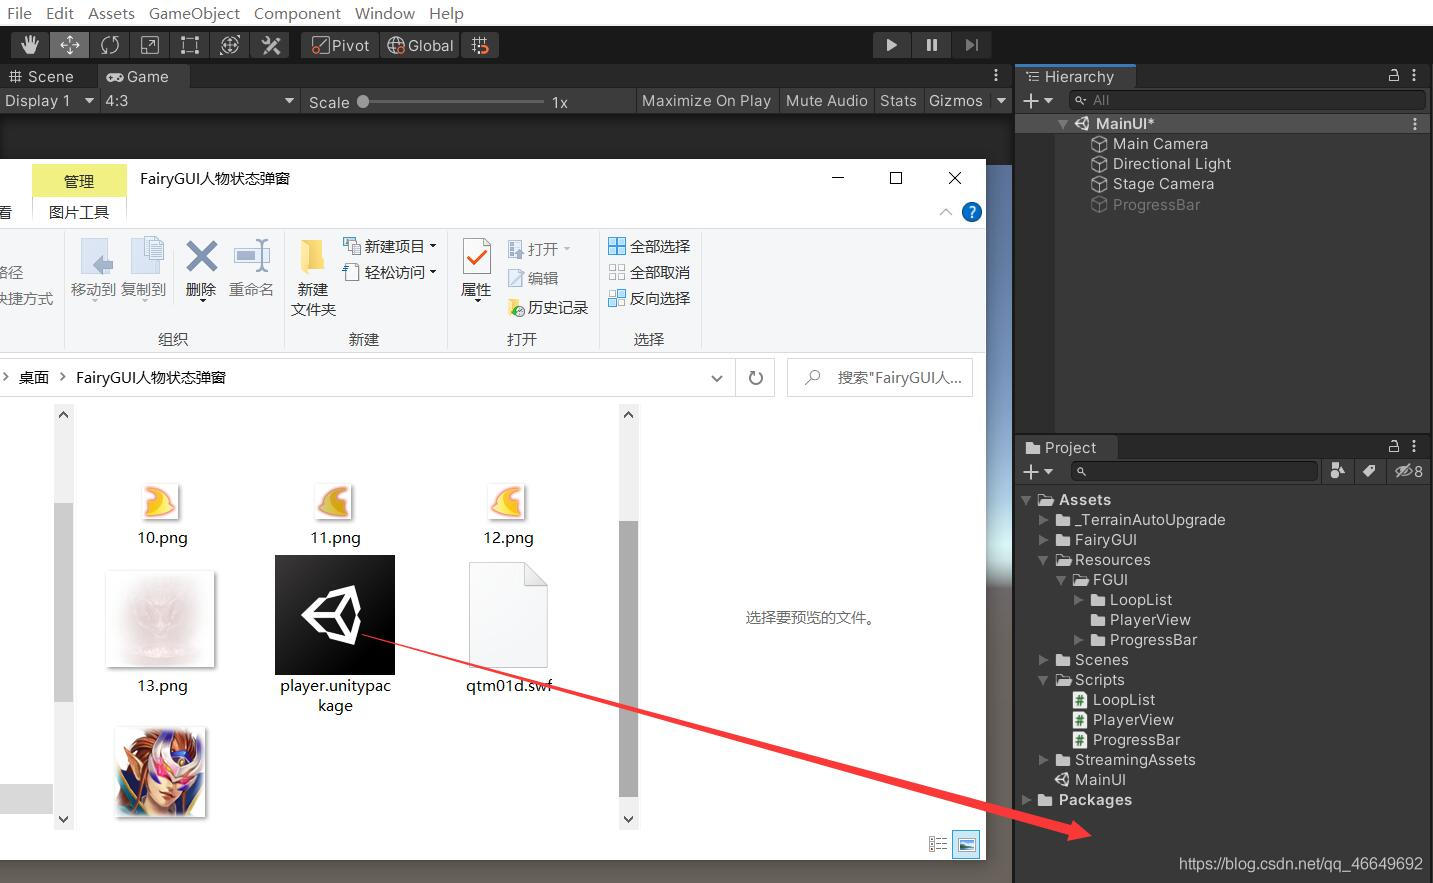
四、Unity中准备工作
1、首先导入player.unitypackage资源包
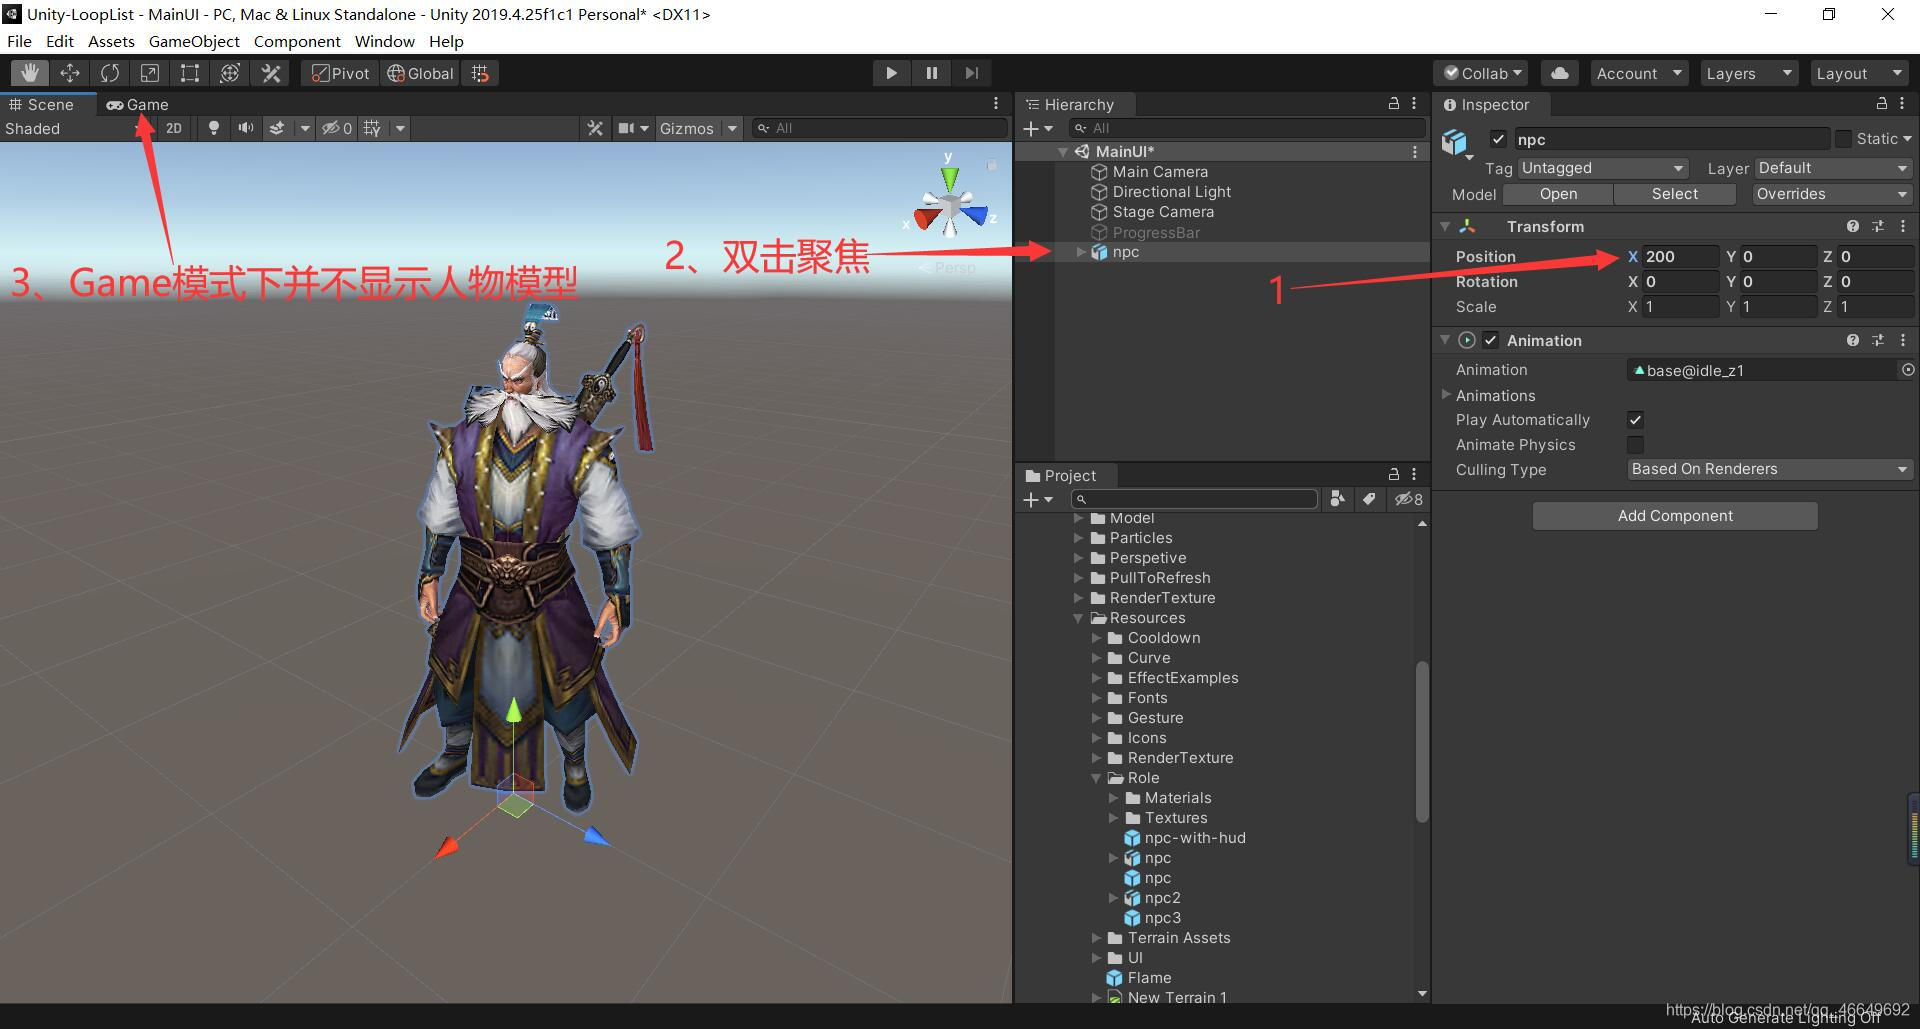
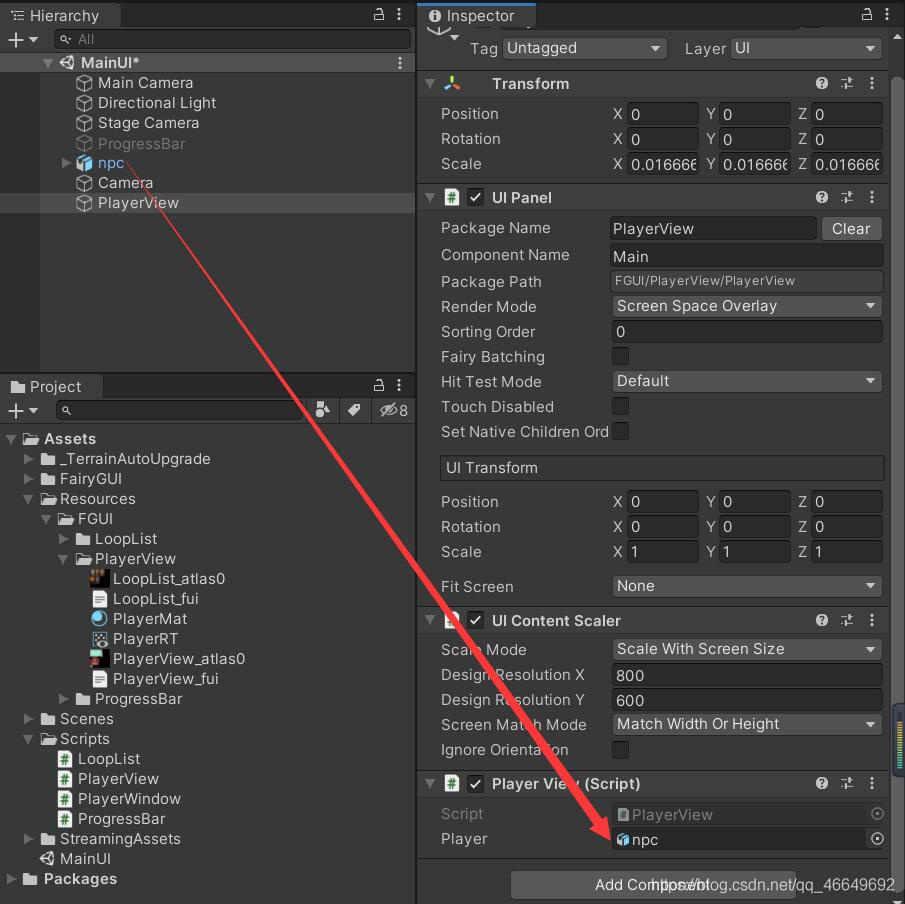
2、将npc拖入场景
我们不希望人物显示,也就是不希望人物与游戏场景界面有任何的关联。所以把他位置设置得远远地,我们只是想让他动态的做成一张渲染图片,并不需要这个模型。

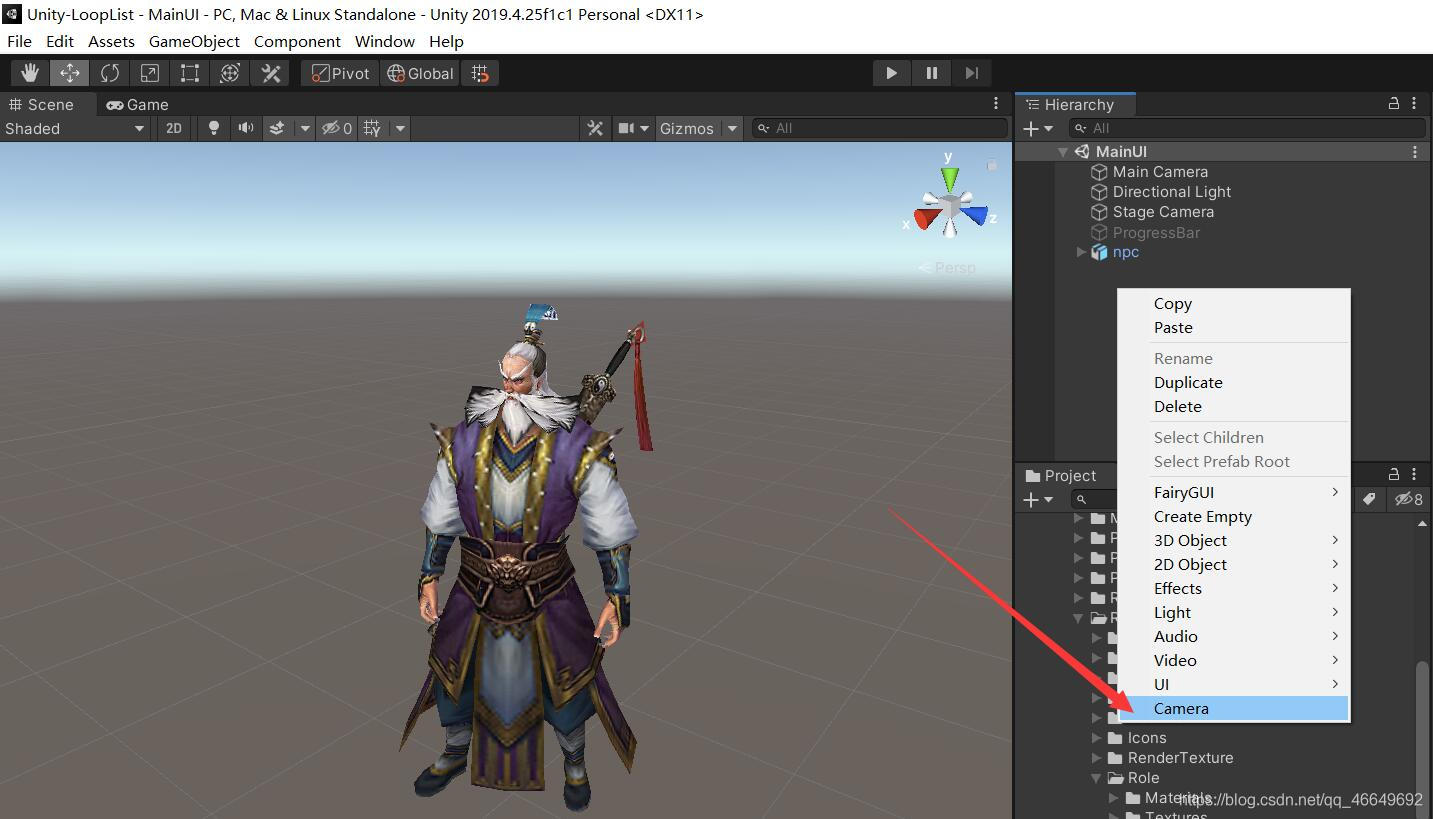
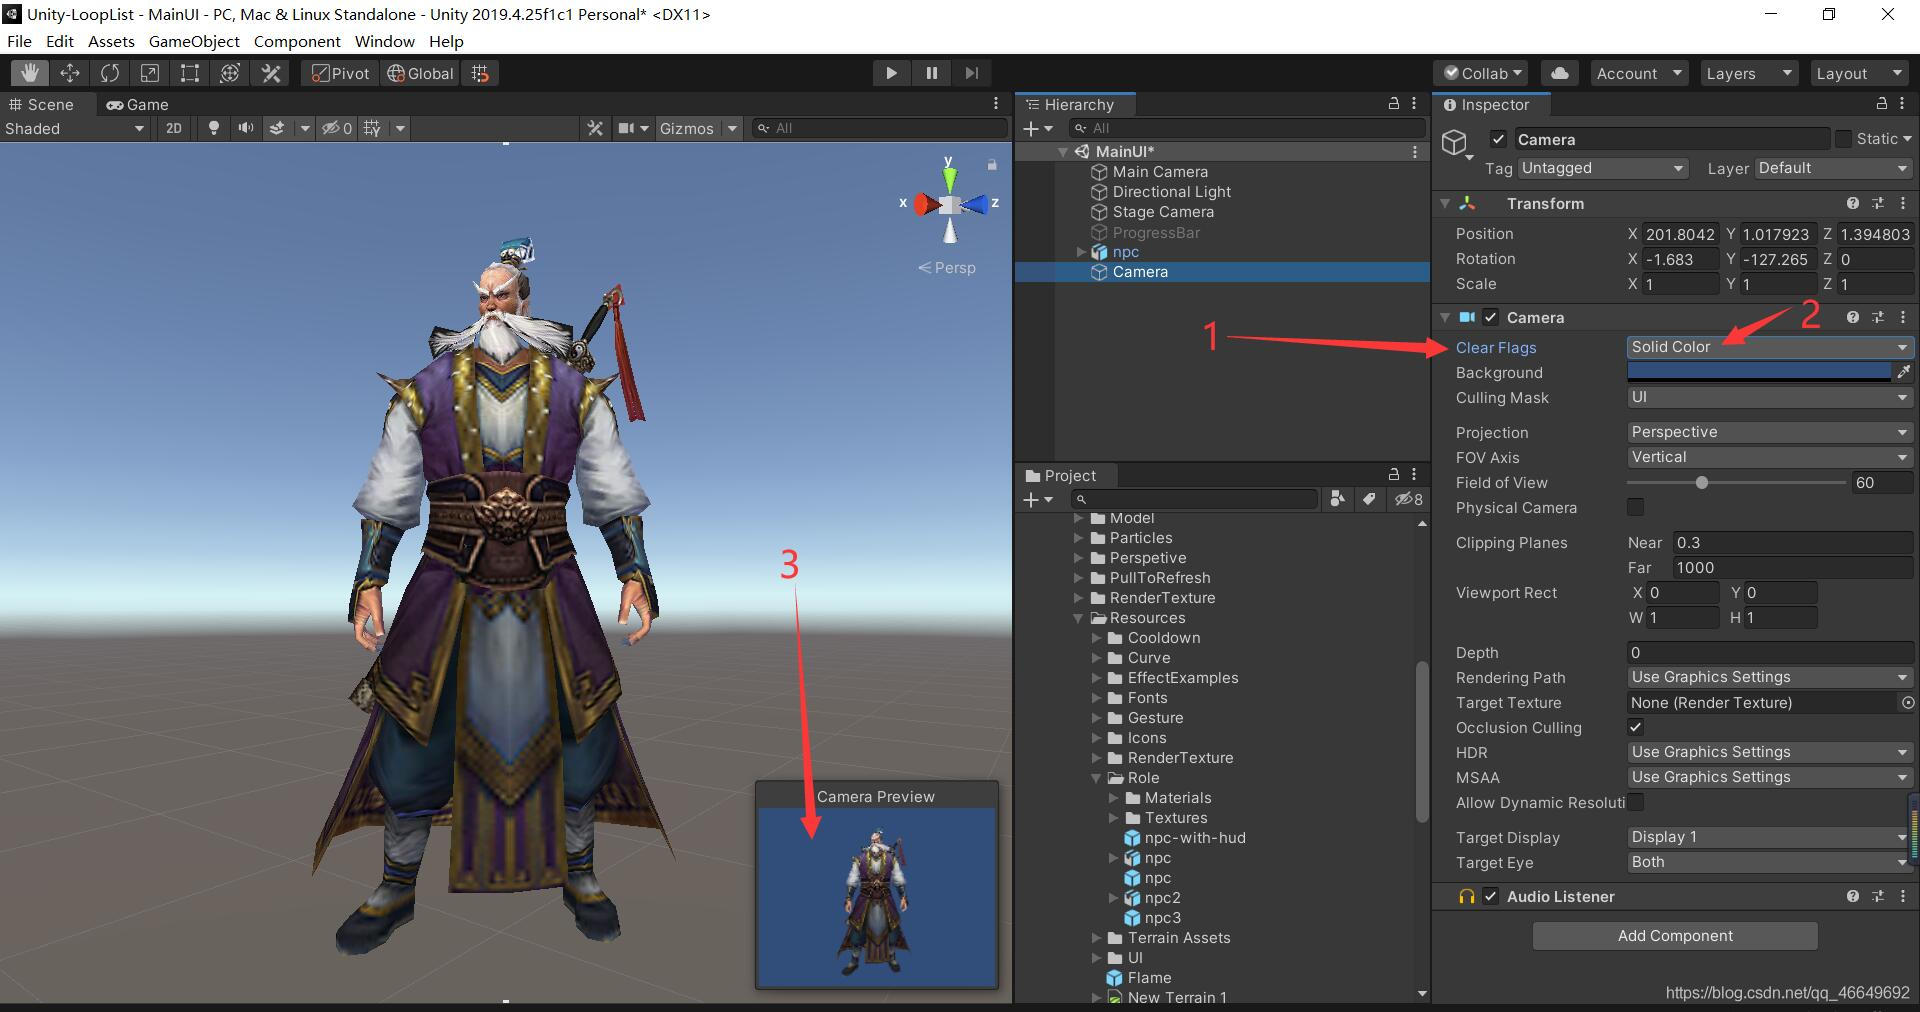
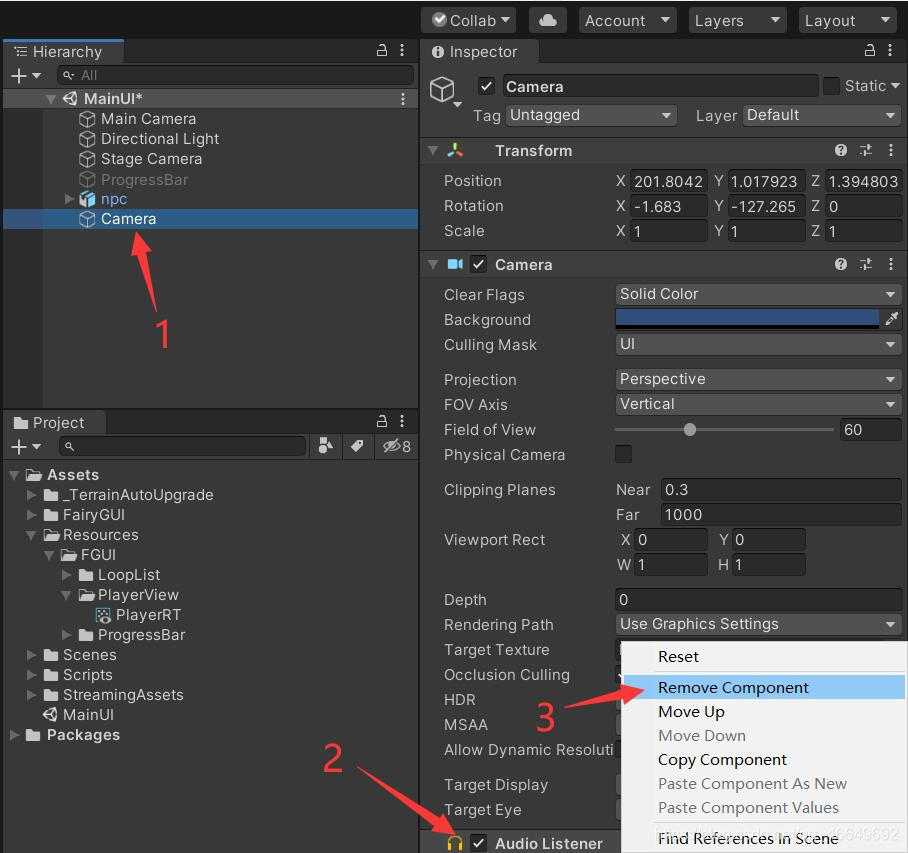
3、新建摄像机渲染人物
选中Camera聚焦一下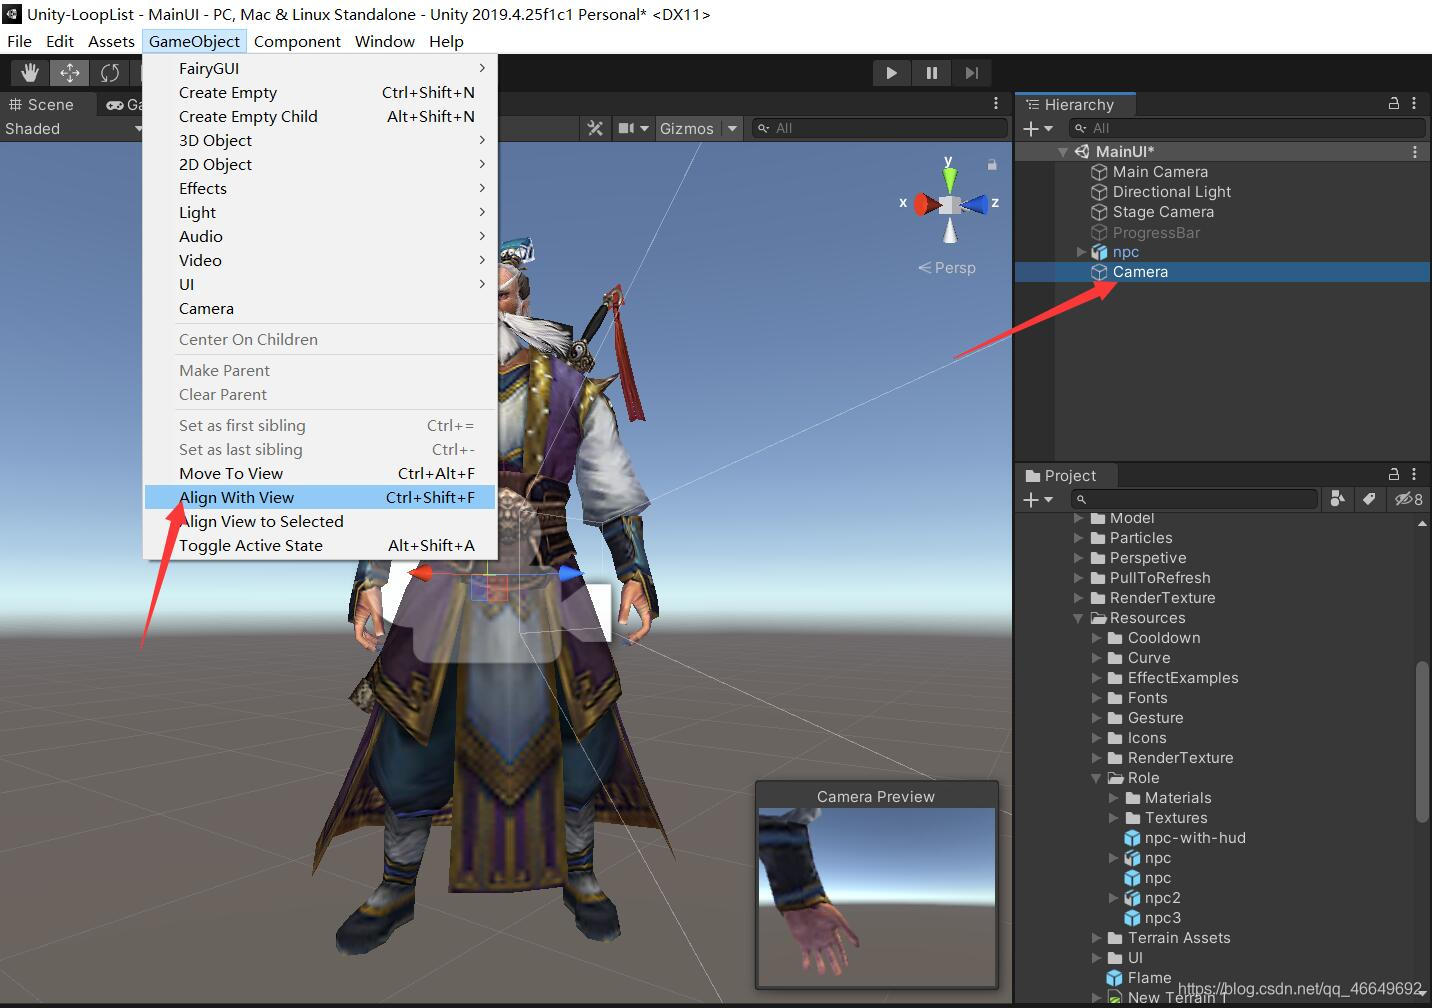
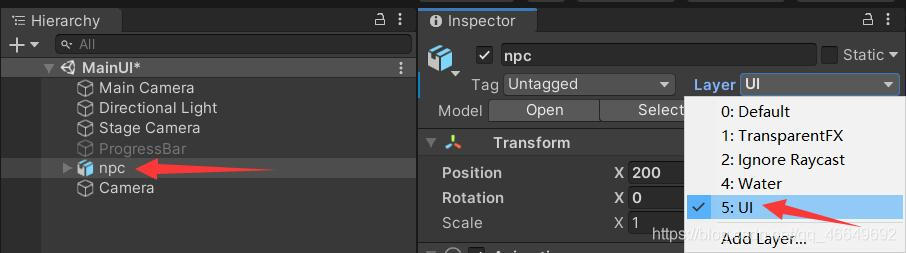
由于只渲染游戏物体的一层,所以把他当做UI层去渲染,因此需要添加一个标签。
4、创建Render Texture
重命名为PlayerRT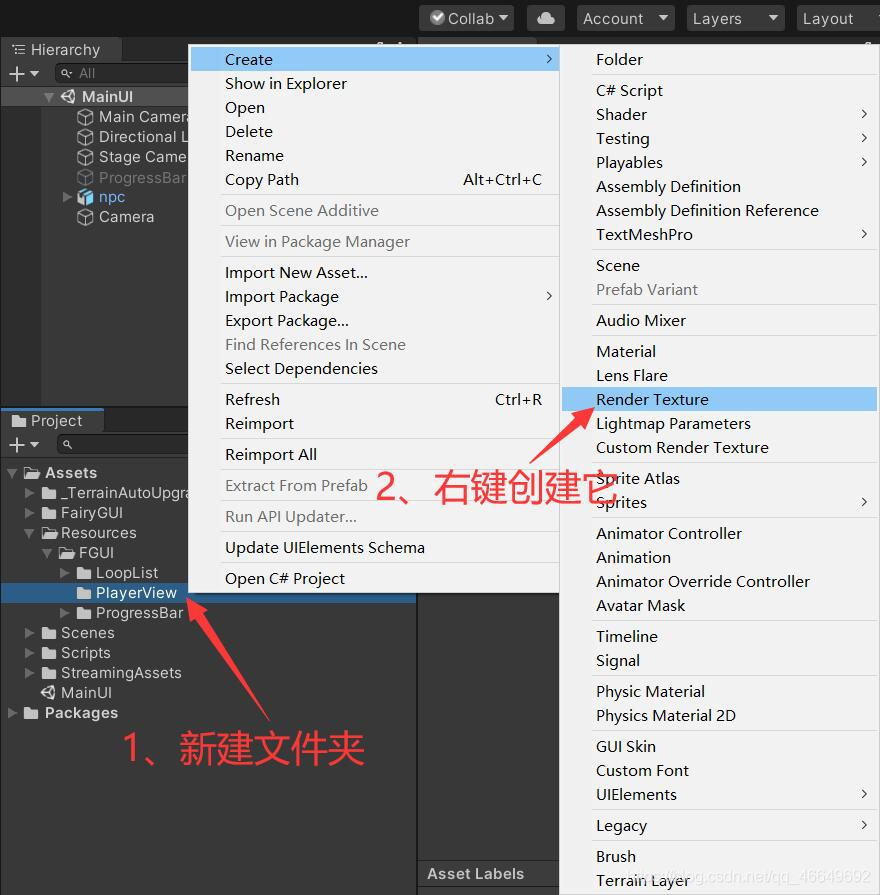
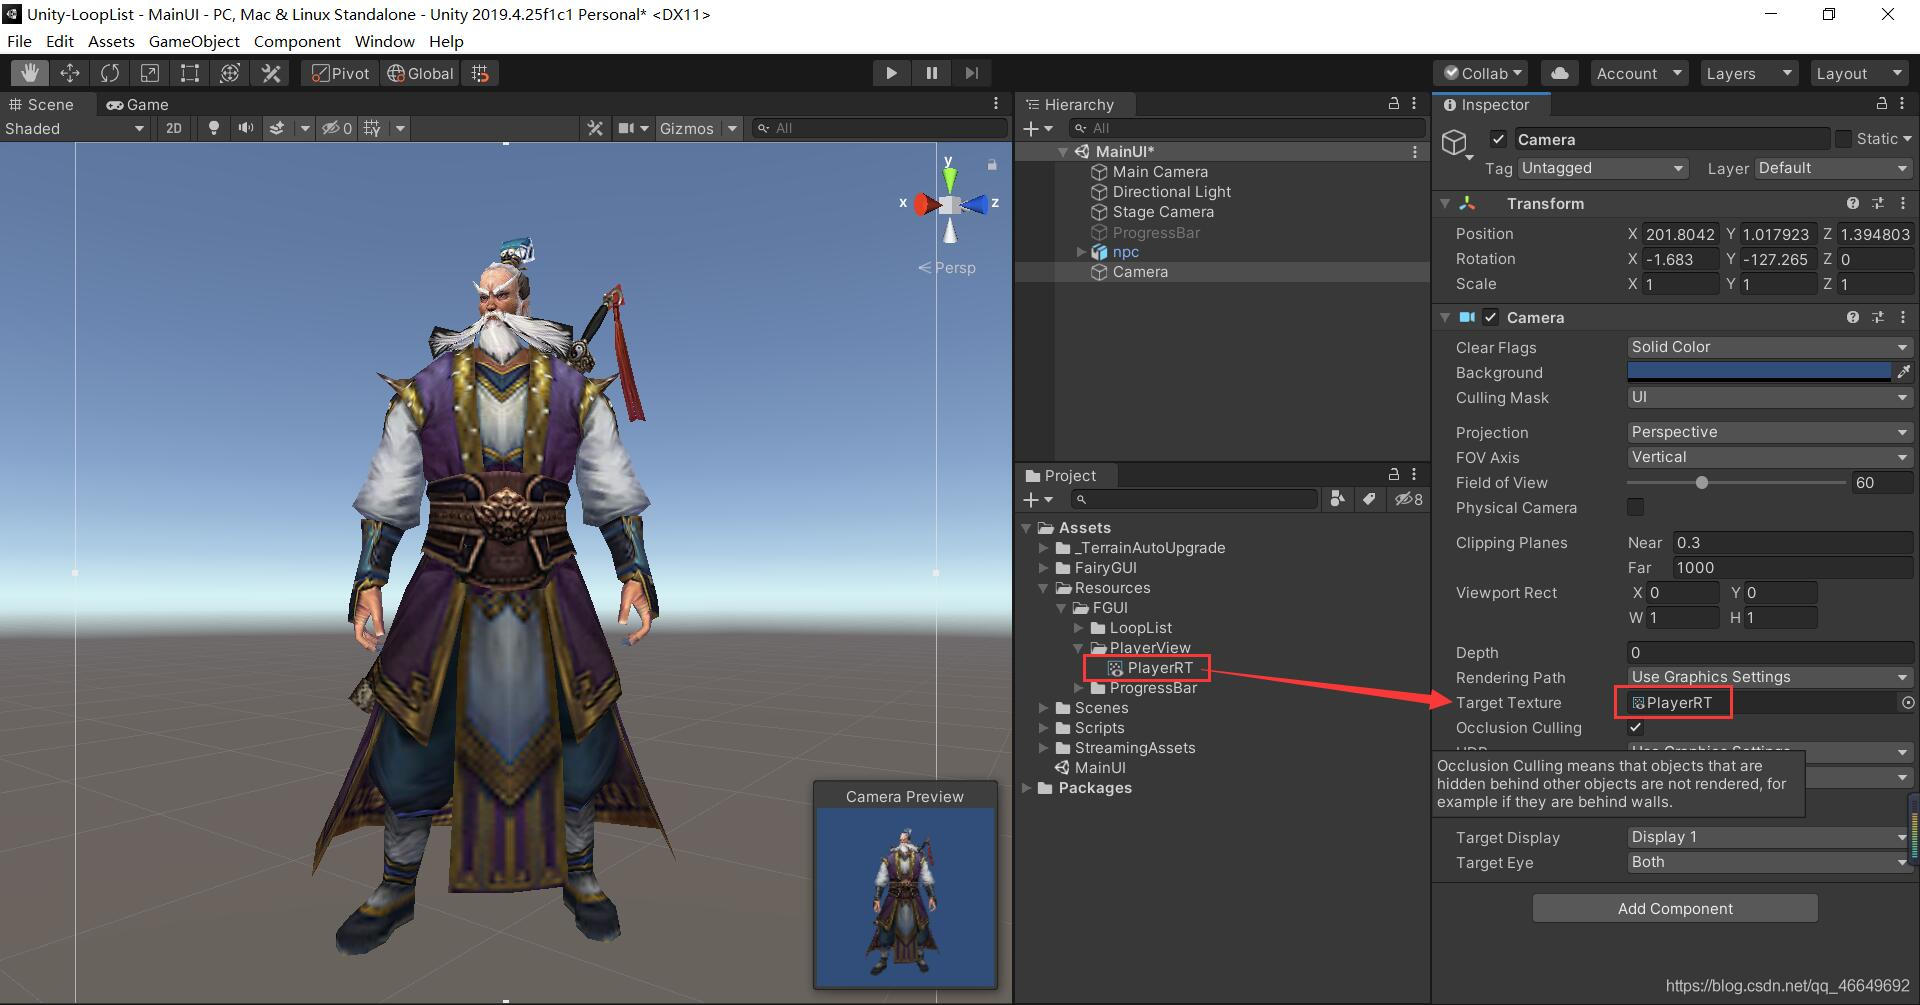
5、创建材质球
(1)重命名为PlayerMat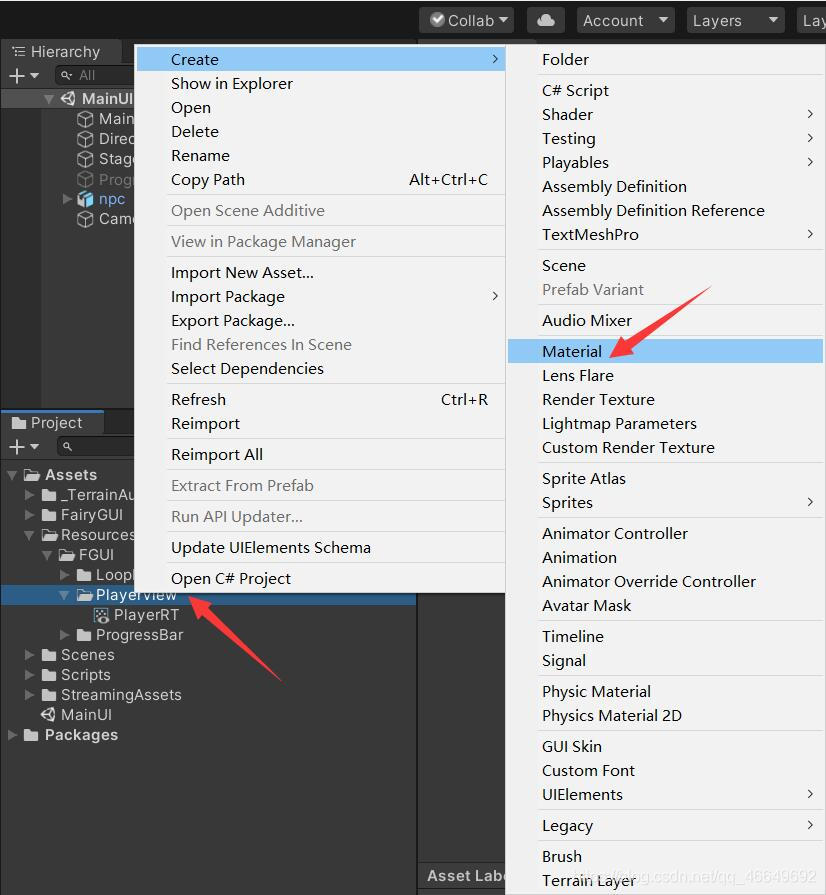
(2)把材质赋值给Material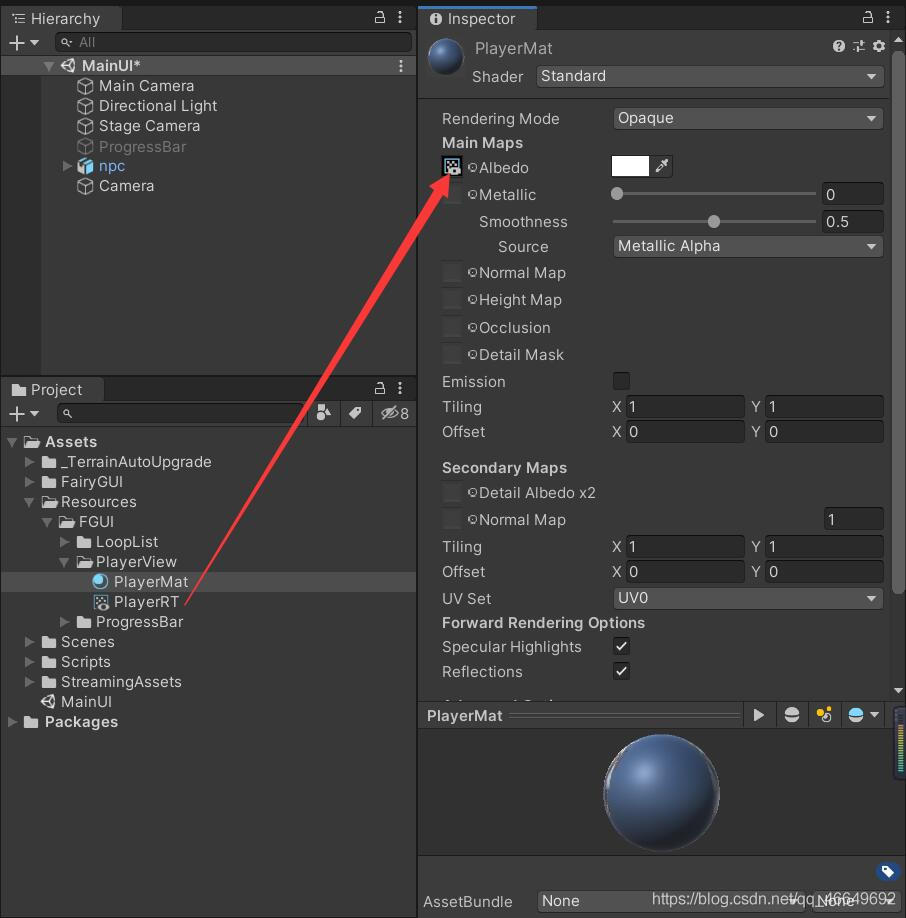
(3)设置一下它的Shader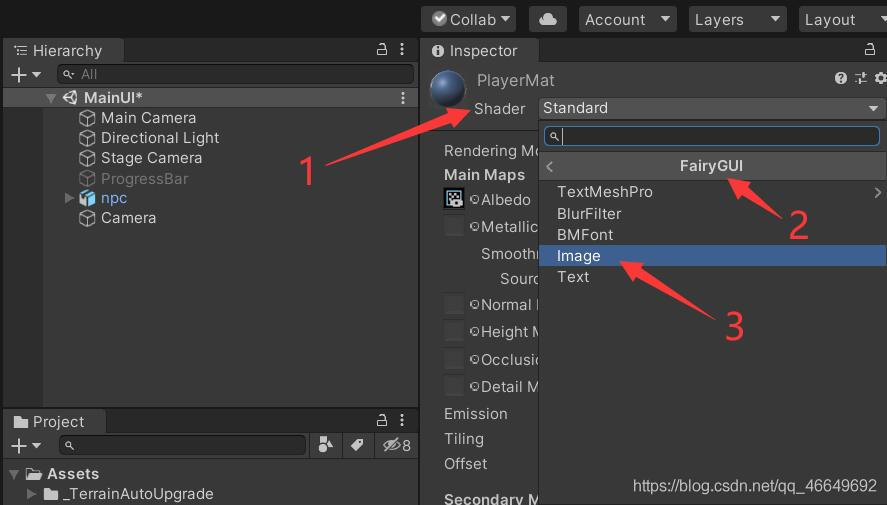
后期只需要加载PlayerMat和PlayerRT就可以渲染了!到这儿,所有的准备工作做得差不多了,之后就把刚刚在FairyGUI中做的资源打一下包。
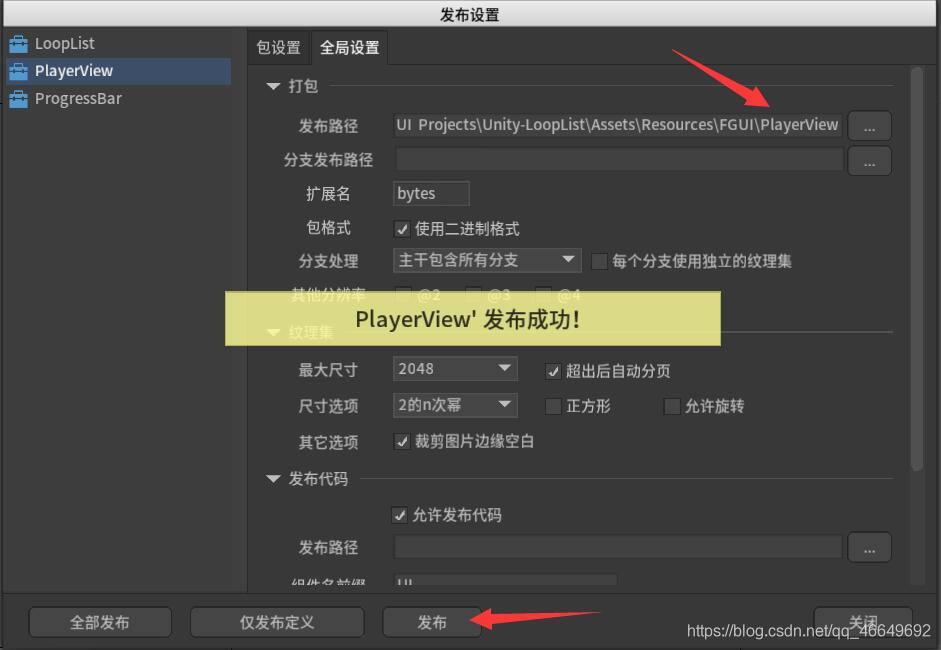
五、打包发布
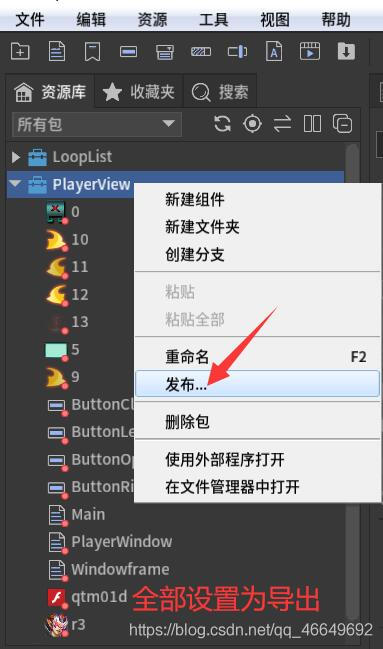
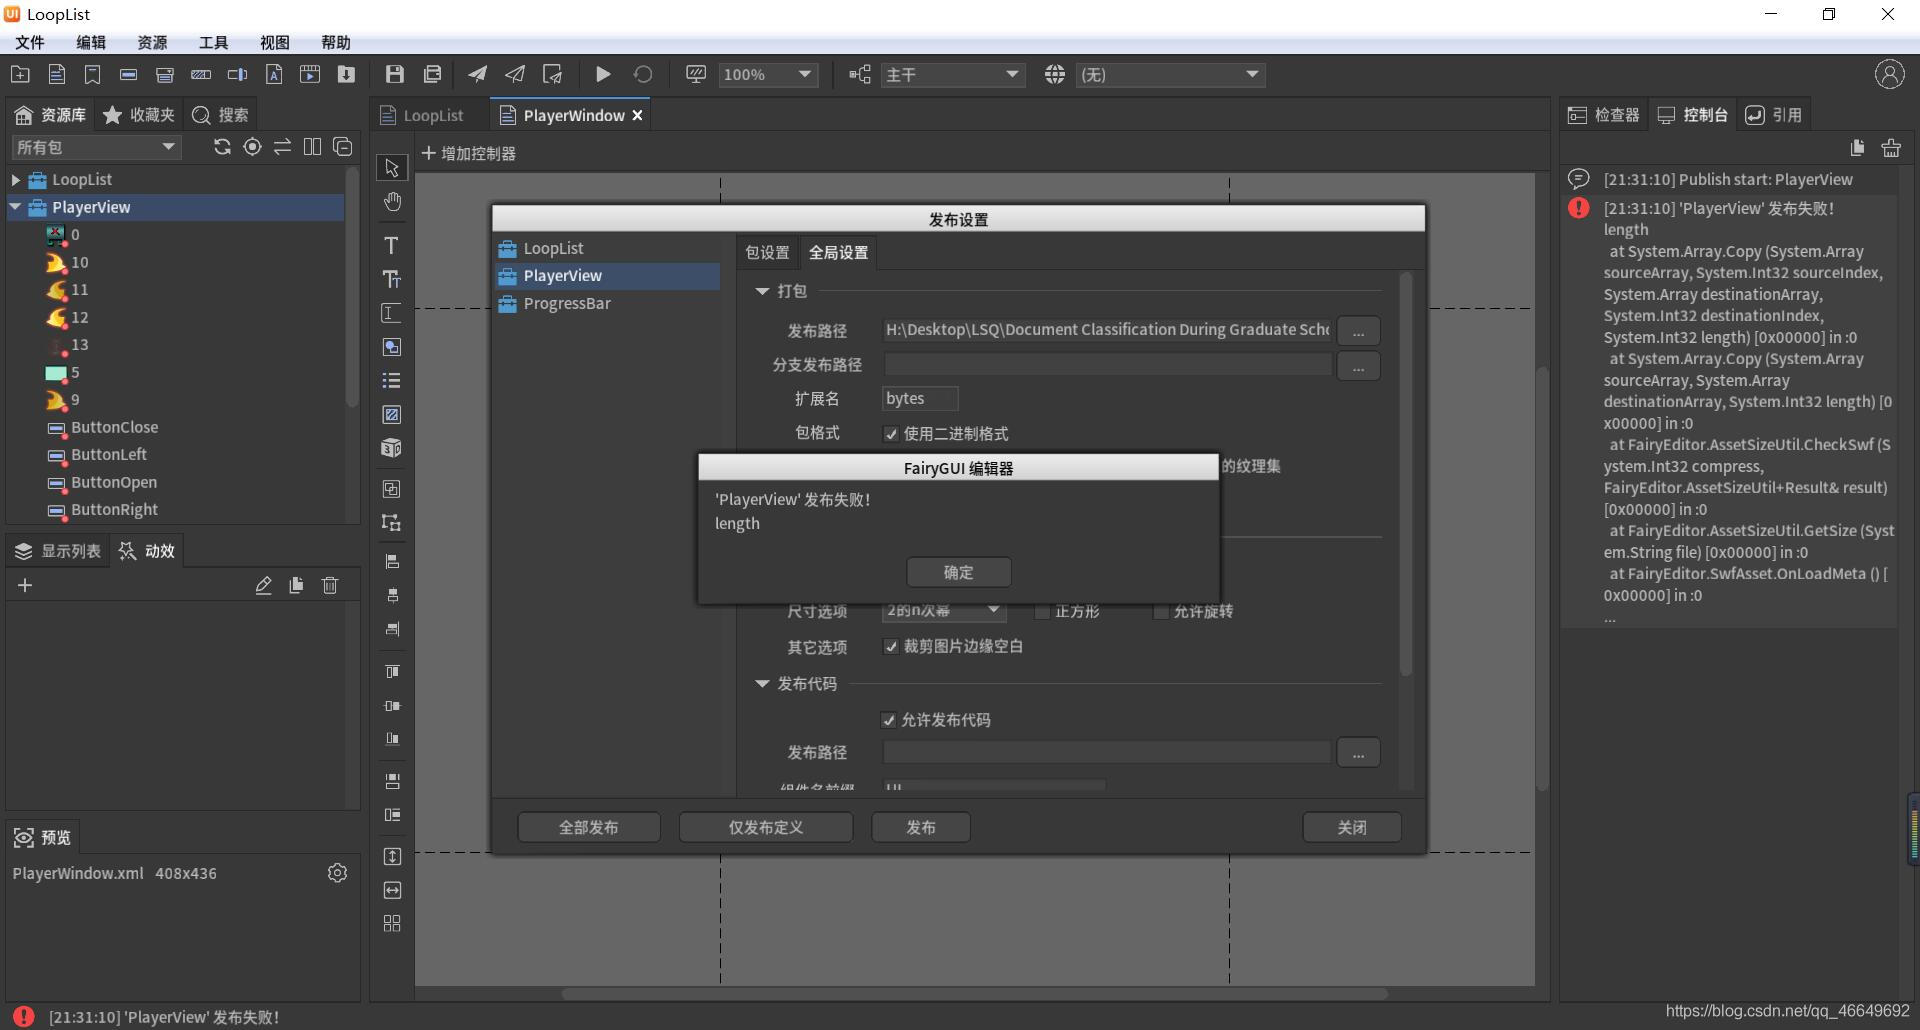
*****FairyGUI发布失败诡异现象*****
这时提示发布失败,如上图所示。究竟是什么原因呢?这个问题困扰了许久,那我是怎么解决的呢?我又重新创建了一个新的项目,当导入qtm01d.swf资源的时候,发现了问题的所在。原来是qtm01d.swf碍事了。于是我们可以采取两种做法:一、直接去掉这个点击音效;二、自己再另外寻找一个点击音效资源,不用素材给定的,有毒,哈哈。本人较懒,直接删除了事。
再次重新发布,问题得到解决。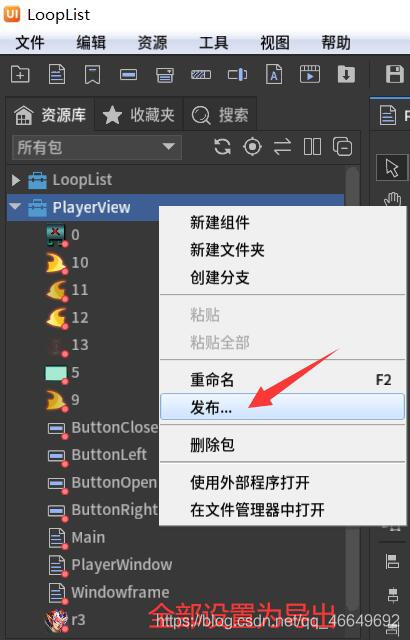
六、Unity中显示
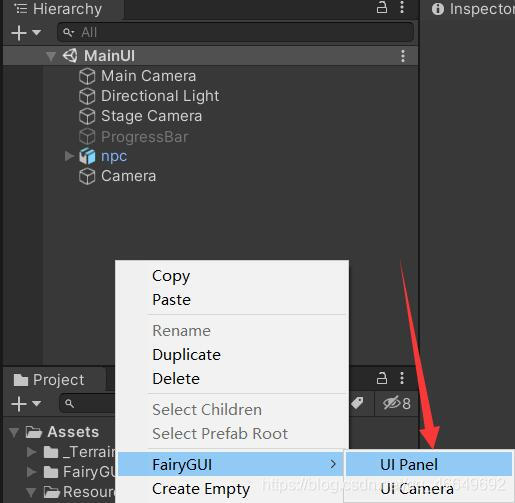
UI Panel重命名为PlayerView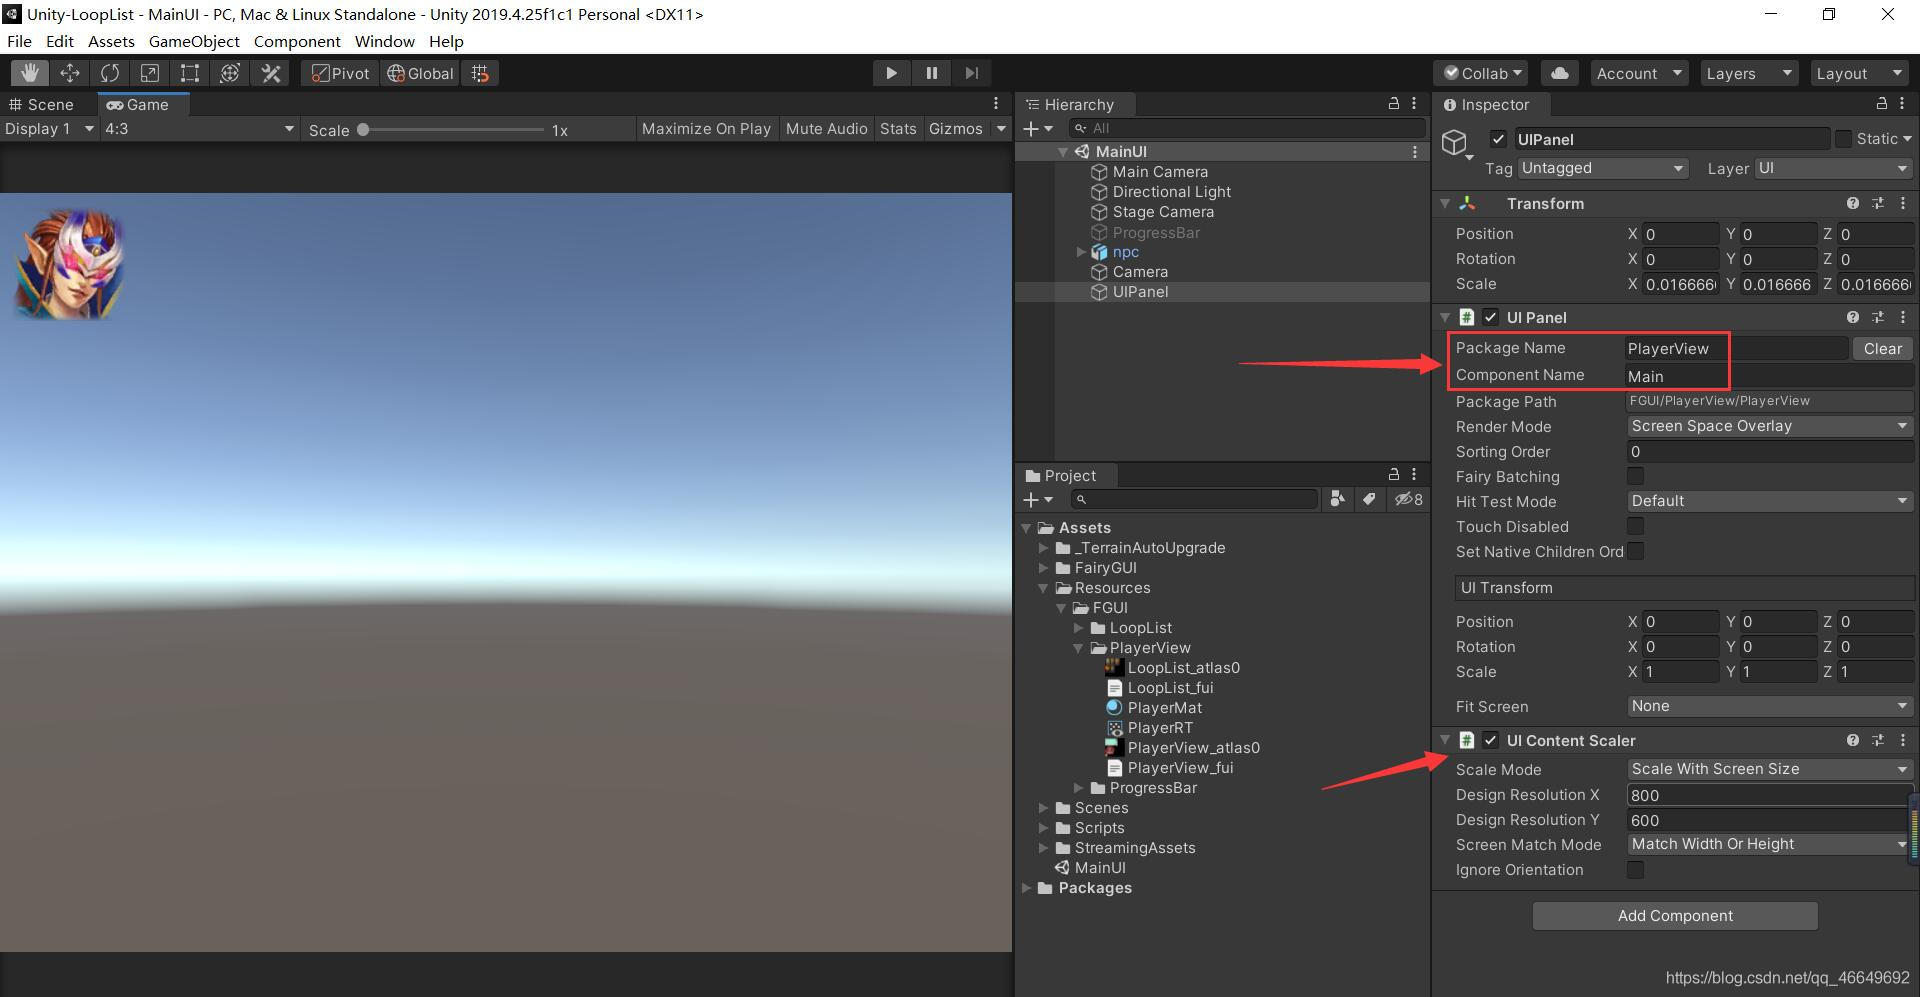
七、编码控制
1、新建两个脚本
第一个是控制显示的主脚本PlayerView;
第二个是弹出窗脚本PlayerWindow。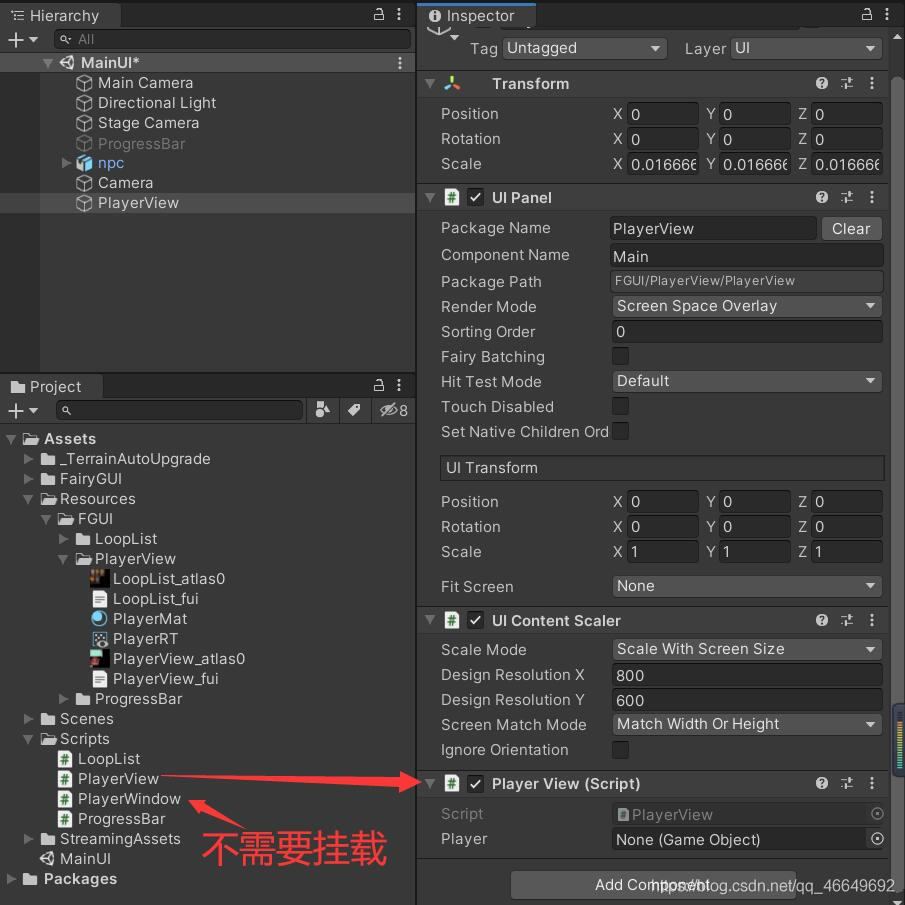
2、编辑脚本
using System.Collections;
using System.Collections.Generic;
using UnityEngine;
using FairyGUI;

public class PlayerView : MonoBehaviour
{

    private GComponent mainUI;
    private PlayerWindow playerWindow;
    public GameObject player;
    void Start()
    {

        mainUI = GetComponent<UIPanel>().ui;
        playerWindow = new PlayerWindow(player);
        mainUI.GetChild("n0").onClick.Add(() => {
     playerWindow.Show(); });
    }

    // Update is called once per frame
    void Update()
    {


    }
}
using System.Collections;
using System.Collections.Generic;
using UnityEngine;
using FairyGUI;

public class PlayerWindow : Window
{

    private GameObject player;
    public PlayerWindow(GameObject player)
    {

        this.player = player;
    }

    protected override void OnInit()
    {

        this.contentPane = UIPackage.CreateObject("PlayerView", "PlayerWindow").asCom;
        GGraph holder = contentPane.GetChild("n2").asGraph;
        RenderTexture renderTexture = Resources.Load<RenderTexture>("FGUI/PlayerView/PlayerRT");
        Material mat = Resources.Load<Material>("FGUI/PlayerView/PlayerMat");
        Image img = new Image();
        img.texture = new NTexture(renderTexture);
        img.material = mat;
        holder.SetNativeObject(img);
    }
}
3、运行效果
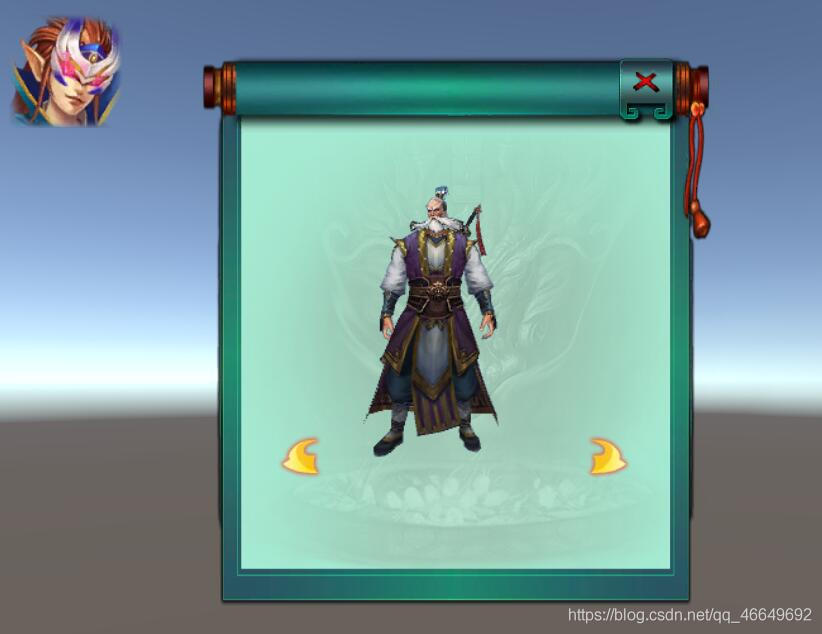
但是发现,点击右上角的×是没有响应的,说明还有一些问题。
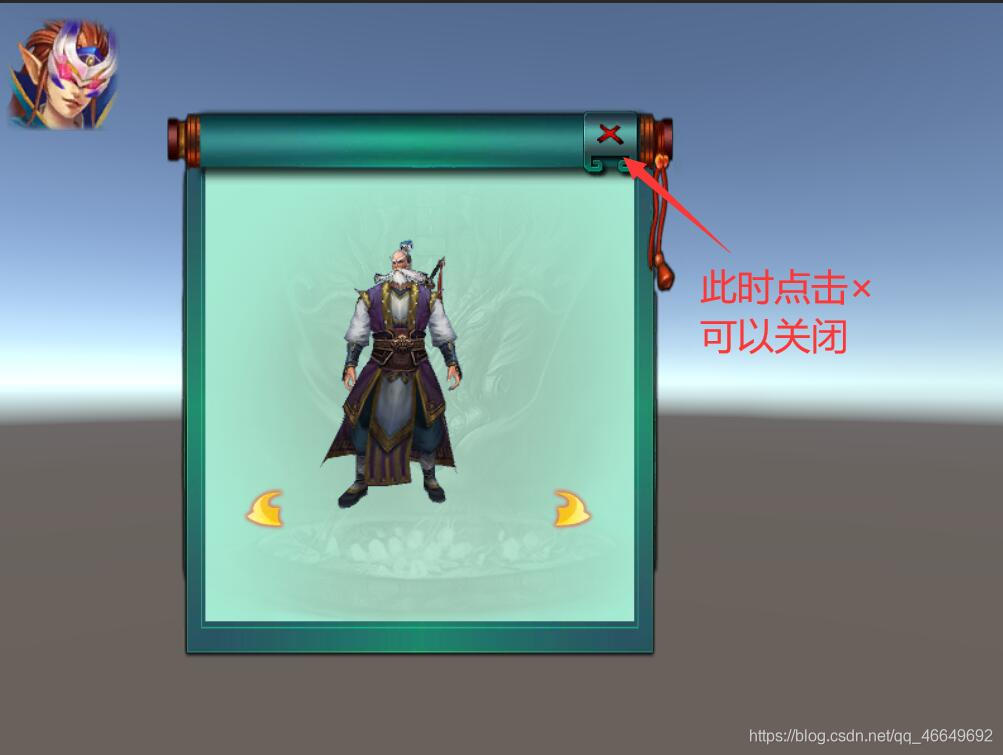
回到FairyGUI,回到窗口框架PlayerWindow里,发现ButtonClose显示在了最上面,因为我们这个UI的显示对这个深度上有严格的要求。所以我们把这个×的按钮渲染在最下面。
4、重新发布,运行后没有问题
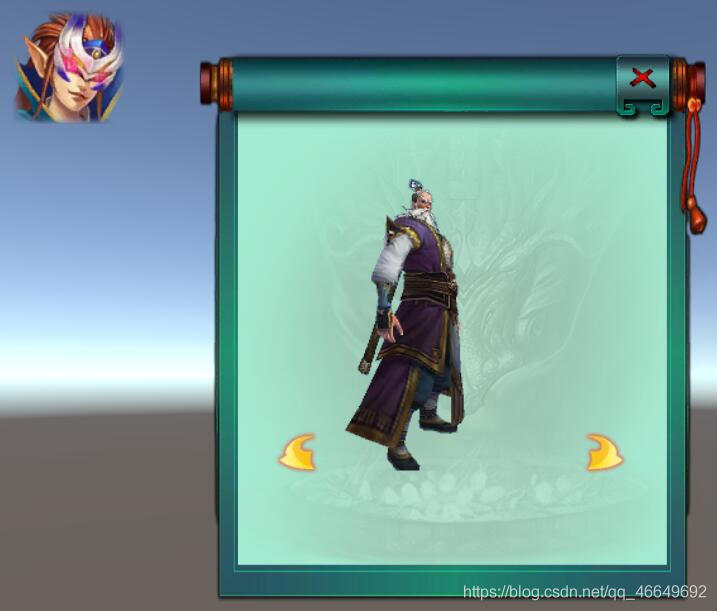
5、做人物左右旋转
using System.Collections;
using System.Collections.Generic;
using UnityEngine;
using FairyGUI;

public class PlayerWindow : Window
{

    private GameObject player;
    public PlayerWindow(GameObject player)
    {

        this.player = player;
    }

    protected override void OnInit()
    {

        this.contentPane = UIPackage.CreateObject("PlayerView", "PlayerWindow").asCom;
        GGraph holder = contentPane.GetChild("n2").asGraph;
        RenderTexture renderTexture = Resources.Load<RenderTexture>("FGUI/PlayerView/PlayerRT");
        Material mat = Resources.Load<Material>("FGUI/PlayerView/PlayerMat");
        Image img = new Image();
        img.texture = new NTexture(renderTexture);
        img.material = mat;
        holder.SetNativeObject(img);
        this.contentPane.GetChild("n3").onClick.Add(() => {
     RotateLeft(); });
        this.contentPane.GetChild("n4").onClick.Add(() => {
     RotateRight(); });
    }

    private void RotateLeft()
    {

        player.transform.Rotate(Vector3.up * 30, Space.World);
    }

    private void RotateRight()
    {

        player.transform.Rotate(Vector3.up * (-30), Space.World);
    }
}
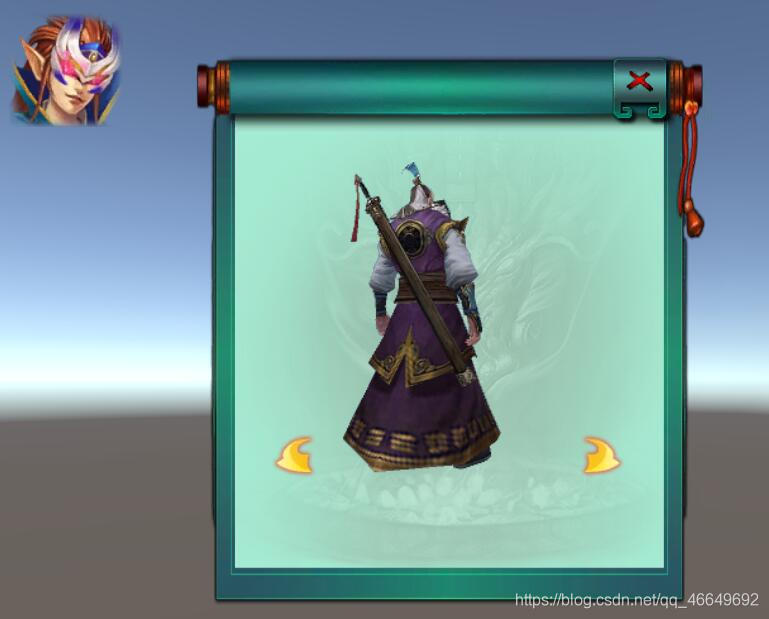
八、最终效果
边栏推荐
猜你喜欢
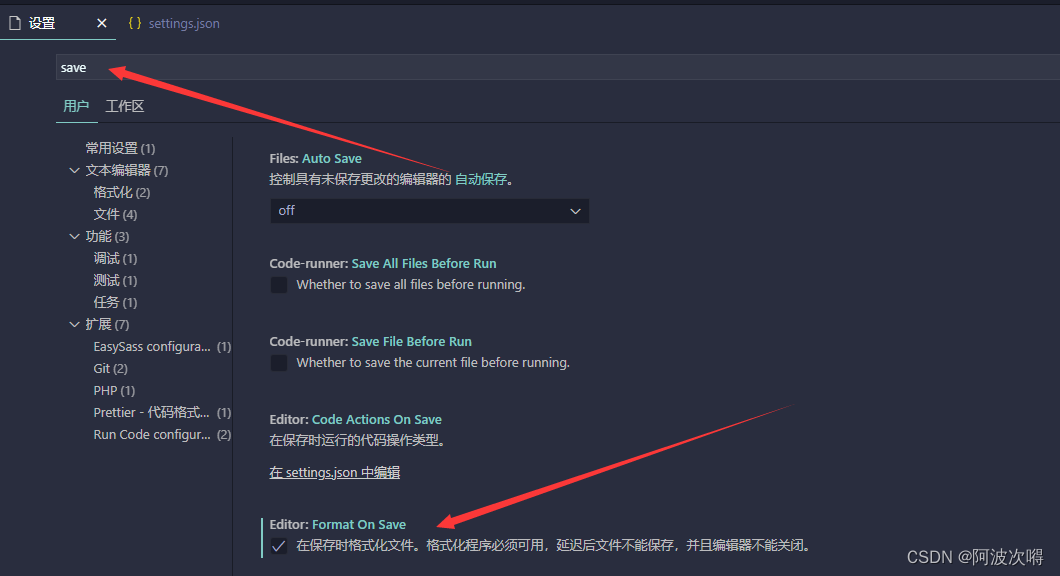
Vscode basic configuration

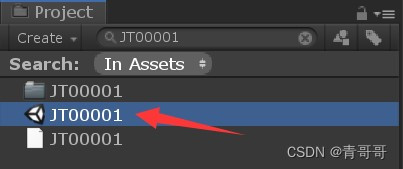
SVN更新后不出现红色感叹号
Unity3D,阿里云服务器,平台配置
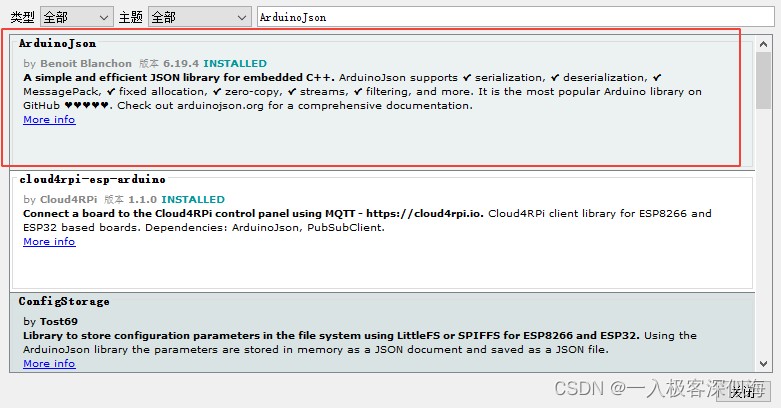
Esp8266 uses Arduino to connect Alibaba cloud Internet of things
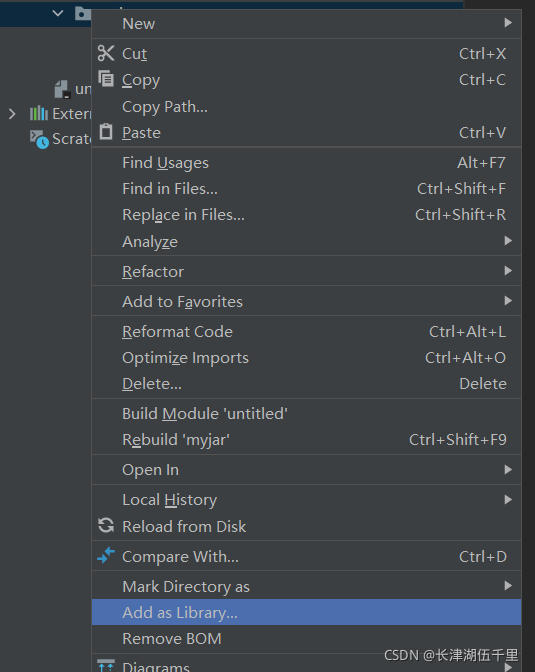
idea中导包方法
Guided package method in idea
Esp8266 connect onenet (old mqtt mode)
ES6 grammar summary -- Part I (basic)
Idea problem record

Learning notes of JS variable scope and function
随机推荐
数据库课程设计:高校教务管理系统(含代码)
Database course design: college educational administration management system (including code)
[esp32 learning-2] esp32 address mapping
Redis based distributed locks and ultra detailed improvement ideas
Fashion Gen: the general fashion dataset and challenge paper interpretation & dataset introduction
Easy to use shortcut keys in idea
Unity3d makes the registration login interface and realizes the scene jump
(3) Introduction to bioinformatics of R language - function, data Frame, simple DNA reading and analysis
GCC compilation options
Single chip Bluetooth wireless burning
Pytorch: tensor operation (I) contiguous
Conditional probability
MySQL占用内存过大解决方案
Latex learning
Servlet
Redis 缓存更新策略,缓存穿透、雪崩、击穿问题
ESP learning problem record
Esp8266 connect onenet (old mqtt mode)
JS變量類型以及常用類型轉換
Unity场景跳转及退出