当前位置:网站首页>Qt OpenGL 纹理贴图
Qt OpenGL 纹理贴图
2022-07-03 11:06:00 【wb175208】
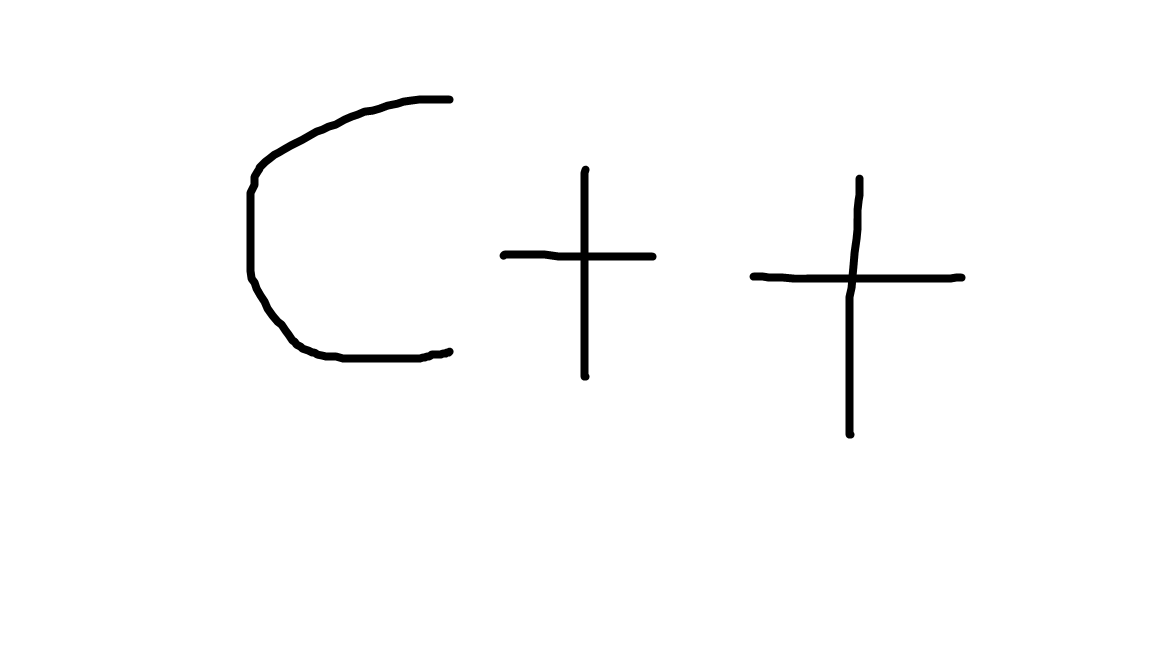
两张图片贴到一个正方形上。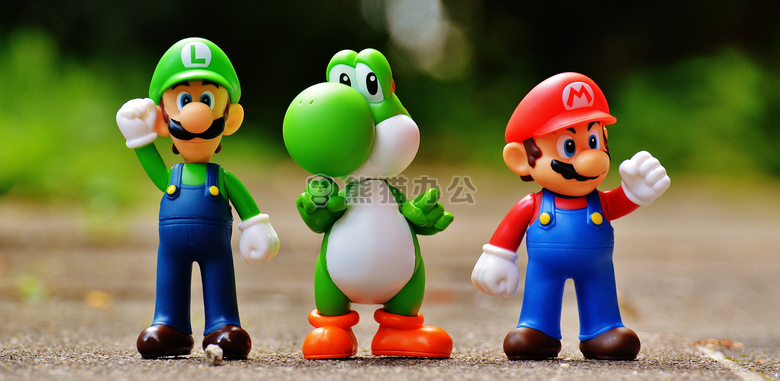
混合之后的效果: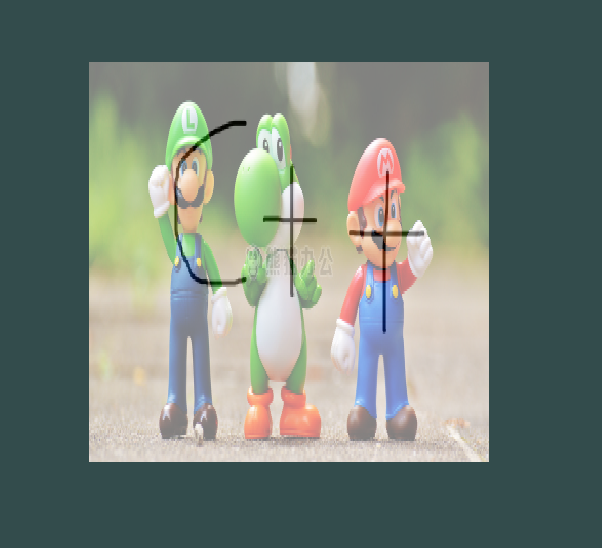
#pragma once

#include <QOpenGLWindow>
#include <QOpenGLShader>
#include <QOpenGLShaderProgram>
class QOpenGLFunctions_3_3_Core;

class TextureWnd : public QOpenGLWindow {

	Q_OBJECT

public:
	TextureWnd();
	~TextureWnd();

protected:
	virtual void initializeGL();
	virtual void paintGL();

private:
	QOpenGLFunctions_3_3_Core* _openGLCore;
	GLuint _VBO;//顶点位置VBO
	GLuint _VAO;
	GLuint _EBO;
	QOpenGLShaderProgram _shaderProgram;//着色器程序,所里系统所有的着色器
	class QOpenGLTexture* _texture;
	class QOpenGLTexture* _texture2;
};
#include <QOpenGLFunctions_3_3_Core>
#include <QVector4D>
#include <QOpenGLTexture>
#include "TextureWnd.h"

TextureWnd::TextureWnd() {

}

TextureWnd::~TextureWnd() {

}

void TextureWnd::initializeGL() {

	_openGLCore = QOpenGLContext::currentContext()->versionFunctions<QOpenGLFunctions_3_3_Core>();

	//定义数据-位置:颜色:纹理坐标
	GLfloat vert[] =	{

		//位置 颜色 纹理坐标
		0.5f,  0.5f, 0.0f,      1.0f, 0.0f, 0.0f,       1.0f, 1.0f,
		0.5f, -0.5f, 0.0f,      0.0f, 1.0f, 0.0f,       1.0f, 0.0f,
	   -0.5f, -0.5f, 0.0f,      0.0f, 0.0f, 1.0f,       0.0f, 0.0f,
	   -0.5f,  0.5f, 0.0f,      1.0f, 1.0f, 0.0f,       0.0f, 1.0f
	};

	//定义索引数据
	unsigned int indices[] ={

		0, 1, 3,
		1, 2, 3
	};


	_openGLCore->glGenVertexArrays(1, &_VAO);
	_openGLCore->glGenBuffers(1, &_VBO);

	//使用VAO开始记录数据属性操作
	_openGLCore->glBindVertexArray(_VAO);

	_openGLCore->glBindBuffer(GL_ARRAY_BUFFER, _VBO);
	_openGLCore->glBufferData(GL_ARRAY_BUFFER, sizeof(vert), vert, GL_STATIC_DRAW);

	//定义数据属性 - 位置属性(最大取8个浮点数(第5个参数),从0位置开始(第6个参数),取3个浮点数数据(第2个参数))
	_openGLCore->glVertexAttribPointer(0, 3, GL_FLOAT, GL_FALSE, 8 * sizeof(GLfloat), 0);
	_openGLCore->glEnableVertexAttribArray(0);

	//定义数据属性 - 颜色属性(最大取8个浮点数(第5个参数),从3个浮点数开始(第6个参数),取3个浮点数数据(第2个参数))
	_openGLCore->glVertexAttribPointer(1, 3, GL_FLOAT, GL_FALSE, 8 * sizeof(GLfloat), (void*)(3 * sizeof(GLfloat)));
	_openGLCore->glEnableVertexAttribArray(1);

	//定义数据属性 - 纹理坐标属性(最大取8个浮点数(第5个参数),从6个浮点数开始(第6个参数),取2个浮点数数据(第2个参数))
	_openGLCore->glVertexAttribPointer(2, 2, GL_FLOAT, GL_FALSE, 8 * sizeof(GLfloat), (void*)(6 * sizeof(GLfloat)));
	_openGLCore->glEnableVertexAttribArray(2);

	//解除绑定缓存区
	_openGLCore->glBindBuffer(GL_ARRAY_BUFFER, 0);

	//索引缓存对象
	_openGLCore->glGenBuffers(1, &_EBO);
	_openGLCore->glBindBuffer(GL_ELEMENT_ARRAY_BUFFER, _EBO);
	_openGLCore->glBufferData(GL_ELEMENT_ARRAY_BUFFER, sizeof(indices), indices, GL_STATIC_DRAW);

	//结束记录数据属性的操作
	_openGLCore->glBindVertexArray(0);


	_shaderProgram.addShaderFromSourceFile(QOpenGLShader::Vertex, "E:/Projects/QtGuiTest/OPenGLApp/shader/Texture.vert");
	_shaderProgram.addShaderFromSourceFile(QOpenGLShader::Fragment, "E:/Projects/QtGuiTest/OPenGLApp/shader/Texture.frag");

	_shaderProgram.link();

	_texture = new QOpenGLTexture(QImage("E:/Projects/QtGuiTest/OPenGLApp/shader/1.jpg").mirrored());
	_texture2 = new QOpenGLTexture(QImage("E:/Projects/QtGuiTest/OPenGLApp/shader/2.png").mirrored());
	//如果是一张图片就不用绑定,默认绑定。如果是多于1张就需要主动绑定,
	_shaderProgram.bind();
	/* ** textureImg:对应的片元着色器的 uniform sampler2D textureImg; ** textureCpp:对应的片元着色器的 uniform sampler2D textureCpp; */
	_shaderProgram.setUniformValue("textureImg", 0);
	_shaderProgram.setUniformValue("textureCpp", 1);
}

void TextureWnd::paintGL() {

	_openGLCore->glClearColor(0.2f, 0.3f, 0.3f, 1.0f);
	_openGLCore->glClear(GL_COLOR_BUFFER_BIT);

	_shaderProgram.bind();
	_openGLCore->glBindVertexArray(_VAO);

	_texture->bind(0);
	_texture2->bind(1);

	_openGLCore->glDrawElements(GL_TRIANGLES, 6, GL_UNSIGNED_INT, nullptr);
}
顶点着色器:
#version 330 core
layout (location = 0) in vec3 aPos;
layout (location = 1) in vec3 aColor;
layout (location = 2) in vec2 aTextureCoord;
out vec3 outColor;
out vec2 textureCoord;
void main(){

	gl_Position = vec4(aPos.x, aPos.y, aPos.z, 1.0);
	outColor = aColor;
	textureCoord = aTextureCoord;
}
片段着色器:
#version 330 core
out vec4 fragColor;
in vec3 outColor;//从顶点着色器中传过来的颜色
in vec2 textureCoord;
uniform sampler2D textureImg;
uniform sampler2D textureCpp;
void main(){

	//fragColor = texture(textureImg, textureCoord);
	 fragColor = mix(texture(textureImg,textureCoord), texture(textureCpp,textureCoord), 0.5);
}
aaa
边栏推荐
猜你喜欢

小鹏 P7 撞护栏安全气囊未弹出,官方回应称撞击力度未达到弹出要求

PHP Basics

Kibana - installation and configuration of kibana
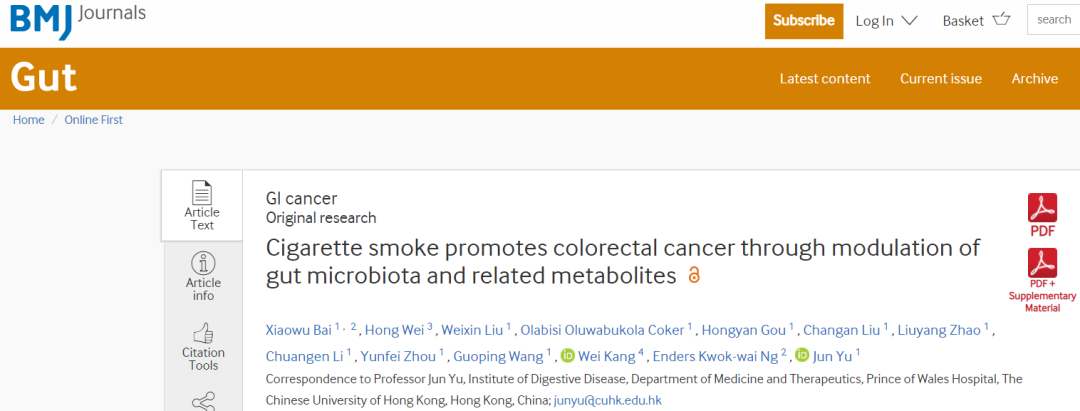
Gut | Yu Jun group of the Chinese University of Hong Kong revealed that smoking changes intestinal flora and promotes colorectal cancer (do not smoke)
Kubernetes 三打探针及探针方式

VS2015的下载地址和安装教程

The tutor put forward 20 pieces of advice to help graduate students successfully complete their studies: first, don't plan to take a vacation

Excel quick cross table copy and paste
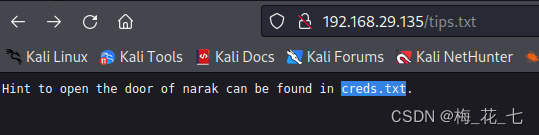
Vulnhub narak
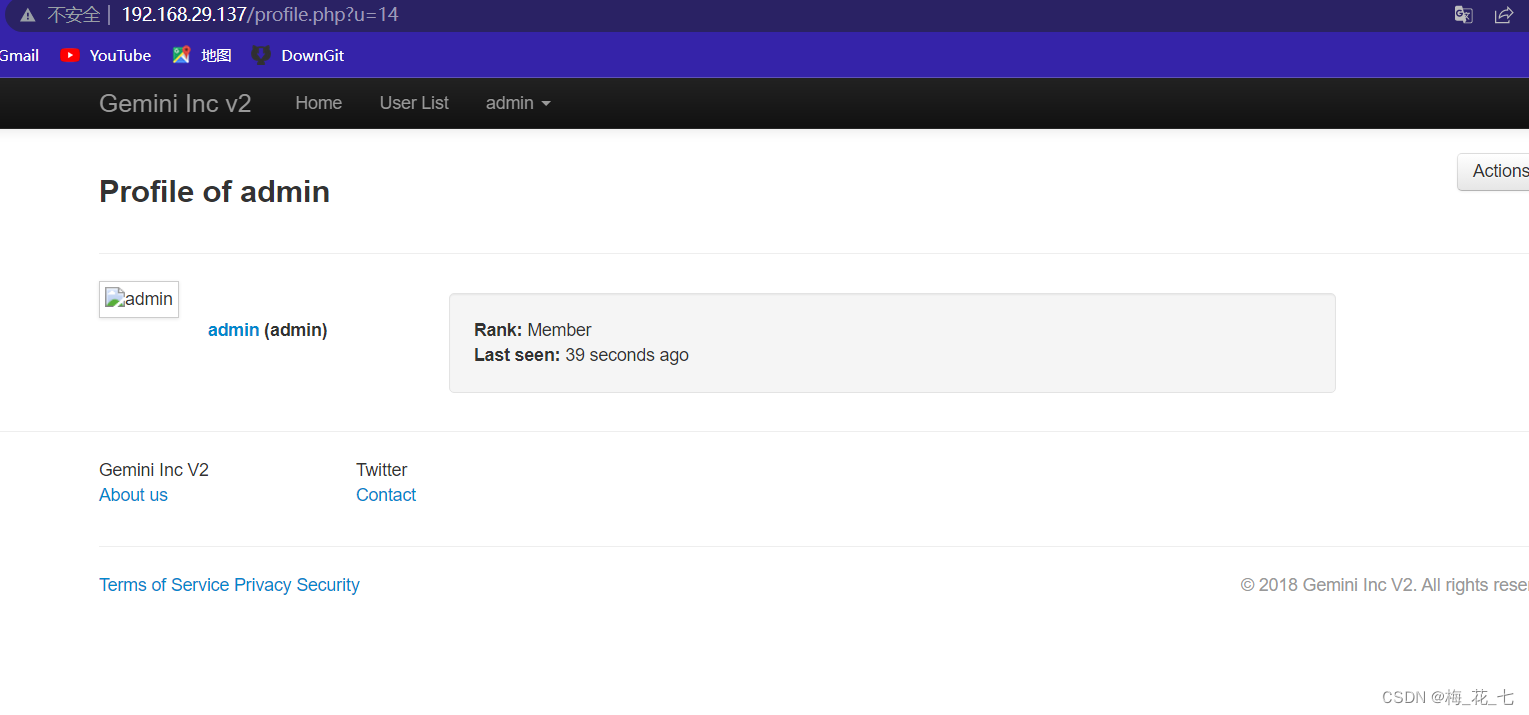
vulnhub之GeminiInc v2
随机推荐
Sheet1$.输出[Excel 源输出].列[XXX] 出错。返回的列状态是:“文本被截断,或者一个或多个字符在目标代码页中没有匹配项。”。
(database authorization - redis) summary of unauthorized access vulnerabilities in redis
How to get started embedded future development direction of embedded
STL tutorial 8-map
外插散点数据
(数据库提权——Redis)Redis未授权访问漏洞总结
Kibana~Kibana的安装和配置
2022 东北四省赛 VP记录/补题
Software testing weekly (issue 78): the more confident you are about the future, the more patient you are about the present.
ftp登录时,报错“530 Login incorrect.Login failed”
Keepalived中Master和Backup角色选举策略
Programmers' entrepreneurial trap: taking private jobs
Momentum of vulnhub
DNS多点部署IP Anycast+BGP实战分析
vulnhub之GeminiInc v2
R语言ggplot2可视化:gganimate包创建动态折线图动画(gif)、使用transition_reveal函数在动画中沿给定维度逐步显示数据、在折线移动方向添加数据点
AOSP ~ NTP ( 网络时间协议 )
PHP server interacts with redis with a large number of close_ Wait analysis
STL教程10-容器共性和使用场景
2022 northeast four provinces match VP record / supplementary questions