当前位置:网站首页>Ros2 - workspace (V)
Ros2 - workspace (V)
2022-07-05 06:50:00 【Me and nano】
ROS2 Robot operating system
List of articles
Preface
I've got a general idea ROS2 What is it? , Also ready to learn ,ROS2 The core concept of is roughly divided into the following points 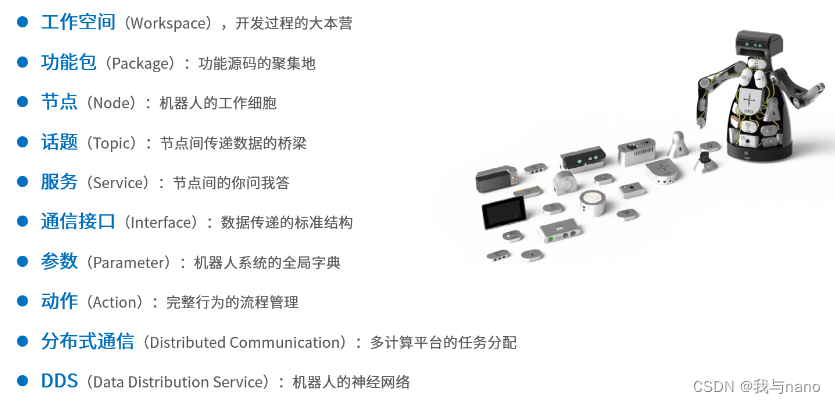
One 、 working space
stay ROS Robot development , When we start the code for some functions of the robot , Various written codes 、 Parameters 、 Scripts and other files , It also needs to be placed in a folder for management , This folder is in ROS In the system, it is called workspace .
So the workspace is a folder for storing files related to project development , It is also the base camp for storing all materials in the development process .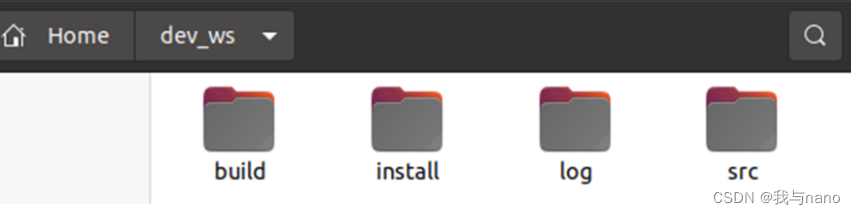
ROS A typical workspace structure in the system is shown in the figure , This dev_ws Is the root directory of the workspace , There will be four subdirectories , Or four subspaces .
src, Code space , Future code 、 Script , All need to be artificially placed here ;
build, Compilation space , Save intermediate files generated during compilation ;
install, Installation space , Place the compiled executable and script ;
log, Log space , During compilation and operation , Save various warnings 、 error 、 Information log .
In general , These four space folders , Most of our operations are in src In the , After successful compilation , Will execute install The results inside ,build and log Two folders are rarely used .
We can define the name of the workspace by ourselves , Quantity is not unique , such as :
 working space 1:dev_w_a, be used for A Robot development ;

 working space 2:dev_ws_b, be used for B Some functions of robots ;

 working space 3:dev_ws_b2, Used to develop B Other functions of robots .
Two 、 Specific operation of workspace
1. Create a workspace
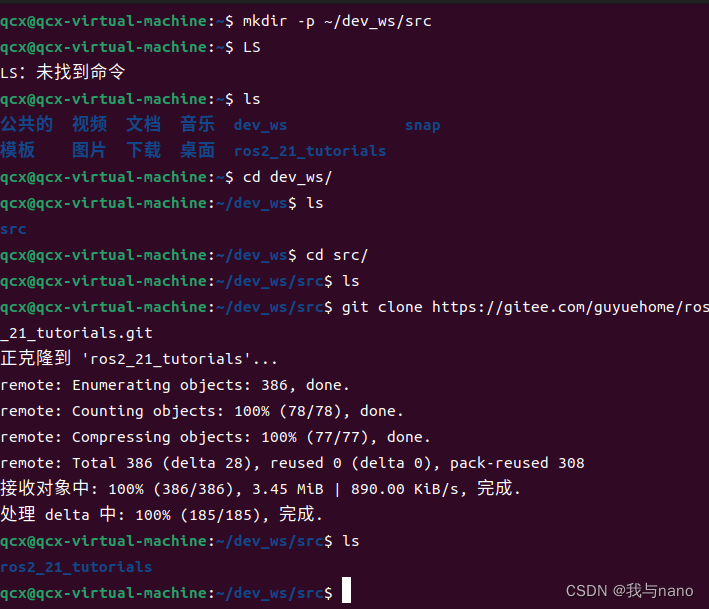
Next, we can create a workspace with the following commands , And download the code :
mkdir -p ~/dev_ws/src
cd ~/dev_ws/src
git clone https://gitee.com/guyuehome/ros2_21_tutorials.git
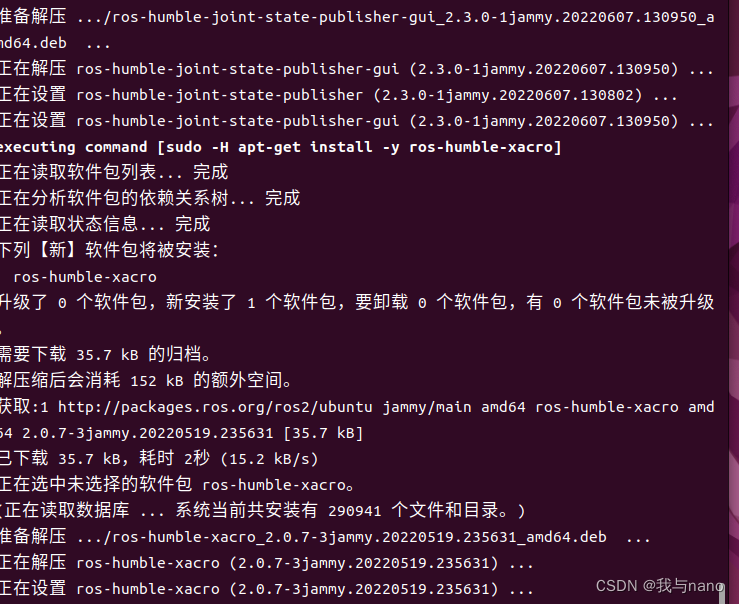
2. Auto install dependency
Various codes we download from the community , There will be some dependence , We can install one by one manually , You can also use rosdep Tools are automatically installed :
sudo apt install -y python3-pip
sudo pip3 install rosdepc
sudo rosdepc init
rosdepc update
cd ..
rosdepc install -i --from-path src --rosdistro humble -y
Here if Pip Installation failed , You can use scripts to install
wget https://bootstrap.pypa.io/get-pip.py
sudo python3 get-pip.py
These operations are in src In the , That is initialization , And then update , Finally, install the dependency src The previous level , Remember cd …
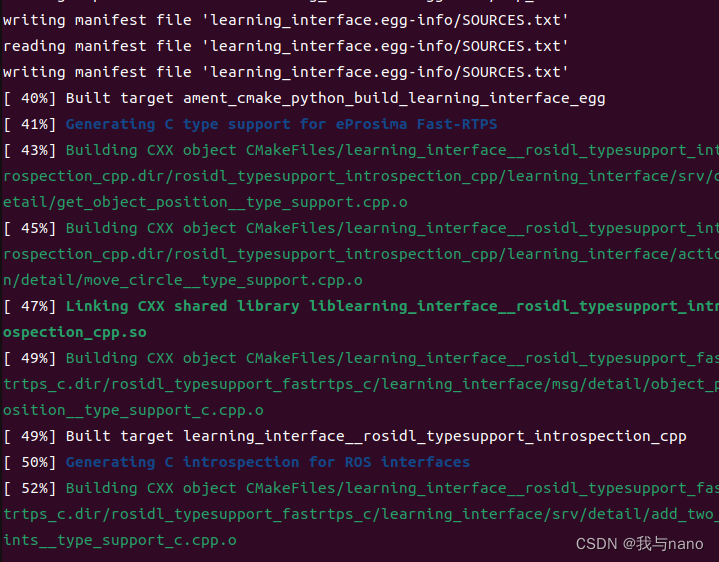
3. Compile workspace
After the dependency installation , You can compile the workspace with the following commands , If there is a lack of dependency , Or there is an error in the code , Errors will be reported during compilation , Otherwise, there should be no errors in the compilation process :
sudo apt install python3-colcon-ros
cd ~/dev_ws/
colcon build
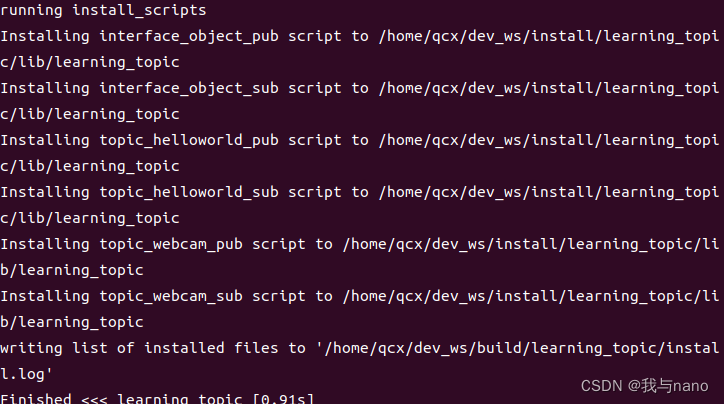
After the compilation is successful, you will see all four files come out 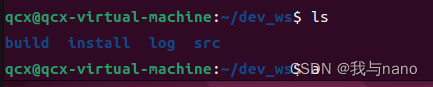
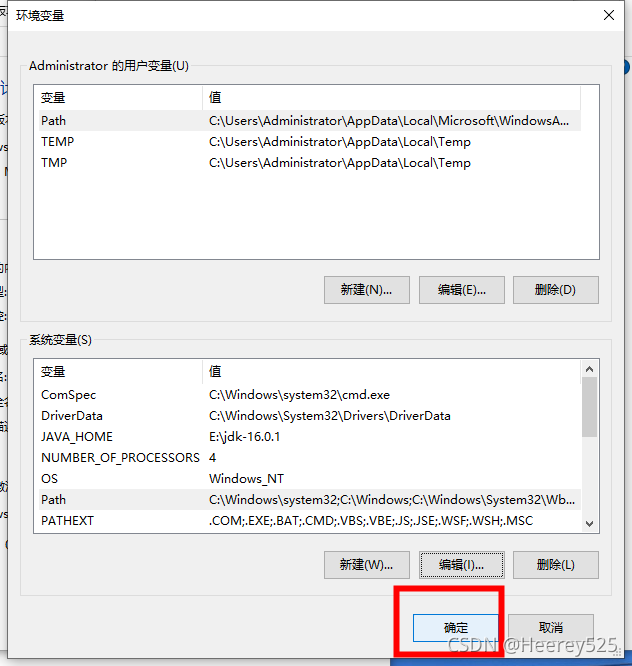
4. Set the environment variable
After successful compilation , In order for the system to find our function packs and executable files , You also need to set environment variables :
source install/local_setup.sh #  Only effective on the current terminal
echo " source ~/dev_ws/install/local_setup.sh" >> ~/.bashrc #  All terminals are valid
summary
thus , We have completed the creation of the workspace 、 Compile and configure .
边栏推荐
- LSA Type Explanation - lsa-5 (type 5 LSA - autonomous system external LSA) and lsa-4 (type 4 LSA - ASBR summary LSA) explanation
- [nvidia] CUDA_ VISIBLE_ DEVICES
- Find the combination number acwing 889 01 sequence meeting conditions
- VLAN experiment
- Preemption of CFS scheduling
- SRE核心体系了解
- Application of recyclerview
- Rehabilitation type force deduction brush question notes D1
- Vant weave swipecell sets multiple buttons
- Skywalking all
猜你喜欢

Log4qt usage of logbase in QT project

Rehabilitation type force deduction brush question notes D2

Build a microservice cluster environment locally and learn to deploy automatically

Game theory acwing 893 Set Nim game
Knapsack problem acwing 9 Group knapsack problem

Volcano 资源预留特性
‘mongoexport‘ 不是内部或外部命令,也不是可运行的程序 或批处理文件。
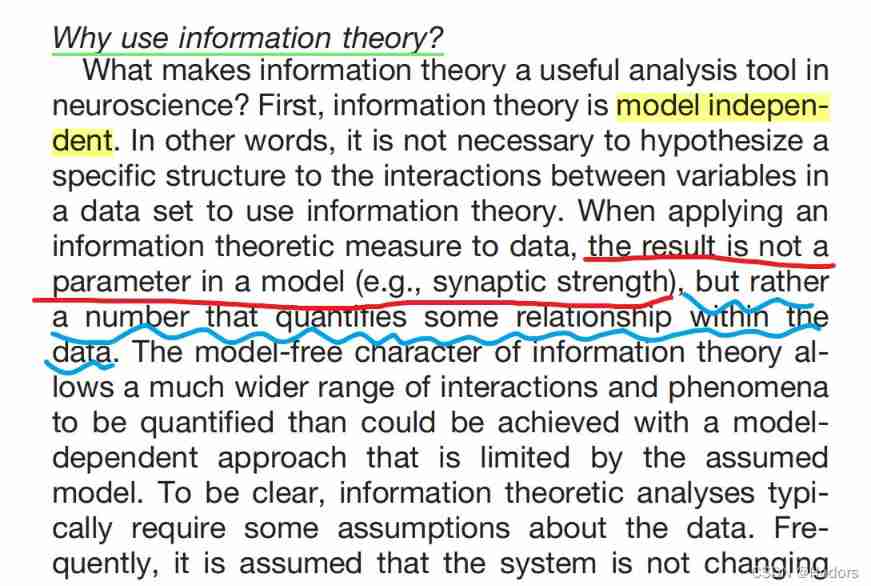
how to understand the “model independent.“
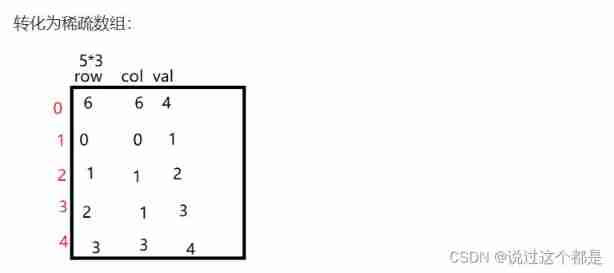
Mutual transformation between two-dimensional array and sparse array (sparse matrix)
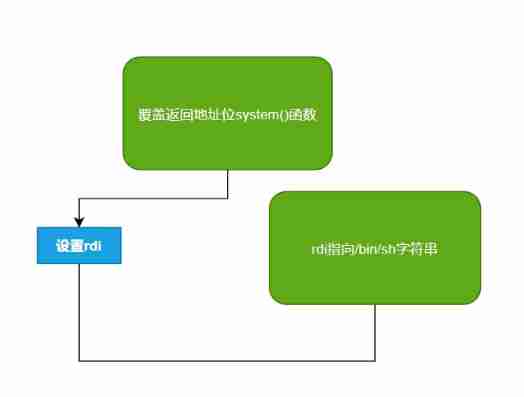
Ret2xx---- common CTF template proposition in PWN
随机推荐
La redirection de l'applet Wechat ne déclenche pas onload
About vscode, "code unreachable" will be displayed when calling sendline series functions with pwntools“
Game theory acwing 891 Nim games
Spinningup drawing curve
将webApp或者H5页面打包成App
*P++, (*p) + +, * (p++) differences
代码中的英语全部
Technology blog learning website
Positive height system
Orin 安装CUDA环境
How to answer when you encounter a jet on CSDN?
In C language, int a= 'R'
在本地搭建一个微服务集群环境,学习自动化部署
Orin two brushing methods
Page type
Vant weapp swippecell set multiple buttons
Mutual transformation between two-dimensional array and sparse array (sparse matrix)
UTC, GPS time and Tai
Financial risk control practice -- feature derivation based on time series
Getting started with typescript